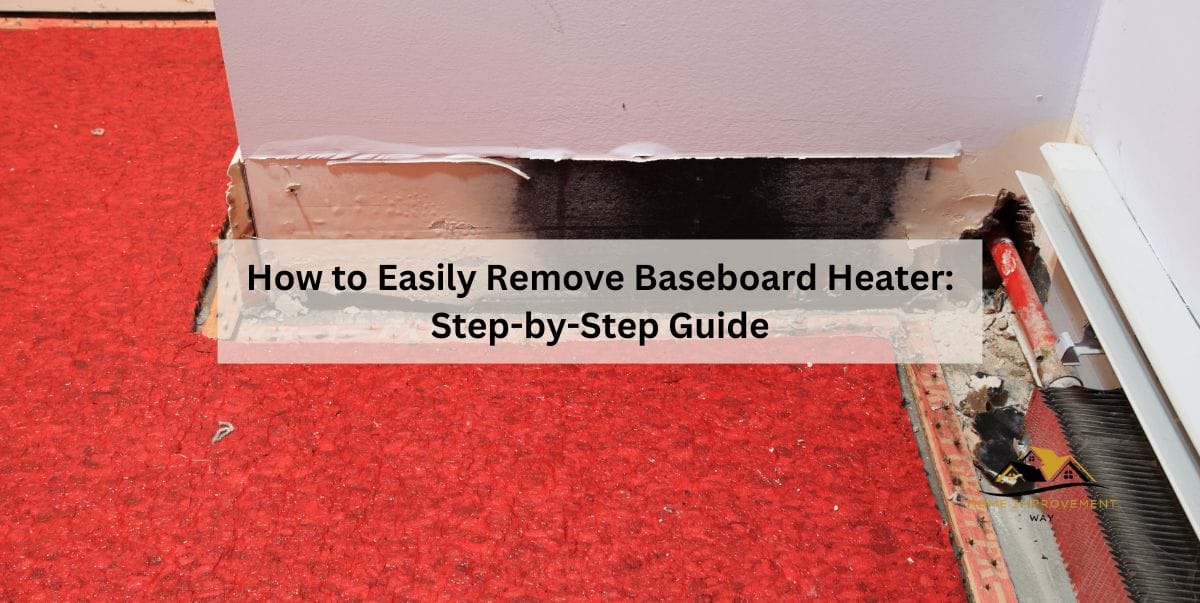
How to Easily Remove Baseboard Heater: Step-by-Step Guide
To remove a baseboard heater, first, turn off the power to the circuit. Loosen the screws or nails attaching the baseboard unit to the wall using a screwdriver or pry bar.
Gently pull the heater away from the wall to detach it from the brackets. Remove the cover by unscrewing the securing screws and carefully lift it off. Disconnect the electrical wires from the unit, taking note of their placement. Finally, remove any remaining brackets or mounting hardware from the wall.
Baseboard heaters are a common heating solution in many homes. However, there may come a time when you need to remove one, whether it’s for renovation purposes or to replace a faulty unit. While the process may seem daunting at first, it can be relatively straightforward if you follow the right steps. We’ll provide you with a concise guide on how to remove a baseboard heater, ensuring you can complete the task safely and efficiently. Let’s get started!
Gather The Necessary Tools
Before you start with the process of removing the baseboard heater, it is essential to gather all the necessary tools to ensure a smooth and efficient task. By having the right tools at hand, you can avoid any unnecessary delays or difficulties during the process. Here are the essential tools you will need:
Select The Right Tools
To remove a baseboard heater effectively, it is crucial to select the right tools. Having the correct tools will make the task easier and minimize the risk of causing damage to the heater or the surrounding area. Here are the tools you should have:
- A flathead screwdriver to remove any screws or fasteners holding the heater in place. This tool will help you loosen and detach the heater from the wall.
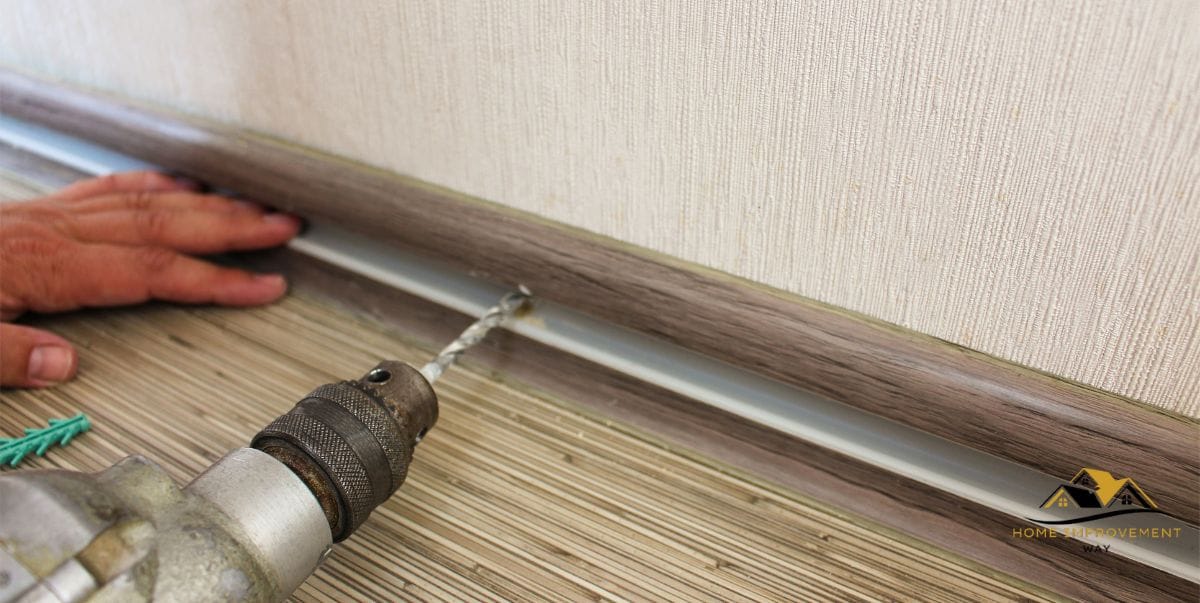
- A power drill, preferably with a screwdriver bit attachment, to remove any screws that are difficult to loosen with a manual screwdriver.
- A utility knife to cut through any caulk or adhesive holding the heater to the wall. This tool will help you detach the heater without causing any damage to the surrounding surfaces.
- A pair of pliers to disconnect any electrical connections or wires attached to the baseboard heater. Ensure that the power source is turned off before handling any electrical components.
- A putty knife to scrape off any residue or caulk left behind after removing the heater. This tool will help you prepare the wall for any repairs or modifications that need to be made.
Ensure Safety Precautions
Removing a baseboard heater involves working with electrical components and potentially sharp objects. Therefore, it is crucial to ensure your safety throughout the process. Here are some safety precautions to keep in mind:
- Always turn off the power source before working on or near the baseboard heater. This step will help prevent any electrical shocks or accidents.
- Wear protective gloves to safeguard your hands from any sharp edges or objects that you may encounter during the removal process.
- Use goggles or safety glasses to protect your eyes from any debris, dust, or particles that may be released while removing the heater.
- Work in a well-ventilated area to avoid inhaling any fumes or harmful substances that may be present in the surroundings.
- Take extra caution when handling any electrical wires or connections, ensuring that they are properly disconnected and insulated to prevent any accidents.
By following these safety precautions and having the necessary tools ready, you can confidently proceed with removing the baseboard heater without any concerns. Remember to approach the task calmly and attentively to ensure a successful and safe removal process.
Prepare The Work Area
Before you begin the process of removing a baseboard heater, it is essential to prepare the work area properly. By following these steps, you can ensure a safe and efficient removal process. This section will guide you through the necessary steps to prepare the work area effectively.
Clear The Area
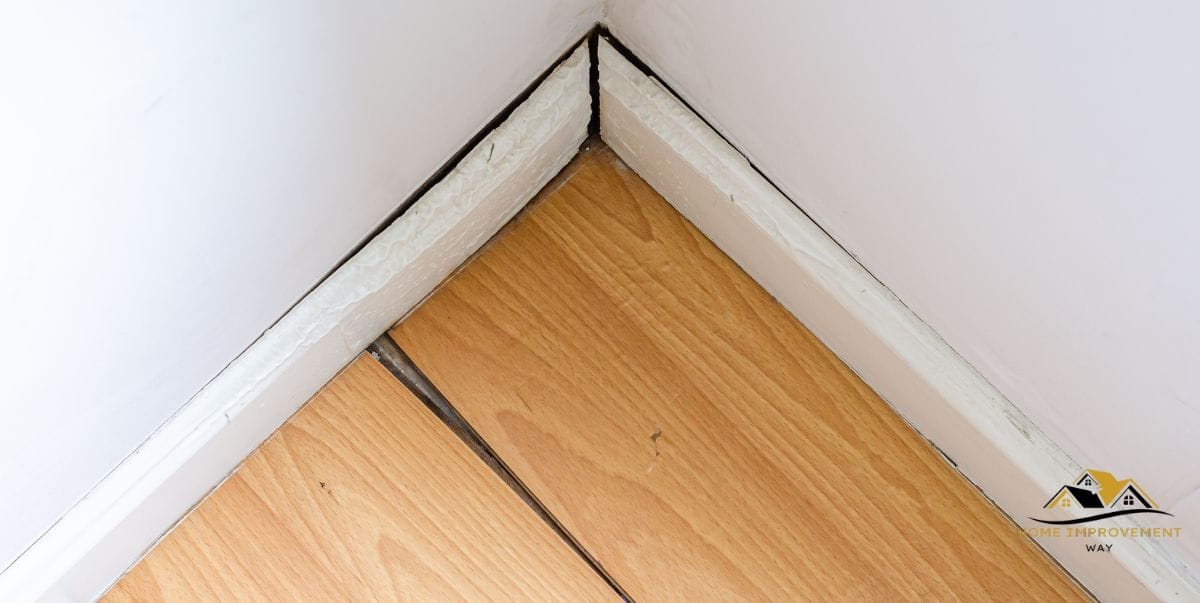
First, clear the area around the baseboard heater to create a safe and clutter-free workspace. Remove any furniture, carpets, or other obstacles that may hinder your access to the heater. Clearing the area will not only make the task easier but also minimize the risk of accidents or damage to surrounding objects.
Turn Off The Power
Next, it is crucial to turn off the power to the baseboard heater before starting any removal work. This step ensures your safety and prevents any electrical mishaps. Locate the circuit breaker or fuse box that controls the heater and switch it off. Double-check to ensure that the power is truly off by using a voltage detector or testing the heater controls.
Taking these precautions will protect you from potential electrical shocks and help you work with peace of mind. Remember, safety should always be your top priority.
Remove The Cover
Removing the cover of a baseboard heater is an essential step when it comes to maintenance or replacement. In this section, we will guide you through the process of removing the cover effectively and safely. Follow these simple steps to get started:
Loosen The Screws
Begin by inspecting the baseboard heater cover for any visible screws. Using a suitable screwdriver, carefully loosen the screws that secure the cover to the wall. It’s important to loosen the screws evenly to prevent any damage or warping of the cover. Be gentle and avoid applying excessive force.
Carefully Pull Off The Cover
Once the screws have been sufficiently loosened, it’s time to carefully pull off the cover from the baseboard heater. Start by tilting the cover forward slightly and then pull it away from the wall. Take it slow and steady to avoid any accidents or causing damage to the heater or the surrounding area.
If you encounter any resistance while removing the cover, double-check if there are any hidden screws or additional fasteners holding it in place. Inspect all sides of the cover to ensure there are no hidden attachments.
With the cover successfully removed, you now have access to the inner components of the baseboard heater. This is particularly beneficial when cleaning the heater or conducting any necessary repairs. Remember to always exercise caution and follow safety guidelines when dealing with electrical appliances.
Disconnect The Wiring
When it comes to removing baseboard heaters, it is essential to disconnect the wiring properly for safety reasons. By following the steps below, you can disconnect the wiring without any hassle.
Switch Off The Circuit Breaker
The first step in disconnecting the wiring is switching off the circuit breaker that supplies power to the baseboard heater. This ensures that you are working on a safe electrical circuit. Locate the circuit breaker panel in your home, typically found in the basement or utility room. Look for the breaker labeled for the baseboard heater and switch it off by flipping the switch to the “OFF” position. It is essential to double-check that the breaker is off to prevent any potential electrical shock.
Remove Wire Connectors
Once the circuit breaker is switched off, you can proceed to remove the wire connectors. These connectors are used to join the wires from the heater to the electrical supply. Start by identifying the wire connectors connecting the wires from the baseboard heater.
It’s important to differentiate between the hot wires (usually black or red) and the neutral wires (typically white). Carefully remove the wire connectors by twisting them counterclockwise. Make sure to hold the wires together with one hand while twisting the connectors free with the other, ensuring that they do not accidentally touch each other.
After removing the wire connectors, separate the wires by gently pulling them apart. Take note of which wires connect to which colored screws on the baseboard heater, as this will be essential when reinstalling the heater or replacing it. To prevent the wires from accidentally touching during the removal process, you can use electrical tape to secure the wires individually. This step ensures there are no exposed wires that could potentially cause an electrical hazard.
Detach The Baseboard Heater
To remove a baseboard heater, make sure to turn off the power, disconnect the wiring, and carefully detach the unit from the wall. Be cautious of sharp edges and follow safety precautions throughout the process.
Introduction: Detach The Baseboard Heater
Removing a baseboard heater may seem challenging, but with the right approach, it can be a straightforward process. Detaching the baseboard heater involves loosening the mounting brackets and carefully lifting and removing the unit. In this guide, we will go through each step to help you successfully remove your baseboard heater.
Loosen Mounting Brackets
The first step to detach the baseboard heater is to loosen the mounting brackets. These brackets secure the unit to the wall, and by releasing them, we can free the heater for removal. Follow these simple steps:
- Switch off the electrical breaker connected to the baseboard heater to ensure safety.
- Locate the screws securing the mounting brackets to the wall.
- Using a screwdriver, carefully loosen each screw by turning counterclockwise.
Make sure to remove all screws while keeping the brackets intact with the baseboard heater. Now that we have loosened the mounting brackets, we can proceed to the next step.
Lift And Remove The Heater
With the mounting brackets loosened, it’s time to lift and remove the baseboard heater. Follow these steps carefully:
- Wear safety gloves to protect your hands during the removal process.
- Stand in front of the baseboard heater and place one hand on each end of the unit.
- Using steady and controlled force, lift the heater upwards, detaching it from the mounting brackets.
- If the heater seems stuck, check if any screws or additional fasteners are still holding it to the wall.
- Once the baseboard heater is detached, carefully lower it to the ground or a suitable surface.
Be cautious while handling the heater to prevent any damages or injuries. Now, you have successfully removed the baseboard heater!
Conclusion
Removing a baseboard heater may seem daunting, but with the right steps, it can be a simple and straightforward process. By following the guidelines provided in this blog post, you can safely and effectively remove your baseboard heater. Remember to turn off the power, gather the necessary tools, and carefully detach the unit from the wall.
With patience and attention to detail, you’ll have your baseboard heater removed in no time. Good luck!