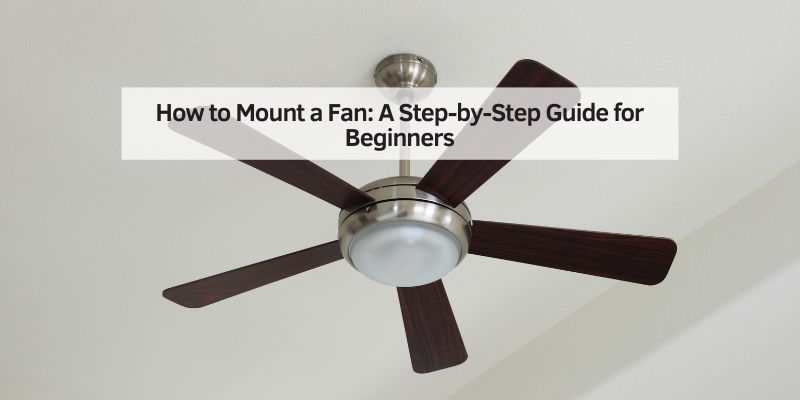
How to Mount a Fan: A Step-by-Step Guide for Beginners
A fan mounts to a ceiling, wall, or floor stand using a bracket rated for its weight — ceiling fans need a fan-rated electrical box, wall and floor fans just need a stud or a weight-rated anchor. Mounting a heavy fan on a light-duty bracket or a standard (non-fan-rated) ceiling box is a fire and injury risk. This guide covers ceiling fans, wall fans, and mounting a desk, floor, or PC fan without its stand.
Quick Answer
Ceiling fans need a fan-rated electrical box and a stud or joist connection — a standard light-fixture box can’t take the weight or vibration. Wall and floor fans just need a bracket screwed into a stud, or heavy-duty anchors on drywall. Desk, PC, and small fans without a stand can mount with a wall bracket, a pipe clamp, or weight-rated double-sided tape.
Why Mounting a Fan Is a Great Idea
Before we get into the nitty-gritty, let’s talk about why you’d want to mount a fan in the first place. Fans do more than just keep you cool. They can save energy, improve air circulation, and even add a touch of style to your room. I’ve installed both ceiling and wall-mounted fans in my home, and the difference they make is night and day.
Ceiling fans, for example, can reduce your reliance on air conditioning, cutting down on energy bills. In winter, many models have a reverse setting to push warm air down, keeping your room cozy. Wall-mounted fans, on the other hand, are perfect for smaller spaces or areas where you don’t want to sacrifice floor space. Plus, modern fans come in sleek designs that can complement your decor. Convinced yet? Let’s move on to choosing the right fan for your needs.
Choosing the Right Fan for Your Space
Picking the right fan is the first step to a successful installation. Trust me, I learned this the hard way when I bought a fan that was too big for my bedroom—it looked like a helicopter was about to take off! Here’s what you need to consider:
- Room Size: For ceiling fans, measure your room’s square footage. A 52-inch fan works well for rooms up to 400 square feet, while smaller rooms (under 144 square feet) do better with a 36- or 44-inch fan. Wall fans are more flexible but check the airflow rating (measured in CFM, or cubic feet per minute) to ensure it’s powerful enough.
- Mounting Type: Decide if you want a ceiling fan, wall-mounted fan, or even a pedestal or desk fan secured with a wall bracket instead of its stand. Ceiling fans are great for whole-room circulation, while wall and floor-mounted fans are ideal for targeted airflow in a fixed spot.
- Features: Look for fans with features like remote controls, dimmable lights (for ceiling fans), or oscillation (for wall fans). I love my ceiling fan’s remote—it’s so convenient when I’m lounging on the couch!
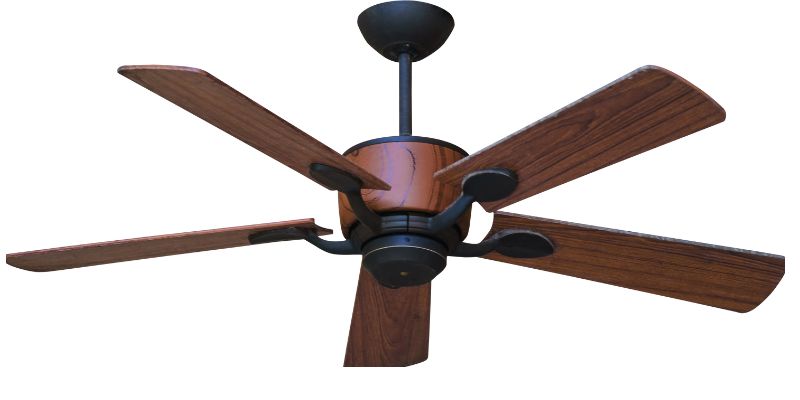
- Style: Fans come in all sorts of designs, from rustic to modern. Pick one that matches your room’s vibe. My dining room has a farmhouse-style fan with wooden blades, and it’s a total showstopper.
Once you’ve got your fan, double-check that it comes with a mounting kit. Most do, but it’s worth confirming before you start — if it doesn’t, or you’re mounting a fan that normally sits on a stand, see the universal bracket options below. Now, let’s gather the tools you’ll need.
Tools and Materials You’ll Need
Mounting a fan doesn’t require a ton of fancy tools, but having the right ones on hand makes the job smoother. Here’s what I always keep ready when I’m installing a fan:
| Tool/Material | Purpose |
|---|---|
| Screwdriver (Phillips/Flathead) | For securing screws and removing cover plates. |
| Drill with Bits | To create pilot holes or secure mounting brackets. |
| Stud Finder | To locate ceiling joists or wall studs for safe mounting. |
| Ladder | To reach the ceiling or high wall safely. |
| Wire Cutters/Strippers | For preparing electrical wires (ceiling fans only). |
| Voltage Tester | To ensure the power is off before working with wires. |
| Mounting Bracket | Usually included with the fan; secures it to the ceiling or wall. |
| Wire Nuts | For connecting electrical wires securely (ceiling fans only). |
| Level | To ensure the fan is mounted straight. |
| Safety Glasses | To protect your eyes from dust or debris. |
Best Fan Mounting Bracket Pick
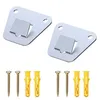
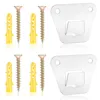
Universal Wall Fan Mounting Bracket (2-Pack) – $6.99
A thick-steel bracket that screws straight into a stud — the same wall-mounting approach this guide’s tools table and wall-fan section both call for, no fan-specific stand required.
- Best for: standard wall fans and small oscillating fans
- Why we picked it: matches the stud-mount method this guide’s wall fan section walks through
- Main drawback: needs a stud or anchors rated for the fan’s weight
Compare more fan mounting options
 Option 1 Floor Fan Wall Hook Bracket – $13.98
|
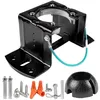
 Option 2 Heavy Duty Solid Steel Bracket – $6.29
|
 Option 3 Ceiling Fan Mounting Bracket Kit – $17.99
|
As an Amazon Associate we earn from qualifying purchases.
I can’t stress enough how important it is to have a sturdy ladder. The first time I mounted a fan, I used a wobbly stool and nearly had a heart attack! A good ladder keeps you safe and steady. If you’re installing a ceiling fan, you’ll also need to check your electrical box—more on that later.
Preparing Your Space for Installation
Before you start drilling or wiring, you need to prep your space. This step saves time and prevents accidents. Here’s how I do it:
- Turn Off the Power: Head to your circuit breaker and switch off the power to the room where you’re installing the fan. Use a voltage tester to double-check that the wires are dead. I once skipped this step in a rush and got a mild shock—lesson learned!
- Clear the Area: Move furniture, rugs, or anything else that could get in your way. Lay down a drop cloth to catch dust or debris.
- Check the Mounting Surface: For ceiling fans, locate a ceiling joist or ensure your electrical box is fan-rated (it should say so on the box). Standard light fixture boxes can’t handle a fan’s weight or vibration. For wall fans, find a stud or use heavy-duty wall anchors if you’re mounting on drywall.
- Read the Manual: Every fan is a little different, so skim the manufacturer’s instructions. I know it’s tempting to skip this, but it can save you from mistakes.
📊 ENERGY STAR recommends mounting ceiling fans at least 7 feet above the floor, 18 inches from walls, and 6–10 inches between the blades and ceiling for best airflow — Source: ENERGY STAR, 2026
With your space prepped, you’re ready to start the actual installation. Let’s break it down by fan type, starting with ceiling fans.
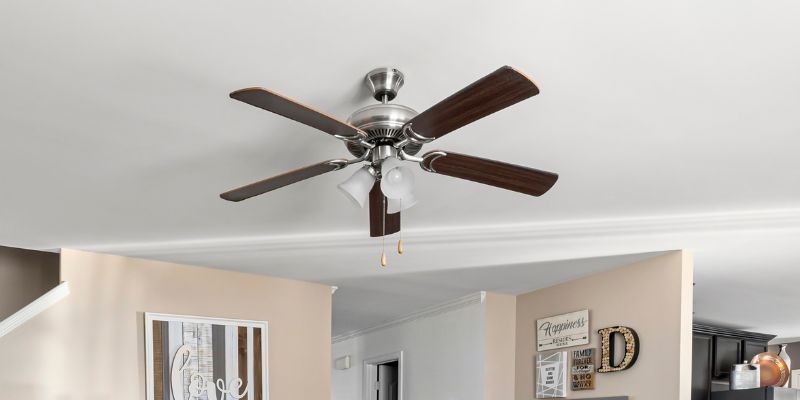
How to Mount a Ceiling Fan
Mounting a ceiling fan is a bit more involved than a wall fan because of the electrical work, but it’s totally doable. I’ve installed three ceiling fans in my home, and each one got easier. Here’s the step-by-step process:
Step 1: Install the Mounting Bracket
Your fan should come with a bracket that attaches to the ceiling. Use your stud finder to locate a joist or ensure your electrical box is fan-rated. Secure the bracket with the provided screws, making sure it’s level. I always give it a gentle tug to confirm it’s sturdy.
Step 2: Assemble the Fan
Some fans need partial assembly before mounting, like attaching blades or light kits. Follow the manual here. I like to do this on the floor to avoid juggling parts on a ladder. Just don’t attach the blades yet if the manual says to wait—it makes the fan easier to lift.
Step 3: Connect the Wiring
This part can feel intimidating, but it’s straightforward if you go slow. Pull the wires from the ceiling (usually black, white, and green or bare copper) through the bracket. Match them to the fan’s wires: black to black (hot), white to white (neutral), and green/copper to green/copper (ground). Twist each pair together and secure with wire nuts. I always wrap the connections with electrical tape for extra safety.
Step 4: Hang the Fan
Most ceiling fans have a hook or slot that lets you hang the motor temporarily while you connect the wires. Once the wiring is done, lift the fan and secure it to the bracket with screws. This is where a helper comes in handy—my spouse held the fan while I tightened the screws, and it made things so much easier.
Step 5: Attach the Blades and Light Kit
Now you can attach the fan blades and any light kit. Use a level to make sure everything’s balanced. Unbalanced blades can cause wobbling, which is super annoying. Turn the power back on and test the fan. If it wobbles, you may need to use the balancing kit (usually included).
Step 6: Enjoy Your Fan!
Give your new fan a spin and bask in the breeze. It’s a proud moment when it works perfectly!
“I’ve installed three ceiling fans in my own home, and each one got easier — the part that trips up most first-timers isn’t the wiring, it’s skipping the fan-rated electrical box check before hanging the fan.”
How to Mount a Wall Fan
Wall-mounted fans are simpler since they don’t usually involve wiring: find a stud (or use heavy-duty anchors on drywall), screw the included bracket in level, clip or slide the fan onto it, and plug it in. I installed one in my home office this way in under an hour. For the complete step-by-step — including bracket types, oscillation clearance, and cord management — see our full guide: How to Mount a Wall Fan.
How to Mount a Desk, Floor, or PC Fan (No Stand Needed)
Not every fan comes with a ceiling bracket or a wall-fan housing. Small desk fans, box/floor fans, personal table fans, and PC or server-rack cooling fans all get mounted differently — and searches for these show up almost as often as ceiling and wall fan questions, so here’s how each one works.
- Desk or personal fan on a shelf or wall: Most small desk fans are light enough (under 2 lbs) for a wall bracket rated for that weight, or heavy-duty double-sided mounting tape on a smooth, clean surface. Use a bracket instead of tape near any edge where the fan could get bumped.
- Box or floor fan without its stand: A pipe support clamp or a fan wall-hook bracket anchored into a stud holds a standard box fan securely on a wall or in a window frame. Never rely on the fan’s own thin plastic housing to bear its full weight from a single screw point — use a bracket that cradles the frame.
- PC or server-rack fan: Case and rack fans mount with the four corner screw holes molded into the fan housing, matched to threaded standoffs or cage holes on the case or rack rail. Match the fan’s airflow arrow (usually printed on the frame) to the direction you want air moving before you drive the screws in.
- Hand or decorative fan on a wall: Small nail hooks or adhesive wall hangers rated for a pound or two are enough — these are display pieces, not airflow fans, so weight is the only real consideration.
Whichever method you use, match the hardware’s weight rating to the fan’s actual weight, not just its size — a metal-housing box fan can weigh two to three times what a similarly sized plastic desk fan does.
Safety Tips for Fan Installation
Safety is non-negotiable when mounting a fan. Here are some tips I always keep in mind:
- Work with Dry Hands: Moisture and electricity don’t mix.
- Use the Right Hardware: Don’t skimp on screws or anchors—use the ones provided or rated for your fan’s weight.
- Check for Wobble: A wobbly fan can loosen over time and become a hazard.
- Don’t Overreach: Keep your ladder centered and don’t stretch too far.
- Consult a Pro if Unsure: If the wiring looks old or you’re not confident, call an electrician. I did this for my first ceiling fan, and it gave me peace of mind.
Maintaining Your Fan for Long-Lasting Use
Once your fan is up, a little TLC keeps it running smoothly. Here’s how I maintain my fans:
- Clean Regularly: Dust blades every month or two with a damp cloth. Dusty blades reduce airflow and look gross.
- Tighten Screws: Check screws and brackets every six months to prevent wobbling.
- Lubricate if Needed: Some fans have motors that need occasional oiling—check your manual.
- Balance Blades: If your fan starts wobbling, use a balancing kit to fix it.
Conclusion
Mounting a fan might seem like a big project, but with the right tools, preparation, and a bit of patience, it’s a DIY task you can tackle. I still get a kick out of walking into a room and feeling that refreshing breeze from a fan I installed myself. It’s not just about staying cool—it’s about creating a space that feels good to live in. Whether you’ve chosen a stylish ceiling fan, a practical wall-mounted one, or you’re getting a desk or floor fan up off the ground, you’ve made a smart move for your home’s comfort and energy efficiency.
Take your time to enjoy the process, and don’t rush the safety steps. If you’re ever in doubt, there’s no harm in calling a pro for help. For more on lighting and airflow projects, browse our lighting and ceiling fan guides.
Frequently Asked Questions
Can I Mount a Ceiling Fan Where a Light Fixture Is?
Yes, you can. But you need to make sure the electrical box is fan-rated. Standard light boxes aren’t rated to support a fan’s weight or vibration. If it’s not rated, replace it with a fan-rated box before you start. I had to do this in my bedroom, and it was worth the extra effort for safety.
Do I Need an Electrician to Mount a Fan?
Not always. If you’re comfortable with basic electrical work and your home’s wiring is up to code, you can mount a ceiling fan yourself. For wall, desk, or floor fans, it’s even easier since there’s usually no wiring involved. But if you’re unsure about the electrical setup or don’t have the right tools, an electrician is a smart call. I hired one for my first installation, and it helped me learn the ropes.
How Do I Stop My Fan from Wobbling?
Wobbling is usually caused by unbalanced blades. Most fans come with a balancing kit that includes weights you can attach to the blades. Follow the kit’s instructions to find the problem blade and add weight until it stops wobbling. Also check that all screws are tight. My dining room fan wobbled at first, but the balancing kit fixed it in minutes.
Can I Mount a Fan on a Sloped Ceiling?
Absolutely. Many ceiling fans come with an adapter for sloped ceilings. Check the product specs before buying to make sure it’s compatible. You’ll need to secure it to a ceiling joist or fan-rated box.
Can I Mount a Box or Floor Fan Without Its Stand?
Yes. A wall-hook bracket or a pipe clamp anchored to a stud will hold a box or floor fan on a wall or in a window frame. Don’t hang it from a single screw through the plastic housing — use a bracket that cradles the fan’s frame so the weight is spread out.
How Often Should I Clean My Fan?
Dust fans every month or two with a damp cloth to keep them efficient and dust-free. If you notice dust buildup, it’s time to clean. For ceiling fans, use a ladder or a long pole to stay safe. Regular cleaning keeps the air in your room fresher, too.
Sponsored / affiliate links. As an Amazon Associate I earn from qualifying purchases. I may earn additional commission from eligible campaigns.