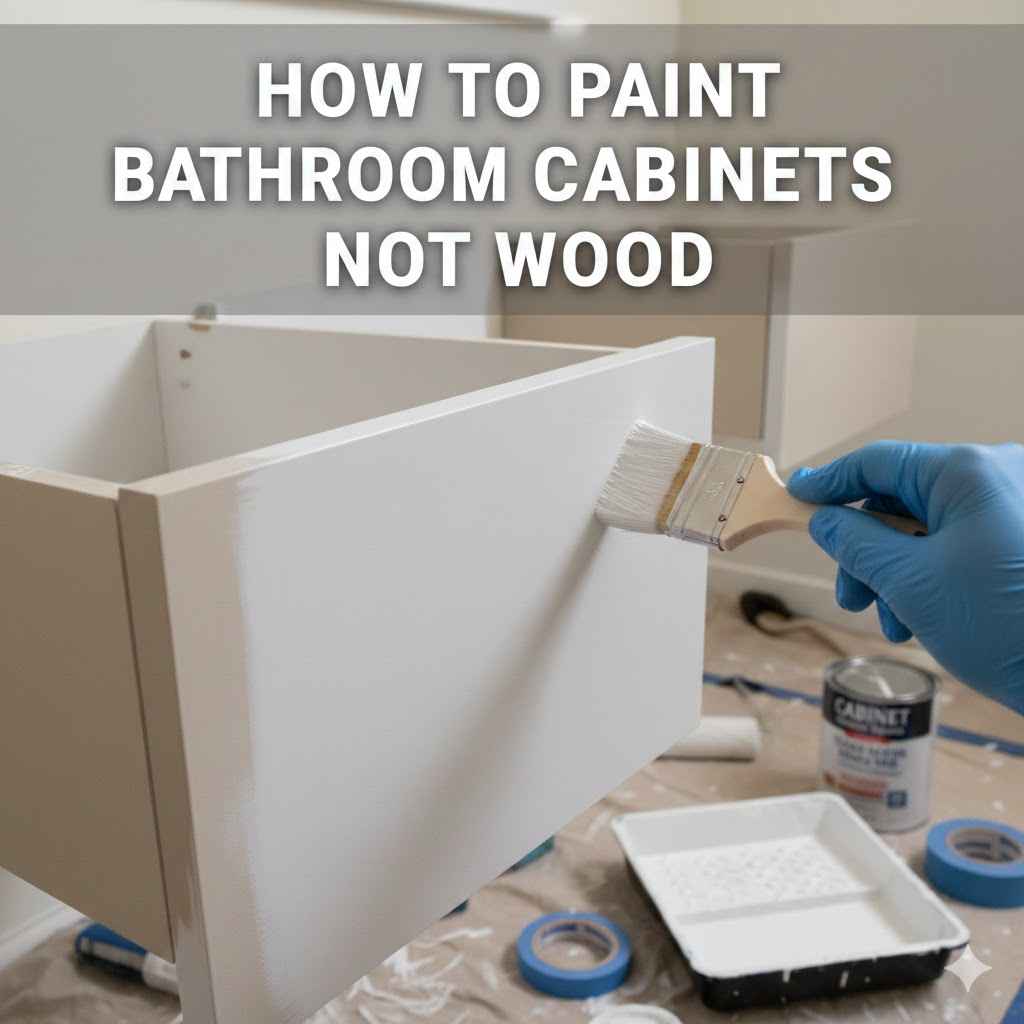
How to Paint Bathroom Cabinets Not Wood
Painting bathroom cabinets that are not made of wood can seem tricky at first. Many people worry about getting the paint to stick or making it look smooth. This guide makes it super easy.
We’ll show you exactly how to do it step by step so you get great results. Get ready to transform your bathroom with a fresh new look.
Painting Non-Wood Bathroom Cabinets A Simple Guide
Bathroom cabinets come in many materials besides wood. You might have cabinets made of laminate particle board or MDF (medium-density fiberboard). These materials can be a bit different to paint than solid wood.
The good news is that with the right steps, you can get a beautiful and lasting finish on them. This guide will walk you through the whole process, making it simple and clear for anyone to follow.
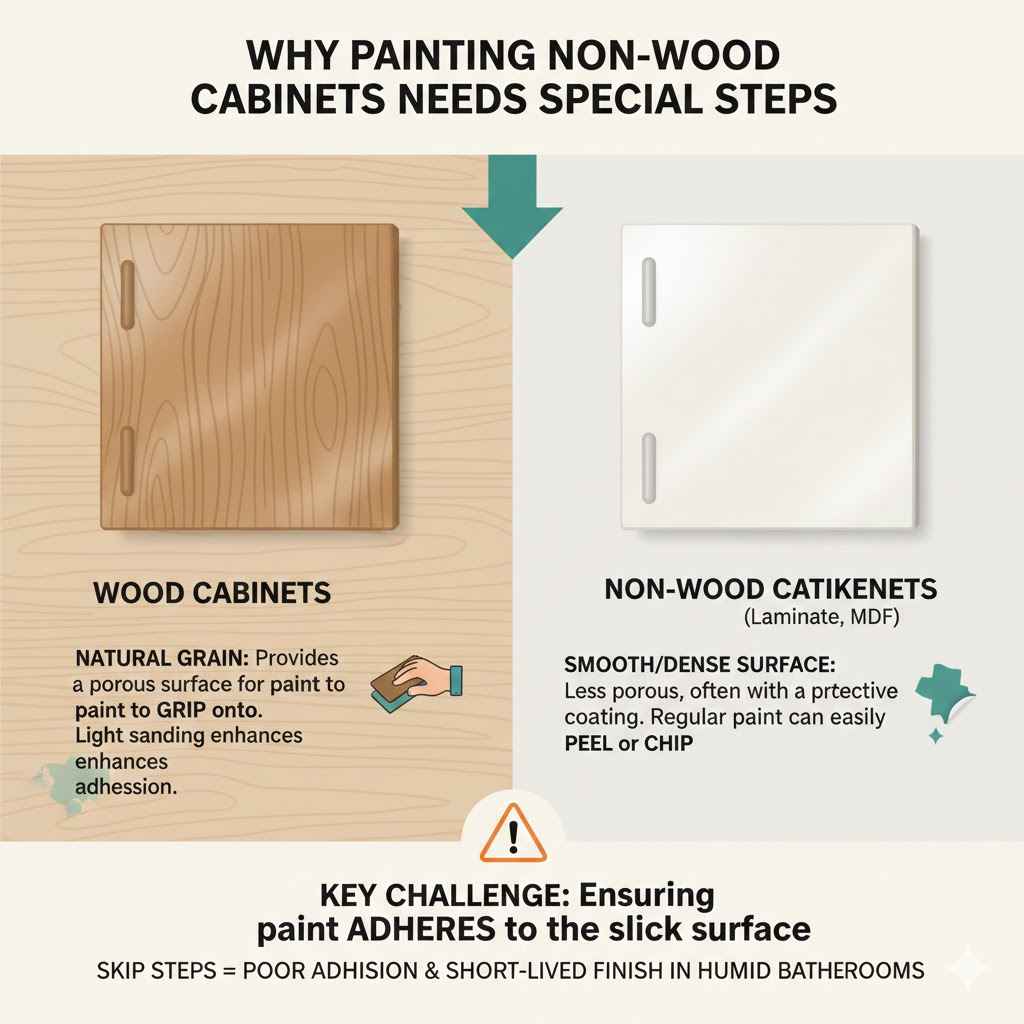
Why Painting Non-Wood Cabinets Needs Special Steps
Wood cabinets have a natural grain that paint can adhere to well, especially after light sanding. Non-wood materials like laminate and MDF have smoother surfaces. They might also have a plastic-like coating or be very dense.
This means regular paint might peel or chip off easily if you don’t prepare the surface properly. You need to ensure the paint has something to grip onto. Skipping steps here often leads to a finish that doesn’t last very long in a humid bathroom environment.
Materials You Will Need
Gathering the right supplies is key to a successful project. Having everything ready before you start makes the painting process much smoother. You won’t have to stop and go to the store halfway through.
- Degreaser or TSP substitute (Trisodium Phosphate)
- Sanding sponges or fine-grit sandpaper (150-220 grit)
- Painter’s tape
- Drop cloths or old sheets
- Primer (specifically for laminate or slick surfaces)
- Paint (water-based acrylic or enamel paint is best)
- Paint rollers (foam rollers for smooth finish)
- Paintbrushes (for cutting in and details)
- Clear topcoat or sealer (optional but recommended for durability)
- Screwdriver (to remove hardware)
- Clean cloths or rags
- Bucket
Step 1 Preparing Your Cabinets For Painting
Good preparation is the most important part of this project. This is where many people run into trouble. Taking your time here will ensure your paint job looks amazing and lasts for years.
Do not skip these steps!
First, remove the cabinet doors and drawers from their frames. This makes it easier to paint them flat. It also ensures you get paint into all the nooks and crannies without awkward angles.
Next, remove all hardware like knobs and handles. Store them safely so you don’t lose them. Use a screwdriver and place them in a small bag.
Clean everything thoroughly. Bathrooms can get greasy and dusty. Use a degreaser or a TSP substitute.
Wipe down all surfaces, inside and out if you plan to paint the inside. A clean surface is essential for paint adhesion. Rinse thoroughly with clean water and let everything dry completely.
Any leftover dirt or grease will prevent the paint from sticking.
Step 2 Sanding the Surface For Better Adhesion
Sanding is crucial for non-wood cabinets. It creates a surface that primer and paint can grip. You don’t need to sand down to bare material.
You just need to rough up the existing finish a little.
Use a sanding sponge or fine-grit sandpaper (around 150-220 grit). Lightly sand all the surfaces you plan to paint. You’re not trying to remove the old finish, just scuff it up.
You should see a dull appearance on the surface, not a shiny one.
After sanding, wipe away all the dust with a clean, damp cloth. You want to make sure there’s no dust left behind. Dust will make your paint job look bumpy.
Step 3 Applying a High-Quality Primer
Primer is your best friend when painting non-wood surfaces. It acts as a bridge between the cabinet material and your topcoat of paint. It helps the paint stick better and gives you a more even color.
Choose a primer specifically designed for slick surfaces, laminate, or cabinets. Some primers are oil-based, while others are water-based. For most modern laminate or synthetic cabinets, a good water-based bonding primer is usually excellent.
Apply a thin, even coat of primer. Use a roller for large flat areas and a brush for edges and corners. Make sure to cover the entire surface.
Let the first coat dry completely according to the manufacturer’s instructions. This usually takes a few hours.
Most of the time, one coat of primer is enough. However, if you notice any spots where the primer looks thin or the original surface is still very visible, apply a second thin coat. Let it dry completely.
Lightly sand the primer once it’s dry if there are any rough spots. Wipe away the dust again.
Step 4 Painting Your Cabinets
Now for the fun part! You’ve done all the hard work. It’s time to apply the paint.
For bathroom cabinets, you want a paint that can stand up to moisture and use.
Use a good quality water-based acrylic or enamel paint. These paints are durable and clean up easily. They are also available in many beautiful finishes like satin, semi-gloss, or gloss, which are great for bathrooms as they are easier to wipe down.
Apply your first coat of paint. Use a small foam roller for the best, smoothest finish on flat surfaces. For edges and detailed areas, use a good quality angled paintbrush.
Apply the paint in thin, even coats. Avoid overloading your roller or brush, as this can lead to drips and an uneven finish.
Let the first coat dry completely. This is very important. Trying to paint over wet paint will just create a mess.
Drying times can vary depending on the paint and humidity, so check the paint can for guidance. Usually, it’s a few hours.
Once the first coat is dry, you can apply a second coat. Again, use thin, even strokes. If you need a third coat for full coverage, let the second coat dry completely before applying it.
Step 5 Adding a Protective Topcoat (Optional but Recommended)
To add extra protection and durability, especially in a bathroom, consider applying a clear topcoat or sealer. This is like an extra layer of armor for your paint job.
A water-based polyurethane or acrylic sealer works well. Choose a finish that matches your paint (satin, semi-gloss, or gloss). Apply one or two thin coats, letting each dry completely between applications.
This step helps prevent scratches and makes cleaning even easier.
Again, light sanding between coats of sealer can help create an even smoother finish, but it’s not always necessary. Just make sure the surfaces are clean and dry before applying.
Reassembling Your Cabinets
Once all the paint and any topcoat have dried thoroughly (give it at least 24-48 hours for full curing, though it’s usually touch-dry much sooner), it’s time to put everything back together.
Carefully reattach the cabinet doors and drawers. Screw the hardware back into place. Step back and admire your work!
Your cabinets will look brand new.
Tips for Success
Here are some extra tips to help you get the best results when you are painting bathroom cabinets that aren’t wood.
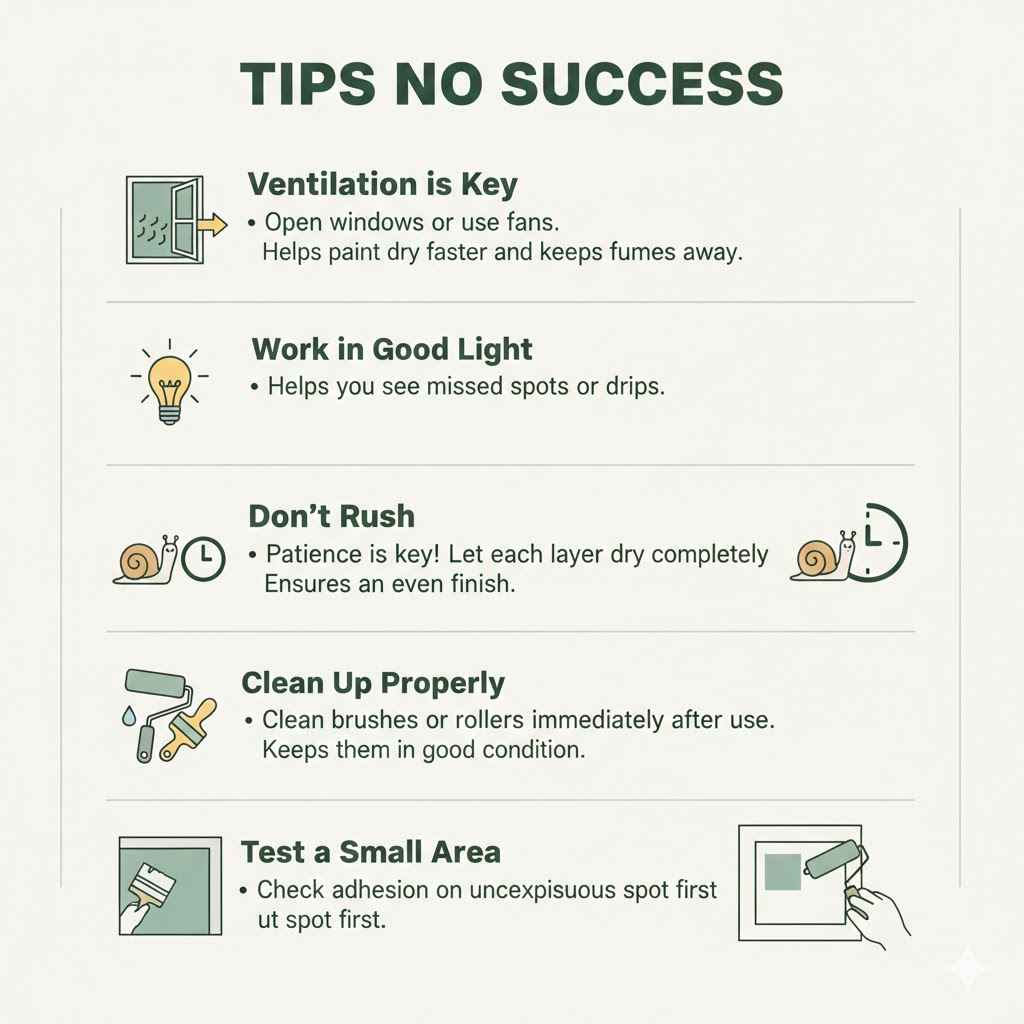
- Ventilation is Key: Always ensure your workspace is well-ventilated. Open windows or use fans. This helps the paint and primer dry faster and keeps fumes away.
- Work in Good Light: Good lighting helps you see missed spots or drips. This ensures you get an even finish.
- Don’t Rush: Patience is your best friend for this project. Let each layer dry completely before moving on.
- Clean Up Properly: Clean your brushes and rollers immediately after use. This keeps them in good condition for future projects.
- Test a Small Area: If you’re unsure about how a primer or paint will stick, test it on an inconspicuous area first.
Frequently Asked Questions
Question: Can I paint over laminate cabinets without sanding
Answer: While some specialized primers might claim you can skip sanding, it is highly recommended to at least lightly scuff the surface with fine-grit sandpaper. Sanding creates the necessary tooth for the primer and paint to adhere properly, ensuring a long-lasting finish. Skipping this step often leads to paint peeling.
Question: What type of paint is best for bathroom cabinets
Answer: For bathroom cabinets, a durable water-based acrylic or enamel paint is best. These paints hold up well to moisture and frequent cleaning. Satin, semi-gloss, or gloss finishes are ideal because they are easier to wipe down and resist moisture better than a matte finish.
Question: How long should I let primer dry before painting
Answer: Always check the specific instructions on your primer’s label. Generally, you should let primer dry for at least 2-4 hours before applying paint. Some primers may require longer drying times, especially in humid conditions.
Ensuring the primer is fully dry prevents issues with paint adhesion.
Question: Do I need to seal cabinets after painting
Answer: Sealing painted cabinets, especially in a bathroom, is highly recommended. A clear topcoat like polyurethane or acrylic sealer adds an extra layer of protection against moisture, scratches, and wear. This helps your paint job last longer and makes cleaning much easier.
Question: What if my cabinets are very slick or shiny
Answer: If your cabinets are very slick or have a high-gloss finish, proper preparation is even more critical. Ensure you sand them thoroughly to create a matte surface. Use a high-quality bonding primer designed for slick surfaces.
Patience with drying times between coats is also key for success.
Final Thoughts
Painting bathroom cabinets that aren’t wood is totally doable. You just need to follow a few key steps. Start with good cleaning, then a light sand.
Use a great primer made for tricky surfaces. Apply thin coats of durable paint. Adding a sealer makes it even better.
Your bathroom can look amazing with refreshed cabinets.