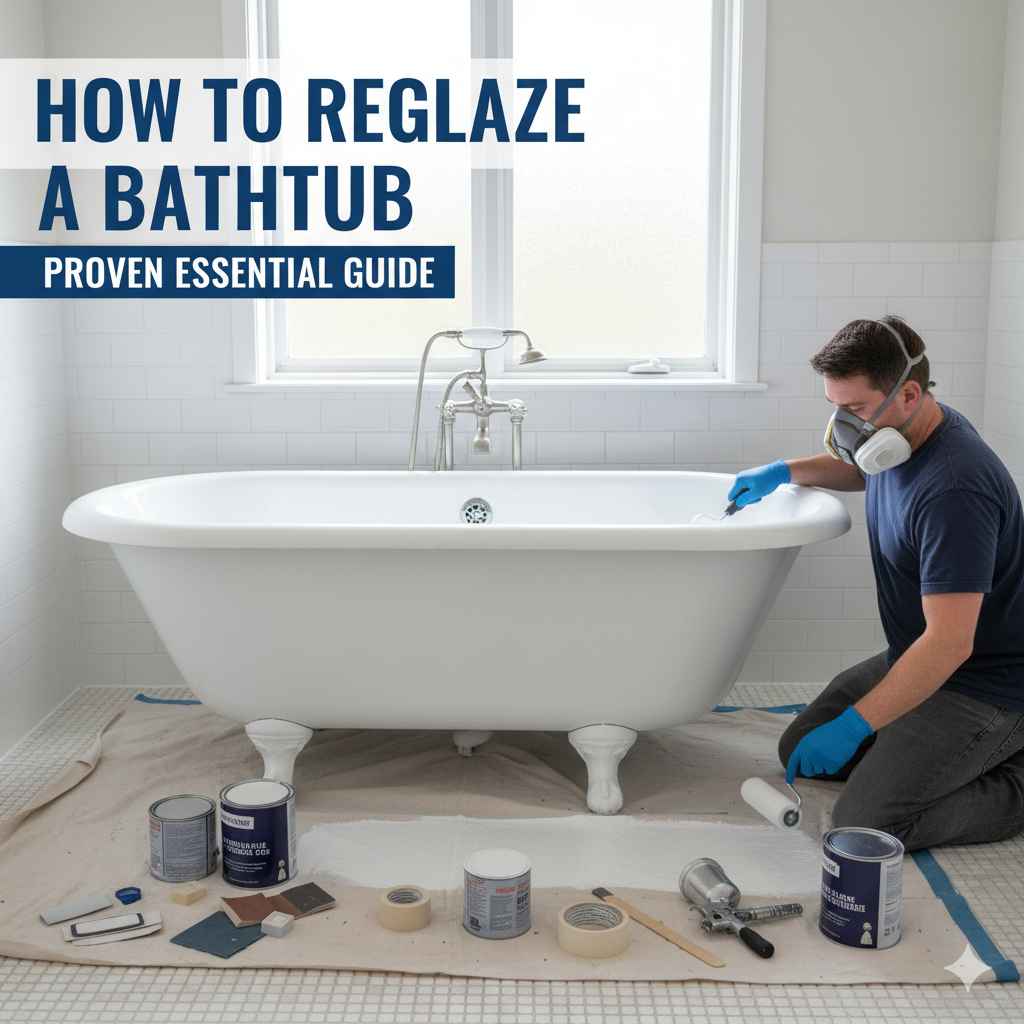
How To Reglaze A Bathtub: Proven Essential Guide
How to reglaze a bathtub successfully involves deep cleaning, thorough sanding, meticulous masking, and applying multiple thin coats of a specialized two-part epoxy kit. This DIY process restores the shine, covers stains, and gives your old tub a brand-new look safely.
Is your bathtub looking dull, chipped, or just plain old? Seeing that dingy surface can make you think a full, costly replacement is your only choice. Don’t worry! Reglazing your bathtub is a fantastic, budget-friendly DIY project that brings back that factory-fresh shine. It might sound intimidating, but with the right preparation and careful steps, you can achieve professional-looking results.
As someone who loves tackling home improvements, I can tell you that feeling of accomplishment when you restore something yourself is unbeatable. This guide breaks down exactly how to reglaze a bathtub, making every step simple, safe, and clear. Let’s roll up our sleeves and get that tub looking showroom new!
Why Should You Reglaze Your Bathtub Instead of Replacing It?
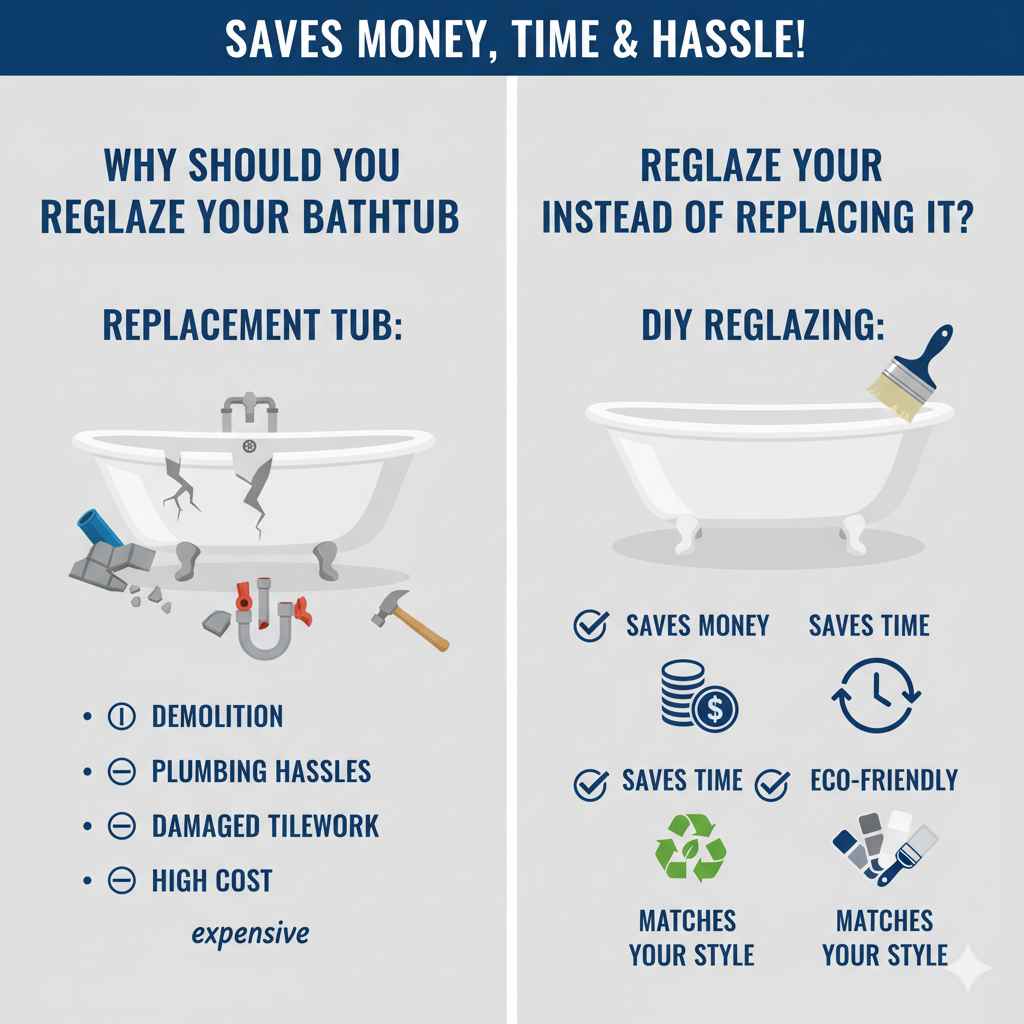
Before we grab the sandpaper, let’s talk about why reglazing is such a smart choice for homeowners. Replacement tubs mean demolition, dealing with plumbing, potentially damaging tilework, and spending a fortune. Reglazing offers a fast, effective alternative.
Here are the big wins for DIY bathtub reglazing:
- Saves Money: Reglazing costs a fraction of what a new tub and installation would run.
- Saves Time: The whole process usually takes a weekend, versus days or weeks for a replacement.
- Eco-Friendly: You keep the existing fixture out of the landfill.
- Matches Your Style: You can change the color if you want a modern look!
Understanding the Science: What Exactly is Bathtub Reglazing?
When we talk about “reglazing,” we aren’t actually applying glass enamel like the original factory finish. Modern DIY kits use a high-quality, two-part epoxy or polyurethane coating. Think of it like a super-durable, specialized paint that chemically bonds to the old surface (fiberglass, porcelain, or enamel).
This coating seals the surface, hides scratches, and provides a hard, waterproof shell. Getting the bond right is 90% of the job—that’s why preparation is key!
Gathering Your Tools and Materials: The Essential Checklist
A successful project starts with having everything ready before you open the chemical cans. Safety gear is non-negotiable when dealing with strong solvents and epoxy. Always check the specific instructions on your chosen reglazing kit, as requirements can vary slightly.
Safety First: Personal Protective Equipment (PPE)
Since we are working with strong chemicals, protecting your lungs, eyes, and skin is the most important step. Never skip this!
- Respirator: This must be a NIOSH-approved respirator with organic vapor cartridges. A simple dust mask is not enough.
- Goggles: Chemical splash goggles are essential—not just safety glasses.
- Gloves: Heavy-duty nitrile or chemical-resistant gloves (check your kit’s recommendations).
- Ventilation: Fans running and windows wide open. Consider running an exhaust fan pointed outside.
Tools and Supplies Needed for Reglazing
Here is the typical kit list you’ll need to conquer this project:
- Bathtub Reglazing Kit: Choose a reputable, two-part epoxy kit specifically designed for tubs (e.g., Rust-Oleum Tub & Tile, or specialized professional brands).
- Heavy-Duty Cleaner/Degreaser: Trisodium Phosphate (TSP) works wonders, or a strong commercial degreaser.
- Sandpaper/Abrasives: A sanding sponge or various grits (e.g., 120-grit for rough spots, 220-grit for general scuffing).
- Painter’s Tape and Plastic Sheeting: High-quality blue painter’s tape and thin plastic sheeting or plastic drop cloths to cover everything.
- Mixing Containers and Stir Sticks: For accurately mixing the two-part epoxy.
- Paint Sprayer (Recommended): A high-volume, low-pressure (HVLP) sprayer gives the smoothest finish. If spraying isn’t an option, most kits include foam rollers and brushes.
- Rags and Tack Cloths: For final cleanup.
Step 1: Deep Cleaning – The Foundation of Success
This is where most DIY failures happen. If the old surface has soap scum, body oils, or mineral deposits, the new epoxy simply will not stick. We need a surgically clean surface.
Removing Old Grout, Caulk, and Fixtures
First, remove everything that isn’t the tub itself. This includes showerheads, overflow drain covers, and the drain stopper assembly.
- Use a utility knife to carefully cut away all old caulk around the tub edges where it meets the wall or floor. Pull it off completely.
- Scrape off any loose or peeling existing finish using a putty knife.
The Chemical Clean and Rinse
We need to strip away every bit of soap residue. If you skip this, you might get peeling within months. TSP is excellent for this, but follow safety instructions carefully.
- Mix your TSP or strong degreaser according to the directions.
- Scrub the entire tub surface vigorously, paying extra attention to the bottom and where the water usually sits.
- Rinse the entire tub thoroughly with clean water. You may need to rinse two or three times.
- Let the tub air dry completely, or use a hairdryer on a low setting to ensure all moisture is gone, especially in corners.
Step 2: Surface Preparation – Creating the Perfect Grip
Epoxy needs a slightly rough surface, often called “tooth,” to grip onto. We achieve this by sanding. This step removes any dull residue you couldn’t clean off and creates micro-scratches for the coating to lock into.
Sanding the Surface
Put on your safety gear now! Sanding creates a lot of dust.
- Start with a slightly rougher grit, like 120 or 150-grit sandpaper or a sanding sponge, especially on shiny porcelain surfaces.
- Sand the entire surface evenly. You aren’t trying to strip the tub down to bare metal; you are just dulling the existing finish until it looks uniformly matte or scratched.
- If you have chips or major scratches, you can use 120-grit here, but smooth it out later with 220-grit.
- Sand all the way up the sides of the tub and the overflow plate area.
Final Dust Removal
Dust is the enemy of a smooth finish. If any dust particle gets trapped under the wet coating, it will create a bump or pimple in your final cure.
- Vacuum the tub thoroughly, using a hose attachment to get into all corners.
- Wipe the entire tub down with a tack cloth. A tack cloth is a sticky cloth designed to pick up fine dust particles that vacuuming misses. This is crucial!
Step 3: Masking and Ventilation – Protecting Your Home
Epoxy overspray travels surprisingly far, and it is extremely difficult to remove once cured. You must tape off everything you don’t want coated.
Taping Off Fixtures and Drains
Be precise here. Any spot you tape is a spot that will be clearly defined against the new coating.
- Use high-quality painter’s tape. Run the tape precisely along the grout lines where the tub meets the wall tile.
- Cover the overflow plate hole and the main drain opening completely, using several layers of tape if necessary.
- Cover the faucet, spout, and showerhead fixtures. If possible, unscrew the spout or showerhead completely and set them aside.
Protecting the Bathroom
This is where we shield the rest of the room from spray.
- Seal off the doorway to the bathroom using plastic sheeting secured tightly with tape at the top and sides. You need an air seal to keep fumes in the room being worked on.
- Lay down heavy plastic drop cloths on the floor outside the immediate tub area.
- Place fans strategically—one fan blowing air out of an open window (ventilation exhaust) and another fan potentially blowing air into the room if needed for circulation, but always ensure you have a strong path for fumes to exit the building.
Pro Tip from Md Meraj: For the absolute best results, try to work in a room temperature between 65°F and 75°F (18°C and 24°C), and keep humidity low. Check your kit’s guidelines—extreme temperatures affect how the epoxy cures.
Step 4: Mixing and Applying the Epoxy Coating
This is the point of no return! Once you mix the two parts of the epoxy (Part A: Resin, and Part B: Hardener), you start a chemical reaction with a limited “pot life.” This means you have a set amount of time—usually 45 minutes to an hour—to apply everything before it becomes too thick to use.
Mixing the Coating
- Carefully read the directions for the specific volume ratios of your kit. Accuracy here is vital for the coating to cure hard.
- Pour the hardener into the resin container (or the specified mixing container).
- Stir thoroughly for the amount of time specified by the manufacturer (usually 2–3 minutes), making sure to scrape the sides and bottom. Do not over-mix, as this can introduce air bubbles.
Application Technique: Spraying vs. Rolling
While you can use rollers and brushes, spraying with an HVLP unit provides that incredibly smooth, factory-like finish that is almost impossible to achieve by hand.
If Using an HVLP Sprayer (Recommended):
- Thin the mixture slightly if the instructions recommend it, using the recommended thinner.
- Set your sprayer pressure according to the kit instructions.
- Start with a thin tack coat first. Spray a light, even coat over the entire surface, moving smoothly and consistently from one end to the other. Keep the spray distance consistent (usually 6–8 inches).
- Allow this first coat to flash off (it will look slightly duller, but not fully dry) as per the instructions (often 15–25 minutes).
- Apply the second coat, overlapping your previous pass by about 50%. This builds up the thickness needed for durability. Most jobs require two or three coats.
- Always check for drips or runs. If you see one starting, use a natural-bristle brush dipped in solvent (if allowed by the kit) or just gently feather it out immediately, but only if it’s a very minor run.
If Using Rollers and Brushes (The Budget Option):
- Use a high-quality, dense foam roller designed for smooth finishes.
- Apply a thin, even coat. Roll in long, smooth, overlapping strokes.
- Immediately use a high-quality, natural-bristle brush (like a China bristle brush) to “back-brush” over the rolled areas to knock down roller marks and blend the finish. Work quickly!
- Again, allow the first coat to flash off before applying the second thin coat. Thin coats are always better than one thick coat, which is prone to sagging and failure.
Step 5: Curing and Reassembly
The application is done, but the job isn’t finished until the coating has fully hardened. This is the hardest part: waiting!
Curing Time
The curing time is critical for the chemical bond to reach its maximum hardness. Rushing this step will lead to immediate damage.
- Initial Set: Usually 4–8 hours before you can carefully remove the tape and plastic.
- Light Use: Do not let water touch the tub for at least 48 to 72 hours. Check your specific kit instructions, as some high-end epoxies might need 5–7 days for full chemical resistance.
- Final Cure: Most manufacturers recommend waiting a full 7 days before using harsh chemical cleaners or very hot water inside the tub.
Removing Tape and Reassembly
Carefully remove the painter’s tape while the coating is set but before it is fully rock-hard. If you wait too long, the tape might pull up the new coating when removed.
- Gently peel the tape away, pulling it back against itself at a sharp angle.
- Clean up any overspray residue outside the tub immediately using the recommended solvent (usually mineral spirits or the kit’s cleaner).
- Reinstall the drain assembly, overflow plate, and any fixtures you removed. Don’t overtighten the new hardware against the fresh coating.
Troubleshooting Common Reglazing Issues
Even with careful planning, sometimes small issues crop up. Here’s how we fix them, mentor-style:
| Issue Encountered | Likely Cause | The Fix |
|---|---|---|
| Runs or Sags | Coating applied too thickly, or application was too slow. | If caught wet, smooth immediately with a brush. If cured, this requires careful sanding down the run and reapplying a thin coat over the area after cleaning. |
| Orange Peel/Rough Texture | Sprayer pressure was too high, or material was too thick/viscous. | Usually means the surface needs light sanding (220-grit) and a careful reapplication of a thinner coat. |
| Peeling or Flaking | Poor adhesion due to insufficient cleaning or sanding. | This is a major failure. You must strip the failing area down to the original surface, clean aggressively, re-sand, and re-coat that spot, feathering the edges. |
| Fuzzy Spots (Fish Eyes) | Contamination on the surface (like silicone residue or finger oils). | Sand the affected spot aggressively, clean the area with degreaser, tack it off, and reapply a very thin coat. |
Maintenance Tips for Your Newly Reglazed Tub
You did the hard work; now let’s keep it looking great for years to come. The longevity of your new finish depends heavily on how you treat it.
What To Do:
- Use soft cloths or sponges for cleaning.
- Use only mild, non-abrasive, pH-neutral bathroom cleaners. Products labeled “natural” or “eco-friendly” are often the safest bet.
- Rinse the tub thoroughly after every use to prevent soap buildup.
What Never To Do:
- Do not use abrasive pads (like green scrub pads).
- Avoid harsh chemicals like acetone, paint thinners, drain openers, or strong mildew removers.
- Do not stand sharp metal objects (like razor blades or metal cans) on the surface.
For more information on protecting durable finishes in the home, organizations like the National Association of Home Inspectors (NAHI) often provide guides on material lifespan and care after renovation projects.

Frequently Asked Questions (FAQ) for Bathtub Reglazing
Q1: How long does a reglazed bathtub last?
A properly reglazed bathtub can last 7–15 years with gentle use and correct cleaning.
Q2: Can I reglaze a bathtub myself, or should I hire a professional?
Yes, you can DIY reglaze if you follow instructions carefully, use proper safety gear, and prepare the surface thoroughly. Professionals are best for badly damaged tubs.
Q3: How long before I can use the tub after reglazing?
Most tubs need 48–72 hours before light use, and up to 7 days for full curing.
Q4: Is bathtub reglazing safe?
Yes, when done with proper ventilation and protective equipment. The chemicals are strong but safe when handled correctly.
Q5: Can I reglaze over chips or cracks?
Small chips and scratches can be repaired before reglazing. Large cracks or structural damage should be fixed or replaced first.
Q6: Will reglazing change the feel of my bathtub?
Yes—in a good way. The surface becomes smooth, glossy, and easy to clean, similar to a new tub.
Conclusion
Reglazing a bathtub is one of the most rewarding and cost-effective DIY bathroom upgrades you can do. With careful cleaning, proper sanding, safe application, and patience during curing, you can restore an old, stained tub to a like-new finish without the expense of replacement. Treat the new surface gently, follow maintenance guidelines, and your reglazed bathtub will stay beautiful for many years—proof that smart preparation always leads to professional results.