How to Remove a Chandelier: A Step-by-Step Guide for Homeowners
I remember the first time I decided to take down a chandelier in my dining room. It was a beautiful, sparkling piece, but it felt outdated, and I wanted something more modern. Standing there, staring up at it, I felt a mix of excitement and nervousness. Could I really do this myself? Turns out, I could—and you can too! Removing a chandelier might seem daunting, but with the right tools, a bit of patience, and some clear steps, it’s a project most homeowners can tackle. In this guide, I’ll walk you through everything I’ve learned about how to remove a chandelier safely and efficiently, based on my own experience and a few lessons learned along the way. Whether you’re swapping it out for a new fixture or just doing some maintenance, this article will help you get it done.
Why You Might Need to Remove a Chandelier
Chandeliers are stunning, but there are plenty of reasons you might want to take one down. Maybe you’re updating your home’s style, like I was, or perhaps the chandelier needs cleaning or repair. Sometimes, you’re moving and want to take that gorgeous fixture with you. Other times, it’s about safety—old wiring or a damaged chandelier can be a hazard. Whatever your reason, removing a chandelier is a practical skill to have. It’s not just about getting it off the ceiling; it’s about doing it safely and without damaging your home or the fixture itself. Let’s dive into what you’ll need to make this happen.
Tools and Materials You’ll Need
Before you start, gather your tools. Trust me, having everything ready makes the process so much smoother. Here’s what I used when I removed my chandelier:
| Tool/Material | Purpose |
|---|---|
| Step ladder | To safely reach the chandelier. |
| Screwdriver (Phillips/Flathead) | To remove screws from the canopy or mounting bracket. |
| Voltage tester | To ensure the power is off and avoid shocks. |
| Pliers | For twisting wire nuts or handling stubborn connections. |
| Blanket or padding | To protect the chandelier when you set it down. |
| Helper (optional) | To hold the chandelier or assist with heavy fixtures. |
| Plastic bags and labels | To store screws and small parts for reinstallation. |
| Gloves (optional) | To protect your hands and avoid smudging delicate parts. |
I also recommend having a sturdy box or container to store the chandelier once it’s down. If it’s a pricey or delicate piece, you’ll want to keep it safe.
Preparing for Safety
Safety is the most important part of this job. I can’t stress this enough: electricity is no joke. When I took down my chandelier, I made sure to follow these steps to stay safe:
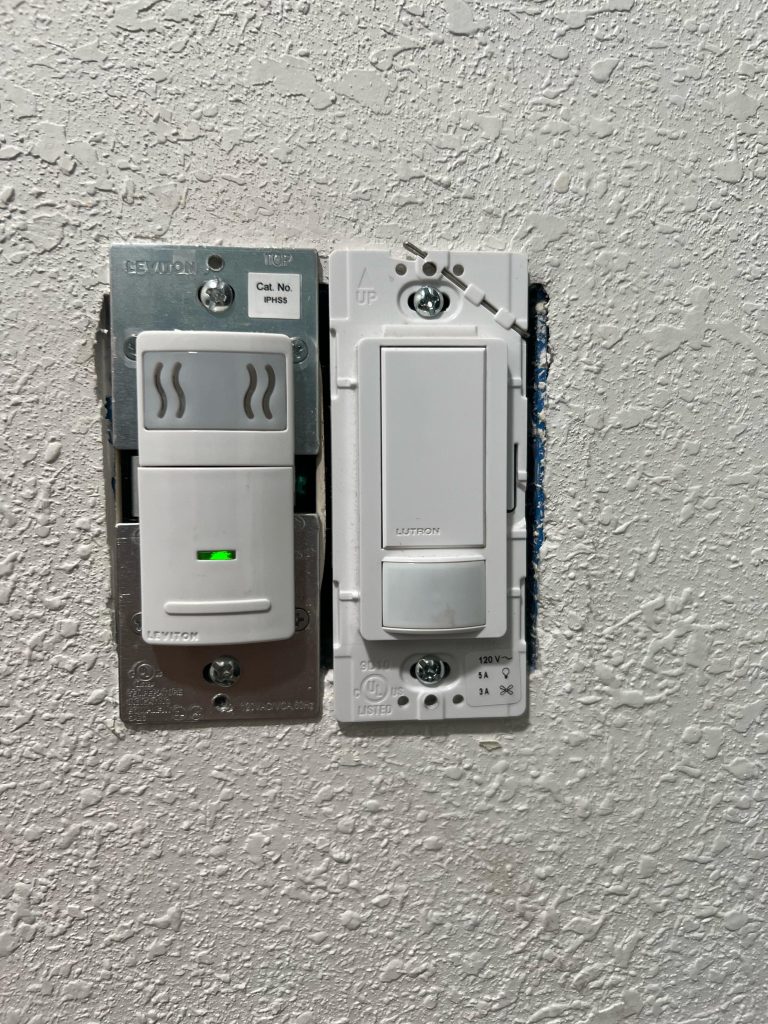
First, turn off the power at the circuit breaker. Don’t just flip the light switch—go to your breaker box and cut power to the room. Use a voltage tester to double-check that the wires are dead before touching anything. I learned this the hard way when I assumed a switch was enough and got a tiny shock—don’t make my mistake!
Next, set up your ladder on a flat surface. If your chandelier is heavy or you’re working in a high-ceilinged room, ask a friend to help. I tried doing it alone the first time, and let’s just say balancing a heavy fixture while on a ladder isn’t fun. Also, lay a blanket or padding on the floor below to catch any dropped parts or to rest the chandelier on later.
Step-by-Step Guide to Removing a Chandelier
Now, let’s get to the actual process. I’ll break it down into clear steps based on how I removed my chandelier. It’s straightforward if you take it one step at a time.
Step 1: Turn Off the Power
I already mentioned this, but it’s worth repeating. Go to your circuit breaker and turn off the power to the chandelier’s circuit. Test the wires with a voltage tester to confirm there’s no electricity. This step is non-negotiable.
Step 2: Remove Decorative Parts
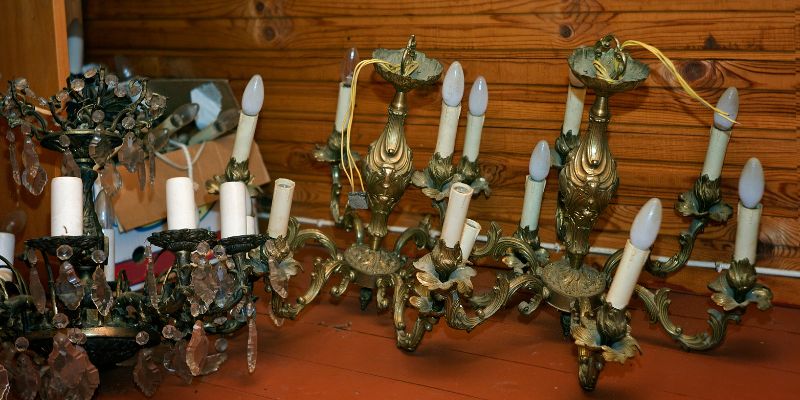
Many chandeliers have decorative elements like crystals, glass shades, or bulbs. Start by removing these to make the fixture lighter and easier to handle. I had a chandelier with dangling crystals, and I carefully took each one off, placing them in labeled plastic bags so I wouldn’t lose track of them. Unscrew the light bulbs too, and set them aside safely.
Step 3: Lower or Support the Chandelier
If your chandelier is large or heavy, it’s a good idea to support it before you start unscrewing anything. Some chandeliers have a chain or rod that you can temporarily secure to keep the weight off while you work. I used a piece of strong twine to tie my chandelier to a ceiling hook (carefully, of course) to keep it stable. If you have a helper, they can hold it while you work.
Step 4: Remove the Canopy
The canopy is the decorative plate that covers the electrical box in the ceiling. It’s usually held in place by screws. Use a screwdriver to remove these screws, and gently pull the canopy down to expose the wiring. My chandelier’s canopy was stuck with some old paint, so I had to carefully pry it loose with a flathead screwdriver. Be gentle to avoid damaging the ceiling.
Step 5: Disconnect the Wiring
This part can feel a bit scary, but it’s simple if you go slow. You’ll see wires connected with wire nuts (little plastic caps). Take note of how the wires are connected—taking a quick photo with your phone can be a lifesaver if you’re reinstalling later. Carefully unscrew the wire nuts to disconnect the chandelier’s wires from the ceiling wires. If the wires are tangled or stuck, use pliers to gently free them. I found that twisting slowly helped avoid damaging the wires.
Step 6: Remove the Chandelier
Once the wires are disconnected, the chandelier should be free from the ceiling. If it’s attached to a mounting bracket, unscrew it carefully. Lower the chandelier gently onto your blanket or padding. This is where a helper really comes in handy—my chandelier was heavier than I expected, and having an extra pair of hands made all the difference.
Step 7: Cap the Wires and Clean Up
After the chandelier is down, cap the exposed ceiling wires with wire nuts to keep them safe. You don’t want live wires dangling in your ceiling. If you’re not installing a new fixture right away, consider covering the electrical box with a blank cover plate for a clean look. I also took a moment to vacuum up any dust or debris that came loose during the process.
What to Do with the Chandelier After Removal
Once the chandelier is down, you have a few options. If you’re replacing it, store it carefully in a box with padding to prevent damage. I wrapped mine in bubble wrap and stored it in the garage until I decided to sell it. If you’re cleaning or repairing it, now’s the time to do that. For cleaning, I used a mix of warm water and a tiny bit of dish soap to gently wipe down the frame and crystals. If you’re moving it to another location, make sure to pack it securely to avoid breakage.
If you don’t want to keep it, consider donating or selling it. I listed mine online and was surprised at how quickly it sold—vintage chandeliers are popular! Just make sure to disclose any damage or missing parts.
Common Challenges and How to Handle Them
Removing a chandelier isn’t always smooth sailing. Here are some issues I ran into and how I dealt with them:
- Stuck Screws: Old screws can be rusted or painted over. I used a bit of penetrating oil and let it sit for a few minutes before trying again. A good screwdriver with a firm grip helps too.
- Heavy Fixtures: If your chandelier is super heavy, don’t try to do it alone. I learned this when my arms started shaking halfway through! Get a helper or use a support system like a chain or rope.
- Old Wiring: Older homes might have outdated or brittle wiring. If the wires look frayed or damaged, call an electrician. I didn’t have this issue, but I’ve heard it’s common in older houses.
- High Ceilings: If your chandelier is in a two-story foyer, you might need a taller ladder or scaffolding. I’d recommend hiring a professional if you’re not comfortable working at heights.
Tips for a Smooth Process
Looking back, a few things made my chandelier removal easier. First, take your time—rushing leads to mistakes. Second, keep everything organized. I used small plastic bags to store screws and labeled them so I wouldn’t lose track. Third, if you’re unsure about anything, don’t hesitate to consult an electrician, especially if your home has old wiring. Finally, clean as you go. Dust and debris can pile up, and it’s easier to deal with it right away than later.
Conclusion
Taking down a chandelier might seem like a big project, but it’s totally doable with the right approach. I felt so accomplished when I finished mine, and I’m confident you will too. By following these steps—turning off the power, gathering your tools, and working carefully—you can remove your chandelier safely and without stress. Whether you’re upgrading your space, cleaning, or moving, this guide has you covered. Now that I’ve done it, I can say it’s not as hard as it looks. So grab your ladder, take a deep breath, and get started—you’ve got this!
FAQs
How long does it take to remove a chandelier?
It depends on the chandelier’s size and complexity, but it took me about 30-45 minutes for a medium-sized one. If you’re working with a helper or a simpler fixture, it could be quicker. Heavy or intricate chandeliers might take longer, especially if you’re removing lots of crystals or dealing with stuck screws.
Can I remove a chandelier by myself?
Yes, you can, but it’s easier with help, especially if the chandelier is heavy. I did mine alone, but I struggled with the weight. If you’re confident and your chandelier isn’t too big, go for it—just make sure the power is off and you have a sturdy ladder.
What should I do if the chandelier is stuck to the ceiling?
If it’s stuck, check for hidden screws or paint sealing the canopy. I had to gently pry mine with a flathead screwdriver. If the mounting bracket is rusted or damaged, apply some penetrating oil and let it sit. If it’s still not budging, call a professional to avoid damaging your ceiling.
Do legitimacy need a voltage tester?
I’d say yes—it’s a lifesaver. A voltage tester confirms the power is off, which keeps you safe. I didn’t have one at first and regretted it when I got a small shock. They’re inexpensive and easy to use, so it’s worth getting one.
How do I clean my chandelier after removing it?
I cleaned mine with a mix of warm water and a drop of dish soap, using a soft cloth to wipe the frame and crystals. Be gentle with delicate parts, and dry everything thoroughly to avoid water spots. If it’s really dirty, you might need a specialized chandelier cleaner—check the manufacturer’s recommendations.