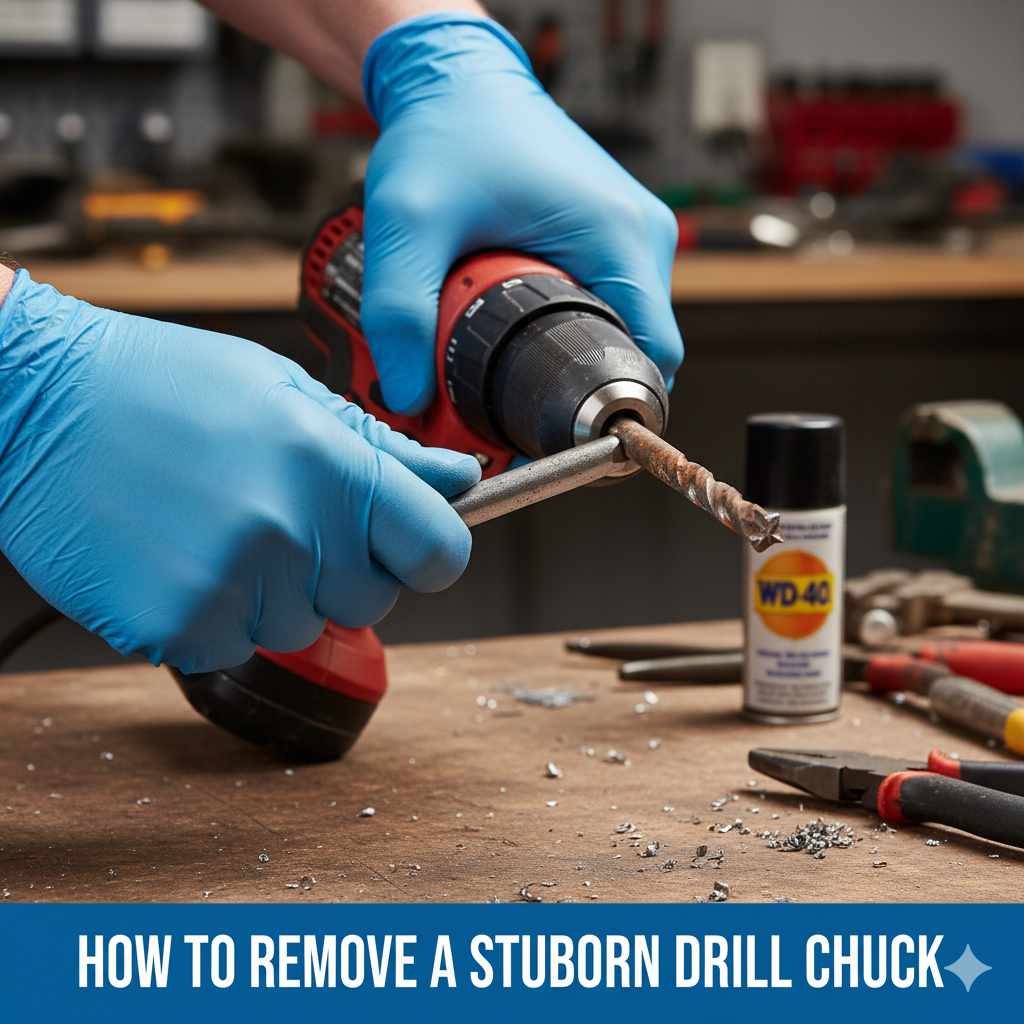
How to Remove Chuck: Essential Milwaukee Drill Fix
Quick Summary:
To remove the chuck from a Milwaukee cordless drill, you’ll typically need to loosen it by hand, then remove a retaining screw (often reverse-threaded) inside the chuck jaws. After the screw is out, you can unscrew the chuck from the drill’s spindle. This guide provides clear, step-by-step instructions for a smooth fix.
Hey there, DIY enthusiasts and home improvers! Md Meraj here, your go-to guide for making tool troubles a breeze. Ever found yourself wrestling with a stubborn drill chuck, wondering how to get it off your Milwaukee drill? It’s a common hiccup, especially when you need to swap out a worn-out chuck or install a specialty one. Don’t let it stop your project! This guide is crafted to walk you through removing your Milwaukee drill chuck with simple, straightforward steps. We’ll cover everything you need to know to tackle this task confidently, ensuring you can get back to drilling, building, and creating in no time. Let’s make this fix easy and stress-free!
Why Would You Need to Remove a Drill Chuck?
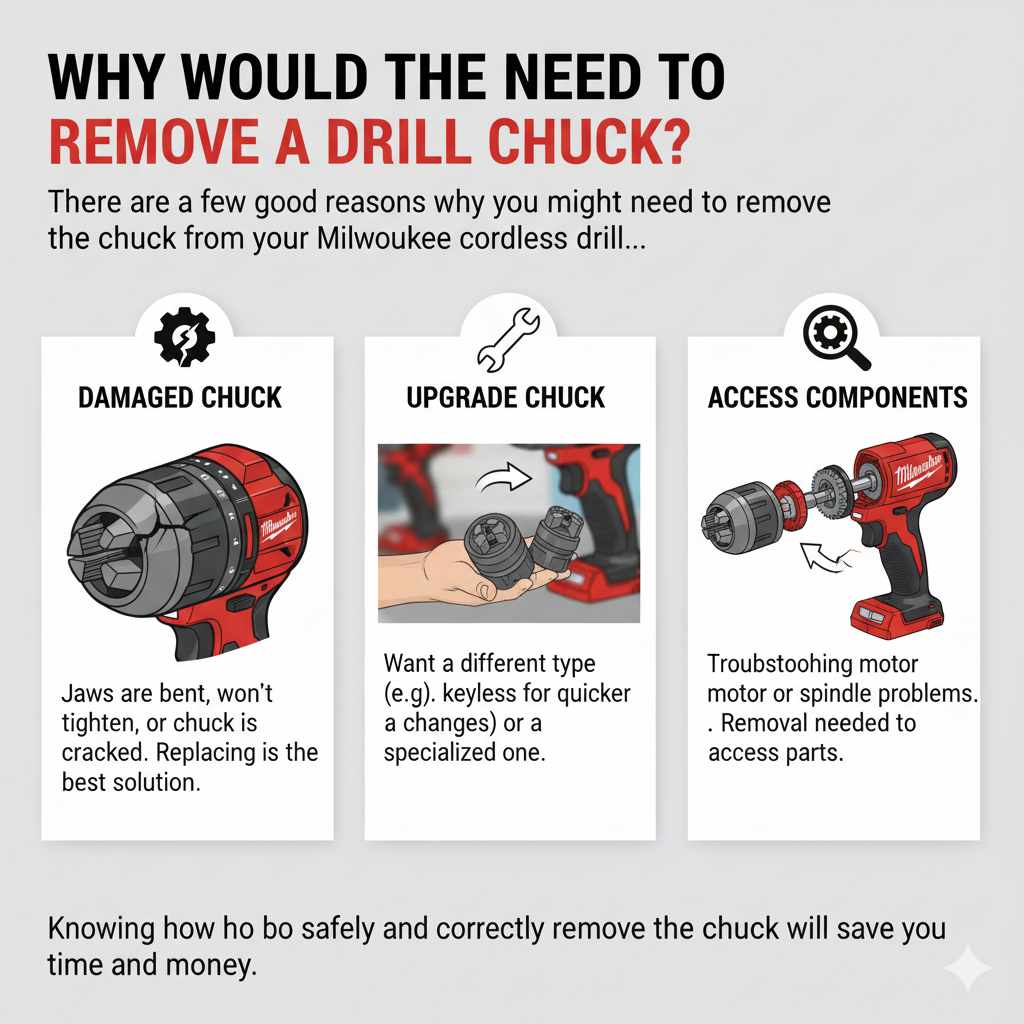
There are a few good reasons why you might need to remove the chuck from your Milwaukee cordless drill. Sometimes, a chuck can become damaged, either from a hard drop or just wear and tear over time. If the jaws are bent, won’t tighten properly, or the chuck itself is cracked, replacing it is the best solution. Other times, you might want to upgrade to a different type of chuck, like a keyless chuck for quicker bit changes or a specialized one for specific tasks. In some cases, you might be troubleshooting a problem with the drill’s motor or spindle and need to remove the chuck to access those components. Whatever your reason, knowing how to safely and correctly remove the chuck will save you time and money.
Understanding Your Milwaukee Drill Chuck
Before we dive into the removal process, it’s helpful to understand what you’re working with. Most modern Milwaukee cordless drills come equipped with a keyless chuck. This means you can tighten and loosen the drill bit by hand, without a separate chuck key. These chucks consist of three or more jaws that move in unison to grip the drill bit securely. At the heart of the chuck is the spindle, which is the metal shaft extending from the drill motor. The chuck threads onto this spindle.
There are two main types of keyless chucks you might encounter:
- Single-Sleeve Chucks: These have a single ring that you twist to tighten or loosen. They are very common and user-friendly.
- Two-Piece Chucks: These have a front sleeve and a rear collar. The front sleeve is what you twist to open and close the jaws, while the rear collar might rotate independently in some models.
Regardless of the specific design, the removal process shares common steps, primarily involving a retaining screw and unscrewing the chuck itself. This screw is crucial because it prevents the chuck from unscrewing itself during high-speed drilling operations.
Tools You’ll Need
Gathering the right tools beforehand makes the process much smoother. For removing a Milwaukee drill chuck, you won’t need a complex array of tools. Here’s what you should have ready:
- Pliers: A good pair of standard pliers or vise-grips can be helpful for gripping the chuck body if it’s tight.
- Screwdriver: You’ll likely need a Phillips head screwdriver. Some Milwaukee models might use a Torx screw, so having a set of Torx bits is a good idea too.
- Hammer: A rubber mallet or a regular hammer (used gently) might be needed in some cases.
- Allen Wrench/Hex Key: For some models, the retaining screw might be an Allen head screw.
- Rag or Cloth: To protect the drill’s finish and provide a better grip.
- Penetrating Oil (Optional but Recommended): If the chuck is old or has been exposed to moisture, penetrating oil can help loosen any seized threads.
- Workbench or Stable Surface: To work on your drill safely.
Step-by-Step Guide: How to Remove the Chuck from a Milwaukee Cordless Drill
Now, let’s get down to business. Follow these steps carefully, and you’ll have that chuck off in no time.
Step 1: Remove the Drill Bit and Ensure the Drill is Off
This might seem obvious, but always start by ensuring there’s no drill bit in the chuck. Open the chuck jaws as wide as they go by twisting the chuck sleeve counter-clockwise. If there’s a bit, pull it out. Next, make absolutely sure the drill is powered off. For cordless drills, this means removing the battery. For corded drills, unplug it from the power source. Safety first!
Step 2: Locate and Loosen the Retaining Screw
This is the most critical step. Inside the chuck, between the jaws, you’ll find a screw. This screw holds the chuck onto the drill’s spindle. It’s often hidden deep within the jaws. Open the jaws wide enough to get a clear view and access to this screw.
Important Note: For most drills, including many Milwaukee models, this retaining screw is reverse-threaded. This means you need to turn it clockwise to loosen it, and counter-clockwise to tighten it. This is a safety feature to prevent the screw from loosening during normal drilling. Always double-check the direction you need to turn before applying force.
Use your screwdriver (or appropriate bit) to engage the screw head. Apply firm, steady pressure. If the screw is tight, you might need to tap the end of the screwdriver handle gently with a hammer or rubber mallet to help break it loose. If you’re struggling, a small amount of penetrating oil applied around the screw head and left to soak for a few minutes can work wonders.
Here’s a quick look at common screw types:
| Screw Type | Tool Needed | Loosening Direction |
|---|---|---|
| Phillips Head | Phillips Screwdriver | Clockwise |
| Torx Head | Torx Bit Set | Clockwise |
| Allen/Hex Head | Allen Wrench Set | Clockwise |
Step 3: Loosen the Chuck Body
Once the retaining screw is out, the chuck is free from the spindle’s internal threading, but it’s still threaded onto the spindle shaft itself. To remove it, you’ll need to unscrew the chuck body from the spindle. This is usually done by twisting the chuck body counter-clockwise.
Tip for Stubborn Chucks: If the chuck is tight and won’t budge by hand, you can try a few methods:
- Using Pliers: Wrap a rag around the chuck body to protect its finish and prevent slipping. Grip the chuck firmly with pliers or vise-grips and try to twist it counter-clockwise.
- Using a Strap Wrench: A strap wrench can provide excellent grip without damaging the chuck.
- Leverage with a Wooden Dowel (for some models): If your chuck has a specific slot or a place to insert a tool for leverage, you might be able to use a wooden dowel or a sturdy rod.
- Hammer Method (Use with Caution): With the retaining screw removed, you can sometimes place the drill’s front end on a sturdy surface (like your workbench) with a block of wood under the chuck. Give the chuck body a sharp tap with a rubber mallet or a hammer and block of wood in the counter-clockwise direction. This can help break the initial seal. Be gentle to avoid damaging the drill’s internals.
Remember, the goal is to turn the chuck body counter-clockwise relative to the drill body.
Step 4: Remove the Chuck Completely
Continue unscrewing the chuck body counter-clockwise until it comes completely off the spindle. You should be left with the bare spindle extending from the drill body. Keep the retaining screw in a safe place, as you’ll need it if you reinstall the original chuck or install a new one.
If you are replacing the chuck, now is a good time to clean the spindle threads. A wire brush can help remove any debris or old thread locker. For optimal results when installing a new chuck, consider using a small amount of thread-locking compound designed for this purpose, but ensure it’s compatible with your drill and the new chuck. For instance, Loctite blue (medium strength) is often suitable. Always refer to the manufacturer’s recommendations for your specific drill model.
For more information on tool maintenance and best practices, the National Institute for Occupational Safety and Health (NIOSH) provides excellent resources on the safe use and maintenance of power tools.
Reinstalling the Chuck
Putting the chuck back on is essentially the reverse of removal. If you are installing a new chuck, ensure it’s compatible with your Milwaukee drill model. Many replacement chucks are readily available from Milwaukee or reputable tool supply stores.
- Thread the New Chuck: Carefully thread the new chuck onto the drill spindle by hand, turning it clockwise. Make sure it’s threading on smoothly and not cross-threading. Tighten it as much as you can by hand.
- Insert the Retaining Screw: Locate the retaining screw hole inside the chuck jaws. Insert the retaining screw. Remember, this screw is typically reverse-threaded, so you’ll tighten it by turning it counter-clockwise. Tighten it firmly, but don’t overtighten it to the point of stripping the threads.
- Tighten the Chuck: Once the retaining screw is in place and snug, you’ll need to fully tighten the chuck onto the spindle.
To properly seat the chuck, you can use the drill’s power (with the battery reinserted and the drill held firmly, perhaps in a vise with protective padding). Set the drill to its lowest speed and torque setting, and engage the trigger briefly. This will help seat the chuck securely against the spindle. You can also try tightening the chuck jaws firmly by hand after this power-assisted tightening. Some users prefer to use a chuck key if their new chuck came with one, or a strap wrench to get a final tight turn, ensuring the retaining screw is secure.
Troubleshooting Common Issues
Even with clear steps, you might run into a few snags. Here’s how to handle them:
The Retaining Screw Won’t Budge
Cause: Rust, corrosion, or overtightening from previous use.
Solution: Apply penetrating oil and let it soak for at least 15-30 minutes, or even overnight. Tap the screwdriver gently with a hammer. If it’s a Phillips head and stripping, try using a slightly larger Phillips bit or a Torx bit that can wedge into the damaged head for better grip. Sometimes, a screw extractor kit can be a lifesaver, but use it carefully.
The Chuck Won’t Unscrew
Cause: Gunk, thread locker, or it’s simply seized.
Solution: Ensure the retaining screw is completely removed. Use a rag to protect the chuck and grip it firmly with pliers or a strap wrench. Try the hammer-and-block method described earlier. Gentle heat from a heat gun (not a torch!) can sometimes help expand the metal slightly and break the bond, but be cautious not to overheat the drill’s motor or plastic components.
Stripped Retaining Screw Head
Cause: Using the wrong size screwdriver, applying too much force, or the screw was already damaged.
Solution: Try using a screw extractor kit designed for stripped screws. Alternatively, you can try to carefully cut a new slot into the screw head with a Dremel tool and a thin cutting disc, then use a flathead screwdriver. If all else fails, you may need to drill out the screw entirely, being extremely careful not to damage the spindle threads.
New Chuck Won’t Thread On Properly
Cause: Cross-threading or debris on the spindle threads.
Solution: Ensure the spindle threads are clean and free of debris. Try threading the chuck on by hand, slowly and with gentle pressure. If it doesn’t thread on easily, stop immediately. You might be cross-threading it, which can damage both the chuck and the spindle. Try backing it off and re-aligning. A small amount of lubricant or anti-seize compound on the threads can sometimes help.
Maintaining Your Drill Chuck
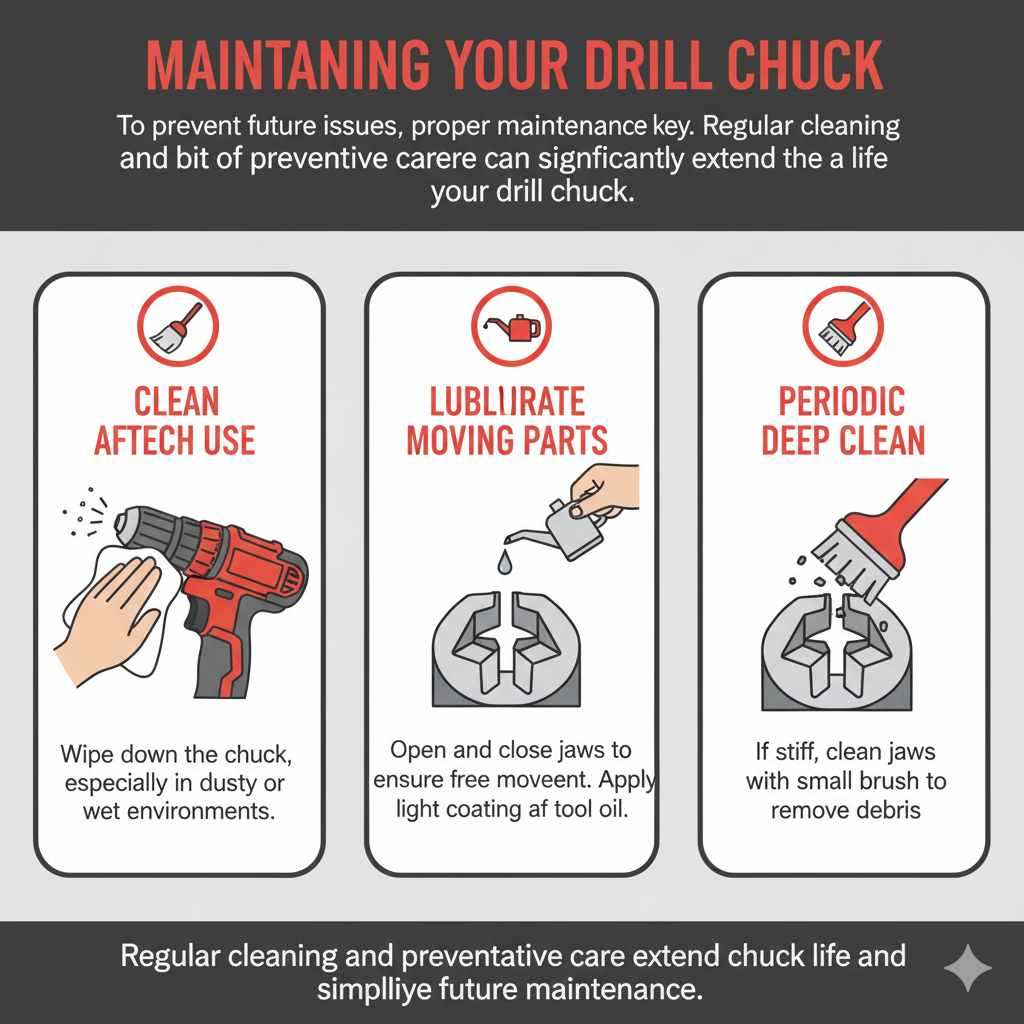
To prevent future issues, proper maintenance is key. After each use, especially in dusty or wet environments, wipe down the chuck. Periodically open and close the jaws to ensure they move freely. If you notice any stiffness or debris, clean the chuck jaws with a small brush. For longer-term storage, especially if you live in a humid climate, consider a light coating of tool oil on the metal parts of the chuck. Regular cleaning and a bit of preventative care can significantly extend the life of your drill chuck and make future maintenance much easier.
Frequently Asked Questions (FAQ)
Q1: Do all Milwaukee drills have a reverse-threaded retaining screw?
A: Most Milwaukee cordless drills, and indeed most power drills on the market, use a reverse-threaded screw for the chuck retainer. This is a standard safety feature. Always assume it is reverse-threaded unless you find specific documentation stating otherwise for your model.
Q2: Can I use my Milwaukee drill to remove the chuck?
A: Yes, you can use the drill’s power to help tighten a new chuck onto the spindle. However, you generally cannot use the drill’s power to loosen or remove the chuck itself, as the retaining screw needs to be removed first, and the chuck needs to be held steady while it’s unscrewed from the spindle.
Q3: What if I lose the retaining screw?
A: If you lose the retaining screw, you’ll need to find a replacement. Take the drill to a hardware store or a specialized tool repair shop with your drill to find a screw with the exact same thread size, length, and head type. It’s crucial to get the correct replacement to ensure the chuck is securely fastened.
Q4: How tight should I make the retaining screw?
A: The retaining screw should be snug and secure, but not so tight that you risk stripping the threads. It needs to prevent the chuck from unscrewing during use. For reinstallation, a firm tightening is usually sufficient. Over-tightening can damage the screw or the threads in the spindle.
Q5: Can I replace the chuck with a different brand on my Milwaukee drill?
A: Generally, yes, as long as the new chuck has the correct spindle thread size and type that matches your Milwaukee drill. Most drills use a standard 1/2-20 UNF thread size for the spindle, but it’s always best to verify the specifications for your specific Milwaukee drill model before purchasing a replacement chuck from another brand.
Q6: My chuck is completely seized. What else can I try?
A: If penetrating oil, firm grip, and gentle tapping haven’t worked, you might consider professional repair. For DIY, carefully applied heat (using a heat gun on a low setting) to the chuck body can sometimes help expand it slightly, but be very cautious not to damage the drill’s motor or internal plastic components. If the chuck is already damaged, you might even consider carefully drilling it off, but this is a last resort and carries a risk of damaging the spindle.
Conclusion
And there you have it! Removing and replacing the chuck on your Milwaukee cordless drill is a manageable task that you can absolutely handle yourself. By following these detailed steps, gathering the right tools, and taking your time, you can overcome this common DIY challenge with confidence. Remember the reverse-threaded retaining screw, use steady pressure, and don’t be afraid to use a little help from penetrating oil or a firm grip to get things moving. Keeping your tools in good working order ensures your projects go smoothly and safely. Now you’re equipped to tackle chuck replacements and keep your Milwaukee drill performing at its best. Happy building!