How to Repair a Tarp: Quick DIY Solutions
Repairing a tarp might seem tricky. But it’s simpler than you think.
With the right tools and steps, you can fix it quickly. A tarp is a versatile tool. It shields against rain, sun, and wind. Over time, it can wear out. Tears or holes might appear. But don’t throw it away.
Repairing a tarp saves money and helps the environment. This guide will show you how to patch up your tarp. Whether it’s for camping, covering equipment, or other uses, a well-repaired tarp serves you well. You’ll learn easy methods to restore its durability and function. Let’s dive into the steps to give your tarp a new life. Ready to start?
Assessing Tarp Damage
Inspect the tarp carefully. Look for any tears or holes. Hold the tarp up to the light. Small holes will be easier to spot. Tears are often jagged. They might have loose threads. Use your fingers to feel for weak spots. Mark the damaged areas with a pen or chalk. This will help you later.
Examine the tarp’s surface closely. Check for faded colors. This shows sun damage. Feel the texture. Rough spots might mean wear. Look for frayed edges. These can become bigger problems. Pay attention to seams. They can come undone over time. Check if the material is still strong. Weak fabric might need replacement.

Credit: canvasandcanopy.com
Gathering Repair Materials
Find scissors, needle, and thread. These are basic tools. You will also need patch fabric. This fabric should match the tarp. Glue is important too. Choose a strong one. Get a marker. It helps mark holes. Gather all tools before starting.
Tape should be durable. Waterproof tape is best. Look for strong adhesives. They hold better. Duct tape is common. It sticks well. Use vinyl patches for holes. These are strong. Adhesive patches work too. They are easy to apply. Make sure tape and patches match your tarp.
Cleaning The Tarp Surface
Begin by laying the tarp flat. Use a soft brush to remove loose dirt. A gentle scrub helps get rid of stubborn debris. Warm soapy water cleans the surface well. Rinse thoroughly with clean water. Make sure all soap is gone. Dry the tarp completely. Sunlight works best for drying. A clean tarp ensures better repairs later.
Inspect the tarp for holes or tears. Mark these areas clearly. For a strong bond, dryness is key. Use a cloth to wipe away any moisture. Sand the edges of the holes lightly. This helps glue stick better. Choose the right adhesive for tarp material. Follow instructions on the adhesive pack. Preparation makes repairs last longer.
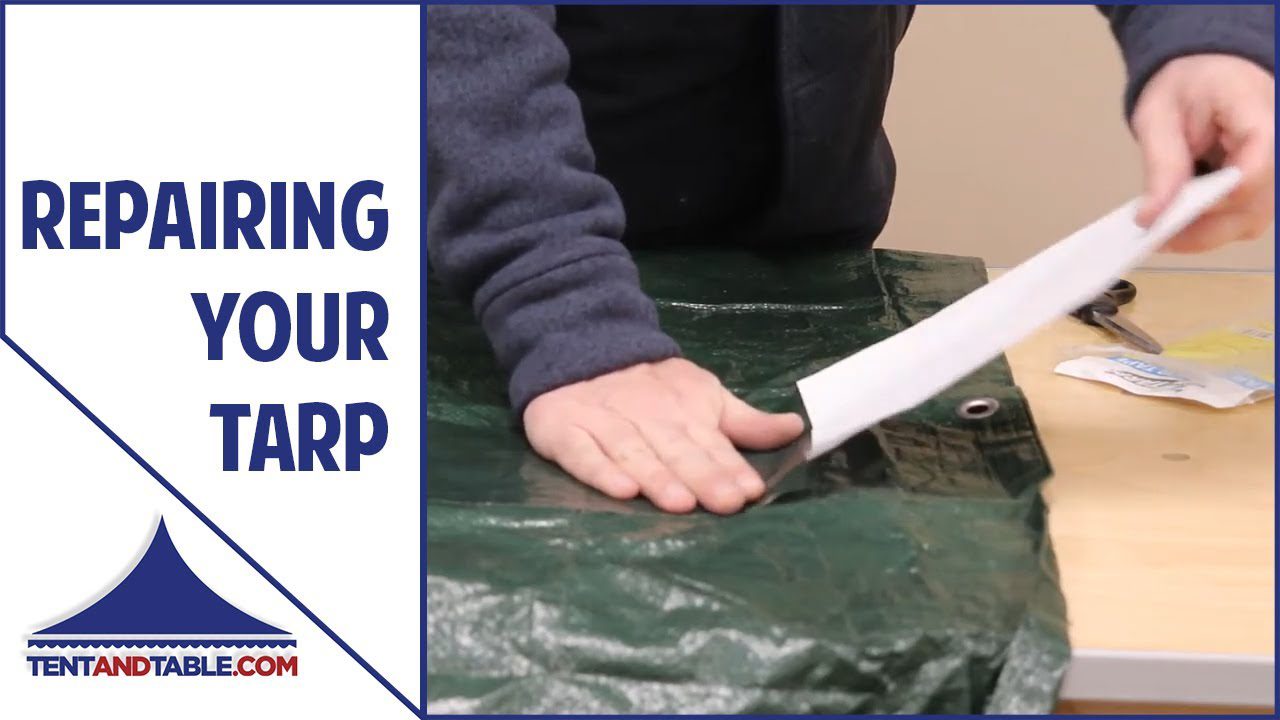
Credit: www.youtube.com
Patch And Tape Repairs
A hole in a tarp needs a patch. First, clean the area around the hole. Use soap and water. Next, dry the tarp completely. Cut a patch slightly bigger than the hole. Round the corners of the patch. This prevents peeling. Apply adhesive to the patch’s back. Press it firmly onto the hole. Let the patch dry for strong bonding.
Tears in tarps need strong tape. Pick a tape that is waterproof. Clean the tarp around the tear. Make sure it is dry. Cut a piece of tape longer than the tear. Place the tape over the tear. Press it down hard. Smooth out any air bubbles. This keeps the tape in place. Check it often to make sure it stays strong.
Sewing Techniques For Tarps
Hand sewing can be a great choice for small repairs. You will need a strong needle and thick thread. First, clean the tear and make sure it is dry. Use a running stitch or a backstitch for best results. These stitches are strong and will hold well. Make small, even stitches to ensure durability. This method works best for minor tears and holes. It is simple and doesn’t need special tools. Just patience and care.
Machine sewing is faster for bigger repairs. Use a heavy-duty sewing machine for tarps. Choose a strong, thick thread. Adjust the machine to a long stitch length. This helps the thread hold better. Sew slowly to avoid mistakes. Straight stitches are usually best for tarps. Double stitch for extra strength. Machine sewing is great for large tears. It makes repairs fast and strong.
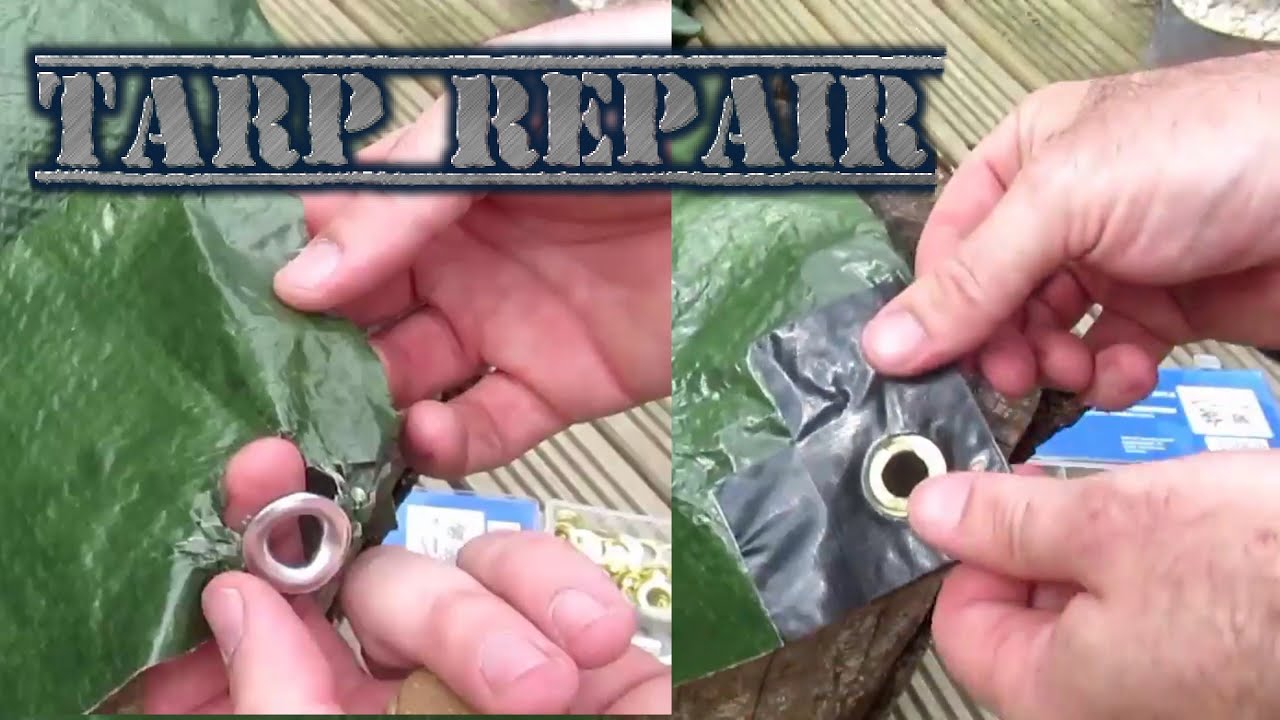
Credit: chicagocanvas.com
Waterproofing The Repairs
Use a waterproof adhesive to close holes or tears. It keeps your tarp dry. Apply the glue on the edges of the tear. Press them together. Let it dry completely before using. The glue makes the tarp strong. It stops water from leaking through. Choose an adhesive made for outdoor use. It’s important for lasting repairs.
Waterproof tape is easy to use. Cut a piece longer than the tear. Stick it firmly over the hole. Press it down to remove air bubbles. The tape seals well against water. Check edges are secure. Keep extra tape for future fixes. It is best for small rips. The tape is quick and works well. Make sure the tarp is clean before taping.
Maintaining Your Tarp
Keep your tarp clean to make it last longer. Dirt and grime can harm the material. Use soap and water for cleaning. Check for any holes or tears. Fix them early to prevent bigger damage. Inspect the seams too. They should be tight and secure. A clean tarp works better and looks nicer.
Store your tarp in a dry place. Moisture can cause mold and weaken it. Fold it neatly to avoid creases. This helps in keeping the shape. Use a bag for storage. It protects from dust and pests. Make sure the storage area is clean. A well-stored tarp will serve you longer.
Preventing Future Damage
Always use your tarp for its intended purpose. Avoid overloading it with heavy items. This can cause tears and holes. Secure it properly to prevent flapping in the wind. Flapping can weaken the material over time. Keep it away from sharp objects. Sharp edges can easily cut through. Clean it after each use. Dirt and debris can wear it down.
Store your tarp in a dry place. Moisture can lead to mold and mildew. Fold it neatly to avoid creases. Creases can develop into weak spots. Use a protective cover if possible. This adds an extra layer of protection. Check it regularly for signs of wear. Early detection can prevent bigger problems. Consider UV protection for tarps in the sun. Sunlight can cause fading and weakening.
Frequently Asked Questions
What’s The Best Way To Repair A Tarp?
Clean the damaged area, then apply tarp repair tape or adhesive patches. Ensure edges are secure and smooth. For larger tears, sew with heavy-duty thread and waterproof sealant. Regularly check and maintain the tarp to prevent further damage.
What Is The Best Glue For Tarp Repair?
The best glue for tarp repair is HH-66 Vinyl Cement. It offers strong, waterproof, and flexible bonding for tarps. Suitable for repairing vinyl, this adhesive dries quickly and works well in various weather conditions. Ensure the surface is clean before application for optimal results.
Does Gorilla Tape Work On Tarps?
Yes, Gorilla Tape works well on tarps. It’s strong, weather-resistant, and sticks firmly to rough surfaces, providing a durable repair. Ensure the tarp is clean and dry before applying the tape for optimal results.
Can You Patch A Tarp With Duct Tape?
Yes, you can patch a tarp with duct tape. Clean and dry the area before applying tape. Ensure the tape covers the tear completely. For best results, use outdoor-rated duct tape for durability.
Conclusion
Repairing a tarp is simple with the right steps. A damaged tarp can be fixed with basic tools. Start by cleaning the area around the tear. Use a patch kit or duct tape to cover holes. Ensure edges are secured tightly.
Check for other weak spots and fix them too. Regular maintenance keeps your tarp durable. Store it properly to avoid new damage. A well-repaired tarp lasts longer and saves money. Protect your tarp from sharp objects in the future. With care, your tarp remains strong and useful.