How to Install a Mailbox: USPS Height, Post Depth & Concrete
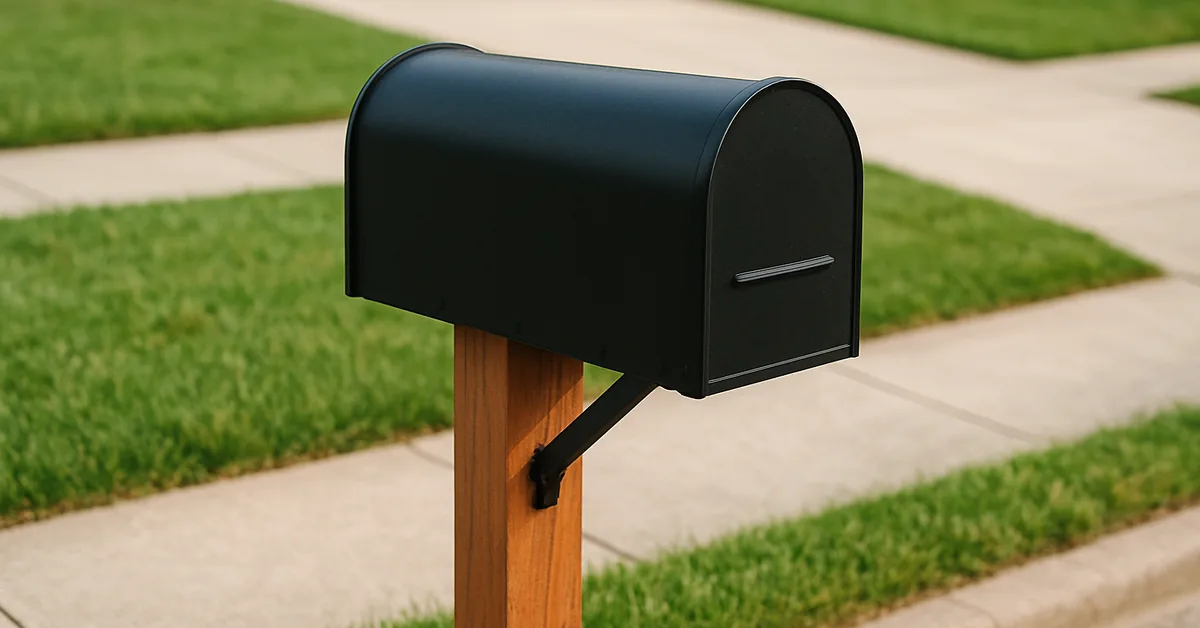
A new mailbox goes in fast: dig the post hole 18-24 inches deep and set it in concrete, then mount the box 41-45 inches above the road — except on frost-prone soil, where the hole must clear the local frost line (up to 42 inches up north). Skip either number and the post leans or your carrier stops delivery. This guide covers setting the post, the exact USPS height and curb setback, and the best post material.
Affiliate disclosure: this post contains Amazon affiliate links. As an Amazon Associate we earn from qualifying purchases, at no extra cost to you.
Tools and Materials You’ll Need
- Post-hole digger or shovel — for digging the hole
- 4×4 post (pressure-treated wood, steel, or composite) and a mailbox
- Quick-set concrete mix and a bucket for mixing
- Torpedo or post level — keeps the post plumb on all four sides
- Tape measure — for the 41-45 in. height and 6-8 in. setback
- Drill/driver and screws — to attach the mailbox to the post
- Gloves and safety glasses
Best Mailbox & Post Combo Pick
Extra Large Locking Mailbox & Post Combo – $269.99
Includes a matched post and base plate that covers both the concrete-set and anchor-mount methods described in the Installing the Post steps below — useful if your old post is rotted and needs replacing along with the box.
- Best for: replacing a rotted post and mailbox in one purchase
- Why we picked it: matched post + base plate supports either installation method this guide covers
- Main drawback: pricier than buying a post and mailbox separately
Compare more mailbox and post options
 Option 1 Mail Boss In-Ground Steel Mailbox Post – $70.04
|
 Option 2 Mail Boss Mail Manager Locking Mailbox – $107.58
|
 Option 3 Gibraltar 4×4 Anchor Post Kit – $35.42
|
As an Amazon Associate we earn from qualifying purchases.
Choosing The Right Mailbox
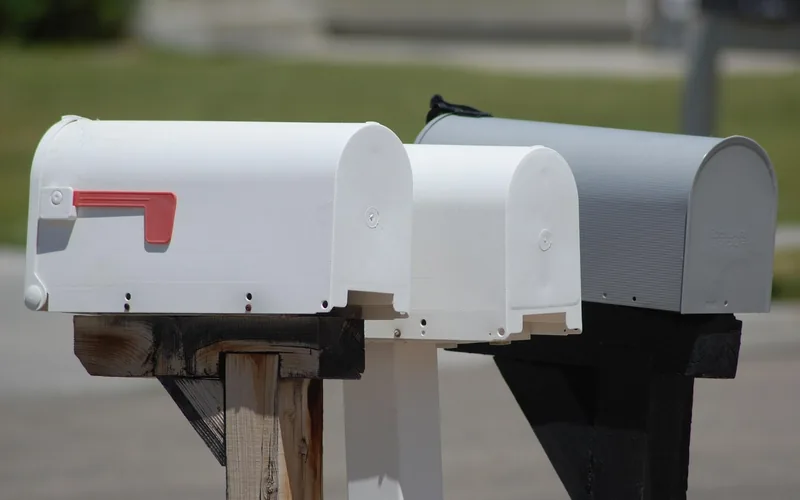
Mailboxes come in three basic styles. Freestanding, post-mounted mailboxes are the most common curbside option. Wall-mounted boxes suit homes with little yard space, attaching directly to the house. A locking mailbox adds a secure compartment for packages and mail if theft is a concern in your area.
Material matters as much as style. Galvanized or powder-coated steel resists rust and dents for decades. Plastic mailboxes are light and inexpensive but can fade or crack under UV exposure. Wood mailboxes look traditional but need periodic sealing to avoid rot — the same trade-off that applies to the post and hardware holding it up. If your household gets a lot of packages, size up: a medium or large box avoids parcels being left outside the door.
Selecting The Location: USPS Height and Setback Rules
Mailbox placement is a USPS is a set of federal delivery rules that fix how high and how far back a curbside mailbox must sit so carriers can reach it without leaving their vehicle. Miss the range and a carrier can legally skip delivery until it’s corrected.
The box must sit 41 to 45 inches above the road surface, measured to the bottom of the mailbox or the point of mail entry, and set back 6 to 8 inches from the curb or road edge. House numbers at least one inch tall must appear on the box or post, and the approach needs to stay clear of shrubs, parked cars, or anything that blocks the carrier’s reach.
📊 Mailboxes must sit 41-45 inches above the road and 6-8 inches back from the curb. — Source: USPS Mailbox Installation Guidelines
Preparing The Site
Check the ground where the mailbox will go. It should be flat and clear of rocks, roots, or buried lines — call 811 before digging if you’re unsure what runs underground. Mark the exact spot with a stake or flag once you’ve confirmed the height and setback above, then measure twice before the first shovel of dirt comes out.
Installing The Post
The frost line is the maximum depth at which ground moisture is expected to freeze each winter. Soil above that depth heaves as it freezes and thaws, and a post set shallower than the frost line can slowly tip out of plumb over a few winters. In much of the northern U.S. the frost line runs 36 to 42 inches down, well past the standard 24-inch hole — check your local depth before digging.
- Dig the hole: Go 18 to 24 inches deep and about 10 to 12 inches wide — roughly three times the post’s width. Go deeper if your area’s frost line runs lower than 24 inches.
- Add a gravel base: Pour about 2 inches of gravel into the bottom of the hole so water drains away from the post instead of pooling under it.
- Set and plumb the post: Stand the post in the hole and check all four sides with a level before anything else touches it.
- Pour the concrete: Mix and pour quick-set concrete around the post, mounding the top slightly above grade so water sheds away from the wood instead of collecting against it.
- Let it cure: Wait at least 24 hours — check the bag, some mixes need longer — before attaching the mailbox. Mounting it early can shift the post off plumb.
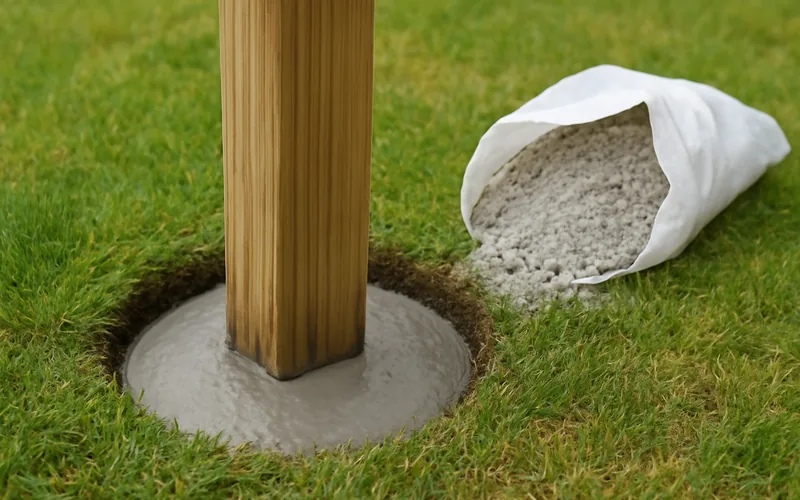
📊 Posts set less than 24 inches deep are vulnerable to frost heave and gradual tipping. — Source: Sakrete Pro Post-Setting Guide
What’s the Best Material for a Mailbox Post?
Wood is the cheapest and easiest to drill into, but it’s also the shortest-lived of the three common options. Steel and composite posts cost more up front but skip the recurring sealing and replacement that wood needs.
| Post Material | Typical Lifespan | Maintenance | Best For |
|---|---|---|---|
| Pressure-treated wood 4×4 | 7-15 years | Reseal every 2-3 years | Budget installs, easy DIY mounting |
| Galvanized/powder-coated steel | 20-30+ years | None — rust-resistant | Coastal or high-wind areas |
| Composite (recycled plastic blend) | 25+ years | None — never seal or paint | Low-maintenance, matches vinyl siding |
Mounting The Mailbox
Once the concrete has fully cured, hold the mailbox in place against the post and mark the screw locations. Drill pilot holes at your marks before driving the screws — this keeps the wood from splitting. Recheck the 41-45 inch height with a tape measure before final tightening, then use a level to confirm the box sits flat, not tilted forward or back.
Push gently on the mounted box to test for wobble. Movement usually means the screws need tightening or the post itself isn’t fully seated in cured concrete. Add extra bracing screws if the box still shifts — a loose mailbox works itself looser with every mail delivery and gust of wind.
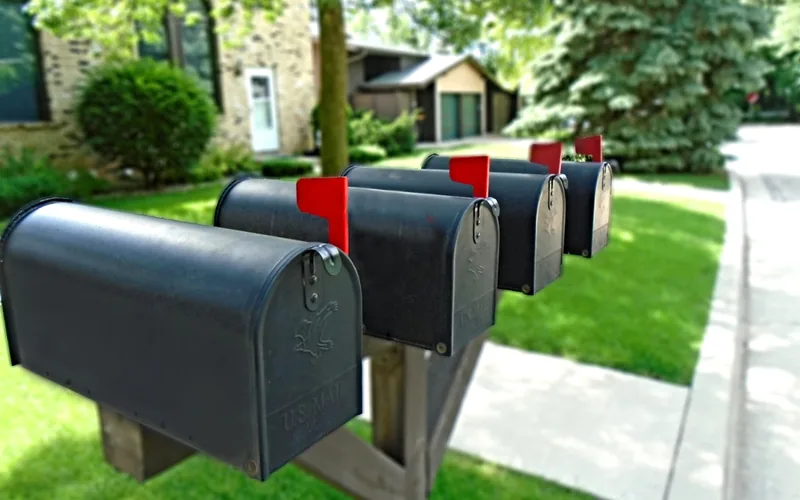
Finishing Touches
A coat of exterior paint protects the mailbox from rain and UV fading, and matching the color to your house trim gives it a finished look. Let paint cure fully before use so it doesn’t tack up in the door hinge. House numbers, at least one inch tall per USPS rules, go on the box or the post — whichever is easier for a carrier to read from the road.
Test the door under load: open and close it fully, then check that it latches with mail inside. A door that pops open in the wind lets rain in and can trigger a delivery hold. Check the flag moves freely too — a stuck flag is one of the most common reasons carriers report a box as inaccessible.
Maintenance Tips
A quick seasonal check catches most mailbox problems before they cause a missed delivery:
- Tighten any loose mounting screws and check hinges close fully
- Watch for rust on metal parts and touch up chipped paint before it spreads
- Clear leaves, insects, or debris from inside the box monthly
- Clean with soap and water, then dry — this keeps stickers and decals from peeling
- Check the post for movement after hard freezes or storms; re-secure if it wobbles
- Clear snow buildup around the base so the door and flag keep moving freely
Lost the key to a locking box instead? Here’s how to get back in legally without damaging the lock. And if package theft is the real worry rather than the post itself, a secure mail drop box is worth comparing against a locking mailbox upgrade.
Frequently Asked Questions
Can I Install A Mailbox Myself?
Yes, installing a mailbox yourself is a standard DIY project needing only basic tools. Follow USPS height (41-45 in.) and setback (6-8 in.) rules, dig the post hole to the correct depth for your area’s frost line, and let the concrete cure before mounting the box.
Should A Mailbox Post Be Set In Concrete?
Yes, concrete gives a mailbox post far more resistance to leaning and wind than tamped soil alone. Mound the concrete slightly above grade so water sheds away from the post rather than pooling at the base, and keep the post level while the concrete sets.
Can I Just Add A Mailbox To My House?
Yes, a wall-mounted mailbox can attach directly to your house instead of a curbside post, provided your local postal route allows house delivery and the box still meets height and access rules. Contact your local post office to confirm before installing.
What Do I Need To Do To Install A Mailbox?
Choose an accessible, USPS-compliant spot, dig and set the post in concrete at the correct depth, then mount the mailbox 41-45 inches above the road once the concrete cures. Add house numbers at least one inch tall and confirm any local placement rules with your post office.
How Deep Should A Mailbox Post Be In The Ground?
A mailbox post should be set 18 to 24 inches deep in a hole about 10 to 12 inches wide — roughly three times the post’s width. In areas with hard winters, extend the hole below the local frost line, which can run 36 to 42 inches deep in northern states, to stop the post from heaving.
How Far Should A Mailbox Be From The Road?
USPS guidelines call for the mailbox to sit 41 to 45 inches above the road surface and set back 6 to 8 inches from the curb, measured to where the mail carrier’s vehicle stops. Check with your local postmaster if your road has an unusual curb or shoulder.
Conclusion
Installing a mailbox comes down to three numbers: 18-24 inches of post depth (deeper below the frost line), 41-45 inches of mounting height, and 6-8 inches of curb setback. Get the depth and height right, let the concrete cure fully, and the rest — paint, house numbers, a working flag — is finishing detail. A properly set mailbox should outlast the post material it’s built from.
Sponsored / affiliate links. As an Amazon Associate I earn from qualifying purchases. I may earn additional commission from eligible campaigns.