How to Secure a Tarp: 7 Steps for Gale-Force Winds
A tarp stays secured when you tie down the corners first with an adjustable knot like a trucker’s hitch, space tie-downs every 18-24 inches along the edges, and double your anchors once wind crosses gale force (39+ mph). Skip any of that and wind gets under the fabric, tearing grommets or turning the whole tarp into a parachute. This guide covers the 7-step tie-down process, the best knot for adjustable tension, anchor choices by surface, and how to reinforce for wind, rain pooling, and jobs like roofs and truck beds.
Why Securing a Tarp Matters
A tarp is only as good as how well it’s secured. If it’s not anchored properly, it can tear, let water pool, or fly off entirely. A gust of wind can turn a poorly tied tarp into a parachute, soaking whatever it was supposed to protect. Securing a tarp the right way protects your stuff, saves you money on replacements, and gives you peace of mind. Whether you’re covering a leaky roof or shielding garden supplies, a well-secured tarp is your first line of defense against rain, wind, and sun.
Choosing the Right Tarp for Your Needs
Before you even think about tarp securing methods, you need the right tarp. Not all tarps are created equal — a cheap plastic one can rip during a storm. Here’s what to consider:
- Material: Tarps come in polyethylene (light and affordable), vinyl (heavy-duty and waterproof), or canvas (breathable but less water-resistant). Poly tarps work for most outdoor projects because they’re versatile and budget-friendly — some big-box and dollar retailers carry basic poly tarps for light-duty jobs.
- Size: Measure the area you need to cover and add a few extra feet for overlap. A tarp that’s too small won’t do the job.
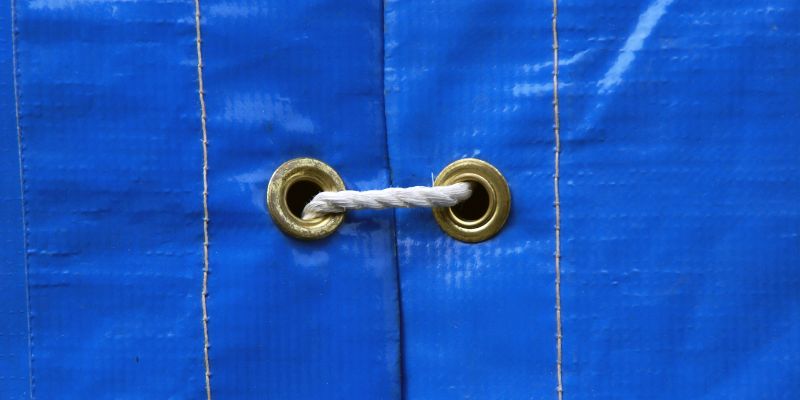
- Grommets: These are the metal or plastic rings along the tarp’s edges. More grommets mean more tie-down points, which makes securing easier.
- Thickness: Measured in mils (thicker is stronger). For heavy-duty jobs, go for 10-12 mil tarps.
Here’s a quick table to help you pick:
| Tarp Type | Best For | Pros | Cons |
|---|---|---|---|
| Polyethylene | General use, outdoor covers | Lightweight, affordable, waterproof | Can tear under heavy stress |
| Vinyl | Industrial, long-term use | Extremely durable, UV-resistant | Heavy, expensive |
| Canvas | Breathable covers, painting | Breathable, eco-friendly | Not fully waterproof |
Picking the right tarp sets you up for success, so don’t skip this step.

Tools and Materials You’ll Need
A solid tarp-securing kit covers most jobs. Here’s what to keep on hand:
- Ropes or Bungee Cords: Bungee cords work for quick setups; ropes give more control for long-term use.
- Tarp Anchors: Stakes, sandbags, or weights work great, depending on the surface.
- Clips or Tarp Clamps: These grip the tarp tightly without needing grommets.
- Carabiners: Handy for quick connections.
- Pole or Frame (Optional): For creating a sloped tarp to prevent water pooling.
Having these ready makes the process smoother and faster.
Best Tarp Tie-Down Pick
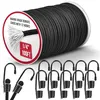
Marine Grade Heavy Duty Bungee Cord Roll, 100ft – $20.99
A 100-foot roll with 12 hooks means you can cut custom lengths for corners and edge tie-downs on the same job, which matches the “space tie-downs every 2-3 feet” step below without buying pre-cut cords.
- Best for: Edge tie-downs on poly and vinyl tarps
- Why we picked it: Cut-to-length design covers both corners and edges from one roll
- Main drawback: Hooks are plastic-coated steel, not marine-grade stainless
Compare more tarp tie-down options
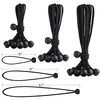 Option 1 30pc Ball Bungee Cords – $7.99
|
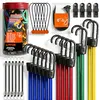 Option 2 31-Pc Bungee & Tarp Clip Jar – $14.24
|
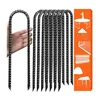 Option 3 8-Pk Galvanized Ground Stakes – $23.91
|
As an Amazon Associate we earn from qualifying purchases.
Step-by-Step Guide to Securing a Tarp
Now for the actual process of how to secure a tarp. These steps work for most situations, whether you’re covering a car, a woodpile, or a campsite shade setup.
- Prepare the area: Clear sharp objects like sticks or rocks before laying out the tarp. If you’re covering something like a boat, pad any sharp edges with foam or towels to prevent punctures.
- Position the tarp: Drape the tarp over whatever you’re covering, centered, with at least a foot of overhang on all sides. If it’s a shelter, angle it so rainwater runs off — pooling water is a tarp’s worst enemy.
- Secure the corners first: Thread a rope or bungee cord through the corner grommets and tie to tarp anchors — stakes, sandbags, or weights like cinder blocks. Pull tight, but not so tight you strain the grommets.
- Add tie-downs along the edges: Space tie-downs every 2-3 feet depending on tarp size and weather. For windy areas, add more. If your tarp doesn’t have enough grommets, tarp clips work just as well.
- Check tension and slope: Walk around and tug gently to confirm even tension — a loose tarp flaps and tears, an overly tight one rips at the grommets. Make sure it slopes so water doesn’t collect.
- Reinforce for windy conditions: Double up on tarp anchors, add sandbags or heavy rocks on top of stakes, or crisscross ropes over the tarp for extra hold. Bungee cords with strong hooks flex with the wind on temporary setups.
- Inspect and adjust regularly: Tarps loosen over time, especially after heavy rain or wind. Check every few days, tighten loose ropes, replace worn bungees, and patch small tears with tarp repair tape before they get worse.
The Best Knot for Securing a Tarp
A simple bowline knot works well at the corners because it’s strong and easy to untie later, even after it’s been under load. For the main ridgeline of a tarp shelter, a trucker’s hitch is worth learning — it gives you a 2:1 mechanical advantage so you can crank the line drum-tight by hand, and it releases with one pull. For guy lines that need to move with the wind instead of snapping tight, an adjustable knot like a taut-line hitch or alpine butterfly loop lets the line slide and re-tension itself, which is exactly the “flex with the wind” behavior Step 6 above is aiming for with bungee cords.
Choosing Tarp Anchors by Surface
The right anchor depends on what’s underneath the tarp, not just what’s in your toolbox.
| Surface | Best Anchor | Notes |
|---|---|---|
| Dirt or grass | Ground stakes or auger-style anchors | Drive at a slight angle away from the tarp for more holding power |
| Wood decking or framing | Screws with washers | Washers stop the screw head from pulling through the grommet |
| Metal framing | Zip ties or ball bungees | Avoid knotting rope directly through a metal edge — it saws through fabric |
| Concrete or asphalt | Sandbags or weighted plates | No hole-drilling needed; stack extra weight for wind |
| Vehicle or trailer bed | Ratchet straps with corner guards | Corner guards stop the strap edge from cutting the tarp |
📊 Gale-force wind starts at 39 mph and runs to 46 mph on the National Weather Service’s Beaufort wind scale — the point where the standard guidance above is to double up anchors and crisscross ropes rather than rely on the original tie-down count. — Source: National Weather Service, Beaufort Wind Scale
“A gust of wind once turned a poorly tied tarp of ours into a parachute, and a separate setup collapsed under pooled rainwater we didn’t slope away in time. Both mistakes came down to skipping the corner-first, slope-it-down basics — not bad luck.”
Securing Tarps for Specific Uses
Not every tarp job is the same. Here are a few common scenarios:
Covering Outdoor Furniture
For winter storage, patio furniture does well under a heavy-duty poly tarp. Use bungee cords for quick setup and removal, keep the tarp tight to prevent water from pooling, and tuck the edges under the furniture to reduce flapping. If you’re covering a full patio setup rather than individual pieces, see our guide to installing tarps on a patio.
Protecting a Construction Site
For construction projects, like a deck renovation, a vinyl tarp holds up best. Use sandbags or cinder blocks as tarp anchors on hard surfaces like concrete. For a large area, build a simple frame with PVC pipes to create a sloped roof.
Camping and Temporary Shelters
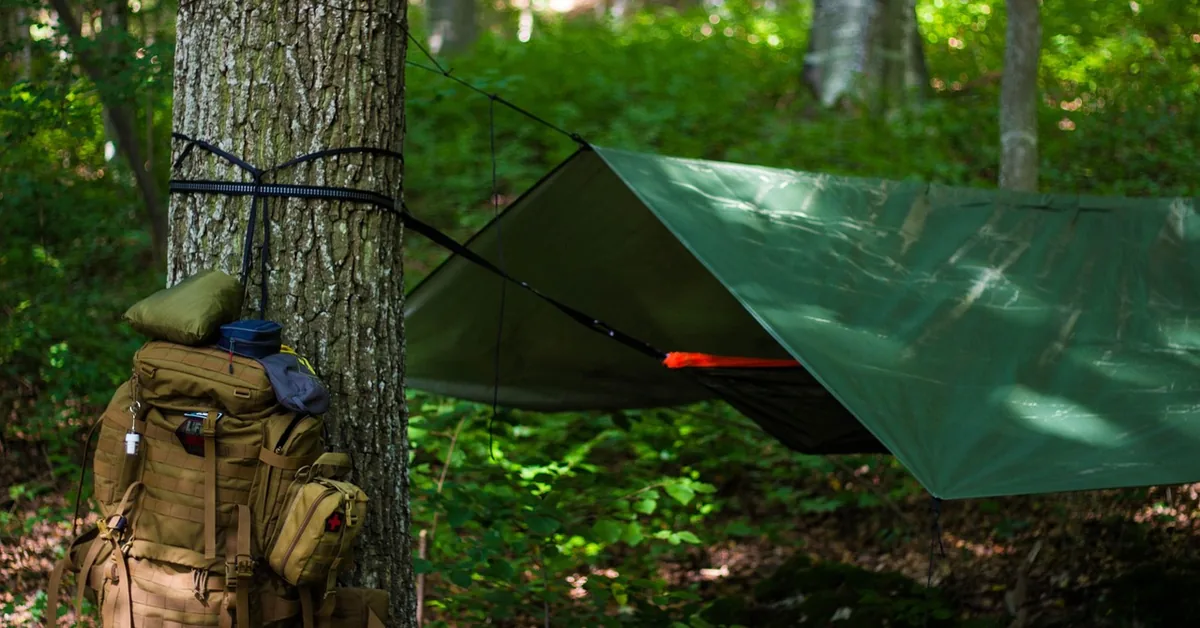
For a quick camp shelter, tie a tarp between two trees with ropes, using stakes to secure the bottom edges. Angle it steeply to shed rain, and add a smaller tarp underneath as a ground cover to stay dry. If you’d rather skip tree-to-tree rigging, our guide on hanging a tarp for shade without grommets covers a few no-grommet methods.
Emergency Roof Repairs
After storm damage, a tarp can serve as a temporary roof fix. Spread the tarp over the damaged area, overlapping the roof’s peak. Secure it with ropes tied to heavy weights or nailed boards, and check it daily since wind can wreak havoc on roof tarps.
Common Mistakes to Avoid
These are the mistakes that cause most tarp failures:
- Skipping Grommets: Don’t just poke holes in a tarp — it’ll tear. Use clips or buy a tarp with enough grommets.
- Ignoring Weather: A tarp that’s fine in calm weather might fail in a storm. Always plan for worse conditions than you expect.
- Over-Tightening: Pulling too hard can rip the tarp or bend the grommets. Aim for snug, not strained.
- No Slope: Flat tarps collect water, which leads to sagging or tearing. Always angle your tarp.
Maintaining Your Tarp for Longevity
A good tarp can last years if you treat it right. Clean it with mild soap and water after each use, let it dry completely before folding to prevent mold, and store it in a dry, cool place. Check for tears before reusing, and keep a roll of tarp repair tape on hand for quick fixes.
Frequently Asked Questions
How do I choose the right size tarp?
Measure the area you want to cover and add 1-2 feet on each side for overlap. For example, a 10×10 area needs at least a 12×12 tarp to ensure full coverage.
Can I secure a tarp without grommets?
Yes. Use tarp clips or clamps to create anchor points. They grip the tarp tightly and work just as well as grommets.
What’s the best way to secure a tarp in high winds?
Double up on tarp anchors like stakes or sandbags, and crisscross ropes over the top for extra hold. Bungee cords also help because they flex with the wind. Once wind crosses gale force (39+ mph on the National Weather Service scale), add anchors rather than relying on your original tie-down count.
What’s the best knot to tie down a tarp?
A bowline works well at the corners since it holds under load but still unties easily. For a ridgeline that needs to be cranked tight, use a trucker’s hitch. For guy lines exposed to shifting wind, an adjustable knot like a taut-line hitch lets the line re-tension itself.
How do I prevent water from pooling on my tarp?
Always angle the tarp so water can run off. Use poles, a frame, or trees to create a slope, and check that the tarp stays taut.
How often should I check my tarp?
Inspect it every few days, especially after heavy rain or wind. Tighten loose tie-downs and patch any tears to keep it secure.
Conclusion
Securing a tarp comes down to a few fundamentals: pick the right material, anchor the corners first with a knot you can re-tension, space tie-downs every 2-3 feet, and slope it so water runs off instead of pooling. Add extra anchors once wind picks up, and check the setup every few days so small problems don’t become torn tarps.
Pick the right tarp, use strong tarp anchors matched to your surface, and check it regularly to keep everything safe and dry.
Sponsored / affiliate links. As an Amazon Associate I earn from qualifying purchases. I may earn additional commission from eligible campaigns.