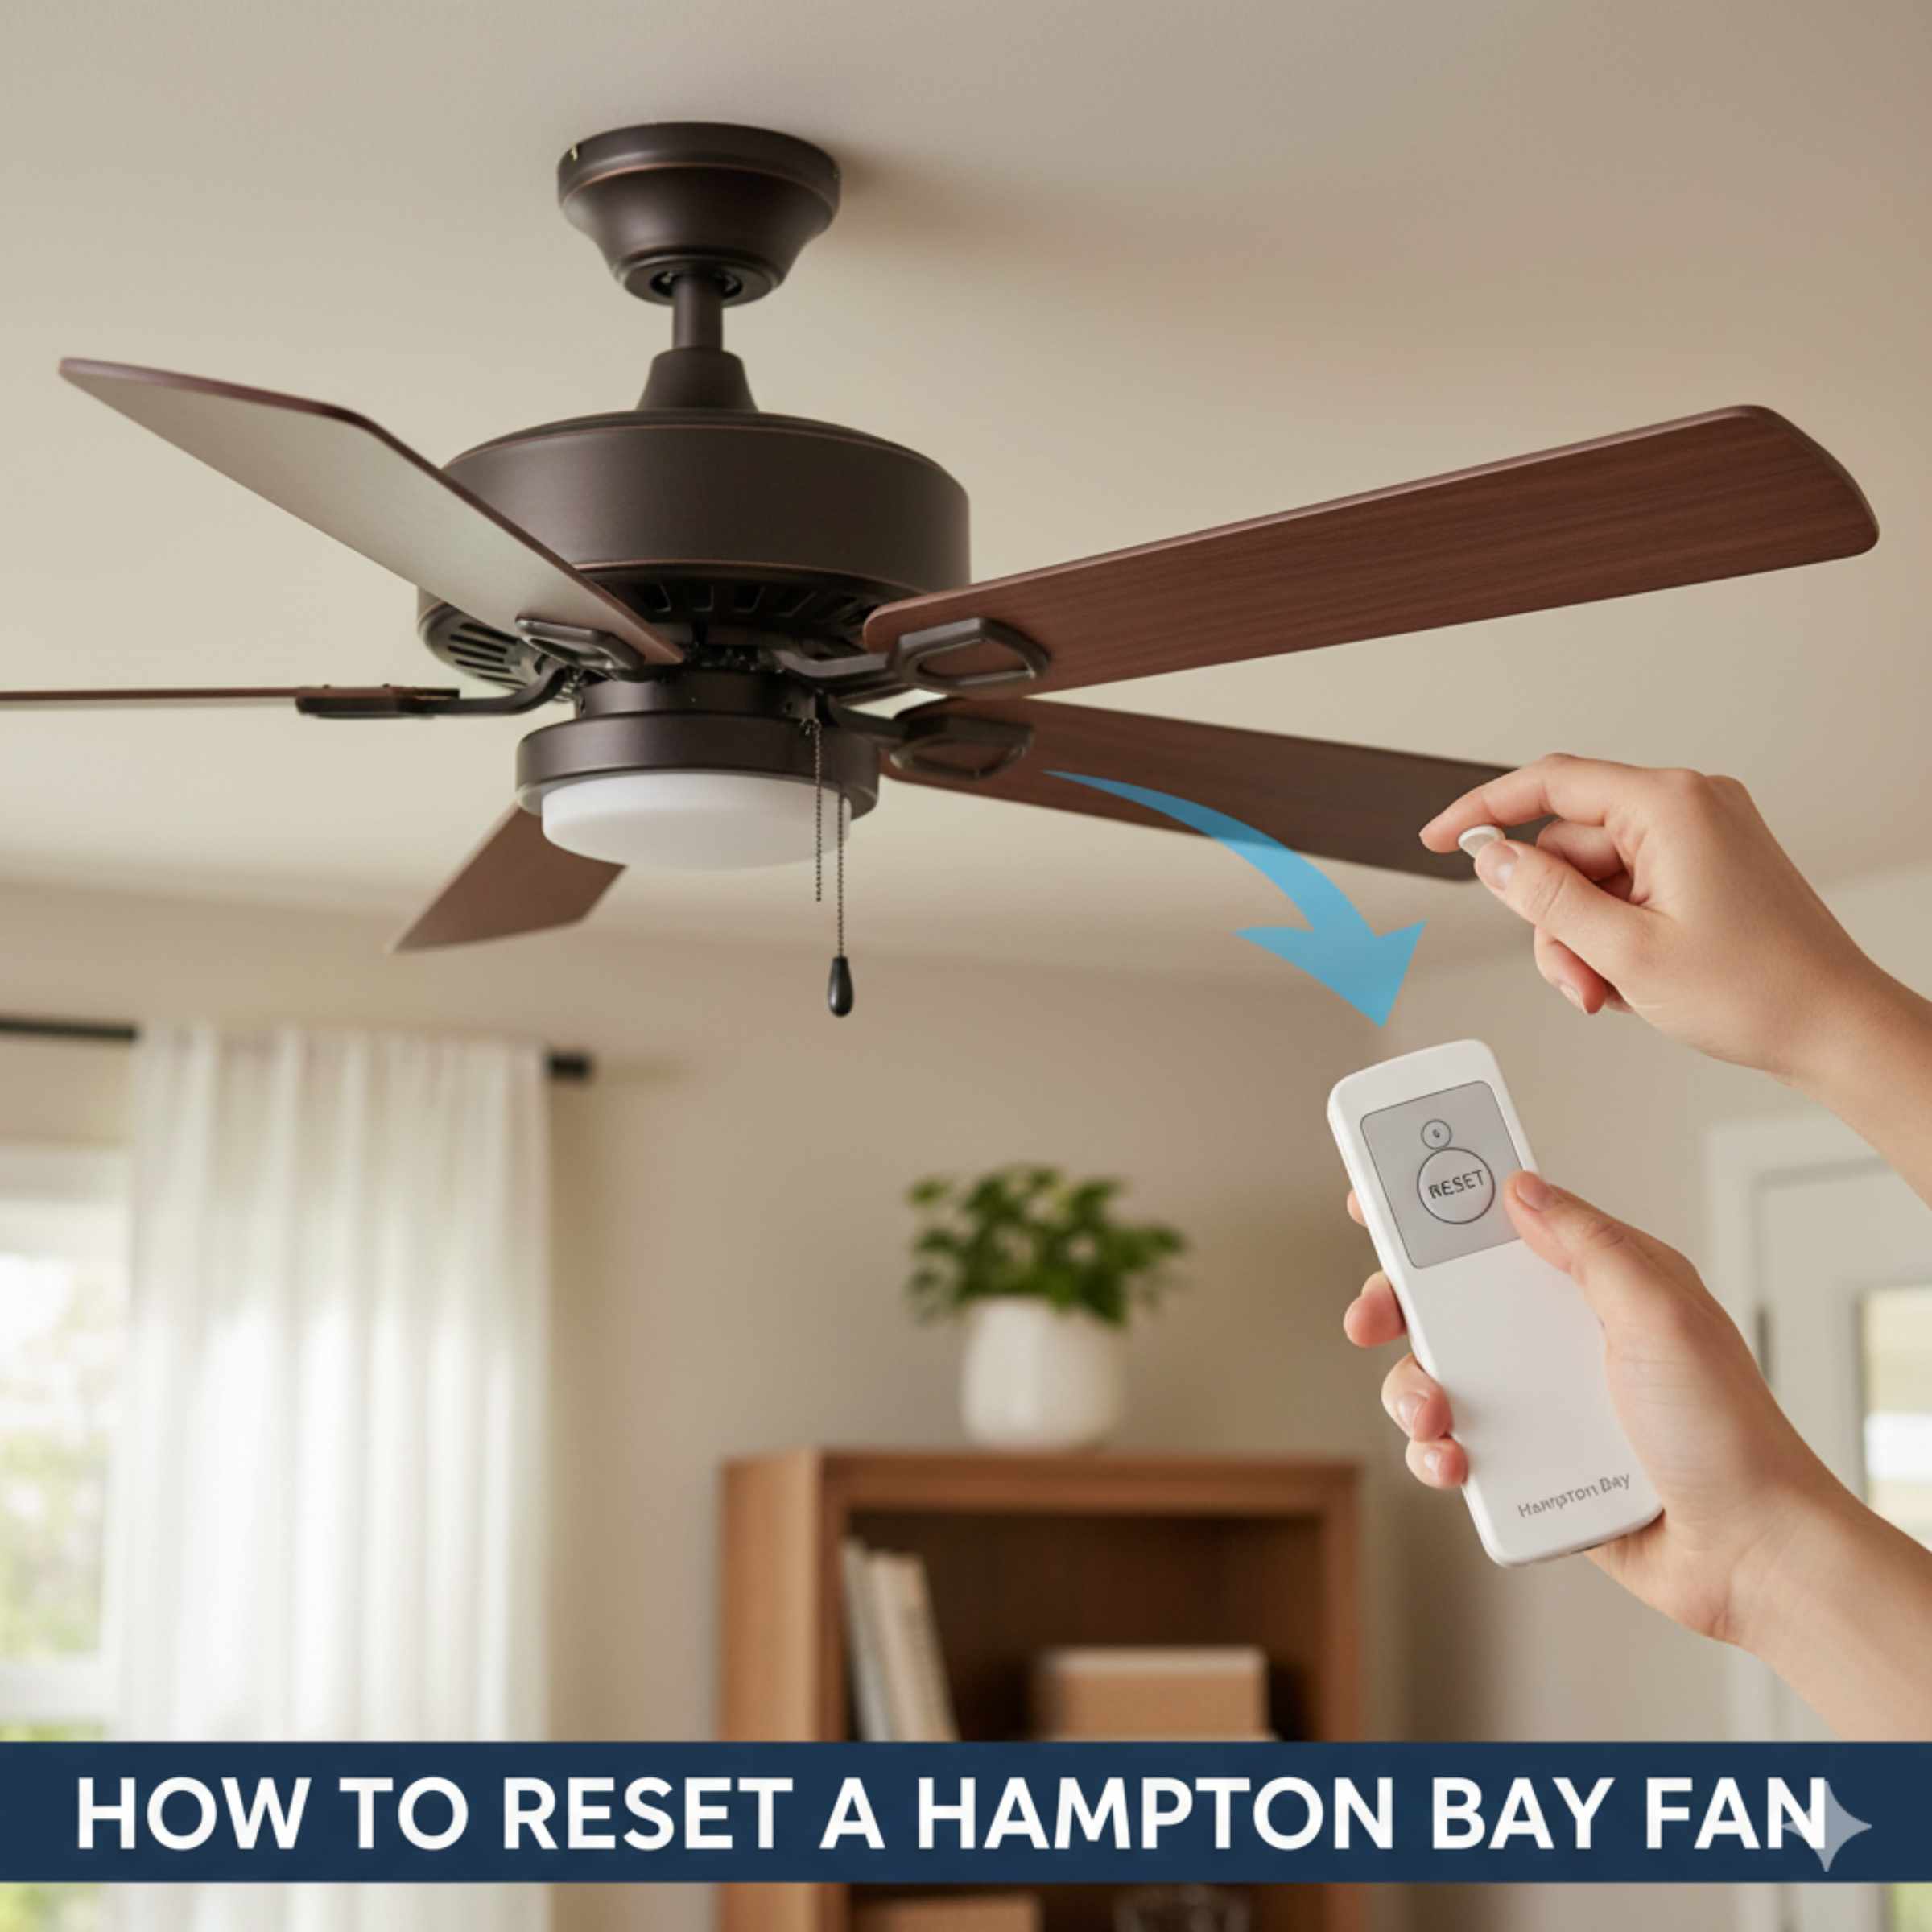
How To Reset A Hampton Bay Fan: Essential Fix
Resetting a Hampton Bay ceiling fan is usually a quick fix for remote control issues, flickering lights, or erratic speeds. This process typically involves cycling the power at the circuit breaker or performing a specific remote pairing sequence. Follow these easy steps to restore full functionality to your fan safely and quickly, getting you back to enjoying cool comfort.
Hello there! I’m Md Meraj, and if your Hampton Bay ceiling fan is acting up—maybe the light won’t turn on, or the remote seems totally lost—don’t worry. This happens to the best of us, even with reliable brands like Hampton Bay. Before you call a pro, there’s a simple reset trick that solves most problems. It’s like giving your fan a quick reboot. We’re going to walk through the process step-by-step, ensuring you stay safe and confident the whole way through. Let’s get that fan running smoothly again!
Why Do Hampton Bay Fans Need Resetting?
Ceiling fans, especially those with remote controls, are small computers. They need their memory refreshed sometimes. When your Hampton Bay fan starts glitching, it’s usually not a major electrical failure. It’s often a communication breakdown between the remote transmitter, the receiver inside the fan housing, or simply a temporary electronic hiccup.
Common reasons for needing a reset include:
- Switching the wall switch off and on too quickly.
- Replacing batteries in the remote.
- Power surges or brief power outages.
- Initial setup or after installing a new fan or remote.
- The fan getting stuck between speed settings.
The good news is that most Hampton Bay fans are designed with user-friendly troubleshooting in mind. We’ll focus on the two main types of resets: the power cycle reset and the remote pairing reset.
Safety First: Essential Preparations Before You Begin
Even simple home electrical tasks require respect for safety. Before you touch any switch or open any housing, we need to make sure the power is completely off. This protects you from accidental shocks and prevents damage to your fan’s sensitive electronics.
Gather Your Tools
You don’t need much for this fix, which is part of what makes it so beginner-friendly. Make sure you have these items handy:
- A sturdy step stool or ladder (ensure it’s placed on a flat, non-slip surface).
- A Phillips head screwdriver (sometimes needed if you have to access the canopy).
- Fresh AAA or AA batteries for the remote (if you suspect the old ones are weak).
- The instruction manual for your specific fan model (if you have it—it helps confirm DIP switch locations if needed).
Turning Off the Power (The Crucial Step)
We are looking for a complete power interruption. This allows the capacitors in the fan receiver to fully drain, clearing any stored error codes or temporary settings.
- Turn Off the Wall Switch: Locate the wall switch that controls the fan and turn it to the “OFF” position.
- Find the Breaker: Go to your home’s main electrical service panel (breaker box). This is usually in the garage, basement, or a utility closet.
- Flip the Breaker: Locate the breaker labeled for the room or light fixture your fan is on. Flip this breaker firmly to the “OFF” position. If your breakers aren’t labeled well, you might need to try flipping them one by one until the fan loses all power—but always flip the main power off first if you are unsure!
- Wait: This is the most important part of the power cycle reset. Wait a full five to ten minutes. This ensures all residual electrical charge drains away from the fan’s receiver unit. Think of it like waiting for a computer to fully shut down before unplugging it.
Method 1: The Power Cycle Reset (The Quick Fix)
This method works best when the fan is running erratically, lights are flickering, or if you just installed a new remote.
Step-by-Step Power Reset Guide
- Ensure Power is Off: Confirm the breaker for the fan circuit is still in the OFF position (from the preparation step).
- Restore Power at the Breaker: Go back to your breaker panel and flip the correct breaker back to the “ON” position. The fan should now have full electrical power, but likely won’t start running yet.
- Restore Power at the Wall Switch: Turn the wall switch controlling the fan back to the “ON” position.
- Test the Remote: Immediately take your remote control and press the ‘Fan ON’ button or the ‘Light ON’ button.
If the fan responds immediately, congratulations! You just needed a clean slate for the electronics. If it still doesn’t respond, we move on to the more specific pairing reset, which often involves syncing the remote to the receiver unit.
Method 2: Resetting via Remote Pairing (For Communication Loss)
If the power cycle didn’t work, the fan’s receiver unit might have lost the unique code that the remote uses to talk to it. Many Hampton Bay fans use a simple process of turning the power on and pressing a button quickly to initiate pairing mode.
Understanding DIP Switches (Older Models)
Before modern fans used digital codes, many used physical DIP switches—tiny sliding switches located inside the remote battery compartment and inside the fan’s canopy receiver unit. If you have a very old model, you might need to match these switches.
If you suspect your fan uses DIP switches, here is how to check them:
| Component | Location | Action Required |
|---|---|---|
| Remote Transmitter | Under the battery cover. | Note the pattern (e.g., Up-Down-Up-Up). |
| Fan Receiver Unit | Inside the switch housing, accessed by removing the lower canopy cover. | Match the pattern exactly to the remote. |
Step-by-Step Pairing Reset for Modern Remotes (No DIP Switches)
Most newer Hampton Bay fans use a learning mode that syncs automatically when power is restored.
Crucial Note: This entire sequence must happen within 30 seconds of restoring power at the wall switch, or the receiver times out.
- Ensure Power is OFF: Turn the wall switch controlling the fan to OFF.
- Remove and Reinsert Batteries: Take the batteries out of the remote, wait 10 seconds, and put them back in (or use new batteries). This also helps reset the remote unit.
- Restore Power: Turn the wall switch back ON. The fan light might flash briefly, indicating it’s ready to receive a signal.
- Enter Pairing Mode: Immediately press and hold the ‘Learn’ or ‘Set’ button on the remote control. This button is often found inside the battery compartment or on the back of the remote casing.
- Wait for Confirmation: Hold the button down for about 5 to 10 seconds. You should hear a small beep from the fan, or the fan light will turn on and then off. This confirms the remote has successfully paired with the receiver.
- Test Functionality: Release the button and test the fan speeds and light controls on the remote.
If this method doesn’t work immediately, repeat steps 1 through 5. Sometimes the timing needs to be perfect. If you are struggling with the timing, you might need to momentarily cut the power at the breaker (Method 1) right before attempting the remote pairing sequence.
Troubleshooting Common Hampton Bay Fan Reset Scenarios
Resetting isn’t always a one-size-fits-all solution. Different symptoms require slightly different approaches. Here is how to target specific issues.
Scenario A: The Remote Works, But the Light Does Not
If the fan motor works but the light unit doesn’t respond, the issue is likely isolated to the light kit’s wiring or the separate receiver component controlling the light function. If your fan has a pull chain for the light, try using that first to see if the bulb is simply loose.
- Check the Bulb: Ensure the light bulb is screwed in tightly and is the correct wattage for the fan’s light kit. Many modern Hampton Bay fans use specialized LED bulbs that are very sensitive.
- Check the Remote Battery: Weak batteries can often power the motor (which uses less power) but fail to transmit enough signal strength to activate the light circuit, which sometimes requires more power. Replace the remote batteries, even if you think they are fine.
- Receiver Check: If your fan uses a remote receiver with separate wires for the light and fan motor, the light wire connection might have come loose inside the canopy. This requires shutting off power at the breaker and inspecting the wiring connections within the switch housing (canopy).
Scenario B: The Fan Only Works on High Speed
This is a classic sign that the speed control portion of the remote receiver has failed or lost communication.
Try the full Power Cycle Reset (Method 1) twice in a row. If that fails, the pairing reset (Method 2) is your next best bet. If it still only runs on high, the receiver unit itself may be damaged and might need replacement. You can often purchase replacement receiver kits specific to Hampton Bay models online or at home improvement stores. Ensure you match the voltage and brand specifications carefully.
Scenario C: Fan Keeps Changing Speed On Its Own
This usually means interference or a failing remote. Someone might be using a universal remote that is broadcasting on the same frequency, or your remote is accidentally activating.
- Check for Interference: If you have smart home dimmers or other variable speed controllers on the same circuit, remove them or replace them with standard on/off switches. Non-standard wall switches can severely interfere with remote receivers.
- Test with No Remote Nearby: Remove the batteries from the remote entirely and see if the fan still cycles speeds. If it stops cycling, the remote itself is faulty or needs re-pairing.
- Review Safety Standards: Always ensure your fan wiring complies with electrical safety standards. For guidance on safe wiring practices, resources like the Electrical Safety Foundation International (ESFI) offer excellent general safety guidelines for homeowners.
Advanced Troubleshooting: Accessing the Canopy
If all simple resets fail, you may need to physically inspect the receiver unit hidden in the fan’s canopy (the housing that mounts to the ceiling). Remember to follow the initial safety step: TURN OFF THE BREAKER for the fan circuit.
Steps to Access the Receiver
- Lower the Motor Housing: Fans are held up by a downrod. Carefully remove the decorative screws holding the switch housing cover (where the pull chains come out) or the screws holding the canopy cover against the ceiling. You may need a helper to support the weight of the fan motor while you work, as some fans are heavy.
- Locate the Receiver: The receiver is typically a small black or white box nestled between the downrod mounting bracket and the ceiling wires. It will have several sets of wires coming in and going out (one set from the house wires, one set going down to the fan motor/light).
- Inspect Connections: Look closely at the wire nuts connecting the receiver to the house wiring and the fan wiring. Wiggle them gently. If they feel loose, carefully tighten the connection or re-secure them with new wire nuts. Loose connections are a very common cause of intermittent operation.
- Check the Receiver Itself: If you are dealing with DIP switches, verify they match the remote. If you don’t see DIP switches, look for obvious damage or burnt spots on the receiver board.
- Reassemble: Carefully tuck the wires back into the canopy, reattach the cover, and secure the downrod connection (if you disconnected anything there). Restore power and test.
When dealing with wiring, remember the basic color code: Black is usually hot (power in), White is neutral, and Green or bare copper is ground. Always connect like colors together when making new connections, following the diagram provided with your fan kit.
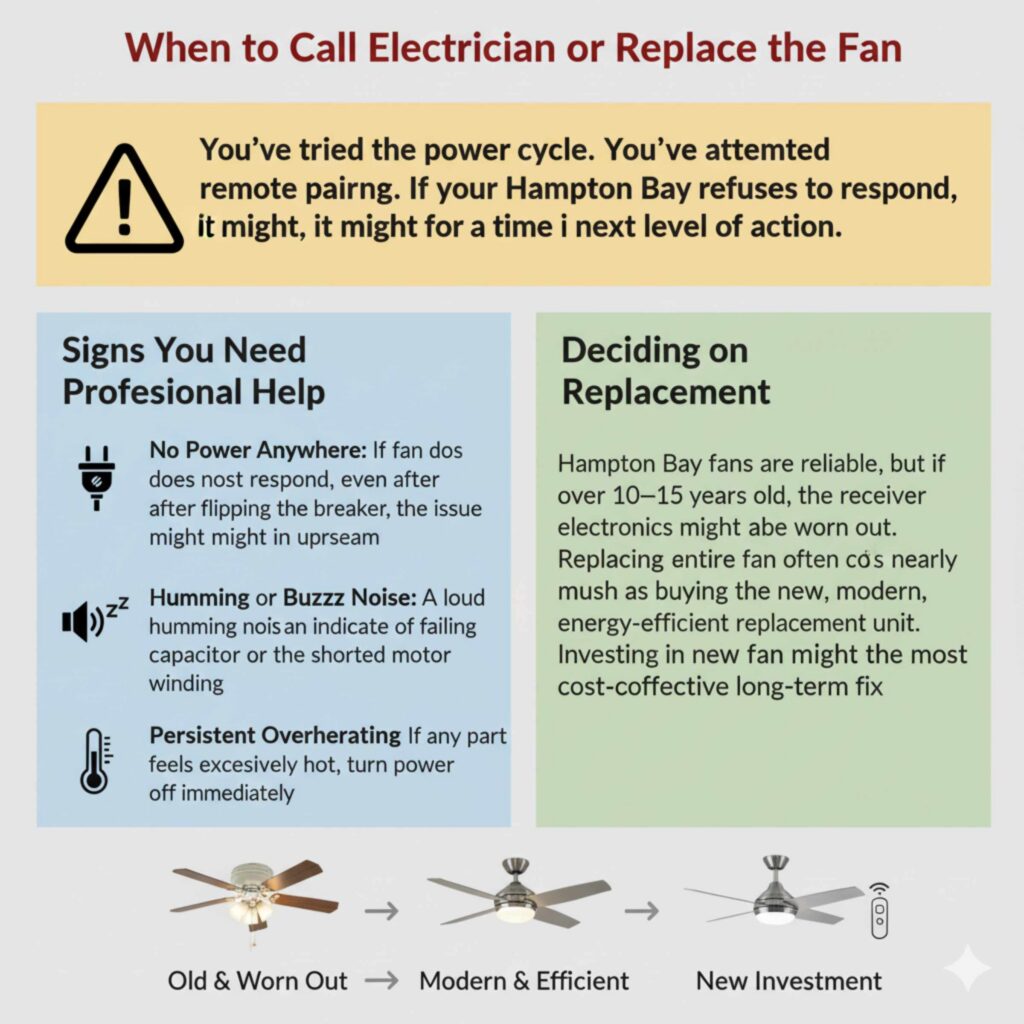
When to Call an Electrician or Replace the Fan
You’ve tried the power cycle. You’ve attempted the remote pairing. You’ve even checked the wiring in the canopy. If your Hampton Bay fan still refuses to respond correctly, it might be time to consider the next level of action.
Signs You Need Professional Help
- No Power Anywhere: If the fan does not respond at all, even after flipping the breaker, the issue might be upstream—the wall switch itself or the wiring leading to the junction box. This is best handled by a licensed electrician.
- Humming or Buzzing Noise: A loud humming noise that persists even when the fan is turned off can indicate a failing capacitor or a shorted motor winding. Continuing to run a humming fan can be a fire hazard.
- Persistent Overheating: If any part of the housing feels excessively hot to the touch after running for just a few minutes, turn the power off immediately and call for service.
Deciding on Replacement
Hampton Bay fans are generally reliable, but if the fan is over 10–15 years old, the receiver electronics might simply be worn out. Replacing an entire fan often costs nearly as much as buying a new, modern, energy-efficient replacement unit. If you find yourself needing to replace the receiver board multiple times, investing in a new fan that uses modern, reliable technology might be the most cost-effective long-term fix.
Frequently Asked Questions (FAQ) About Hampton Bay Fan Resets
Q1: How long do I need to leave the power off during a power cycle reset?
A: For a full and proper reset that drains all residual power, wait a minimum of five minutes, but ten minutes is safer, especially for fans with complex light kits or reverse functions.
Q2: What if my Hampton Bay fan doesn’t have a remote?
A: If your fan only uses pull chains, a reset is usually not necessary unless it has been recently wired. If it’s running poorly, ensure the pull chain connections for speed and light are secure inside the switch housing, or that the chain switch itself isn’t sticking internally.
Q3: My new remote won’t sync. Is it broken?
A: It’s usually a timing issue, not a broken remote. Make sure the wall switch is ON, and then immediately perform the pairing sequence (holding the learn button) within that critical 30-second window after the power comes on. Try a few times!
Q4: Can I use a dimmer switch with my Hampton Bay fan remote?
A: No. Most ceiling fan receivers are highly sensitive and are designed to work only with standard ON/OFF switches. Using a dimmer switch will almost certainly cause the fan to malfunction, hum, or stop working.
Conclusion: Hampton Bay Ceiling Fan Reset Guide
Resetting a Hampton Bay ceiling fan is often the fastest and most effective way to fix common problems like an unresponsive remote, flickering lights, or incorrect fan speeds. In most cases, a simple power cycle reset or remote pairing reset is all it takes to restore proper communication between the fan, receiver, and remote control. These fans are designed to be user-friendly, and with the right steps, homeowners can resolve issues without professional help.
By following proper electrical safety precautions, turning off power at the breaker, allowing time for the electronics to fully reset, and ensuring the remote is correctly synced, you can confidently troubleshoot most Hampton Bay ceiling fan issues. Understanding features like remote receivers, DIP switches, and learning modes also helps prevent future problems after power outages, battery changes, or new installations.
If basic resets don’t solve the issue, inspecting the receiver wiring or knowing when to replace aging components can save time and money. Overall, knowing how to reset a Hampton Bay ceiling fan empowers you to maintain smooth operation, consistent airflow, and reliable lighting—keeping your home comfortable and your fan running efficiently for years to come!