How To Set Up Reliabilt Electronic Deadbolt: Proven Guide
Quick Summary:
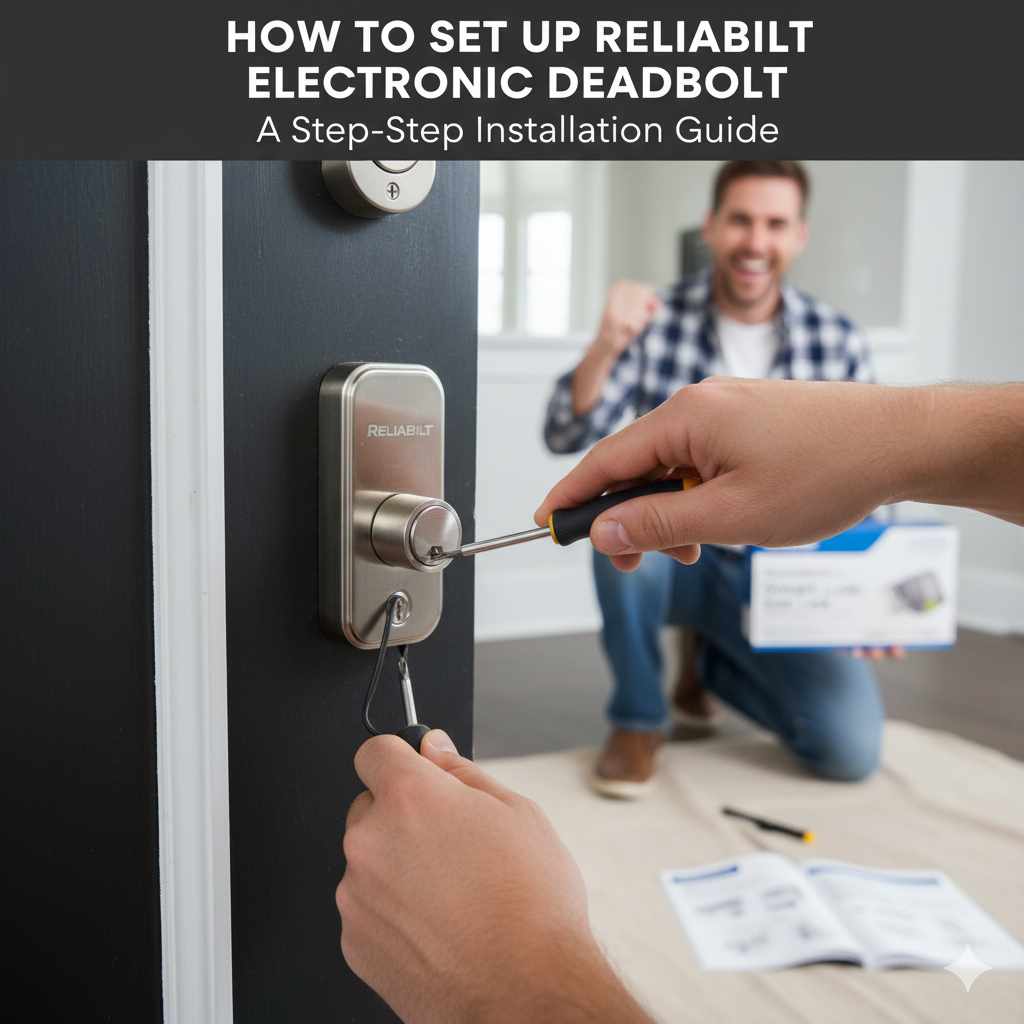
Setting up your Reliabilt electronic deadbolt is straightforward with this guide. We’ll walk you through each step, from unboxing to programming, ensuring a secure and functional smart lock for your home. Get ready for enhanced security and convenience in no time!
Hello there! Md Meraj here, your go-to guide for making home improvement projects feel less like a chore and more like a satisfying accomplishment. Many of us want the peace of mind that comes with a secure home, and upgrading to an electronic deadbolt is a fantastic way to achieve that. But sometimes, the idea of installing something new can feel a bit daunting. You might worry about complicated instructions or needing special tools. Don’t you worry! Today, we’re going to break down exactly how to set up your Reliabilt electronic deadbolt. We’ll go step-by-step, making sure it’s easy to follow, safe, and leads to a great result. By the end, you’ll have a smart, reliable lock that you installed yourself!
Why Choose a Reliabilt Electronic Deadbolt?
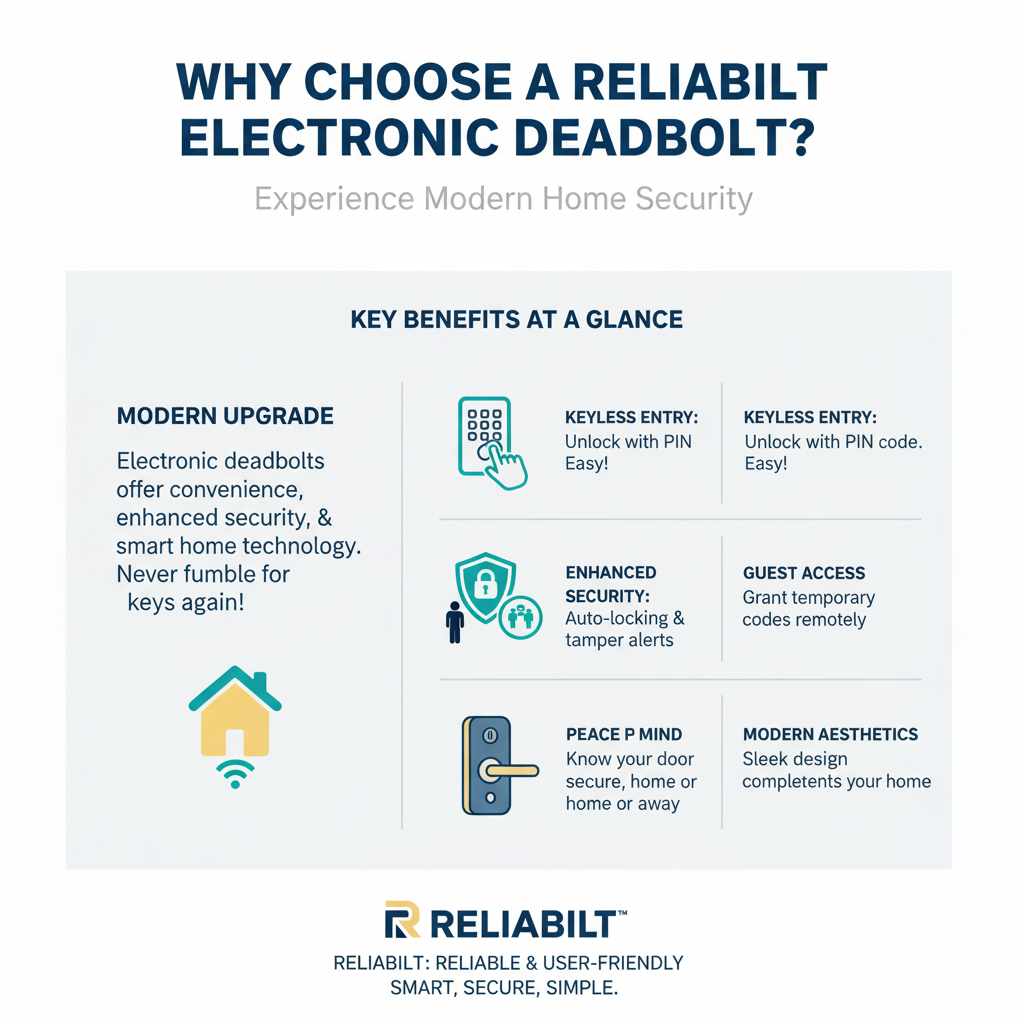
Electronic deadbolts, like those from Reliabilt, offer a modern upgrade to traditional locks. They bring convenience, enhanced security, and a touch of smart home technology to your doorstep. Imagine never fumbling for keys again, or being able to grant temporary access to a guest remotely. These benefits are just the beginning. Reliabilt is known for providing reliable and user-friendly solutions, making the transition to a smart lock system a smooth one for homeowners.
Key Benefits at a Glance:
- Keyless Entry: Unlock your door with a PIN code, making life easier.
- Enhanced Security: Many electronic deadbolts offer advanced features like auto-locking and tamper alerts.
- Guest Access: Easily grant temporary access codes to friends, family, or service providers.
- Peace of Mind: Know your door is securely locked, whether you’re home or away.
- Modern Aesthetics: Electronic deadbolts often have a sleek, contemporary look that complements your home’s style.
Before You Begin: What You’ll Need
Gathering your tools and materials before you start is a surefire way to make the installation process much smoother. It’s like getting your workbench ready before starting a woodworking project – everything is within reach, and you can focus on the task at hand. For setting up your Reliabilt electronic deadbolt, you won’t need a whole workshop, just a few common household items.
Essential Tools:
- Phillips head screwdriver (often a medium size works best)
- Measuring tape (if you need to confirm hole sizes, though most Reliabilt locks are designed for standard doors)
- Pencil (for marking, if needed)
- Your Reliabilt electronic deadbolt package (ensure all parts are present)
- The instruction manual that came with your lock (always a good friend to have!)
Checking Your Door:
Most electronic deadbolts are designed to fit standard doors. Before you buy or start installation, it’s a good idea to check a few things:
- Door Thickness: Reliabilt deadbolts typically fit doors between 1 3/8 inches and 1 3/4 inches thick.
- Backset: This is the distance from the edge of the door to the center of the doorknob or deadbolt hole. The most common backset is 2 3/8 inches, but 2 3/4 inches is also common. Your Reliabilt lock will likely come with an adjustable latch to accommodate both.
- Hole Sizes: Ensure the holes in your door are the correct size for the deadbolt components.
If you’re unsure about your door’s specifications, you can often find this information on your existing hardware or by measuring. For more detailed information on door preparation, resources like Family Handyman’s guide on installing deadbolts offer great visual aids.
Step-by-Step Installation Guide for Your Reliabilt Electronic Deadbolt
Now, let’s get down to business! We’ll walk through each step carefully. Remember, take your time, and don’t hesitate to re-read a step if something isn’t clear. Patience is key to a successful DIY project.
Step 1: Remove Your Old Deadbolt
First, we need to clear the way. If you have an existing deadbolt, you’ll need to remove it. This usually involves:
- Locating the screws on the interior side of the deadbolt.
- Using your Phillips head screwdriver to remove these screws.
- Once the screws are out, gently pull the interior and exterior parts of the deadbolt away from the door.
- You may also need to remove the latch mechanism from the edge of the door. Look for screws holding the latch plate in place. Remove these and slide the latch out of the door.
Step 2: Prepare the Door and Install the New Latch
Your Reliabilt deadbolt will come with a new latch mechanism. This is the part that slides into the door edge and connects to the bolt. It’s designed to extend into the strike plate on your door frame.
- Adjust the Latch (if needed): Most Reliabilt latches are adjustable for either a 2 3/8-inch or 2 3/4-inch backset. If your old latch was a different size, you might need to adjust this. Typically, there’s a small button or screw you can use to slide the latch mechanism forward or backward. Consult your Reliabilt manual for specific instructions on adjusting your model.
- Install the Latch: Insert the new latch into the hole on the edge of your door. Make sure the latch arm is facing the correct direction (usually toward the strike plate on the frame).
- Secure the Latch: Use the screws provided with your Reliabilt lock to secure the latch plate to the door edge. Ensure it’s flush with the door.
Step 3: Install the Exterior Deadbolt Assembly
This is the part with the keypad or touchscreen. It will connect to the latch you just installed.
- Feed the Cable: You’ll notice a cable coming from the exterior assembly. This cable needs to pass through the door and connect to the interior assembly. Carefully feed this cable through the hole in the door, above the latch mechanism.
- Position the Exterior Assembly: Align the exterior deadbolt assembly with the holes in your door, making sure the tailpiece (the flat metal bar) of the exterior assembly goes through the center of the latch mechanism.
- Ensure a Snug Fit: The exterior assembly should sit flush against the outside of your door.
Step 4: Install the Interior Deadbolt Assembly
This is the part that houses the batteries and the mechanism to turn the bolt. It connects to the exterior assembly and the latch.
- Connect the Cable: Take the cable from the exterior assembly and connect it to the corresponding port on the interior assembly. It usually clicks into place.
- Align and Mount: Align the interior assembly with the exterior one, ensuring the tailpiece from the exterior assembly goes through the designated slot in the interior mechanism.
- Secure with Screws: Use the provided screws to attach the interior assembly to the exterior assembly through the mounting holes. These screws go through the interior assembly and into the exterior one, essentially clamping the whole unit to the door. Tighten them securely, but don’t overtighten, as this could damage the door or the lock.
Step 5: Install the Batteries and Test the Lock
This is an exciting step where you get to see your new lock come to life!
- Insert Batteries: Open the battery compartment on the interior assembly (usually a small cover that slides or pops off). Insert the batteries, paying close attention to the correct polarity (+ and -).
- Initial Test: Once the batteries are in, the lock might power up. Try pressing the buttons or using the touchscreen. You should hear some sounds or see lights indicating it’s active.
- Manual Operation Test: Before programming codes, test the manual locking and unlocking mechanism from the inside. Ensure the bolt extends and retracts smoothly.
- Door Orientation Test: It’s crucial to test the lock’s operation when the door is closed. Open your door, then use the interior thumb-turn to lock it. Does it operate smoothly? Now, try unlocking it from the inside. If it feels stiff or doesn’t move freely, check that the latch and bolt are aligned correctly with the door frame. Sometimes, minor adjustments to the strike plate on the door frame might be necessary.
Step 6: Program Your Master and User Codes
This is where you make the lock yours and set up access for others. Your Reliabilt manual will have the exact sequence for your model, but the general process involves:
- Entering Master Code Mode: Usually, you’ll press a specific button (like the “Program” or “Lock” button) and then enter a default master code (often 1234) or the existing master code.
- Setting a New Master Code: You’ll then be prompted to enter a new master code. This is a code only you will know and is used for programming other codes. Choose something secure and memorable.
- Adding User Codes: After setting the master code, you can add user codes. You’ll typically press a button, enter the master code, then press another button, and enter the new user code.
- Deleting Codes: The process for deleting codes is similar, often involving entering master code mode and then a specific sequence for deletion.
Important Note: Always refer to your specific Reliabilt model’s instruction manual for the exact button sequences and code lengths. For instance, some models require a specific number of digits for user codes.
Step 7: Install the Strike Plate on the Door Frame
The strike plate is the metal piece on your door frame that the deadbolt extends into. For proper security and smooth operation, it needs to be aligned perfectly.
- Align the Strike Plate: Close your door and have someone hold the exterior deadbolt assembly in place. Observe where the deadbolt bolt aligns with the door frame.
- Mark and Adjust: You may need to adjust the position of the strike plate. If the bolt doesn’t easily enter the strike plate hole, you might need to slightly enlarge the hole or reposition the plate. Most Reliabilt locks come with a standard strike plate, but you might need a “deadbolt strike plate” for better security.
- Secure the Strike Plate: Use the screws provided to attach the strike plate firmly to the door frame.
Step 8: Final Testing and Troubleshooting
With everything installed, it’s time for a thorough test run.
- Test All Codes: From the outside, try your master code and any user codes you’ve programmed. Ensure they unlock the door.
- Test Auto-Lock (if applicable): If your lock has an auto-lock feature, test it to ensure it engages after the set time.
- Test Manual Lock/Unlock: From the inside, use the thumb-turn to lock and unlock.
- Check Smoothness: Ensure the bolt extends and retracts without any sticking or resistance.
Troubleshooting Common Issues:
If your lock isn’t working as expected, don’t panic! Here are a few common fixes:
- Bolt Sticking: This is often due to misalignment. Check that the latch and bolt are perfectly aligned with the strike plate. Minor adjustments to the strike plate or even the bolt itself might be needed. Sometimes, the door may sag slightly, causing misalignment.
- Keypad Not Responding: Ensure the batteries are fresh and inserted correctly. Check that the cable is securely connected between the interior and exterior assemblies.
- Lock Won’t Engage: Double-check that the tailpiece from the exterior assembly is properly seated in the interior mechanism and that the interior assembly is securely screwed to the exterior one.
For more in-depth troubleshooting, resources like the Consumer Product Safety Commission (CPSC) offer general advice on home lock safety, which can be indirectly helpful.
Maintaining Your Reliabilt Electronic Deadbolt
Once your Reliabilt electronic deadbolt is installed and working perfectly, a little bit of maintenance will ensure it continues to function reliably for years to come. Think of it like caring for a well-made piece of furniture – a little attention goes a long way.
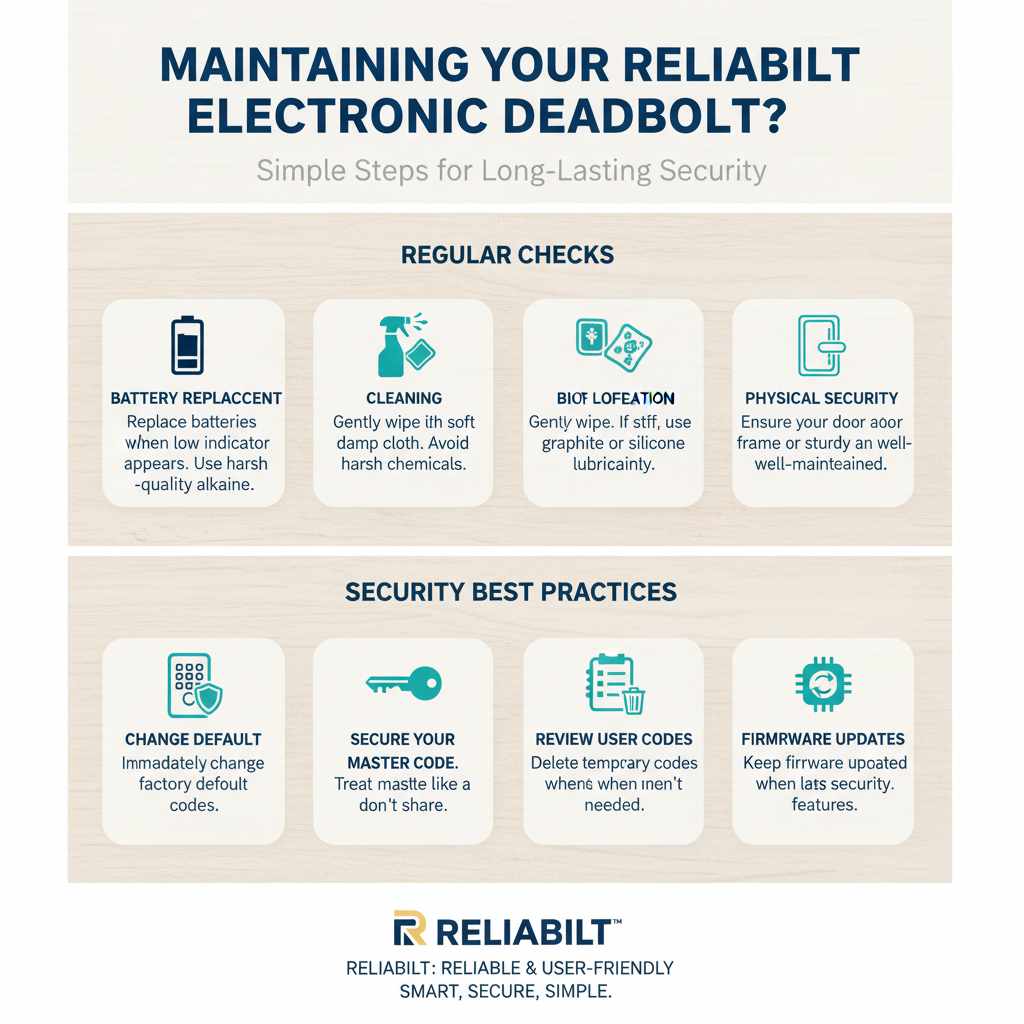
Regular Checks:
- Battery Replacement: Most electronic locks will give you a warning when batteries are low. It’s good practice to replace them at least once a year, or whenever the low battery indicator appears, to avoid being locked out. Use high-quality alkaline batteries for best performance.
- Cleaning: Gently wipe down the exterior keypad or touchscreen with a soft, damp cloth. Avoid harsh chemicals or abrasive cleaners that could damage the finish or electronics.
- Bolt Operation: Periodically (perhaps every few months), test the manual lock and unlock function from the inside. Ensure the bolt moves freely. If it feels stiff, a small amount of lubricant (like graphite or a silicone-based spray) can help, but use it sparingly.
Security Best Practices:
- Change Default Codes: Always change the factory default master and user codes immediately after installation.
- Secure Your Master Code: Treat your master code like a key. Don’t share it with anyone you don’t want to have full programming access.
- Regularly Review User Codes: If you’ve given codes to temporary visitors or service providers, remember to delete their codes when they are no longer needed.
- Physical Security: While electronic deadbolts are secure, ensure your door and door frame are also sturdy and well-maintained. A strong door is the first line of defense.
Comparing Reliabilt Electronic Deadbolts with Other Options
When considering smart locks, it’s helpful to see how Reliabilt stacks up. Reliabilt often focuses on ease of use and reliable performance at a competitive price point, making them a great choice for homeowners new to smart lock technology.
Here’s a general comparison:
| Feature | Reliabilt Electronic Deadbolts | High-End Smart Locks (e.g., August, Schlage Connect) | Traditional Deadbolts |
|---|---|---|---|
| Keyless Entry | Yes (PIN Code) | Yes (PIN Code, Smartphone App, sometimes Fingerprint) | No |
| Smart Home Integration (Wi-Fi, Z-Wave, Bluetooth) | Varies by model, often basic connectivity | Common, with app control, voice assistant integration | No |
| Installation Difficulty | Beginner-friendly | Beginner to Intermediate | Beginner |
| Price Point | Affordable to Mid-Range | Mid-Range to High-End | Low to Mid-Range |
| Security Features | Solid basic security, auto-lock options | Advanced features like tamper alerts, activity logs, remote access | Relies on physical key security |
| Battery Dependence | Yes | Yes | No |
Reliabilt’s strength lies in its ability to offer the core benefits of an electronic deadbolt – keyless entry and enhanced convenience – without the complexity or higher cost of some advanced smart home systems. They are an excellent starting point for anyone looking to upgrade from a traditional lock.
Frequently Asked Questions (FAQ)
Q1: Do I need to drill new holes in my door to install a Reliabilt electronic deadbolt?
Typically, no. Reliabilt electronic deadbolts are designed to replace standard deadbolts, using the existing holes for the latch and the main bolt assembly. Always check your specific model’s requirements, but most are made for easy retrofitting.
Q2: How long do the batteries last in a Reliabilt electronic deadbolt?
Battery life can vary depending on usage and the quality of the batteries. However, most Reliabilt electronic deadbolts can last anywhere from 6 months to over a year on a single set of batteries. Your lock will usually provide a low battery warning.
Q3: What happens if the batteries die and I’m locked out?
Most Reliabilt electronic deadbolts have a backup power source option. This often involves a 9-volt battery terminal on the exterior of the lock that you can touch with a 9-volt battery to temporarily power the lock and enter your code.
Q4: Can I install a Reliabilt electronic deadbolt on any door?
Reliabilt deadbolts are designed for standard interior and exterior doors. Ensure your door thickness and backset measurements are compatible with the lock specifications. Very old or unusually sized doors might require custom fitting.
Q5: Is it difficult to program the access codes?
No, programming access codes for Reliabilt electronic deadbolts is generally straightforward. The process usually involves pressing a few buttons and entering your master code followed by the new user codes, as detailed in the user manual. It’s designed to be user-friendly.
Q6: Can someone “hack” my electronic deadbolt?
Modern electronic deadbolts, including Reliabilt’s, use encrypted signals and secure programming methods. While no electronic device is entirely immune, the risk of unauthorized access via hacking is very low for typical home use. Always use strong, unique codes and keep your lock’s firmware (if applicable) updated.
Conclusion
You’ve done it! By following these steps, you’ve successfully installed and programmed your Reliabilt electronic deadbolt. This project is a fantastic example of how a bit of guidance and a methodical approach can empower you to enhance your home’s security and convenience. You’ve gained a new skill, upgraded your home, and hopefully, built even more confidence in your DIY abilities. Remember, the goal is always a safe, functional, and satisfying result. Enjoy the peace of mind and the ease of keyless entry that your new Reliabilt deadbolt brings!