How to Sharpen a Hand Saw for Cleaner Cuts
Sharpen a hand saw only after you identify its tooth pattern and damage level. If the teeth are merely dull, light file strokes restore cutting. Bent, missing, or badly uneven teeth need more than filing. Ignoring the tooth geometry can leave the saw slower, rougher, and more likely to wander or bind in the cut.
What to check before sharpening
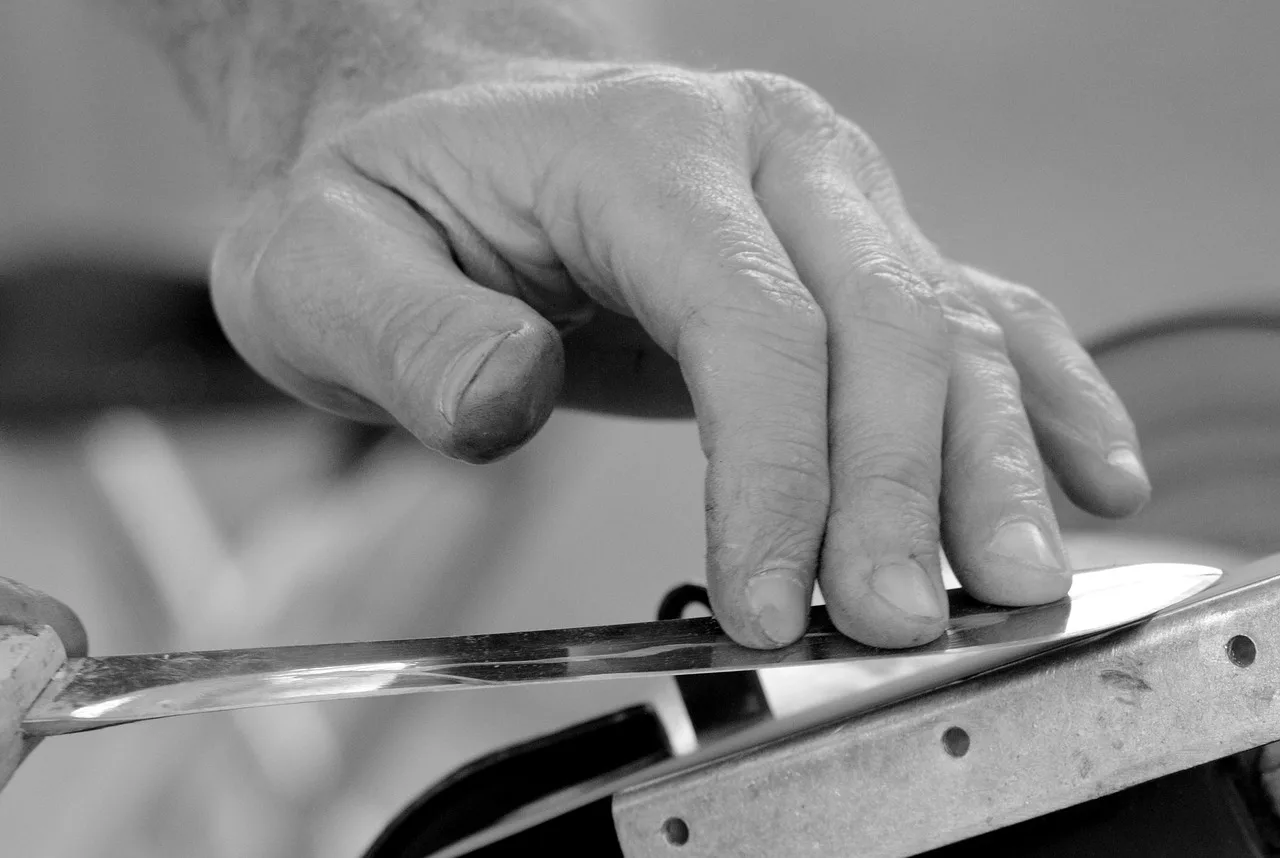


Start with the tooth pattern, not the file. A crosscut hand saw and a rip saw need different sharpening angles, so the wrong file path can ruin the original bevel and cutting action. For a crosscut saw, the tooth faces are filed to create a shearing action; for a rip saw, the faces are filed more square to chop with the grain. If the blade is rusty, packed with pitch, or missing several teeth, decide first whether cleaning, sharpening, re-setting, or replacement makes more sense.
Dull saws tear wood fibers and cut slowly. That symptom alone does not tell you whether the fix is a quick file touch-up or a deeper correction of tooth set and height.
Inspect the blade in this order
- Wipe off loose dirt so you can see the teeth clearly.
- Check for rust, pitch, and resin buildup.
- Look for broken, missing, or severely short teeth.
- Watch for crooked teeth or uneven set from side to side.
- Compare the tooth pattern to the saw type before you sharpen.
Suppose a 7 TPI crosscut saw is cutting slowly but the teeth are still even and intact. That is a sharpening job. If three teeth are snapped off and the rest are already short, replacement or professional re-toothing is the better call. A saw that is heavily over-filed, missing enough tooth height to preserve the original pattern, or broken across multiple teeth is usually smarter to replace than to keep grinding away at it.
What you’ll need
- Triangular or 3-square saw file matched to the tooth pitch
- Mill bastard file if the saw’s condition calls for it
- Saw vise or a solid clamp
- Saw set for correcting crooked teeth
- Jointer for leveling uneven tooth height
- Wire brush, steel wool, or solvent for cleaning rust and pitch
- Eye protection
- Shop rag or paper towels for drying the blade
The file choice depends on teeth per inch, or TPI. Coarse teeth are about 2-4 TPI, medium teeth are about 5-7 TPI, and fine teeth are about 8+ TPI. Match the file size to that pitch so the file restores the bevel without cutting too much off the tooth. That sizing guidance aligns with common saw-sharpening references: the file should fit the gullet without riding high on the tooth faces or bottoming out in the valleys.
How do you clean a hand saw first?
Remove rust, resin, and dirt before any filing. Clean steel shows the tooth shape, reveals uneven set, and helps the file bite evenly. A dirty blade hides damage, and sharpening over contamination usually leaves the cut rougher rather than cleaner.
- Clamp the saw with the teeth pointing up.
- Scrub the blade with a wire brush or steel wool.
- Use solvent on pitch or resin, then wipe the blade dry.
- Inspect the teeth again under good light.
- Stop if rust has eaten away so much tooth height that the profile is no longer workable.
A common first-timer mistake is filing through a gummy blade and calling the result “dull teeth.” The problem is often contamination first, wear second. Clean it until the tooth edges are visible, then judge the geometry again.
How do you match the file to the teeth?
Use TPI to pick the file, then keep the original sharpening angle. The file is there to restore the existing bevel, not to invent a new tooth shape. Short, even strokes matter because uneven pressure changes the cut and can over-file one side. Saw-sharpening references commonly pair a triangular file with the tooth pitch so the file cuts the face cleanly without flattening the point or distorting the gullet.
- Count or estimate the TPI.
- Select a file that fits the tooth spacing without crowding the gullets.
- Hold the file so it follows the original bevel.
- Use short, even strokes in the same direction for each tooth.
- Do not tilt the file to “improve” the cutting angle.
For crosscut saws, preserve the crosscut bevel pattern. For rip saws, keep the rip geometry. The cutting action is different, so the file path should be different too. A crosscut pattern is built to sever fibers across the grain, while a rip pattern is built to clear material along the grain; changing one into the other usually hurts performance.
How to sharpen the saw teeth
Secure the blade in a saw vise with the teeth facing up. Then level the tops if needed, file the teeth in sequence, and flip the saw for the second pass. Use a saw set only when the teeth are not bent evenly; do not reach for it when the teeth are simply dull. If a tooth is broken off at the line of points or so short that the file cannot preserve the original pattern, stop and consider replacement or re-toothing instead of forcing the blade into a new geometry.
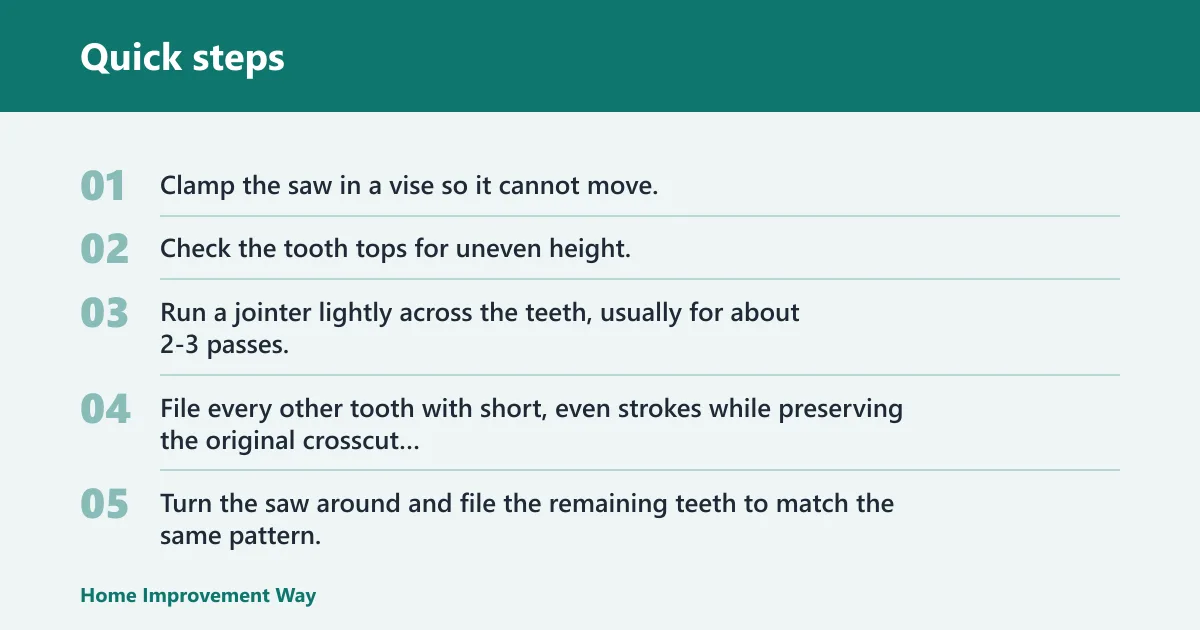
Crosscut saw sharpening steps
- Clamp the saw in a vise so it cannot move.
- Check the tooth tops for uneven height.
- Run a jointer lightly across the teeth, usually for about 2-3 passes.
- File every other tooth with short, even strokes while preserving the original crosscut bevel.
- Turn the saw around and file the remaining teeth to match the same pattern.
- Use a saw set only on teeth that are crooked or unevenly bent.
- Finish with a light stone pass if the cut needs to be smoother.
Keep the filing pressure consistent from tooth to tooth. If you press harder on one stroke and lighter on the next, the saw can drift in the cut or feel grabby on one side. For crosscut saws, the angle and file path matter as much as the edge itself; changing the bevel turns a shearing tooth into a poor imitation of a rip tooth.
Rip saw sharpening steps
- Clamp the saw in a vise so the blade is stable.
- Inspect the points and tooth faces for uneven height or damage.
- Joint lightly if the tooth tips are inconsistent and enough tooth remains to preserve the profile.
- File straight across the tooth line to preserve the original rip geometry.
- Use the saw set only to correct teeth that are actually bent out of line.
- Stop if filing would shorten the teeth so much that the gullet and point shape can no longer do their job.
Picture a 10 TPI crosscut saw with one side of the set leaning farther out than the other. Filing alone will not fix that. Straighten the crooked teeth with a saw set first, then return to the file so the tooth faces match the pattern again.
How do pruning saws fit into this?
Many pruning saws are not practical candidates for hand sharpening. A lot of them use impulse-hardened teeth, which are made to stay sharp for a long time but are not meant to be filed easily with ordinary hand tools. If the saw is only dirty or resin-coated, cleaning the blade and clearing the gullets may restore most of the cutting action. If the teeth are impulse-hardened and worn, chipped, or misshapen, replacement is usually the better option than trying to re-sharpen the entire blade by hand.
That same rule applies when the tooth tips are rounded but the blade has a coating of sap or sawdust residue. Clean first, inspect second, and replace when the teeth are too hard, too thin, or too damaged to restore without specialized equipment.
Hand saw sharpening decision grid
This bench checklist helps you choose the right action before you file. Use it to match the saw type, TPI, and damage level to the correct tool, then stop when the blade has too little tooth height or too much distortion to correct safely.
| Saw type | TPI range | Visible problem | Required tool | Do / don’t action | Stop condition |
|---|---|---|---|---|---|
| Crosscut hand saw | 5-7 TPI, often 8+ on finer saws | Slow cut, intact teeth, rust or pitch present | Wire brush, solvent, matched triangular file, vise | Do clean first and file to the original bevel; don’t change the cutting angle | Stop if teeth are too short to preserve the pattern |
| Rip saw | 2-4 TPI or medium rip pitch | Dull points, uneven sharpened faces | Matched file, vise, jointer if needed | Do keep the rip geometry; don’t sharpen it like a crosscut saw | Stop if several teeth are broken or badly over-filed |
| Damaged teeth case | Any pitch | Broken teeth, crooked set, uneven tooth height | Saw set, jointer, file, or replacement blade | Do correct set or height only when enough tooth remains; don’t force a full sharpening job | Stop if the tooth line is too uneven to restore in a few passes |
Common mistakes
Most sharpening mistakes come from treating every saw the same. The fix is to match the tool and action to the tooth condition, then stop before the geometry changes too much.

- Wrong geometry: Filing a crosscut saw like a rip saw changes how it cuts.
- Wrong file size: A file that is too large can over-cut fine teeth; a file that is too small wastes time and leaves ragged faces.
- Too much jointing: One or two light passes are usually enough; heavy jointing shortens the teeth fast.
- Uneven filing: Filing one side harder than the other creates drift in the cut.
- Skipping cleaning: Rust and pitch hide wear and make the file track poorly.
If that didn’t work, try this next: check whether the saw has enough tooth height left for a clean file pass. If not, a saw set or replacement is the next practical step. Filing harder is not the answer when the tooth profile is already gone. For impulse-hardened pruning saws, replacement is often the smarter choice once cleaning no longer restores cutting speed.
For upkeep, clean the blade after use, dry it before storage, and keep it away from damp walls or concrete floors. A light wipe of rust prevention on the steel helps slow corrosion, which makes the next sharpening easier.
Frequently asked questions
When should a pruning saw be replaced instead of sharpened?
Replace a pruning saw when the teeth are impulse-hardened and ordinary filing will not meaningfully restore the edge, or when the blade is worn, chipped, or too contaminated to clean back into service. If cleaning removes pitch and sap but the cut still stalls, replacement is usually more practical than forcing a hand-sharpening method that the tooth material was not designed for.
Sources
- Disston saw-sharpening guidance on crosscut and rip tooth geometry, saw set use, and jointing sequence.
- Fine woodworking references on saw file sizing by TPI and preserving the existing bevel during filing.
- Traditional saw maintenance references on when tooth wear, broken teeth, or hardened teeth make replacement or re-toothing more practical than hand filing.
Sponsored / affiliate links. As an Amazon Associate I earn from qualifying purchases. I may earn additional commission from eligible campaigns.