How to Replace a Circular Saw Blade Safely
Replace a circular saw blade after a quick check: replace it if teeth are missing, cracked, warped, or badly dull; clean it if pitch is the issue; sharpen it if the carbide still appears intact. A loose blade or wrong installation can cause poor cuts, overheating, and kickback. This guide shows the safety checks, the replace-versus-clean decision, and the correct steps to swap the blade.
What you’ll need
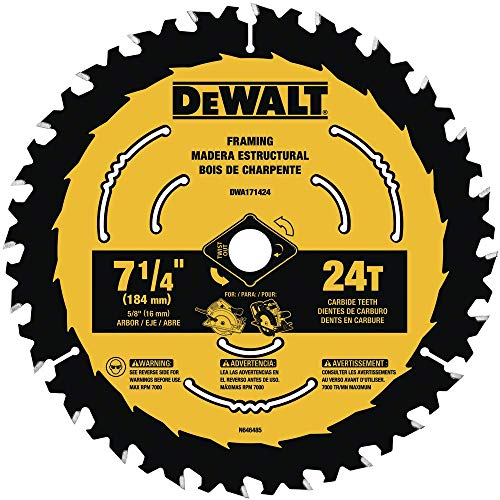


Before you start, gather the correct tool for your model and basic PPE. OSHA recommends appropriate eye protection and task-appropriate guarding around saw operations, while NIOSH guidance supports dust protection when cutting can create airborne particles. Use the manual for your saw model so you can match the fastener, rotation, and arbor size correctly. OSHA eye and face protection and NIOSH respirator selection guidance are useful references for the safety basics.
- Safety glasses
- Gloves
- Dust mask
- Hearing protection
- Correct wrench or key for the arbor bolt or arbor nut
- Replacement blade that matches the saw’s rotation arrow
- Replacement blade with the correct arbor hole size
- Soft brush or rag for dust and pitch buildup
Blade decision table
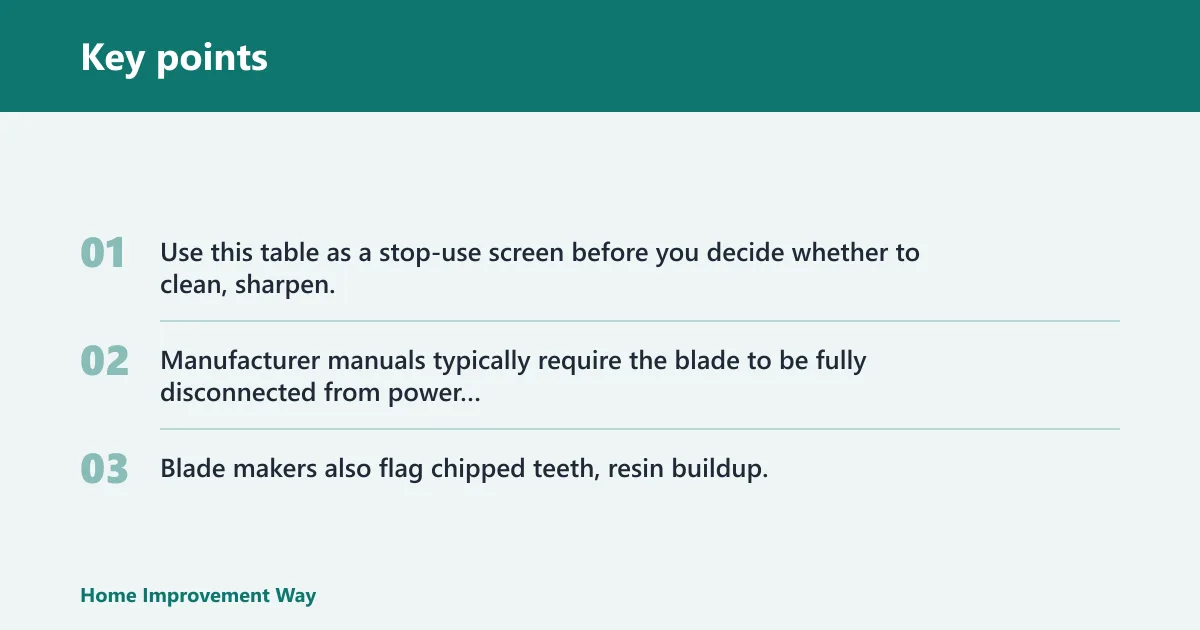
Use this table as a stop-use screen before you decide whether to clean, sharpen, or replace the blade. Manufacturer manuals typically require the blade to be fully disconnected from power before service and specify the thread direction and fastener sequence for removal; for example, see a typical circular saw manual such as DEWALT product manuals. Blade makers also flag chipped teeth, resin buildup, and dull cutting as signs that service or replacement is needed, such as in Freud’s blade care guidance.
| Symptom | Likely cause | Safest next action | Stop-use warning |
|---|---|---|---|
| Burning | Dull teeth, resin buildup, or wrong blade type | Stop cutting, inspect the blade, and clean or replace as needed | Stop if the cut heats rapidly or the workpiece scorches |
| Smoke | Heavy friction from dull teeth, pitch buildup, or binding | Stop cutting, let the blade cool, and inspect for damage | Do not keep cutting through smoke |
| Motor strain | Dull blade, incorrect feed rate, or blade not suited to the material | Reduce feed pressure and inspect the blade; replace if worn or damaged | Stop if the motor bogs down, stalls, or labors unusually hard |
| Wobble | Warped plate, bent arbor hole, loose flange, or improper seating | Remove the blade and inspect the arbor, flange, and blade body | Stop immediately if the blade does not run true |
| Chipped teeth | Impact damage or contact with fasteners, knots, or hard material | Replace the blade | Do not reuse a blade with damaged teeth |
| Stripped nut | Cross-threading, over-tightening, or wrong tool size | Stop use and repair the fastener before reinstalling a blade | Do not force the nut or bolt |
| Resin buildup | Pitch, sap, or adhesive residue on the plate and gullets | Clean the blade and recheck cut quality | Stop if cleaning does not restore smooth cutting |
| Rust | Moisture exposure or storage corrosion | Clean light surface rust; replace if pitting is present | Stop if rust has weakened the plate or teeth |
| Binding | Dull blade, misalignment, wrong blade type, or pinching stock | Check blade sharpness, alignment, and material pressure | Stop if the blade binds partway through the cut |
| Slow cuts | Dull blade, buildup, or incorrect tooth count for the job | Clean first, then sharpen or replace as needed | Stop if slow cutting comes with heat, smoke, or chipping |
Does the blade need replacement?
Start with the blade itself, not the wrench. Replace the blade if teeth are chipped, cracked, missing, or the plate is warped; clean it if pitch is built up; sharpen it if the carbide is intact but the cut has slowed. A dull blade can make the saw take longer to cut than before.
Inspect tooth condition and the blade body
Look for damage before you assume the blade is simply dull. Safety guidance from blade manufacturers commonly points to chipped carbide, bent plates, and buildup as the key indicators that a blade is no longer performing safely. If the body is damaged or the blade no longer runs flat, replacement is the safer path.
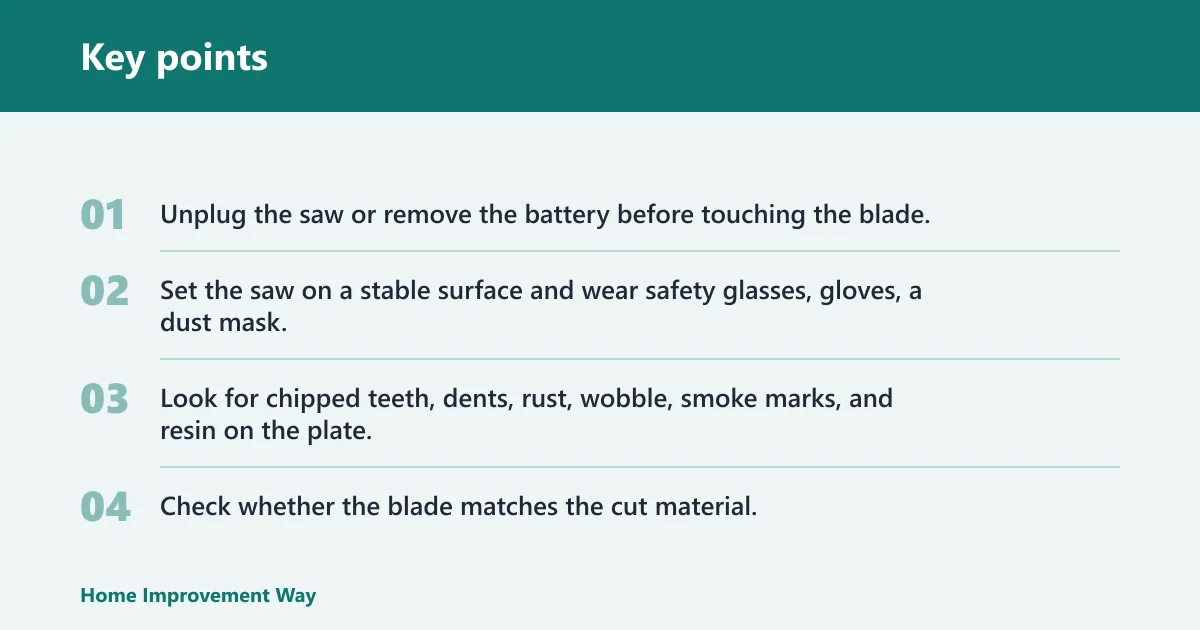
- Unplug the saw or remove the battery before touching the blade.
- Set the saw on a stable surface and wear safety glasses, gloves, a dust mask, and hearing protection.
- Look for chipped teeth, dents, rust, wobble, smoke marks, and resin on the plate.
- Check whether the blade matches the cut material; a blade meant for wood may not suit other materials.
Separate dull, dirty, and damaged blades
A dull blade can still be sharpened if the carbide teeth remain intact. A dirty blade often needs cleaning first, especially when pitch buildup is visible near the gullets. A blade with chips and dents should be replaced.
Say your 7-1/4 inch blade starts cutting slower in plywood and leaves more tear-out at the top edge. That points first to dullness or pitch buildup, not automatic replacement. If the teeth are intact and the plate is flat, cleaning or sharpening comes before buying a new blade.
Know when to stop using the saw immediately
Stop right away if the blade wobbles, smokes, binds halfway through a cut, or sends the motor into heavy strain. OSHA-style tool safety practice is simple here: if the tool is behaving unpredictably, shut it down and inspect it before resuming. Those are safety problems, not nuisance issues.
How do you remove the blade safely?
Unplug the saw or remove the battery, then lock the arbor if the model has one and loosen the blade fastener with the correct wrench. The arbor lock stops the blade from spinning while you work. Thread direction can vary by saw orientation, so use the direction marked by the manual or the saw body. Manufacturer manuals commonly specify the exact direction for loosening and tightening; for example, consult the model-specific instructions in DEWALT product manuals.
Find and engage the spindle lock
The spindle lock is acceptable to use only when the model provides one and the manual shows how to engage it. If your saw has a lock, use it. If it does not, do not improvise by forcing moving parts or jamming the blade; stop and use the manual’s supported method instead.
- Locate the spindle lock or arbor lock, often near the blade housing or motor body.
- Press or hold the lock until the blade stops rotating freely.
- Keep the lock engaged while you loosen the bolt or nut.
Loosen the blade bolt or arbor nut
Use the correct wrench, key, or hex tool that fits the fastener. Do not round the nut with pliers or an adjustable tool. Turn the fastener in the correct direction for that saw’s thread setup; some saws loosen clockwise, others counterclockwise. If you are unsure of the thread direction, stop and verify it in the manual before applying force.
- Fit the wrench fully onto the arbor nut or bolt.
- Apply steady pressure instead of jerking the tool.
- Remove the outer washer or flange in the order the saw uses.
- Lift the old blade off the arbor and set it aside safely.
A common first-timer mistake is trying to break a seized nut loose with a screwdriver blade, a nail, or another improvised tool. That can damage the arbor threads and make the next blade change harder.
What if your saw has no spindle lock?
Some older saws do not have a spindle lock. In that case, use the model manual to find the intended lock point, then stabilize the blade and arbor without forcing the mechanism. If the nut is seized or the wrench is missing, stop and get the proper tool before trying again.
Stabilize the blade without forcing the arbor
Acceptable methods are limited to what the manual allows and what lets you control the tool without damaging the arbor or teeth. Not acceptable: clamping the blade teeth in a vise, prying on the guard, or using scrap wood to jam the blade unless the manufacturer specifically says that method is allowed.
- Unplug the saw or remove the battery and expose the fastener safely.
- Hold the blade only as the manual allows, using the correct contact points.
- Brace the saw body on a bench so the tool cannot twist under load.
- Loosen the nut with the proper wrench and the correct thread direction.
Stop if the nut is seized or the wrench is missing
Do not clamp the blade teeth in a vise or jam the housing with scrap wood unless the manufacturer specifically permits that method. If the fastener will not move with the proper wrench, the safest next step is to stop and address the seized threads rather than risk stripping the arbor.
How do you install the new blade?
Match the rotation arrow, confirm the arbor hole size, and seat the replacement blade flat against the flange. Tighten the arbor nut or bolt securely, but do not over-tighten it. The blade should sit flat, spin straight, and match the saw’s use case for the material being cut.
Match the rotation arrow and arbor hole
A wrong blade type can look installed correctly and still cut poorly. Match the rotation arrow to the saw, then confirm the arbor hole size before tightening anything. If the blade does not match the saw’s intended diameter, arbor size, or material rating, stop and source the correct blade rather than forcing the fit.
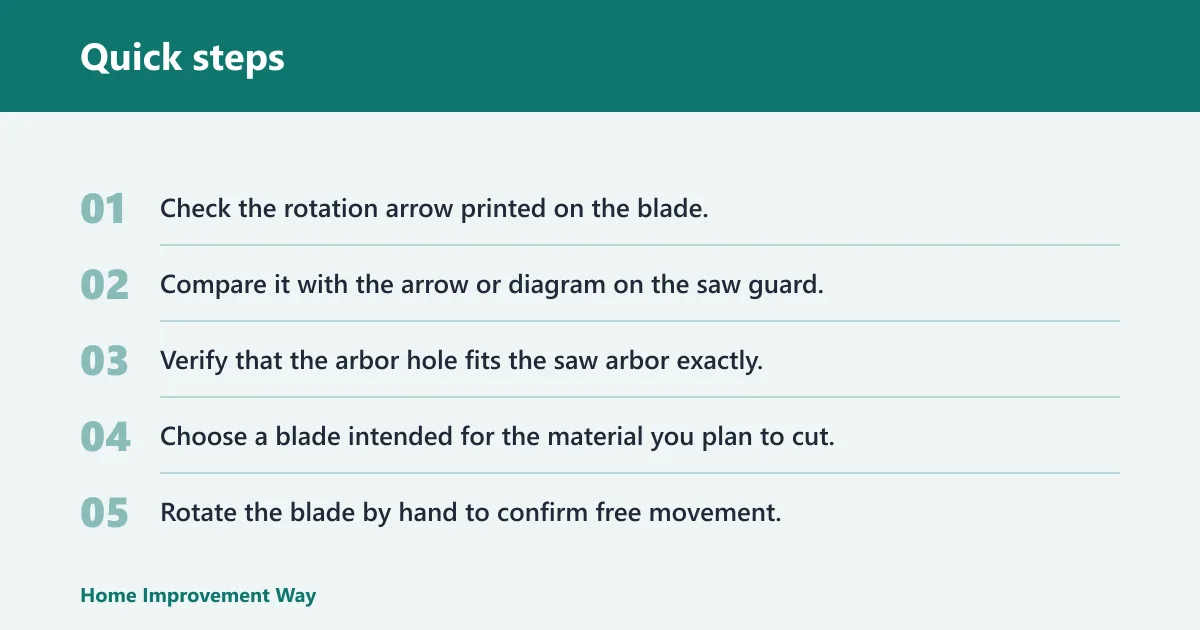
- Check the rotation arrow printed on the blade.
- Compare it with the arrow or diagram on the saw guard.
- Verify that the arbor hole fits the saw arbor exactly.
- Choose a blade intended for the material you plan to cut.
Seat the blade flat and tighten correctly
Place the blade on the arbor with the teeth pointing in the correct direction. Reinstall the washer and nut in the proper order. Tighten until secure; do not crank past firm seating, because over-tightening can make later removal harder and may stress the fastener.
Spin-check the blade before restoring power
The final check should be silent, smooth, and free of rub marks. If the blade scrapes, wobbles, or touches the guard, stop and correct the seating before powering the saw. A straight spin is the minimum safe standard before the first cut.
- Rotate the blade by hand to confirm free movement.
- Check that the guard moves back and forth without rubbing.
- Look for side-to-side wobble or scraping.
- Restore power only after the blade runs straight and clear.
Suppose a right-blade saw gets a replacement blade installed backward. The saw may still turn, but it will cut poorly and may heat up fast. Fix the orientation before making any cut, because the rotation arrow and tooth direction must agree.
Common mistakes
Most blade problems after replacement come from a few avoidable errors. Check these before cutting wood again.
- Installing the blade backward: The rotation arrow must match the saw’s rotation.
- Using the wrong arbor size: A loose fit can create wobble and unsafe cutting.
- Over-tightening the nut: Tight enough is the goal, not maximum force.
- Skipping the spin test: Always check that the blade turns freely and straight.
- Ignoring stop-use signs: Smoke, burning, wobble, and stripped threads call for a pause, not another cut.
Prevention
Clean pitch off the blade before buildup gets heavy, and inspect tooth condition after a job that produced heat, smoke, or slow cutting. A quick wipe and inspection can help you decide early whether the blade needs cleaning, sharpening, or replacement.
Frequently asked questions
How to change a circular saw blade black and decker
Use the model’s manual for the lock location, fastener type, and thread direction. Unplug the saw or remove the battery first, then engage the spindle lock or stabilize the arbor as directed. Black+Decker saws vary by model, so the correct wrench and blade orientation matter more than a generic removal sequence.
How to change a circular saw blade without wrench or key
Do not proceed until you have the proper wrench or key for the saw. A missing tool is a stop-use condition, not an invitation to improvise. Borrowing or sourcing the correct tool is safer than rounding the fastener, damaging the arbor, or creating a blade that cannot be secured correctly.
How to change a circular saw blade without arbor key
If the saw uses an arbor key, that key is part of the required service setup. Stop and get the correct key from the manufacturer or a matching replacement before continuing. Any workaround that does not fully engage the fastener can damage the threads or leave the blade unsafe to operate.
Sponsored / affiliate links. As an Amazon Associate I earn from qualifying purchases. I may earn additional commission from eligible campaigns.
 Fuller Brush Wood Floor Easy Clean Mist with Sprayer – 24 oz Gentle Cleaner with Vinegar for Hardwood & Laminate Floors – Removes Dirt, Dust & Stains – Safe for All Wood Finishes (Bottle with Sprayer)
 Fuller Brush Wood Floor Easy Clean Mist – 24 oz Gentle Cleaner with Vinegar for Hardwood & Laminate Floors – Removes Dirt, Dust & Stains – Safe for All Wood Finishes (Pack of 1)