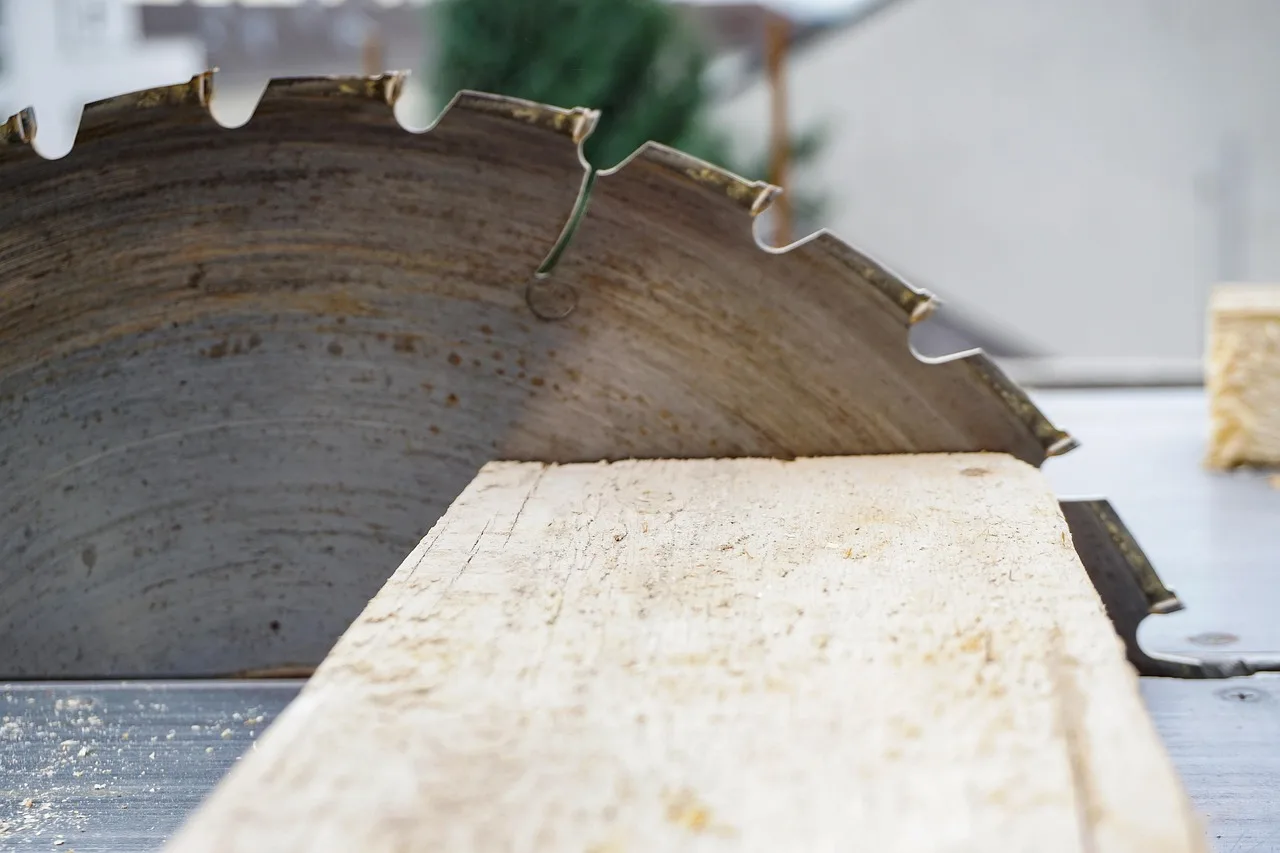
Saw Tools Guide: Types, Uses, Maintenance Basics
Match the saw to the cut: rip for along grain, crosscut for across it, fine-tooth for clean sheet goods, and carbide-tipped power-saw blades for most wood, metal, and masonry jobs. Use the wrong saw or a dull blade and cuts wander, burn, bind, and get dangerous fast. This guide maps common saw types to materials and cut direction, then covers setup, control, sharpening, cleaning, and storage to keep blades accurate and safe.
Three variables decide most saw choices: cut direction, material, and finish target. Once those are clear, maintenance gets easier because dulling, pitch buildup, rust, and tooth damage usually come from asking one blade to do work its teeth were never shaped to handle.
This guide is aimed at homeowner DIY work, occasional remodeling, and small-shop woodworking. I use the same job-first approach in my own shop: pick the saw by the cut, then follow the upkeep routine that keeps that saw cutting straight and clean.
What are the main types of saws and what is each used for?



A homeowner usually needs four handsaw patterns in mind: a general handsaw, a ripsaw for cuts with the grain, a crosscut saw for cuts across it, and a hybrid saw for mixed work. Each tooth pattern changes speed, finish, and control, so use follows tooth geometry more than the name stamped on the blade.
Handsaw basics: blade, handle, teeth, and tooth set
A handsaw works because four parts act together: the blade plate, which stays stiff enough to track; the handle, which sets wrist angle and control; the teeth, which sever and clear wood fibers; and the tooth set, the slight left-right bend that keeps the blade body from rubbing and binding in the kerf.
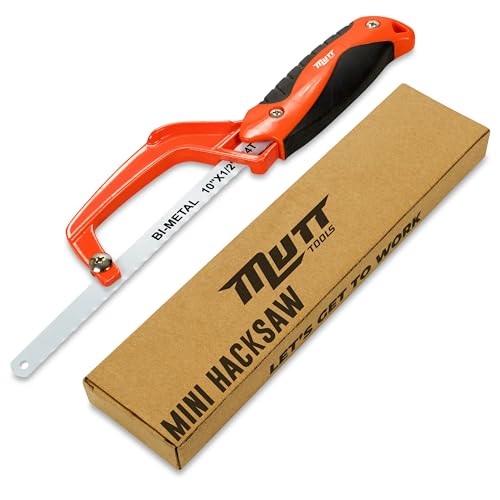
For precise manual cuts, a standard handsaw still makes sense. It is quiet, easy to control, and useful when a circular saw would be awkward or too aggressive.
Ripsaw: when to use it with the grain
Ripsaws are designed for cutting with the grain. They usually have fewer, larger teeth and a straighter rake on the leading edge, so the teeth act more like small chisels lifting fibers along the wood’s length. (thisoldhouse.com)
Use a ripsaw when trimming a board narrower, fitting framing stock, or cleaning up a long edge in solid lumber. It is a poor choice for finish crosscuts because the tooth pattern tends to leave a rougher edge.
Crosscut saw: when to use it across the grain
Crosscut saws are designed for cutting across the grain. Their teeth are smaller and more closely spaced than rip teeth, and the slanted leading edge severs fibers before clearing waste, which usually leaves a smoother face.
That makes a crosscut saw a better pick for cutting trim, shortening boards, and making visible end cuts that need less cleanup afterward.
Hybrid saw: where one saw can cover mixed project work
A hybrid saw blends rip and crosscut traits. For homeowners who build shelves one month and repair fence boards the next, it is often the practical middle ground.
The tradeoff is simple: it will not rip as quickly as a dedicated ripsaw or crosscut as cleanly as a dedicated crosscut saw. Still, for mixed project work, one decent hybrid handsaw can cover a lot of ground.
What do TPI, tooth shape, and tooth set mean on a saw blade?
TPI tells how many teeth sit in one inch of blade, tooth shape tells how those teeth attack the material, and tooth set tells how widely the kerf opens. Together they explain why one saw cuts fast and rough while another cuts slower, cleaner, and with better tracking.
TPI ranges and what speed versus finish looks like
Higher TPI means more tooth points sharing the cut, so each tooth takes a smaller bite and leaves a smoother edge, but the cut usually takes longer. Lower TPI means fewer teeth taking bigger bites, which speeds up rough work and leaves a rougher surface. This Old House cites 8 to 12 TPI as a smoother-cutting range and 4 to 7 TPI as a faster-cutting range.
In practice, low TPI is fine for rough framing, yard projects, and stock that will be hidden or cleaned up later. Higher TPI fits trim, visible joinery, and sheet goods where tearout is easier to spot.
Rip teeth versus crosscut teeth
Rip teeth clear material fast along the grain. Crosscut teeth slice fibers across the grain. That is why a rip-pattern blade can feel grabby on trim, while a crosscut-pattern blade can feel slow and dusty when pushed through a long rip in solid wood.
Power-saw blades follow the same logic. A blade meant for framing cuts quickly but may leave splintered plywood edges. A finer blade takes longer yet usually leaves a better finish.
How tooth set affects kerf, tracking, and finish
Tooth set is the slight bend in alternating teeth. It creates clearance so the blade body does not rub hard against the cut walls. More set can help a saw avoid binding in wet or soft wood, but it can also leave a wider kerf and a rougher edge.
Too little set often shows up as pinching, heat, and wandering. Uneven set is worse. The blade starts pulling to one side, which many users mistake for poor technique when the teeth are the real problem.
Why the wrong tooth pattern causes rough work
A coarse blade on thin plywood tends to tear the top veneer. A fine blade used for aggressive ripping tends to heat up, load with pitch, and drift because waste cannot clear well. Matching tooth geometry to the task prevents many problems people blame on cheap tools.
How do blade length and handle grip change control and cut quality?
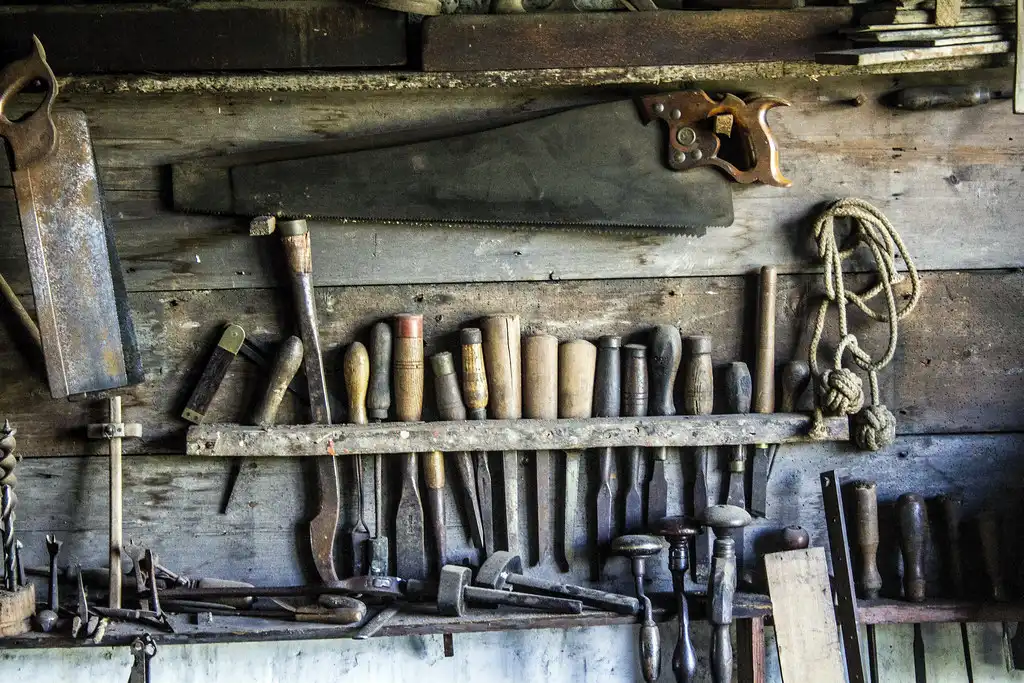
Blade length affects both capacity and ease of use. Long blades are more efficient for larger pieces of wood, while shorter blades are better for precise movements. I have found that handle shape matters almost as much, because a grip that fills the hand and keeps the wrist straight makes it easier to hold the line, stay relaxed, and avoid that tired forearm feeling halfway through a long cut.
Longer blades for larger stock
A handsaw’s blade length affects both cutting capacity and control. Long blades carry a longer stroke, clear sawdust better, and work well on wider boards because more teeth stay in the cut without short, choppy motion.
For homeowners breaking down lumber in open space, a longer blade can often feel smoother once the cut is established.
Shorter blades for tighter spaces and precision
Shorter blades are better where the workpiece is small, the layout line is close to other surfaces, or the cut must be guided carefully. They also help when working inside cabinets, around blocking, or anywhere a full stroke would hit something.
Why handle comfort matters before buying
A comfortable handle is considered imperative for precise cutting. If the grip forces the wrist into an awkward angle, the blade can tend to twist in the kerf. That leads to wandering cuts and tired hands.
Before buying, look for a handle that allows a full grip without sharp pressure points. On a handsaw, comfort is not a luxury. It is part of control.
How do I choose the right saw for my project?
Choose the saw by material first, then by cut direction, then by finish target. Solid lumber asks whether the cut follows or crosses the grain, sheet goods ask how clean the edge must be, and demolition or yard work asks for toughness and speed over appearance.
Choose by material
Framing lumber: low-TPI handsaw, rough-cut circular saw blade, or a ripsaw if the cut runs with the grain.
Plywood and melamine: fine-tooth crosscut-style handsaw for small work, or a fine-tooth circular or table saw blade to reduce tearout.
Trim and molding: higher-TPI hand or power blade for cleaner end grain and less sanding.
Sheet goods: support the panel well and use more teeth for a better edge.
Yard wood: handsaws for pruning-size work, chainsaw for logs and heavy outdoor cutting.
Choose by cut direction
Rip: use a ripsaw or rip-oriented table saw blade.
Crosscut: use a crosscut saw or finer crosscut power blade.
Curve: a standard handsaw is the wrong tool; switch to a saw made for curved work.
Plunge and demolition: use power tools built for that motion, not a fine finish blade.
Choose by finish target
For rough cuts that will be hidden, speed matters more than surface quality. For paint-grade work, reduce tearout and burn marks. For finish-ready edges, blade sharpness and tooth pattern matter as much as careful layout.
Simple selection chart by user type
| User or task | Typical work | Best starting saw choice | Priority |
|---|---|---|---|
| Occasional DIYer | Shelves, repairs, light trim | Hybrid handsaw and a fine-tooth circular saw blade | Versatility and easy upkeep |
| Remodeling homeowner | Framing fixes, plywood, casing | Crosscut handsaw, framing blade, finish blade | Separate rough and clean cuts |
| Small-shop woodworker | Repeat cuts, visible edges, joinery prep | Dedicated rip and crosscut options for hand and table saw work | Cut quality and tuneable maintenance |
How do I use a handsaw or power saw safely and accurately?
Accuracy starts before the blade moves. Mark clearly, support the work so the kerf can open, stand in balance, start the cut lightly, and keep feed pressure modest. Most jumpy starts, bent blades, and ragged edges come from poor setup or from forcing a saw that is dull or dirty.
Marking, support, and body position
Use a clear layout line on the waste side. Support the work close enough to the cut that vibration stays low, but leave room for the cutoff to move away without pinching the blade.
Handsaw users should keep a stable stance with feet shoulder-width apart. That stance keeps the cutting arm moving in line with the blade instead of across it.
How to start the cut cleanly
The saw should start with light, controlled strokes to create a shallow groove. That groove is the track. Once the teeth are seated, stroke length can increase.
Starting hard is a common mistake. It makes the blade jump, scars the face of the board, and starts the kerf crooked.
Stroke length, feed pressure, and control
Users should avoid bearing down too hard on the blade. Let the teeth cut. Extra force bends thin blades, overheats power blades, and leaves a wandering kerf.
- Mark the cut line clearly.
- Support both the workpiece and the cutoff.
- Line the shoulder, arm, and blade with the cut.
- Start with short, light strokes.
- Lengthen the stroke once the kerf is established.
- Ease pressure if the saw starts to bind, burn, or drift.
Power-saw basics that affect cut quality
On circular and table saws, poor blade height, weak support, and rushed feed rate show up fast. A blade set too low can tear fibers and may work harder. A feed rate that is too slow can leave burn marks, especially if pitch is baked onto the teeth.
Vibration matters. If the work rocks or the fence setup is off, even a sharp blade can wobble and leave washboard marks.
Why does my saw burn wood, tear out fibers, or wander off the line?
Burning usually points to dull teeth, resin buildup, the wrong blade, or a feed rate that is too slow. Wandering points to uneven tooth set, blade damage, poor support, or twisted technique. Tearout usually comes from coarse teeth, low TPI on fragile surfaces, or weak backing under the cut.
Burn marks
Burning is often maintenance-related. Pitch and resin coat the teeth, friction rises, and heat follows. A blade can act dull while still having decent edge sharpness simply because buildup is insulating the tooth faces and increasing drag.
Wrong blade choice also causes burns. A fine finish blade forced through a long rip in thick stock clears waste poorly and starts to cook the wood.
Wandering, wobble, and vibration
If a handsaw drifts to one side, look at tooth set, bent teeth, and whether the blade has been twisted. If a circular or table saw cut feels wavy, check for a dirty blade, damaged plate, arbor issues, or feed pressure from the side instead of straight ahead.
Binding can start a chain reaction: the user pushes harder, the blade heats, the cut goes off line, and the finish gets worse.
Tearout and rough edges
Tearout is common on plywood, veneered panels, and trim with reversing grain. Low TPI, unsupported fibers, and a blade that exits too aggressively all make it worse.
For cleaner results, use finer teeth, support the work fully, and keep the blade sharp and clean so it severs fibers instead of ripping them loose.
Quick troubleshooting before replacement
- Clean the blade first. Pitch can mimic dullness.
- Inspect for chipped, bent, or missing teeth.
- Check whether the tooth pattern matches the cut direction and material.
- Look for rust, which raises friction.
- Verify support, fence alignment, and feed technique.
- Sharpen or replace only after those checks.
Saw maintenance matrix: cleaning, storage, rust risk, and sharpen or replace triggers
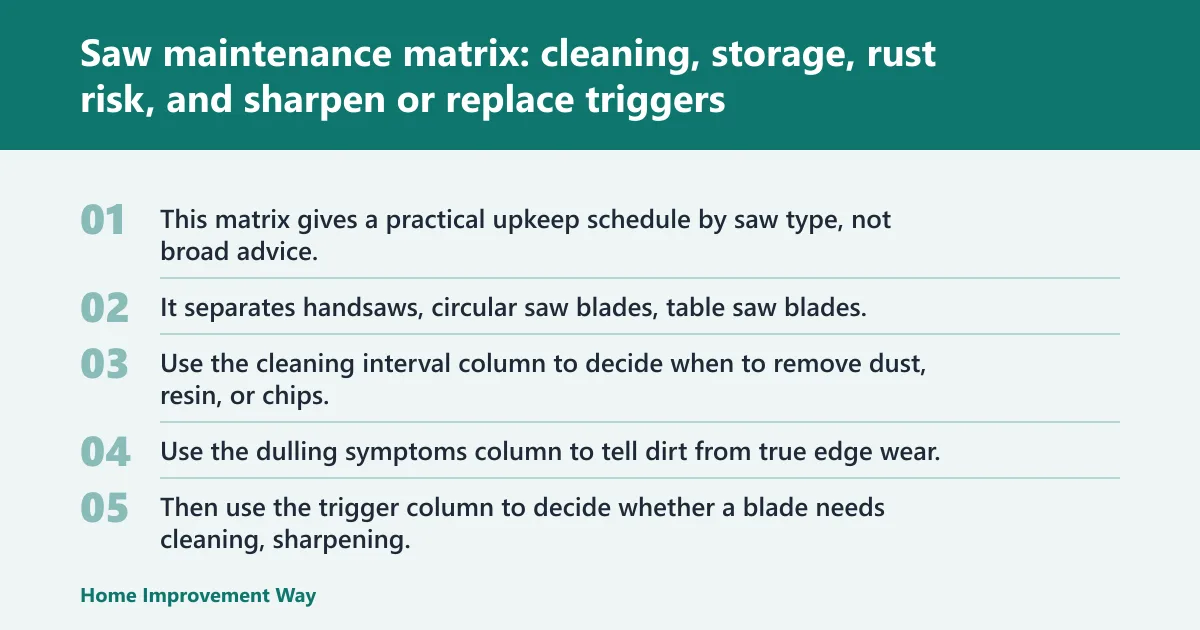
This matrix gives a practical upkeep schedule by saw type, not broad advice. It separates handsaws, circular saw blades, table saw blades, and chainsaw chains so cleaning interval, storage, rust risk, dulling symptoms, and sharpen or replace decisions match the tool that is actually in use.
How to read the one-page matrix
Use the cleaning interval column to decide when to remove dust, resin, or chips. Use the dulling symptoms column to tell dirt from true edge wear. Then use the trigger column to decide whether a blade needs cleaning, sharpening, or full replacement.
One-page saw maintenance matrix
| Saw type | Cleaning interval | Storage method | Rust risk | Dulling symptoms | Sharpen or replace trigger |
|---|---|---|---|---|---|
| Handsaw | Brush off dust after each use; wipe clean after resin-heavy wood; light inspection monthly or seasonally | Hang vertically or sheath the blade; keep dry; light oil film on steel if stored long term | Medium in damp garages; higher if stored against concrete or left with wet sawdust | Needs extra pressure, drifts off line, leaves fuzzy edges, binds in cuts that used to feel easy | Sharpen when teeth are intact but cutting effort rises; replace if blade is badly kinked, cracked, or tooth line is too damaged to file evenly |
| Circular saw blade | Inspect after each use; clean when pitch is visible or burns appear; deeper cleaning during heavy project periods | Store flat in a rack or hang on pegs with tooth contact protected; keep dry and separated | Medium; resin traps moisture and can start surface corrosion | Burn marks, slow feed, extra motor strain, more tearout, noisy cut entry | Clean first; sharpen if teeth are dull but intact; replace if carbide is chipped, missing, or the blade plate is warped |
| Table saw blade | Brush off dust after use; clean when resin coats tooth faces or cut quality drops; check seasonally for rust spots if seldom used | Store in blade cases, wall racks, or separated sleeves so teeth cannot strike each other | Medium to high in unheated shops | Burning on rip cuts, polished saw marks, wandering at the fence, more splintering on plywood | Sharpen when feed pressure and burn marks rise after cleaning; replace if plate runs rough, teeth are chipped badly, or repeated sharpening no longer restores cut quality |
| Chainsaw chain | Clean chips and oil residue after each session; inspect cutters and depth gauges regularly; clear packed debris from the bar area | Store oiled in a dry case or wrap; keep chain off wet floors and away from loose metal that can nick cutters | High outdoors if stored dirty or without oil | Fine dust instead of chips, pulling to one side, smoking in the cut, rattly feel, chain stretch issues | File when cutting speed drops or pull increases; replace if cutters are badly damaged, chain will not hold adjustment, or stretch and wear make safe tension hard to maintain |
What the matrix changes in practice
For homeowners, the key habit is separating after each use cleaning from monthly or seasonal checks. For small-shop work, resin control matters more because blades heat up from repeated use. For chainsaws, oiling and dry storage matter as much as sharpness.
How do I maintain a saw so it cuts cleaner for longer?

Keep cutting edges clean, dry, and stored so teeth do not strike other tools. Clean pitch before assuming a blade is dull, use light rust prevention on plain steel, and inspect for bent or chipped teeth often. Good maintenance prevents burn marks, drift, rough edges, and hard starts.
After each use versus monthly or seasonal care
After each use, remove sawdust, chips, and visible resin. Check for tooth damage, especially on power blades that may have touched nails, screws, or masonry by mistake.
Monthly or seasonally, inspect for rust film, handle looseness on handsaws, blade flatness on circular and table saw blades, and chain tension wear on chainsaws. The less often a saw is used, the more storage conditions matter.
Cleaning methods by saw type
Handsaws: brush dry debris away, wipe the blade clean, and use a light protective oil for long storage in damp spaces.
Circular and table saw blades: remove pitch and resin from the plate and tooth faces with a blade-safe cleaner and a non-abrasive brush. Heavy buildup increases heat and can look like dullness.
Chainsaw chains: clear oily sawdust packed around the chain and bar area. Dirt left there acts like grinding compound.
Best storage to prevent rust and tooth damage
Plain steel handsaws do best hanging or sheathed where the teeth are protected. Circular and table saw blades should be stored flat or hung with spacing so carbide tips do not knock together.
A damp garage is rough on every saw type. Wet sawdust, concrete contact, and unprotected steel are common causes of rust stains that later turn into friction problems.
When sharpening makes sense and when replacement is better
Sharpen when the blade is fundamentally sound: no crack, no major kink, no missing chunks of tooth, no serious warping. Replace when damage affects safety, balance, or the ability to hold a line.
For power blades, cleaning comes first. For handsaws, uneven tooth wear and damaged set often decide whether filing is worthwhile. For chains, repeated filing works until cutter length or chain condition says otherwise.
When should I replace or sharpen a saw blade?
Sharpen when the blade is intact but cuts slower, rougher, or hotter than it should after cleaning. Replace when teeth are chipped or missing, the blade body is bent or cracked, or wear has reached the point where sharpening no longer restores safe, accurate cutting.
How do I keep saw blades from dulling or rusting?
Keep blades clean, dry, and stored so teeth do not contact other metal. Resin and pitch trap heat, which speeds edge wear, and damp storage starts rust that adds friction. Most blades last longer when cleaned promptly after resin-heavy cuts and protected from humidity.
Frequently asked questions
What are the main types of saws and what is each used for?
The core homeowner set includes a general handsaw, a ripsaw for cuts with the grain, a crosscut saw for cuts across the grain, and a hybrid saw for mixed work. Power-saw blades follow the same idea: coarse for fast rough cuts, finer tooth patterns for cleaner edges.
How do I choose the right saw for my project?
Start with material, then cut direction, then finish target. Solid wood asks whether the cut goes with or across the grain. Plywood and trim usually need finer teeth. Rough framing accepts faster, rougher blades, while visible edges need cleaner tooth geometry and better support.
What do TPI and tooth shape mean on a saw blade?
TPI means teeth per inch. Higher TPI means smaller bites and a smoother cut, while lower TPI means bigger bites and faster stock removal with a rougher surface. Tooth shape controls whether the blade chops with the grain, slices across it, or balances both jobs with a compromise pattern.
How do I use a handsaw or power saw safely and accurately?
Mark clearly, support the work well, stand in balance, and start with light strokes or a controlled saw entry. Do not force the cut. Most accuracy problems come from poor setup, too much pressure, weak support, or using a dirty or dull blade.
Why does my saw burn wood or wander off the cut line?
Burning usually means resin buildup, dull teeth, the wrong blade for the cut, or slow feed that creates extra heat. Wandering usually means uneven tooth set, bent teeth, poor support, blade damage, or technique that twists the blade instead of driving it straight.
How do I maintain a saw so it cuts cleaner for longer?
Clean after use, remove pitch before it hardens, keep steel dry, and store blades so teeth stay protected. Inspect for rust, chipped teeth, bent plates, and looseness in handles or mounts. Separate quick after-use care from monthly or seasonal inspection for better long-term performance.
Sponsored / affiliate links. As an Amazon Associate I earn from qualifying purchases. I may earn additional commission from eligible campaigns.