How to Clean Resin Off Saw Blades Safely
Use the mildest cleaner that will remove the resin: warm water and dish soap for light film, a dedicated blade cleaner or pitch remover for sticky buildup, and a compatible degreaser only when the label says it is safe for carbide and steel. Poor cleaning can dull carbide, strip coatings, and leave rust behind. This guide shows how to remove resin from saw blades safely, step by step, for table saw, miter saw, and circular saw blades.
Safest cleaning order and dwell time for resin
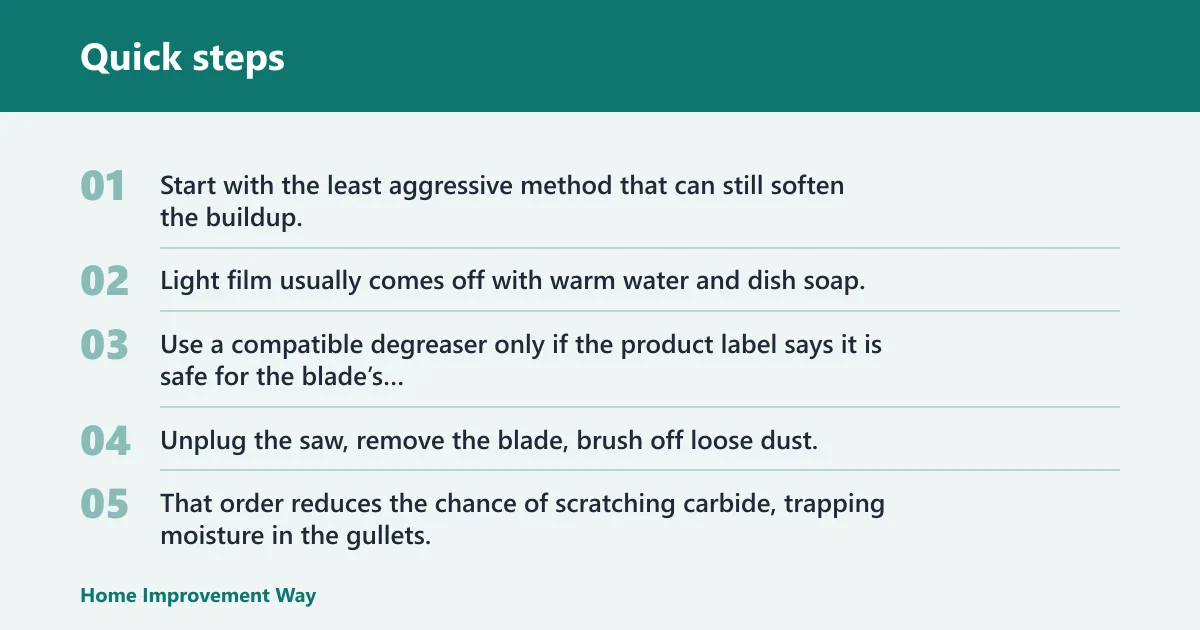


Start with the least aggressive method that can still soften the buildup. Light film usually comes off with warm water and dish soap, while sticky pitch often needs a blade cleaner or pitch remover. Use a compatible degreaser only if the product label says it is safe for the blade’s finish and materials.
Unplug the saw, remove the blade, brush off loose dust, then clean with a nylon brush and dry the blade fully before reinstalling it. That order reduces the chance of scratching carbide, trapping moisture in the gullets, or leaving residue behind the teeth. For blade-specific cleaner guidance, follow the cleaner maker’s instructions and dwell times, such as those listed by manufacturers and woodworking suppliers like Freud and Rockler.
Work from loose dust to softened residue, then finish with a full dry-down. That sequence is the safest for carbide blades because it limits abrasion, reduces moisture exposure, and helps you spot finish damage before the blade goes back on the saw. Follow the label dwell time and stop if the coating changes.
- Unplug the saw and remove the blade. Wear gloves and eye protection before you touch the teeth or any cleaner.
- Dust off loose debris first. Use a dry brush or a brief burst of compressed air to clear sawdust from the gullets, but do not treat that as cleaning.
- Apply the right cleaner. Spray or soak only enough to cover the buildup, then let it sit briefly so the resin softens.
- Scrub with a nylon-bristle brush. Work the teeth, gullets, and plate carefully; a metal brush can scratch carbide and finish.
- Use a non-marring scraper only for thick deposits. Lift the softened bulk first, then follow with cleaner and brush work.
- Wipe the blade completely dry. Check the arbor hole, gullets, and any brazed joints before reinstalling the blade.
If sticky residue remains after the first pass, repeat the cleaner step instead of pressing harder with the brush. Add enough cleaner to wet the residue again, then recheck after about 2 to 5 minutes. That is often enough for mixed sap and sawdust sludge without overexposing the finish. Manufacturer directions for many blade cleaners and degreasers use short dwell times like this because prolonged soaking raises the risk of finish damage and rust.
What you’ll need
- Gloves and eye protection
- Unplugged saw and removed blade
- Pitch remover or blade cleaner made for resin removal
- Mild degreaser or mineral spirits for sticky buildup
- Warm water and dish soap for light film
- Nylon-bristle brush
- Non-marring scraper made of plastic or wood
- Dry microfiber or lint-free cloths
- Compressed air or a soft brush for loose dust only
Why resin buildup matters
Resin pitch is sticky wood residue that builds on carbide teeth and the blade plate. It cuts performance, raises heat, and can make the cut feel rough or slow. Pine often leaves heavier resin than many hardwoods, and pressure-treated lumber can leave a mixed film of sap, dust, and grime that sticks fast.
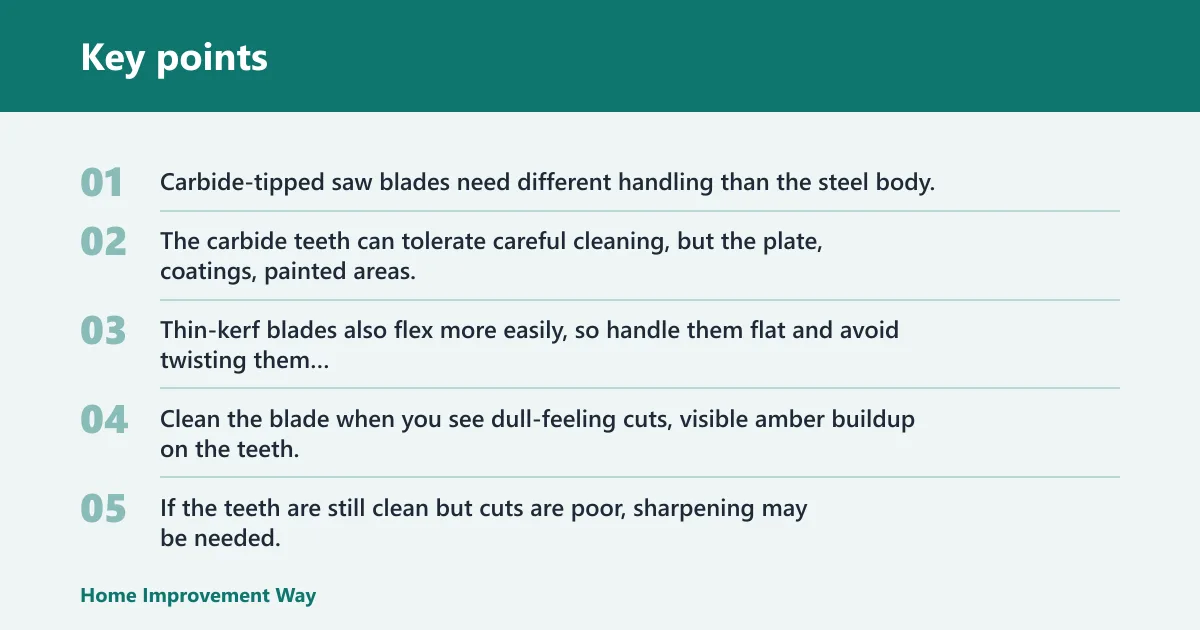
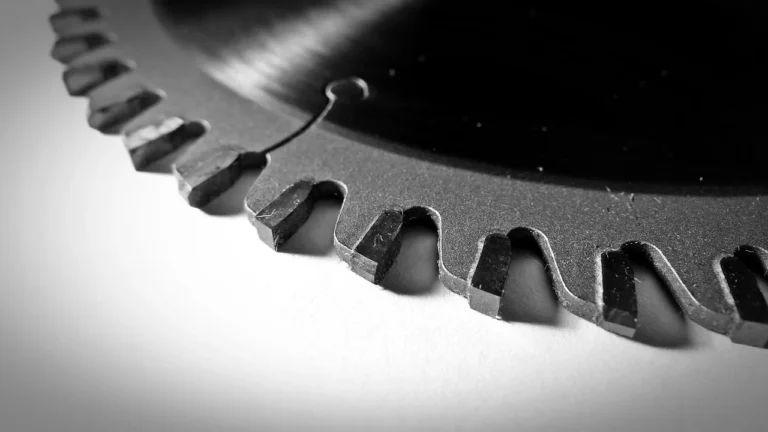
Carbide-tipped saw blades need different handling than the steel body. The carbide teeth can tolerate careful cleaning, but the plate, coatings, painted areas, and laser marks can be damaged by harsh scrubbing or strong solvents. Thin-kerf blades also flex more easily, so handle them flat and avoid twisting them while cleaning.
Clean the blade when you see dull-feeling cuts, visible amber buildup on the teeth, or a gummy edge that attracts dust. If the teeth are still clean but cuts are poor, sharpening may be needed. If you find chipped carbide, bent plate metal, or rust pitting, replacement may be the better choice.
Which cleaner should you use?
The safest cleaner depends on the buildup. Light film usually lifts with warm water and dish soap, then a nylon brush. Sticky pitch often responds well to a blade cleaner or pitch remover. A compatible degreaser can help when the label explicitly says it is safe for carbide blades and the blade coating or paint will not be affected.
Suppose a 10-inch table saw blade has a thin amber haze after cutting pine trim. A quick wipe with a mild cleaner is usually enough. If the same blade has dark, sticky deposits in the gullets after pressure-treated lumber, a short soak with a blade cleaner is the better first move.
What to avoid on coated blades
Anti-stick, nonstick, painted, and laser-marked bodies can be damaged by harsh solvents and aggressive scrubbing. Oven cleaner and acetone can strip finishes or discolor markings, especially if they sit too long. If the blade has a special coating, start with the mildest cleaner that loosens the residue and test a small area first.
Many tool and blade makers advise using non-caustic cleaners on coated blades and avoiding products that can attack paint or anti-stick finishes. For general solvent safety and ventilation guidance, see the OSHA chemical hazards page and the product label or SDS before you use any cleaner.
When should you soak, scrub, or wipe?
Use a quick wipe when the resin is light and powdery. Use a short soak when sap and sawdust have mixed into sludge. Scrape first when deposits are thick enough to bridge across a gullet or coat the side of the plate. Soaking is a tool, not a default, and the best dwell time is the shortest time that softens the buildup.
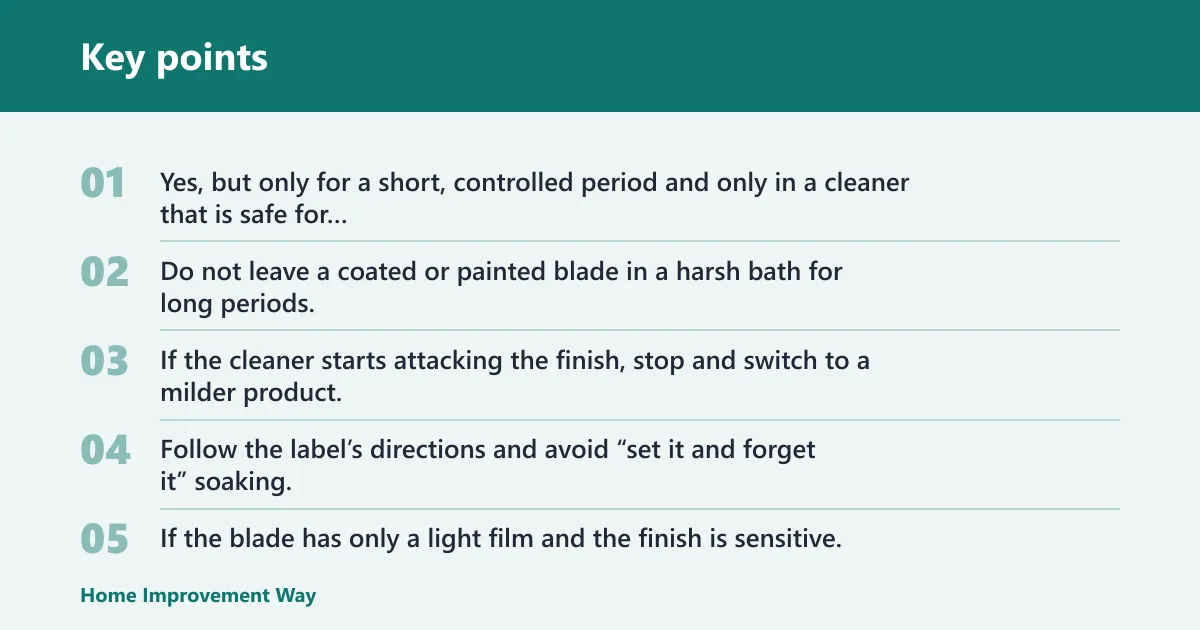
Can you soak a saw blade in degreaser? Yes, but only for a short, controlled period and only in a cleaner that is safe for carbide and steel. Do not leave a coated or painted blade in a harsh bath for long periods. If the cleaner starts attacking the finish, stop and switch to a milder product. Follow the label’s directions and avoid “set it and forget it” soaking, since maker instructions commonly call for brief contact rather than long immersion.
When a wipe is safer than a soak
If the blade has only a light film and the finish is sensitive, wipe-on cleaner is the safer choice. That avoids swelling labels, softening paint, or lifting edge coatings. It also reduces the chance of moisture reaching brazed joints or leaving residue in the gullets.
If that didn’t work, try this next
First, reapply cleaner and wait the manufacturer’s listed dwell time. Next, use a nylon brush on the teeth and a plastic scraper on any thick patches. If residue still stays put, move to a stronger blade cleaner that is still rated for carbide and steel. Stop before the coating or markings start to change.
Cleaning method guide
| Buildup level | Blade material or coating | Safest cleaner | Allowed brush type | Soak time | What not to use | Reinstall check |
|---|---|---|---|---|---|---|
| Light film | Carbide-tipped blade, plain steel plate | Warm water and dish soap, or mild blade cleaner | Nylon-bristle brush | 0 to 3 minutes | Steel wool, wire brush, oven cleaner | Pass if teeth feel clean, plate is dry, no tackiness remains, and no pooled liquid is left in gullets or arbor hole |
| Sticky pitch | Carbide-tipped blade, coated or painted body | Mineral spirits or pitch remover labeled for blades | Nylon-bristle brush | 3 to 10 minutes | Acetone, caustic oven cleaner, metal scraper on teeth | Pass if gullets are clear, coating still looks unchanged, no hidden residue remains behind teeth, and the blade is dry |
| Hardened resin | Plain steel body, uncoated carbide-tipped blade | Dedicated blade cleaner or pitch remover | Nylon-bristle brush plus non-marring scraper first | 5 to 15 minutes | Wire brush, steel wool, long soak on coated or marked blades | Pass if no residue hides behind the carbide, no finish change is visible, no liquid is pooled anywhere, and the blade is fully dry |
Common mistakes
Metal brushes and steel wool can scratch teeth and leave the blade body rough enough to hold more grime. They are too aggressive for carbide-tipped blades. Use a nylon-bristle brush instead, and reserve a plastic or wood scraper for thick deposits only.
Leaving cleaner or water in the gullets is another common failure. Moisture around carbide brazes can lead to rust spots on the plate. After cleaning, wipe every surface dry and let the blade air-dry briefly before reinstalling it. For rust prevention, keep the blade clean, dry, and lightly protected if the maker allows it; some tool makers and blade suppliers recommend a thin rust-preventive film on bare steel surfaces after drying, but only if it will not affect the cut or coating.
Reinstalling a blade that still feels tacky or damp is a mistake. That residue traps dust fast and can return to the teeth after a few cuts. A common first-timer mistake is to clean only the visible face while leaving buildup in the gullets, where it keeps affecting the cut.
Harsh solvents are risky on anti-stick, painted, or laser-marked blades. Picture a coated 12-inch miter saw blade with clear markings on the plate: acetone can fade those marks before the resin is fully gone. Start mild, then move up only if the blade finish can handle it.
Prevention: clean sooner when you cut pine, pressure-treated lumber, or other resin-heavy stock. Buildup is easier to lift before it hardens into a sticky shell.
How often should saw blades be cleaned?
Clean a blade whenever pitch starts to show, cuts slow down, or dust sticks to the teeth instead of clearing out. Resin-heavy woods often need cleaning more often than dry hardwood. If the blade is used for pine framing, check it after every few sessions instead of waiting for poor cuts.
For occasional hobby use, a quick inspection after each project is usually enough. If a blade returns to sticky fast after cleaning, heat may be cooking resin onto the teeth during use. That is a sign to clean more often and inspect for dull carbide or poor feed rate.
How do you tell cleaning from sharpening or replacement?
Cleaning removes resin. Sharpening restores a dull edge. Replacement is for chipped carbide, bent plates, missing teeth, or rust pitting that stays after cleaning. If the blade is clean but still burns wood, leaves heavy feed marks, or cuts poorly, sharpening is the next step.
If the blade has a warped plate, cracked brazes, or teeth that no longer point evenly, stop using it. Cleaning will not fix those problems. A blade with severe corrosion or damaged carbide should be replaced rather than soaked longer.
Frequently asked questions
How do you clean resin off saw blades without damaging the teeth?
Remove the blade, wipe off loose dust, then use a cleaner matched to the buildup level. Follow with a nylon brush, not a metal one. Keep the brush light on the carbide tips and let the cleaner do the work. Dry the blade fully before reinstalling it.
What is the safest cleaner for saw blade pitch and resin buildup?
A dedicated blade cleaner or pitch remover labeled for carbide and steel is the safest all-around choice. For light buildup, warm water and dish soap can work. For sticky pitch, mineral spirits are often a better middle step than jumping straight to oven cleaner.
Can you soak a saw blade in degreaser or is that too harsh?
You can soak a blade briefly if the degreaser is made for resin removal and is safe for carbide and steel. Keep the soak short, usually a few minutes, and avoid long baths on coated, painted, or laser-marked blades. Rinse or wipe, then dry completely.
How do you clean carbide-tipped saw blades by hand?
Use gloves, a nylon-bristle brush, and a non-marring scraper for thick buildup. Work tooth by tooth, then clean the gullets and plate with the same mild approach. Hand cleaning is safest when you let the cleaner soften the residue first instead of forcing it off.
Will oven cleaner or acetone damage a saw blade?
They can, especially on coated, painted, or laser-marked blades. Oven cleaner is often too aggressive for finishes, and acetone can dull markings or attack some coatings. If a blade has a protected body, start with a milder blade cleaner before using anything harsher.
How do you remove sticky buildup from a table saw blade?
Take the blade off the saw, spray it with a resin cleaner or mineral spirits, and let it sit briefly. Scrub with a nylon brush and lift any thick patches with a plastic scraper. Dry the arbor hole and plate completely before reinstalling the blade.
What should you avoid when cleaning a saw blade so it stays sharp?
Avoid steel wool, wire brushes, and metal scrapers on the teeth. Skip long soaks on coated or marked blades, and do not leave moisture in the gullets or around the brazes. Reinstall only when the blade feels clean, dry, and free of tacky residue.
Sponsored / affiliate links. As an Amazon Associate I earn from qualifying purchases. I may earn additional commission from eligible campaigns.