How to Clean a Faucet Aerator Without Damaging the Screen
Clean a faucet aerator by removing the aerator parts, soaking the screen in vinegar for about 15–30 minutes, and using only a soft brush. If it has no wrench flats, use tape-covered pliers or an aerator key. Forcing the housing or scraping the screen can bend the mesh, strip the finish, or leave leaks. This guide shows how to identify the aerator type and choose the safest removal method before you touch the screen.
What you’ll need


- Microfiber cloth
- Bucket or bowl
- White vinegar
- Soft toothbrush
- Toothpicks
- Small screwdriver
- Tongue-and-groove pliers
- Masking tape
- Faucet aerator key wrench
How do you identify the aerator type?
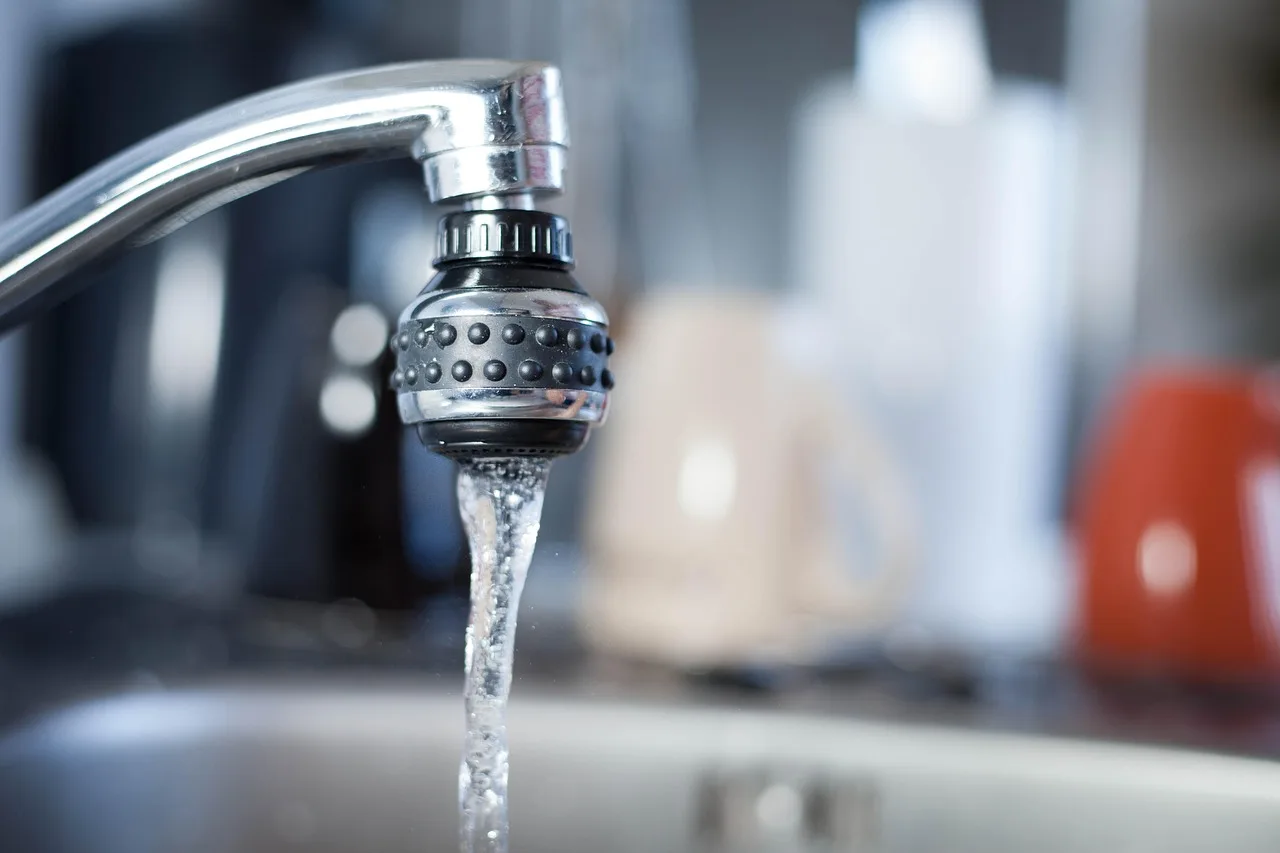
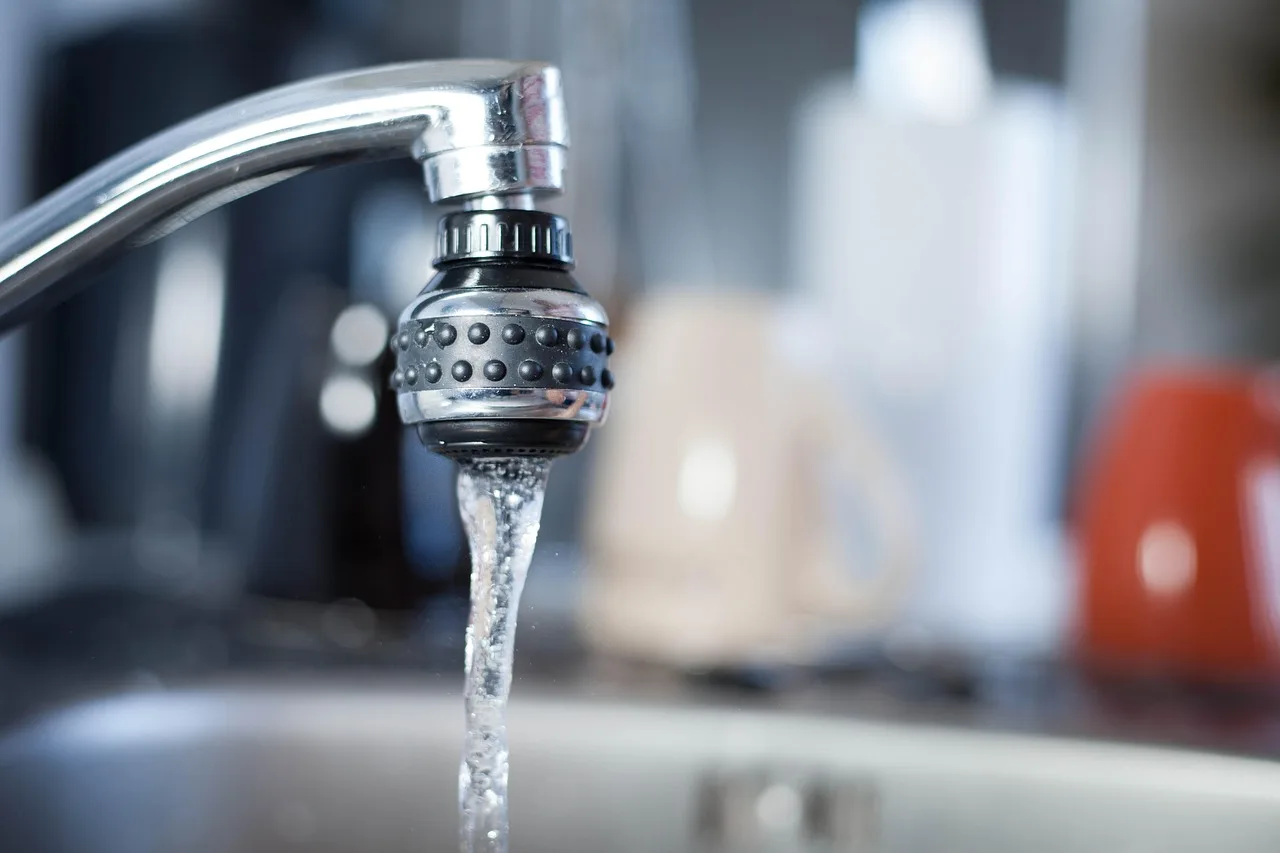
Start by looking at the faucet outlet before you turn anything. Most bathroom and kitchen faucets have aerators at the outlet, and they may be standard threaded, hidden inside the spout, plastic-bodied, or already seized by mineral buildup or iron oxide residue. The type tells you which removal method is safest.
Standard threaded aerators
These usually sit flush at the faucet tip and often show small flats or slots. If you can grip it by hand, that is the safest first move. A standard threaded aerator is the easiest style to service because the parts are meant to come apart without special tools.
Hidden or recessed aerators
A hidden aerator sits inside the faucet end rather than outside it. You may see a smooth opening with no obvious grip points. These usually need a faucet aerator key wrench, because pliers can slip inside the spout and scratch the finish.
Plastic-bodied aerators
Plastic housings can crack, deform, or round off at the edges if they are forced. Treat them as fragile, even when they turn easily. A light touch matters more here than strength, and metal tools should stay out of direct contact unless you must free a stuck part.
Seized mineral-fused aerators
If the aerator will not move and looks crusted at the seam, mineral deposits may have fused it to the faucet body. In that case, stop before the housing starts to twist or oval out. A seized aerator is a candidate for soaking first and replacement if the body is already damaged.
How do you remove it without scratching the finish?
Try hand removal first. Most aerators unscrew by turning counterclockwise, and a dry microfiber cloth can improve your grip while protecting the finish. If it refuses to move, switch to the least aggressive tool that fits the type, and stop as soon as the body begins to deform.
- Wipe the faucet tip with a damp, not dripping wet, microfiber cloth.
- Twist the aerator by hand counterclockwise.
- If it does not move, wrap masking tape around the jaws of tongue-and-groove pliers.
- Grip only the outer housing, not the screen opening.
- Turn gently; if the body flexes or binds, stop and move to a soak or key wrench.
Use pliers only if hand loosening fails. Masking tape reduces scratching risk, but it does not make the tool harmless. If the aerator has no flats, or if it is recessed inside the spout, a faucet aerator key wrench is the safer choice.
Suppose a chrome kitchen faucet has a tight aerator that will not budge by hand. Taped pliers may free it with one careful turn. If the same faucet has a recessed insert, a key wrench is the better first tool because the jaws of pliers can mark the spout edge.
How do you clean the parts without damaging the screen?
Disassemble the aerator over a bucket or bowl so washers, screens, and inserts do not roll away. Soak metal parts in white vinegar to loosen deposits, then scrub with a soft toothbrush. Use toothpicks only to clear clogged threads or holes, and wipe everything dry with a microfiber cloth.
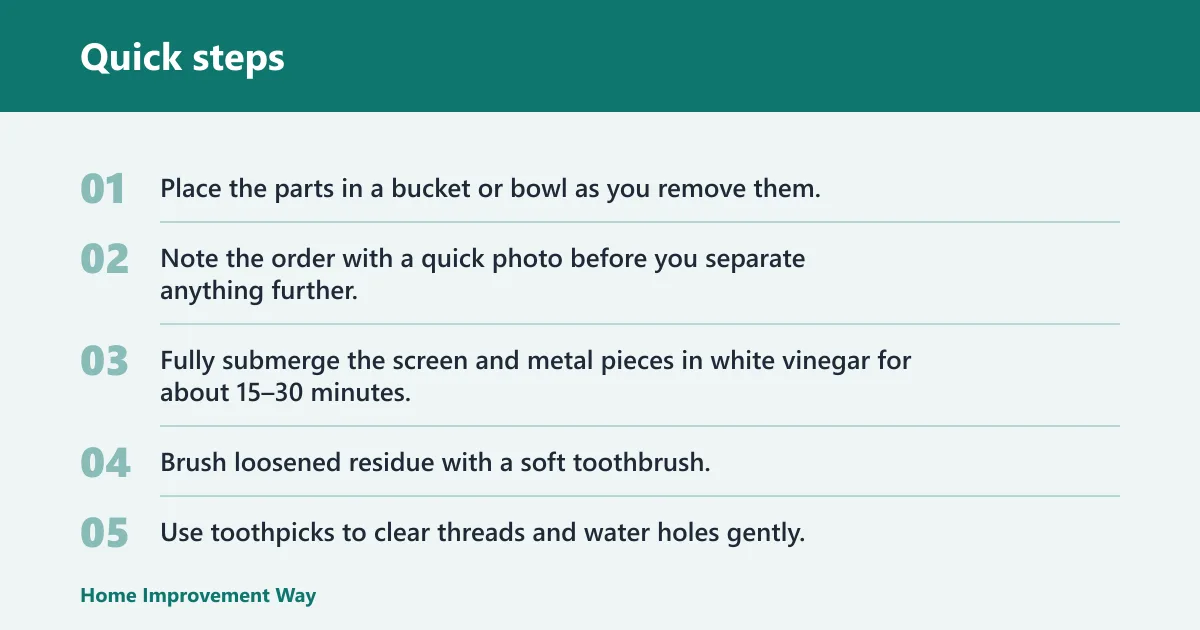
- Place the parts in a bucket or bowl as you remove them.
- Note the order with a quick photo before you separate anything further.
- Fully submerge the screen and metal pieces in white vinegar for about 15–30 minutes.
- Brush loosened residue with a soft toothbrush.
- Use toothpicks to clear threads and water holes gently.
- Rinse, then dry each part with a microfiber cloth.
Do not scrub the aerator screen with a wire brush or metal pick. The mesh is fine, and aggressive scraping can bend it or open the weave. A small screwdriver can lift stubborn crust from the housing edge, but only for gentle separation, never for prying against the screen itself.
White vinegar is best for mineral deposits, not for damage repair. If a rubber seal is stiff, split, or flattened, soaking will not restore it. Keep plated finishes and soft plastic parts out of long soaks unless the fitting is simple and the buildup is light.
Aerator troubleshooting table
| Aerator type | Safe removal method | Safe cleaning method | Replace-now trigger |
|---|---|---|---|
| Standard threaded aerator | Hand loosen counterclockwise; use tape-covered pliers only if it sticks | Soak in white vinegar for 15–30 minutes, then brush with a soft toothbrush | Screen is torn, threads are warped, or the housing cracks while turning |
| Hidden or recessed aerator | Use a faucet aerator key wrench that matches the insert | Soak removed parts in vinegar; clear holes with toothpicks | Key slips repeatedly, insert is chewed up, or the recess is damaged |
| Plastic-bodied aerator | Hand loosen only if possible; avoid heavy plier pressure | Brief vinegar soak, light brushing, and gentle drying | Plastic is cracked, ovaled, soft, or the threads no longer hold |
| Seized mineral-fused aerator | Soak first; if needed, use taped pliers or a key wrench with care | Long enough soak to loosen scale, then brush and rinse | Body will not move after soaking, or the screen, seal, or housing is already deformed |
When should you replace the aerator instead of cleaning it?
Replace it when the screen is bent, the threads are stripped, or the housing is cracked. Cleaning removes buildup; it does not rebuild damaged metal or plastic. If the aerator still sprays unevenly after a proper cleaning, replacement is usually the safer fix.
Signs the screen is damaged
Look for torn mesh, stretched openings, missing sections, or a screen that will not lie flat. If water hits one side of the mesh and sprays in several directions after cleaning, the screen may be distorted. A damaged screen usually makes whistling, sputtering, or splatter more likely.
What to do before buying a replacement
Check the thread size, the housing material, and whether the insert is hidden or standard. Bring the old aerator with you if the replacement will be purchased in person. That avoids guessing on thread type and helps match the washer and screen stack.
A common first-timer mistake is soaking a plastic aerator for too long because the mineral crust looks stubborn. If the housing starts to cloud, crack, or soften, stop the soak and replace the part instead of trying one more round of scrubbing.
Common mistakes
Most damage comes from rushing the removal step, not from the vinegar bath. Keep the job gentle from start to finish, and treat every small part as if it can deform. A careful reassembly matters just as much as cleaning.
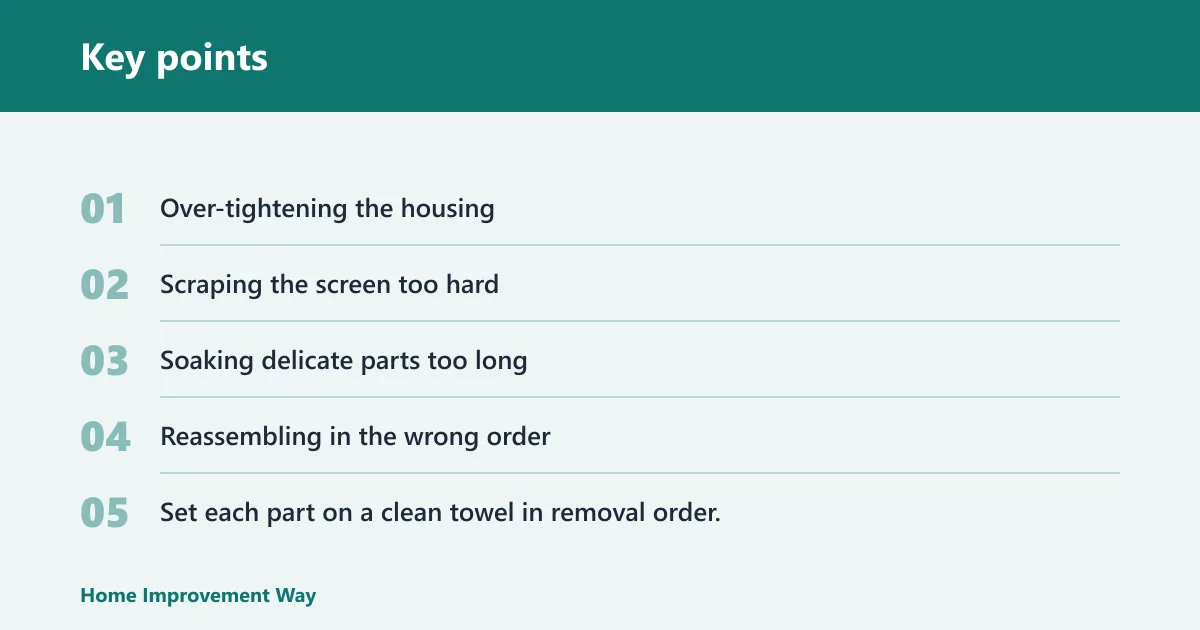
- Over-tightening the housing: snug is enough. Too much force can crack plastic or distort threads.
- Scraping the screen too hard: use a toothbrush first, then toothpicks only for trapped debris.
- Soaking delicate parts too long: limit vinegar contact when plated finishes or rubber seals are present.
- Reassembling in the wrong order: put washers and screens back exactly as removed, or leaks and uneven spray can follow.
How do you put it back together in the right order?
Reassemble the aerator in the same order you removed it: washer, screen, insert, then housing, if that is how it came apart. Hand-tighten first, then test the flow. If the stream whistles, sputters, or leaks at the edge, open it again and check for an inverted washer or a missing screen.
- Set each part on a clean towel in removal order.
- Match the washer to its seat before closing the housing.
- Thread the aerator on by hand first.
- Turn on the faucet and check for leaks and even spray.
- If the stream is noisy or uneven, remove it and confirm the stack is not reversed.
Picture a bathroom faucet that starts spraying to one side after cleaning. That usually points to a screen or washer that is cocked, missing, or trapped behind debris. Rechecking the order and reseating the parts is usually faster than forcing the housing tighter.
Frequently asked questions
How do I remove a faucet aerator without scratching it?
Start with a dry microfiber cloth and hand pressure. If that fails, wrap masking tape around tongue-and-groove plier jaws and grip only the outer housing. For recessed styles, use a faucet aerator key wrench instead of forcing pliers into the faucet tip.
What should I soak a faucet aerator in to dissolve mineral buildup?
White vinegar is the standard choice for loosening mineral deposits. Fully submerge the removable parts for 15–30 minutes, then brush away residue with a soft toothbrush. If the finish is delicate or the housing is plastic, shorten the soak and check the part often.
How long should a faucet aerator soak in vinegar?
Use 15–30 minutes for most buildup. If the aerator is badly crusted, a longer soak may help, but keep an eye on plated finishes, rubber seals, and plastic bodies. If the part still binds after soaking, replacement is safer than more scraping.
How do I tell if the aerator screen is damaged and needs replacement?
Look for torn mesh, bent edges, stretched openings, or a screen that will not sit flat in the housing. If water sprays unevenly after cleaning, the screen may be deformed. A screen that whistles, leaks, or sheds debris should be replaced rather than reused.
What if the aerator is seized and won’t unscrew by hand?
Soak the aerator first, preferably in a vinegar-filled bag if you cannot remove it yet. After that, try tape-covered pliers or a faucet aerator key wrench, depending on the type. If the body starts to twist, crack, or round off, stop and replace it.
Not quite. Hidden aerators usually need a faucet aerator key wrench for removal, because the insert sits inside the faucet end. Once removed, the cleaning steps are the same: vinegar soak, soft brushing, gentle clearing with toothpicks, and careful drying before reassembly.
Sponsored / affiliate links. As an Amazon Associate I earn from qualifying purchases. I may earn additional commission from eligible campaigns.