What to Do When a Pipe Bursts in Winter
If a pipe bursts, shut off the home’s main water valve within minutes, then cut power to wet areas if needed and call a plumber. If you cannot reach the valve quickly, use the nearest fixture valve only as a short stopgap. Delays can turn a small split into flooding, ruined drywall, and electrical danger. This guide covers the first 15 minutes, how to contain water, how to decide whether to shut off, and when not to DIY. (PSU)
This guide is part of our Frozen Pipes: How to Prevent, Thaw and Fix Them series.
Freeze versus burst
A frozen pipe and a burst pipe are not the same problem. Freezing water expands as it turns to ice, and that pressure can split copper, PEX, or galvanized lines. Rapid Rooter notes that freezing water expands about 9%, which helps explain why a pipe can fail after the cold spell starts, not always at the exact moment the pipe freezes. (Thisoldhouse)
A pipe may still be intact if you see frost on the line, poor flow from one faucet, or a section that feels solid and cold but is not leaking. A burst is different: you will usually see active dripping, spraying, wet drywall, water on the floor, or a ceiling stain that grows fast. The safe assumption is simple: if water is already escaping, treat it as a burst.
What to do in the first 15 minutes
The first minutes matter more than the cleanup. Turn off the home’s main water valve first, then deal with power if water is near outlets, cords, or the breaker area. After that, open faucets to drain pressure, move boxes, rugs, electronics, and paper records out of the wet path, and start documenting the damage before cleanup hides it.
Shut off the home’s main water supply
- Find the main water shutoff valve where the water line enters the house.
- Check common locations first: basement, crawl space, utility area, garage, or near the front wall of the home.
- Turn the valve clockwise until it stops, as Lafferty advises.
- If the valve is already hard to move, do not force it hard enough to break the stem.
Do not treat a street meter valve as a casual backup. That is typically a utility-side control, and homeowners should not assume they are allowed or equipped to operate it. If the home shutoff is missing, inaccessible, or stuck, move to damage control and call for help fast.
Relieve pressure at faucets and taps
After the main water is off, open cold taps to drain the remaining water and relieve pressure in the lines. Start on upper floors, then move to lower floors. Sunrise advises opening a faucet after a burst for this reason. You are not trying to refill anything; you are getting trapped pressure out of the system.
Move valuables and document the leak
Before cleanup removes evidence, take clear photos and short video of the leak source, standing water, soaked flooring, damaged drywall, and any items in the water path. Move boxes, rugs, electronics, and paper records out of the wet zone. If the leak is active, do only what you can without stepping into water near outlets or cords.
Say your laundry room pipe split under a sink and water is spreading across the cabinet floor. Turn off the main valve, then photograph the cabinet interior, the puddle, and the wet baseboard before you pull everything out. That order preserves evidence and keeps the problem from getting bigger.
What checklist
This checklist separates visible, controllable leaks from hidden or electrical hazards. Use the first move as written, then stop if the warning applies. A temporary clamp or cleanup is only useful when the leak is exposed and you can work without touching energized areas.
| Situation | First move | Do-not-do warning |
|---|---|---|
| Accessible main shutoff | Turn off the home’s main water valve at once, then open cold faucets upstairs and downstairs to drain pressure. | Do not wait to see whether the leak slows on its own. |
| No visible shutoff | Look only in likely home locations: basement, crawl space, utility area, garage, or where the service line enters the house; call for urgent help if you still cannot find it. | Do not assume the street meter valve is the right homeowner backup. |
| Water near outlets | Stay out of the wet area and turn off power to affected rooms at the breaker panel only if you can reach it without stepping into standing water. | Do not step into water to reach the panel or cords. |
| Burst in a wall cavity | Turn off the main water, then stop DIY patching and call a plumber and, if needed, a water-damage specialist. | Do not cut open drywall unless there is a clear reason and no electrical hazard. |
| Burst under a sink | Close the nearest fixture valve if it is reachable, then shut off the main if the leak continues or the valve will not stop the flow. | Do not leave the cabinet closed if water is pooling and rising. |
| Burst on a hot line | Turn off the main water, then follow the water heater’s manual and controls for that unit before touching the heater supply. | Do not run the tank dry or guess at universal heater settings. |
| Ceiling leak | Move people away from the drip zone, turn off water, and cut power to affected circuits if safe access exists. | Do not stand under a bulging ceiling or drill a drainage hole without assessing the source. |
| Active flooding | Turn off the main water immediately, then leave the area if water is advancing toward electrical components. | Do not try a patch before stopping the flow. |
Can you patch it temporarily?
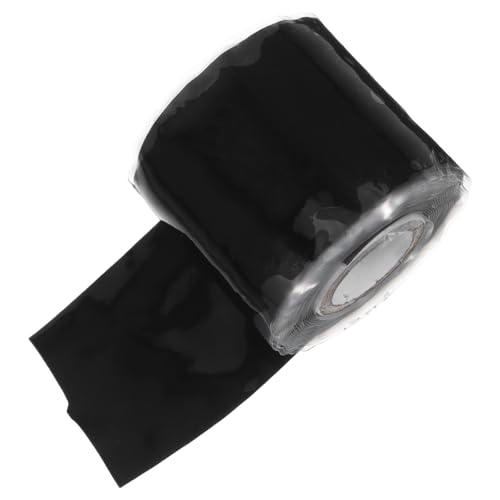
A temporary repair clamp can buy time for a small, accessible split on an exposed pipe. It is a stopgap, not a permanent fix. Use it when the pipe is visible, the leak is localized, and you can work without electrical risk. The goal is to slow a dribble or small split until a plumber arrives.
When a clamp or wrap is reasonable
A clamp, rubber patch, or tape wrap is only reasonable when the leak is small, outside the wall, and easy to reach. It can help on a short split in a basement or crawl-space line after the main water is off. If the leak is spraying hard, hidden, or near wiring, skip the patch.
When a patch is unsafe or pointless
Do not patch a burst in a wall cavity, ceiling, or any area that may hide wiring. Do not patch if the pipe is still under pressure, if the metal is split widely, or if the damaged section is crumbling. A hidden leak will keep soaking framing even if the surface drips look small.
A common first-timer mistake is wrapping a towel around a hidden leak and hoping it will hold until morning. That may delay visible dripping while the wall cavity keeps filling with moisture. If you cannot see the full break, leave the repair to a plumber after shutoff.
Hidden leaks are a different category because the damage is not limited to the wet spot you can see. Water can track along framing, insulation, and ceiling materials. That makes the real failure point hard to find, and it raises the odds of mold, warped trim, and collapsed drywall.
How to handle power and hot water
If water is near outlets, cords, or the breaker panel, turn off power to the affected rooms only if you can do that without stepping into standing water. Sunrise advises turning off electricity after a pipe bursts. The priority is avoiding electrocution, not restoring the house to service quickly.
When to touch the breaker panel
Use the breaker panel only when you can reach it on dry footing. Turn off the circuits feeding the wet area, not necessarily the whole house, unless the situation demands it and you can do so safely. If the panel area itself is wet or you must cross water to reach it, back out and call for help.
How to treat a hot-line burst
If the burst is on a hot line, turn off the home’s main water first and then follow the water heater’s own instructions. Electric and gas units do not use the same controls, so do not guess. Many heaters have a pilot, off, or vacation setting, but the correct step varies by model and fuel type.
Do not run the tank dry. A water heater designed to hold water can be damaged if it is heated or operated without a proper water supply. If the burst is on the hot side and the heater is part of the problem, the owner’s manual matters more than a generic rule.
How do you prevent burst pipes in winter?
Preventing winter bursts starts with the pipes that freeze first: exposed lines in crawl spaces, basements, attics, garages, and exterior walls. Keep the indoor temperature steady, reduce drafts, insulate exposed plumbing, and winterize outdoor connections before hard freezes arrive. These steps help most on vulnerable sections, not every pipe in the house.
Use foam pipe insulation on exposed lines
Foam pipe insulation is a common choice for exposed pipes in unheated areas. It often comes as slit foam tubes that wrap around the pipe. Focus on the lines in crawl spaces, basements, attics, and garages, especially where cold air can wash over them for hours at a time.
Protect outdoor spigots and hoses
Disconnect hoses, drain them, and store them before winter. Shut off and drain outdoor supply lines if the home has that feature. Use insulated covers or frost-proof spigots where appropriate. A hose left attached can hold water against a bib and make freezing more likely at the wall.
Keep indoor temperature steady
Classic Plumbing Solutions recommends a minimum thermostat baseline of 55°F, and Lutz Plumbing gives the same lower bound when a home is left unattended. That does not mean every room must feel warm, but it does mean you should avoid deep setbacks that let exterior walls and pipe chases cool too far.
Thermostat setting matters most when pipes run through outside walls or unheated spaces. Seal drafts around penetrations, gaps near utility entries, and leaky openings near the floor. Classic Plumbing Solutions also lists caulk, weatherstripping, and heat tape as prevention tools for exposed lines.
What gets damaged after a burst?
The visible puddle is only the start. Water that moves into wall cavities, ceilings, insulation, or subfloors can stay hidden long after the surface dries. That trapped moisture can weaken drywall, swell wood, and create a mold problem if drying is delayed.
When drying becomes urgent
Drying becomes urgent as soon as the water source is stopped. The longer moisture sits inside walls or ceilings, the more likely materials are to stay damp behind the surface. If you cannot inspect the cavity, if the ceiling sags, or if the wet area keeps growing, bring in help quickly.
What to save for insurance records
Preserve photos of the leak source, the shutoff valve, affected rooms, damaged belongings, and any wet structural material. Keep the broken pipe section if it is safe to remove and store it without changing its shape. Save receipts for emergency drying, plumbing, and temporary protection if your policy asks for them.
Suppose a burst in a basement wall leaves the carpet wet but the drywall looks only stained. Do not assume the problem is minor. Hidden moisture can sit inside the wall even when the floor feels dry, so document the stain, the baseboard, and the dehumidifier setup before repairs begin.
Why do pipes burst in the winter?
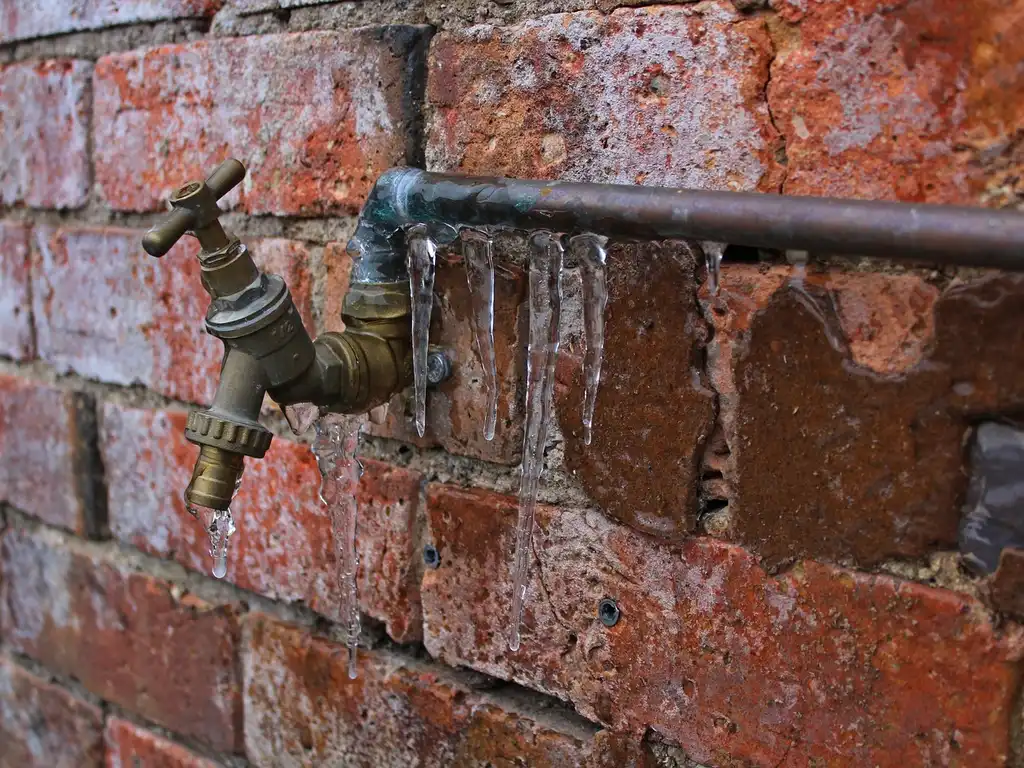
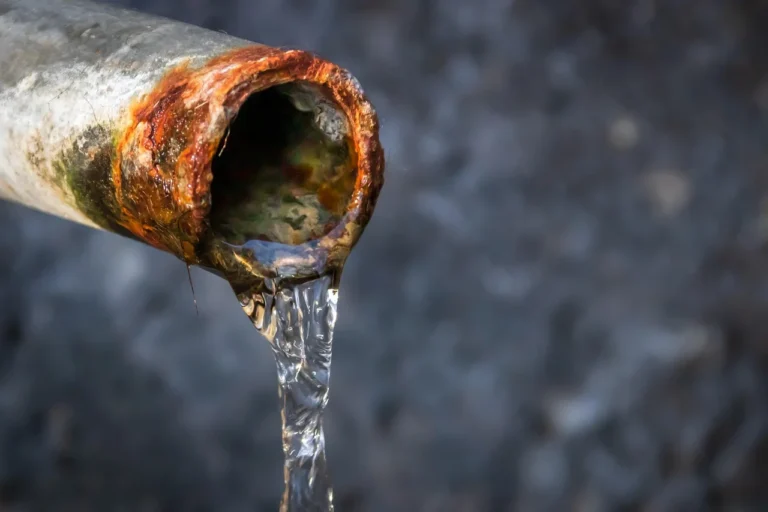
Pipes burst in winter because freezing water expands and creates pressure inside the pipe. That pressure has to go somewhere. If the pipe cannot flex enough, or if the line is weak, corroded, or already stressed, the pipe can split. The failure often shows up after the cold has been present for a while.
How cold to burst water pipes?
There is no single temperature that breaks every pipe. Exposure, wind, pipe location, insulation, and how long the cold lasts all matter. Pipes in crawl spaces, basements, attics, and external walls are at higher risk because they lose heat faster and may sit near unconditioned air for hours.
When do pipes burst?
Pipes usually burst after a freeze has had time to build pressure, not only during the coldest hour. A pipe can freeze, stop flowing, and then split later as pressure shifts or as the ice plug expands. The risk rises during cold snaps, overnight lows, wind exposure, and thermostat setbacks.
How to keep pipes from bursting
Keep pipes warm, dry, and shielded from sudden cold. Insulate exposed runs, seal drafts, disconnect hoses, protect outdoor spigots, and keep the thermostat steady. If a home has vulnerable plumbing in exterior walls or unheated spaces, check those zones before a cold front and again after a hard freeze.
Can a pipe burst in the summer?
Yes. Freezing is the common winter cause, but summer bursts can happen from corrosion, high water pressure, aging joints, root intrusion, or accidental damage. The response is the same: stop the flow, manage electrical risk, document the damage, and get the line repaired before the leak spreads.
Frequently asked questions
What to do when a pipe burst?
Turn off the home’s main water valve first, then open cold taps to relieve pressure and turn off power to wet areas if you can do that safely. Document the leak before cleanup, move valuables out of the water path, and call a plumber. If the leak is hidden or near electricity, stop DIY work.
How do pipes burst in cold weather?
Cold air chills exposed piping, ice forms inside the line, and the expanding ice blocks the flow. Pressure then builds between the ice plug and a closed valve or bend in the pipe. Weak joints, old pipe, and uninsulated exterior-wall runs fail first.
Sponsored / affiliate links. As an Amazon Associate I earn from qualifying purchases. I may earn additional commission from eligible campaigns.