How to Find a Burst Pipe in the Wall
Shut off every fixture, then check the water meter: if the leak indicator moves or the dial keeps advancing in about 5 to 10 minutes, that is a common sign of a hidden pipe leak in the wall. Ignoring it can waste hundreds of gallons, rot wood framing, and create conditions that support mold growth behind drywall, which can make repairs larger and pricier (EPA; IICRC S500 water-damage guidance). This guide uses the meter, sound, pressure pattern, and leak timing to narrow the burst pipe location before you open the wall.
What you’ll need
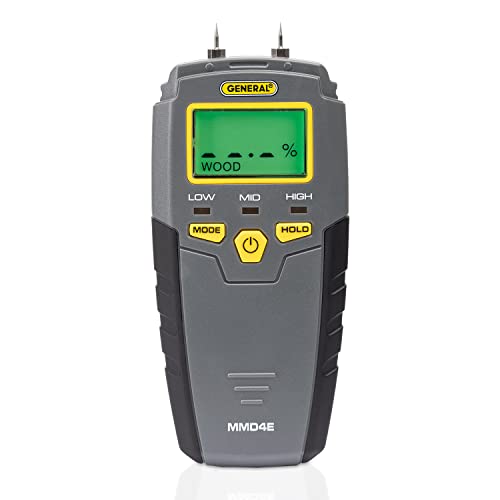
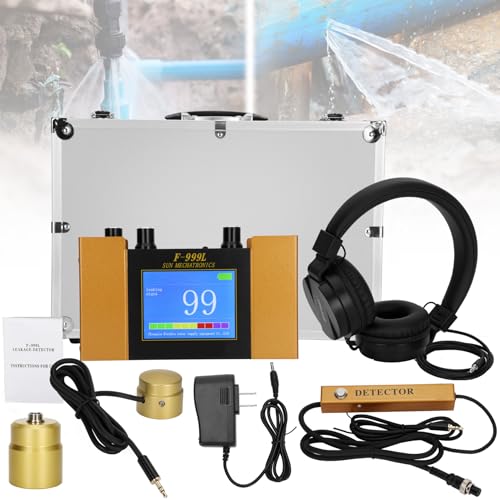
- Flashlight
- Paper towels or a dry cloth
- Notebook or phone camera for stains, sounds, and timing
- Access to the main water meter
- Access to the main shutoff valve
- A helper, if you need someone at a fixture while you listen near the wall
📊 Frozen water expands about 9 percent, which can crack or split pipes. Source: Familyhandyman.
How do you tell if the leak is active?
Close every fixture, then use the water meter as the first objective check. If the low-flow dial or star moves during a 30-minute window, that points to ongoing water loss from a pressurized line. If the meter stays still, the moisture may be residual or a drain leak tied to use (American Water Works Association meter-reading guidance).
Step 1: Isolate all water use
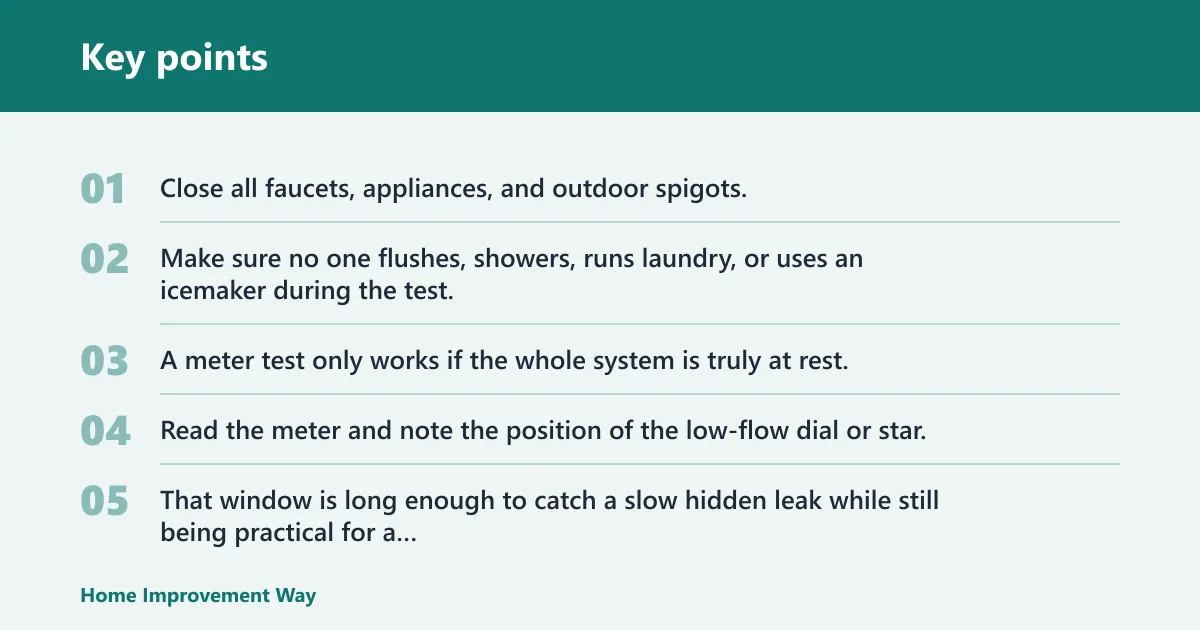
Close all faucets, appliances, and outdoor spigots. Make sure no one flushes, showers, runs laundry, or uses an icemaker during the test. A meter test only works if the whole system is truly at rest.
Step 2: Read the meter and wait
Read the meter and note the position of the low-flow dial or star. Wait about 30 minutes without using water. That window is long enough to catch a slow hidden leak while still being practical for a homeowner check.
Step 3: Read the meter again
Any movement means water is still leaving the system. A still meter does not rule out every problem, but it does make a pressurized supply-line leak less likely and pushes you toward drain-related or residual-moisture causes.
Step 4: Shut off the main valve if the meter moves
If the meter keeps moving, close the main water shutoff valve right away. If the meter still moves after the valve is closed, the leak is likely between the meter and the shutoff valve, or the shutoff valve may not be sealing fully. If you cannot reach the valve or it will not close, call for urgent help.
Supply lines are pressurized at all times, so they can leak whether fixtures are on or off. That is why meter movement is the strongest objective test for an active supply leak. A burst pipe can cause major damage fast, especially in freezing temperatures, and freezing water expands about 9 percent. The internal pressure in a trapped pipe can rise dramatically as ice forms, which is why frozen pipes often split before they visibly thaw (insurance-loss data and plumbing leak-detection guidance).
How do you narrow the wall location?
Use sound, pressure differences, and stain shape to narrow the path before you touch drywall. Water can travel along framing, so the wet spot may sit below or beside the real break. A ceiling stain can also come from a wall or pipe chase above it.
Step 1: Map the visible moisture
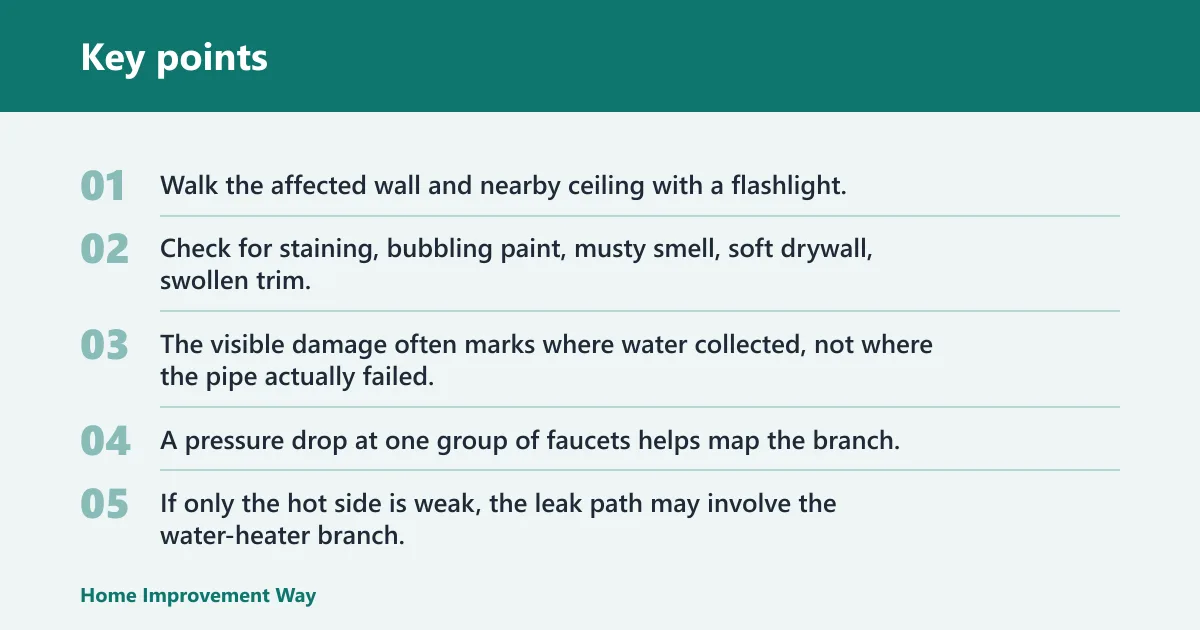
Walk the affected wall and nearby ceiling with a flashlight. Check for staining, bubbling paint, musty smell, soft drywall, swollen trim, or damp baseboards. The visible damage often marks where water collected, not where the pipe actually failed.
Step 2: Compare fixture pressure nearby
Compare water pressure at nearby fixtures. A pressure drop at one group of faucets helps map the branch. If only the hot side is weak, the leak path may involve the water-heater branch, hot distribution line, or a hot-water recirculation run.
Step 3: Listen for active flow
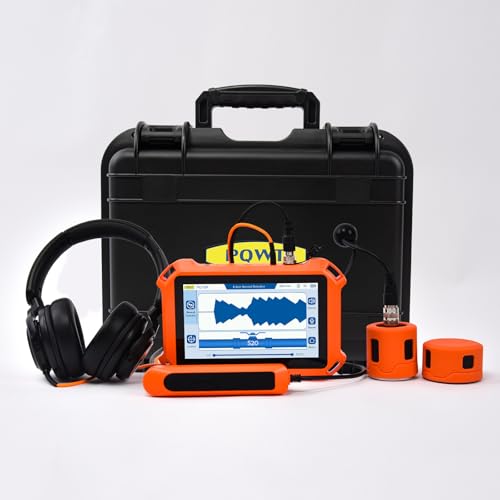
Listen for hissing, dripping, or running water in the wall near the wet area. Acoustic leak detection works because pressurized leaks create sound that travels through pipe, framing, and wall cavities. That makes it useful when the meter points to a leak but the wall surface gives no exact location (plumbing leak-detection manufacturer guidance).
Step 4: Use thermal clues carefully
Thermal imaging can help show cooler wet areas in wall cavities, especially when a leak is near insulation or a temperature difference between wet and dry materials. It is a location aid, not proof by itself, because a cold surface can also reflect drafts, insulation gaps, or exterior wall conditions (infrared-camera manufacturer guidance; plumbing leak-detection training materials).
For example, a bathroom wall stain about 12 inches wide that starts above the baseboard, with the ceiling below staying dry, leans toward a wall cavity leak, not a ceiling leak. If the stain appears only after a shower and fades by the next morning, that timing fits waste pipework more than a constant supply-side break.
How do you tell supply from drain leak?
A supply leak shows pressure loss and meter movement even when fixtures are off. A drain leak usually shows up only when water is flowing out of a sink, tub, shower, or appliance. Timing matters more than stain location alone, because visible water can migrate away from the real break.
Step 1: Watch what happens when water is off
If the meter moves with every fixture closed, the problem is usually on a pressurized supply line. If the meter stays still, the wall moisture may be from a drain line or remaining water from the earlier leak.
Step 2: Watch what happens when water is used
Drain leaks are not detected by the water-meter test unless water is actively draining. That is the main confounding condition people miss. A wet wall after a shower can still be a drain issue, but a steady meter spin points away from that and toward pressurized piping.
Step 3: Compare timing to the wet spot
If the patch appears only after showering and dries between uses, the leak is often on a drain, trap, or waste connection. If it appears while nobody is using water and the meter still advances, the leak is more likely in supply piping.
| Observation | What it usually means | Next action |
|---|---|---|
| Meter moves with every fixture closed | Ongoing supply-side water loss | Shut off the main water valve and call a plumber |
| Damp patch appears after showering and dries between uses | Intermittent drain or waste pipe leak | Trace the drain run and schedule a plumbing inspection |
| Staining, bubbling paint, or soft drywall without meter movement | Residual moisture or non-plumbing water is more likely | Check roof, window, condensation, or exterior intrusion paths |
Hidden wall leak decision tree

This table separates the most likely paths before any drywall cut. Use the exact observation first, then follow the next action. The goal is to rule in the right branch without guessing.
| Branch | Exact observation | What it rules out | Likely pipe type | Urgency level | Next action |
|---|---|---|---|---|---|
| Active supply leak | Meter moves over 30 minutes with all fixtures closed; sound may continue even when no water is running | Drain-only leak, unless a fixture is secretly running or a toilet flapper is failing | Pressurized supply line, branch line, or fixture feed | High | Close the main water shutoff valve, then call for leak location before opening drywall |
| Intermittent drain leak | Damp patch appears after shower, tub, or sink use, then dries between uses; meter stays still | Constant pressurized leak on the supply side | Drain, waste, or vent-connected piping | Moderate to high | Track when water use starts the leak and have the drain path checked |
| Ceiling-only symptoms | Stain, bubbling, or dripping appears on the ceiling but the adjacent wall stays dry | A wall-base leak directly below the stain | Pipe above, tub/shower drain, or plumbing in the floor/ceiling cavity | High | Check the room above, nearby fixtures, and the ceiling cavity before cutting the wall |
| Exterior-wall condensation or rain intrusion | Meter stays still; moisture tracks after rain, near a window, or along an exterior wall | Active plumbing loss | Not necessarily plumbing-related | Moderate | Check roof, window flashing, insulation, vapor barriers, and condensation sources before any plumbing tear-out |
How a still meter can still fit a recent leak
A still meter can coexist with a recent but now-isolated leak if the water source has already stopped. That happens when a shutoff valve was closed, a fixture was turned off, or a line leaked only while a specific appliance was running. The meter tells you whether water is moving now, not whether damage already happened.
When should you call a plumber?
Call a plumber as soon as the meter keeps moving after shutoff, the leak path is unclear, or the wet wall is near outlets, a panel, or other electrical risk. Hidden wall leaks can support mold growth fast; public health and water-damage guidance commonly uses 24 to 48 hours as the window for mold precautions after wetting. Waiting usually raises both repair and restoration costs (EPA; IICRC).
Step 1: Stop the water source safely
Shut off the main water valve first, especially before any wall investigation. If the leak is close to wiring, do not cut into the wall until power is made safe. Water and electricity together create a separate hazard from the plumbing repair itself.
Step 2: Escalate when the meter still moves
If the meter still moves after shutoff testing, stop there and schedule leak location. A reading that continues after the main valve is closed usually means the leak is between the meter and the shutoff valve, or that the shutoff valve is not sealing properly. At that point the leak is active enough to justify professional tracing rather than trial-and-error demolition.
Step 3: Ask for the right diagnostic tools
Ask for acoustic leak detection or thermal imaging to reduce guesswork and unnecessary drywall removal. Those tools are most useful after the meter test has already shown there is an active leak to find.
What plumbers use matters. Acoustic leak detection listens for hidden water movement in walls. Thermal imaging can show cooler wet areas in wall cavities and help limit opening size. Those tools do not replace the meter test; they build on it and make the break easier to pinpoint.
Tools plumbers use
Plumbers often combine a few diagnostic tools rather than relying on one. The meter tells them whether water is moving. Acoustic listening helps locate pressurized leaks. Thermal imaging helps narrow moisture patterns. Pressure testing can confirm whether a branch or fixture line is holding pressure.
Acoustic leak detection
This method uses sensitive listening equipment to find the sound of pressurized water escaping a pipe. It is especially useful behind finished walls, under floors, or in ceilings where the leak is not visible. The better the access to quiet conditions, the more useful it becomes.
Thermal imaging
Infrared imaging can reveal cooler or wetter sections of a wall or ceiling. It is not a standalone diagnosis, because temperature differences can come from drafts, insulation gaps, or outside walls. Used with the meter and sound clues, it can reduce the area that needs to be opened.
Pressure checks and fixture isolation
Pressure checks help separate a whole-house supply issue from a branch-line issue. Fixture isolation can show whether a leak is connected to one bathroom, one appliance, or one side of the home. That makes it easier to avoid unnecessary openings in finished surfaces.
Common mistakes
Three errors cause extra damage. Cut only after the meter test. Treat every damp patch as proof of a burst supply line. And do not assume a ceiling stain marks the exact leak point, because water can move along framing before it shows.
- Cutting drywall before confirming ongoing water loss
- Ignoring a ceiling path and focusing only on the stain edge
- Assuming all wall moisture is a pressurized pipe break
- Skipping the low-flow dial or star on the meter
- Waiting to shut off the main valve when the wall is already wet
Costs
How much can this cost? Costs vary with access, water damage, and restoration. Hidden wall repairs in finished spaces often run higher, and emergency service adds another layer of cost. Plumbing associations and insurer loss data both note that location, access, water damage, and restoration all affect the final bill.
Cost also splits into separate pieces. Leak location is one charge. Drywall opening is another. Drying, restoration, and paint are separate again. That is why a fast meter check and a tighter location read can matter more than opening a large section at once.
Typical cost pieces to expect
Expect separate costs for leak location, repair, drywall opening, drying, and restoration. Hidden-wall access usually increases labor because the contractor must preserve finished surfaces while working around insulation, framing, and utilities.
Accessible burst-pipe repairs are commonly quoted at about $150 to $2,000, with many simple repairs near $250 to $600. Hidden wall repairs often run higher, and emergency service adds another $500 to $2,000 in service and repair charges.
Prevention
Insulate vulnerable pipes, especially in cold areas, and keep an eye on pressure swings at fixtures. If a pipe has frozen once, the risk of repeat damage rises. Small checks after cold snaps are easier than major wall repair.
Reduce freeze risk
Warm vulnerable spaces, seal air leaks, and keep cabinet doors open during extreme cold if pipes run through exterior walls or under sinks. Frozen pipes are most likely where insulation is poor and cold air can reach the plumbing.
Watch for repeat warning signs
Repeated low pressure, unexplained damp spots, or a fixture that changes sound during cold weather can be early warning signs. Catching those patterns early is cheaper than waiting for a split pipe and wall repair.
Frequently asked questions
How do I find a burst pipe in the wall?
Close every fixture, then check the water meter for movement over 30 minutes. If it keeps moving, the leak is still active. Next, listen for hissing or dripping, compare fixture pressure, and inspect the wall for staining, bubbling paint, musty odor, or soft drywall before you open anything.
How do I find a leaking pipe behind a wall?
Start with the shutoff valve and meter, then use the wet area as a clue rather than the exact point. If the meter moves with fixtures closed, call for acoustic leak detection or thermal imaging. Those tools help locate the break behind drywall without guessing where to cut.
How do I tell if a pipe burst inside a wall or ceiling?
Follow the water path. Ceiling stains often mean the leak traveled along framing from above or from a nearby wall chase. A wall leak may show at baseboards, around outlets, or in one vertical strip. The meter test tells you whether the source is still active.
What does a burst pipe in the wall sound like?
A burst supply line can sound like hissing, running water, or steady dripping, even when no fixture is on. Those sounds are most useful when paired with meter movement or a sudden pressure drop. If the sound stops when the main valve closes, the plumbing line is the likely source.
How can I tell if a leak is from a supply pipe or a drain pipe?
Use timing. A supply leak can show meter movement with all fixtures off. A drain leak usually appears only during or right after water use, such as a shower or sink drain. If the meter stays still but the wall gets wet after use, the drain line is more likely.
How much does it cost to fix a burst pipe in a wall?
Expect separate costs for leak location, repair, drywall opening, drying, and restoration. Hidden wall repairs often run higher, and emergency service adds another $500 to $2,000.
Sponsored / affiliate links. As an Amazon Associate I earn from qualifying purchases. I may earn additional commission from eligible campaigns.