How to Dry Out a House After a Burst Pipe
Start by stopping the water, cutting power to wet areas, and drying with dehumidifiers and moving air. If drywall, insulation, or floors stayed wet more than 24–48 hours, open them. Hidden moisture can feed mold, warp materials, and turn a pipe break into a much larger repair. This guide gives the right drying order, a simple dry-in-place versus tear-out checklist, and the documentation insurers usually need.
This guide is part of our Frozen Pipes: How to Prevent, Thaw and Fix Them series.
Burst pipe drying steps


The drying order matters. First stop the leak, then make the space safe, then remove standing water, and only then begin structural drying. That sequence limits damage, reduces mold risk in the first 48 hours, and gives you better records if the claim turns into a larger restoration job.
Shut off water and make the area safe
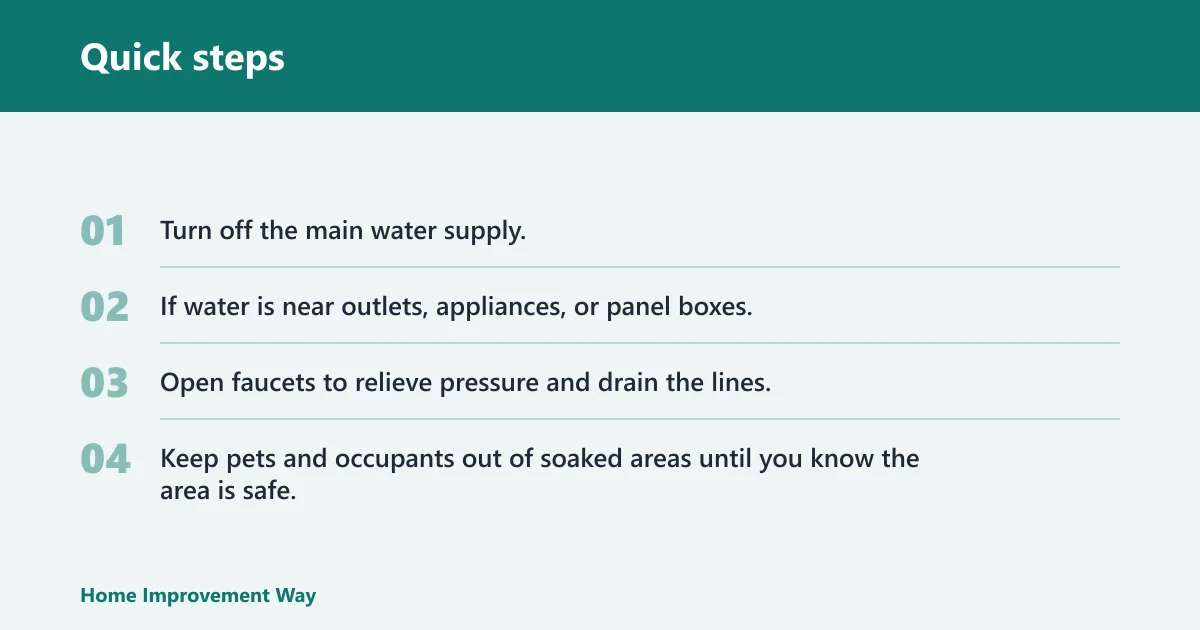
- Turn off the main water supply.
- If water is near outlets, appliances, or panel boxes, cut power to the affected area if you can do that safely.
- Open faucets to relieve pressure and drain the lines.
- Keep pets and occupants out of soaked areas until you know the area is safe.
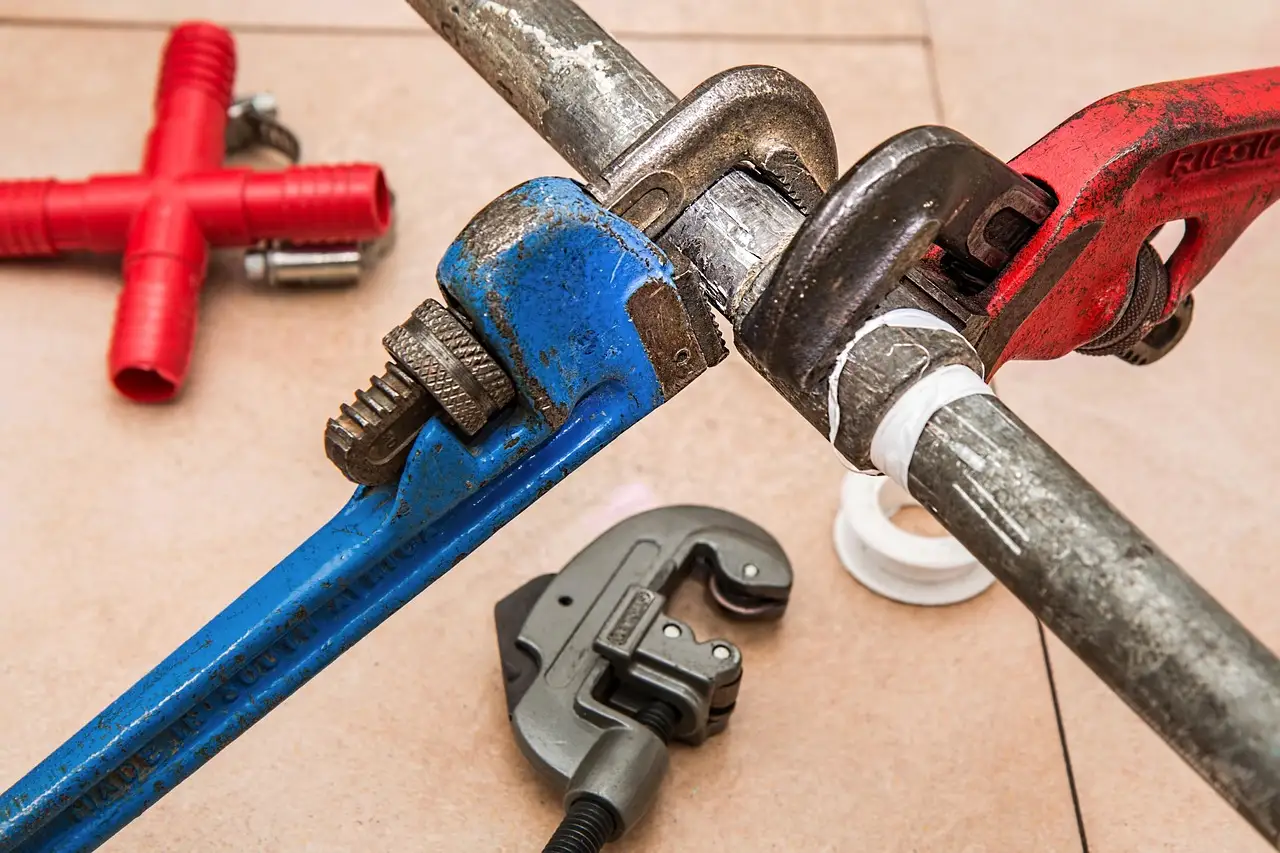
If the pipe is still dripping, a temporary clamp or patch should only buy time. It should not stay in place for more than a day or two. A plumber still needs to make the permanent repair before drying can be considered complete.
Remove standing water before structural drying
Standing water comes out first. Use buckets for small amounts, a wet/dry vacuum for shallow water, or a submersible pump for deeper pooling. Best practice is immediate removal, because fans and dehumidifiers work far better once there is no free water left on the floor.
Say your laundry room has an inch of water around the washer and the hallway carpet is only damp at the edges. Pump or vacuum the standing water first, lift the carpet edge if needed, and then move to airflow and dehumidification. If you skip extraction, the rest of the drying steps take longer and hidden moisture is easier to miss.
Out house log
Take wide shots and close-ups before you move belongings, lift trim, or open walls. Then start a simple moisture log with the room, the date, and the reading. That log helps with claim review because it shows staged mitigation, not just photos of the finished cleanup.
| Time | Room | Visible condition | Meter reading | Action taken |
|---|---|---|---|---|
| 08:00 | Kitchen | Water on vinyl floor, wet toe-kicks | Baseboard: wet | Shut off water, extracted standing water |
| 12:00 | Kitchen | Surface dry, trim still cool | Wall edge: elevated | Set air mover and dehumidifier |
| Next day 08:00 | Kitchen | No visible water | Still above unaffected area | Continued drying, checked hidden moisture |
How do you dry a house after a burst pipe?
Dry a burst-pipe house by moving air through wet materials and pulling moisture out of the room at the same time. Air movers push moist air off wet surfaces, while dehumidifiers remove that water vapor from the air. Keep both running continuously during structural drying until meter readings match unaffected areas.
Set up air movers and dehumidifiers in the right order
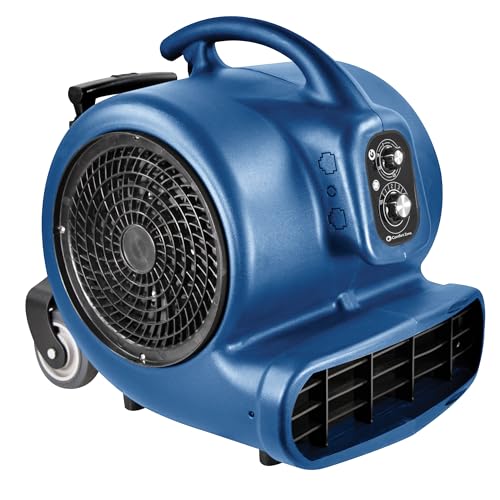
Use high-powered airflow to move air across floors, baseboards, cabinet toe-kicks, and wall edges. Then place dehumidifiers so they can collect the water vapor that fans release into the room. Fans alone are not enough. Without dehumidification, you can move moisture around without actually removing it.
Commercial or low-grain-refrigerant dehumidifiers are the right tier for larger losses. They are built to pull water vapor from indoor air while the structure dries. Run them continuously, not on and off, until the readings stabilize.
Keep air moving through wet rooms and wall edges
Angle air movers so they sweep across the wet surface and into corners, under toe-kicks, and along trim lines where moisture hides. Do not point everything at the center of the room and call it done. Baseboards, subfloor edges, and lower drywall often stay wet longer than the surface.
A common first-timer mistake is drying the floor while leaving cabinet bottoms and wall edges untouched. That can leave damp material behind a visibly dry room, especially near sinks, dishwashers, and exterior walls.
Run the equipment until readings stabilize
The job is finished when meter readings match unaffected areas, not when the room only looks dry. Drying standards use comparison readings for that reason. Clearance testing should confirm the structure is dry before you reinstall trim, insulation, or flooring.
Burst-pipe drying decision table
This table gives a practical rule for dry-in-place versus open-up decisions. Use it after standing water is removed and the leak is repaired.
| Room or material condition | Action | HVAC | Windows | Fan placement | Dehumidifier tier | Open baseboards or drywall? | Call mitigation now? |
|---|---|---|---|---|---|---|---|
| Clean Category 1 water on hard flooring, caught fast | Extract, dry in place | On if safe | Closed in winter, open only if outdoor air is dry and warm enough | Across floor toward exits and wet edges | Small to medium room unit | No, unless readings stay elevated | No, unless damage is spreading |
| Carpet and pad wet, no wall saturation | Extract, lift carpet edge, dry underlay | On if safe | Usually closed | Along carpet edges and under lifted sections | Medium to large room unit | Baseboards only if trapped moisture remains | Consider if drying stalls |
| Drywall feels soft, baseboard swollen, meter stays high | Open selectively | On if safe | Closed in winter unless outdoor air is clearly favorable | At wall base and through the room | Large or commercial unit | Yes, remove baseboard and open lower drywall | Yes |
| Wall cavity saturation, damp insulation, repeated high readings | Selective demolition and drying | On if safe | Closed unless a dry outdoor condition helps | Target wall cavities and adjacent finishes | Large or commercial unit | Yes, open wall sections and inspect insulation | Yes, immediately |
| Multiple rooms affected or water traveled under flooring | Open up, map moisture, dry systemically | On if safe | Usually closed | Across affected rooms and transitions | Large or commercial unit | Likely yes | Yes |
How do you dry a house in winter?
In winter, drying depends on indoor and outdoor conditions, not on opening windows by default. If outside air is cold and humid, opening windows can slow drying or add moisture. Keep windows closed when that happens, and rely on air movers plus dehumidifiers inside the house.
When windows should stay closed
Keep windows shut when outdoor air is cold, damp, snowy, or likely to condense on cool interior surfaces. That matters most around wall cavities and floors, where hidden moisture can linger. Cold exterior walls can stay damp longer, and an open window can make the room feel drier while the structure remains wet.
When outdoor air can help
Open windows only when outdoor conditions are clearly drier than the indoor air and the exchange will help remove moisture rather than add it. F1 says open windows and use fans are essential first steps after flooding, but winter changes the calculation. If the air outside is poor for drying, keep the building closed and dehumidified.
Cold weather risks for wall cavities and floors
Cold surfaces can hide moisture behind a dry-looking wall face. Wall cavity saturation often extends drying time and may require selective demolition, especially where insulation is wet. Floors over cold crawlspaces or slab edges can also hold moisture longer than the room air suggests.
Moisture mapping is the check that keeps you from stopping too soon. Use a penetrating moisture meter on drywall, baseboards, subfloor, and cabinetry, then compare those readings against unaffected areas. The goal is to find hidden wet pockets before you close the wall back up.
Use penetrating meters on the right materials
Technicians check drywall, baseboards, subfloor, and cabinetry with a penetrating moisture meter. In a burst-pipe loss, that often means checking lower wall sections, cabinet toe-kicks, closet corners, and transitions where flooring meets trim. If one room reads dry on the surface but higher near the base, keep drying.
Readings that should trigger more tear-out
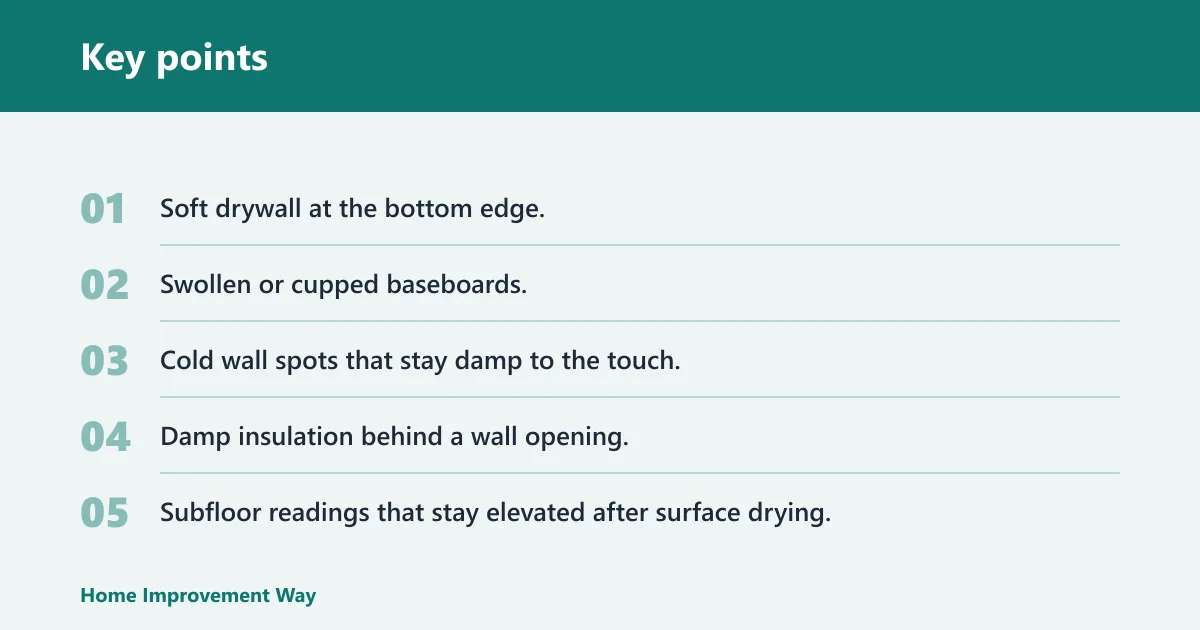
- Soft drywall at the bottom edge.
- Swollen or cupped baseboards.
- Cold wall spots that stay damp to the touch.
- Damp insulation behind a wall opening.
- Subfloor readings that stay elevated after surface drying.
- Meter readings that repeat high in the same location.
Signs of wall cavity saturation
Look for staining at the base of the wall, a musty odor that returns after the room dries, or a meter reading that drops and then climbs again. Those are signs that the moisture is not just on the surface. A wall cavity can keep feeding the problem long after the floor appears dry.
Suppose a kitchen sink line breaks and wets a 6-foot stretch of drywall, but the floor is only damp for a few hours. If the drywall base still reads high on day two, opening the lower section is usually smarter than waiting for the wall to “air out.”
How long does a burst-pipe wall take to dry?
A single-room burst-pipe loss usually dries in three to five days. If the water reached wall cavities or multiple rooms, it can take a week or longer. Clean-water Category 1 supply-line breaks can often be dried in place within 24 to 48 hours if you act quickly and the materials were not left wet.
What affects drying time
Drying time depends on how much water escaped, how fast you removed standing water, whether the water got behind drywall, and whether you kept airflow and dehumidification running continuously. The first 24 to 48 hours matter most because mold can start growing within that window.
In Sydney, a burst pipe can push out hundreds of litres an hour. That is one reason rapid extraction and moisture mapping matter more than waiting for visible drying.
Why clean water can sometimes be salvaged
Category 1 supply-line water is the clean-water category, so it can often be dried in place if addressed quickly. That does not mean every finish is safe to keep. Once drywall, insulation, or floors have been wet for about 24 to 48 hours, selective removal is often the better call.
Why the 24 to 48 hour window matters
Mould can start growing within 24 to 48 hours after a burst pipe, and Utah EPA-linked guidance says to dry water-damaged areas and items within 24 to 48 hours to prevent mold growth. That is the point where “wait and see” becomes the riskier choice.
Burst-pipe moisture log template
Use a 24-hour log until the structure reaches unaffected readings. Keep the notes simple, but complete. Insurers often want to see what was wet, what was dried, what was opened, and how the readings changed over time.
| Date and time | Room or material | Visual condition | Meter reading | Equipment running | Action taken | Notes for claim |
|---|---|---|---|---|---|---|
| Day 1, morning | Hallway floor | Wet | Above baseline | Air mover, dehumidifier | Extracted water | Initial mitigation started |
| Day 1, evening | Baseboard | Cool, slightly swollen | Still elevated | Same | Removed trim section | Selective opening documented |
| Day 2, morning | Wall edge | Dry to touch | Closer to unaffected area | Same | Continued drying | Readings trending down |
| Day 3, morning | Same room | No visible moisture | Matches unaffected area | Stopped after clearance | Prepared for repair | Clearance testing complete |
Frequently asked questions
How to dry out a house after pipe burst in winter
In winter, keep windows closed unless outdoor air is clearly drier and will help. Cold, damp outdoor air can slow drying and hide moisture in walls and floors. Use continuous dehumidification, high airflow, and moisture readings to decide whether to open wall sections.
How to dry out house after water damage
Remove standing water first, then dry the structure with airflow and dehumidification. Map the wet areas with a penetrating moisture meter so you know where moisture remains behind trim, drywall, or subfloor. If water stays in materials more than 24–48 hours, open them selectively.
How long does it take for a wall to dry out after a leak?
A single-room loss often dries in three to five days, while water in wall cavities or multiple rooms can take a week or longer. Clean-water Category 1 losses may dry in place within 24 to 48 hours if addressed quickly. Hidden moisture usually adds time.
Does homeowners insurance cover leaking pipe in wall?
Coverage depends on the cause, the policy language, and whether you acted quickly to limit damage. Sudden pipe failures are often handled differently from long-term seepage or neglect. Document the leak, the drying steps, and the moisture readings so the claim file shows prompt mitigation.
Does homeowners insurance cover burst pipes?
Many policies may cover sudden burst-pipe damage, but coverage can vary with exclusions, maintenance issues, and freezing conditions. Keep photos, receipts, and a moisture log, and note when you extracted water, opened materials, and called for repairs. That paper trail matters during claim review.
Sponsored / affiliate links. As an Amazon Associate I earn from qualifying purchases. I may earn additional commission from eligible campaigns.
 Moisture Meter for House, Water Meter, Tester Hygrometer for Indoor Outdoor Garden Lawn Farm, No Batteries Needed, Accurate Sensor for Gardening(White)
 Moisture Meter for House, Water Meter, Tester Hygrometer for Indoor Outdoor Garden Lawn Farm, No Batteries Needed, Accurate Sensor for Gardening(Green)