Faucet Spout Dripping After Shutoff: What Failed?
A faucet spout dripping after shutoff usually means the sealing point, not the spout, has failed: cartridges are common in single-handle faucets, while washer, valve seat, or O-ring wear is common in compression and two-handle designs. Guessing the wrong part wastes time and can leave the leak running. This guide shows how drip timing, faucet style, and leak pattern point to the right part before you buy anything.
Why a faucet still drips after shutoff
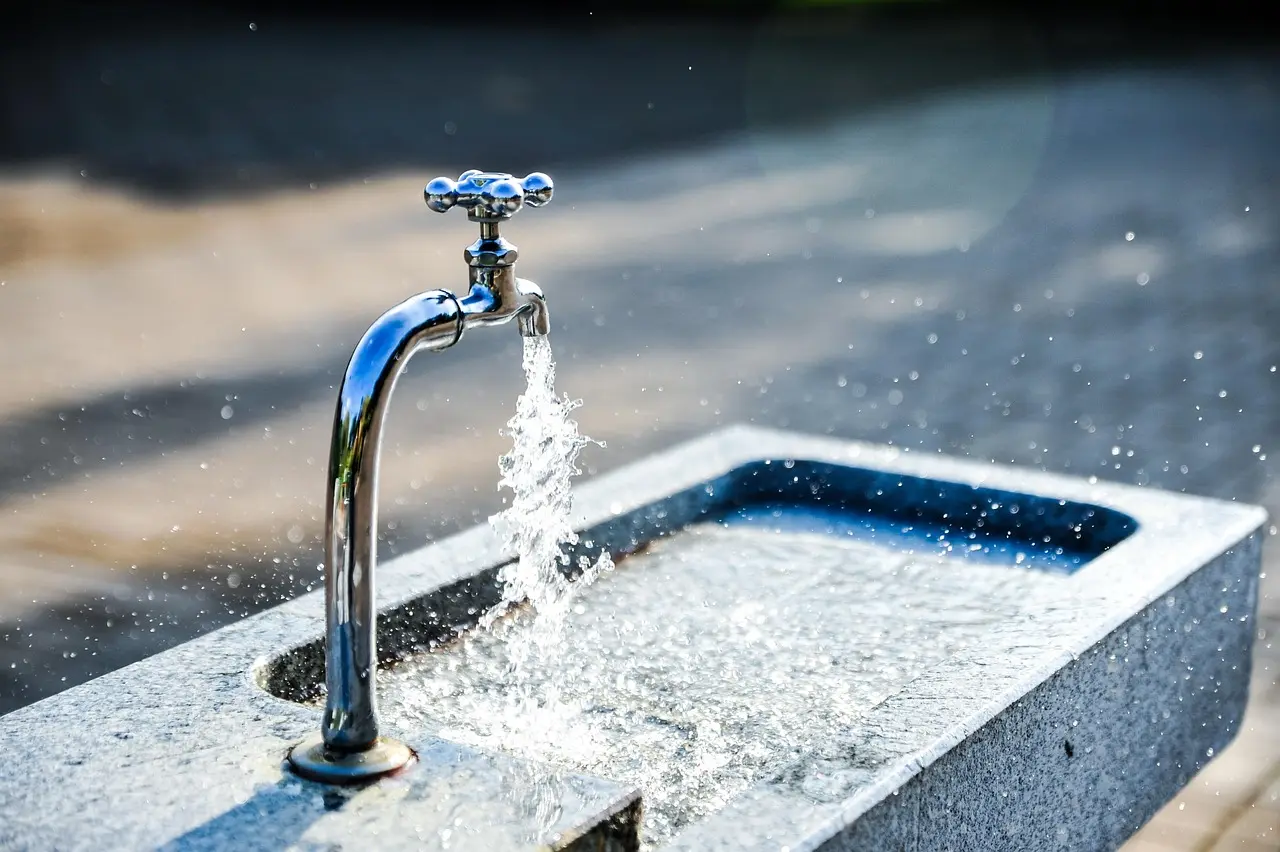


A few drops right after shutoff can come from water left in the spout and body. A true leak keeps forming after the flow should have stopped, or starts again after a short pause. The key is timing: a brief tail-off is different from a steady drip that continues minute after minute.
Residual water vs. true leak
If the last drip falls within a few seconds, especially after a long run, that can be trapped water emptying from the spout. If the faucet keeps dripping beyond that short drain-down period, the sealing surface is not closing fully. That points to a worn cartridge, washer, valve seat, or disc.
What the drip timing tells you
Use the timer in your head. Drips that stop within seconds usually point to residual water or slight pressure equalization. Drips that continue past that point, or start again after the faucet has been off for a minute, can point to an internal seal problem that needs parts inspection.
Check the shutoff valves first
Before you take anything apart, confirm the under-sink shutoff valves stop water flow completely. If a shutoff valve does not hold, water can keep feeding the faucet and imitate a failed cartridge or washer. Close the supply, then see whether the spout still drips. If it does, the faucet itself is the issue.
- Turn off the hot and cold supply valves under the sink.
- Open the faucet to relieve pressure.
- Dry the spout, handle base, and sink deck.
- Watch where the first new drop appears.
- Note whether dripping stops within seconds or keeps going.
Faucet drip decision matrix
Start with location, then timing, then faucet family. That order cuts out a lot of guesswork. A drip from the tip of the spout usually points to a cartridge, washer, or seat gasket; water around the handle base usually points to an O-ring.
| Drip location | Stops in seconds? | Faucet type | Likely part | Confidence | What to inspect next |
|---|---|---|---|---|---|
| Spout tip | No, keeps dripping | Single-handle or modern two-handle | Cartridge or ceramic disc | High | Check cartridge fit, seals, scratches, and mineral buildup |
| Spout tip | No, keeps dripping | Compression faucet | Washer or valve seat | High | Inspect the washer face and seat for pits, corrosion, or scoring |
| Spout tip | Yes, within a few seconds | Any faucet | Residual water | Low | Retest after a longer shutoff interval |
| Handle base | May or may not | Any faucet | O-ring | High | Look for water pooling around the base of the spout or stem |
| Under sink or valve body area | No | Any faucet | Supply connection, valve body, or mis-seated part | Medium | Check fittings, cartridge alignment, and internal debris |
| Spout tip after a repair | No | Compression faucet | Pitted valve seat or wrong washer size | High | Inspect the seat for a groove or rough ring |
| Spout tip after a repair | No | Single-handle faucet | Incorrect cartridge or debris in the valve body | High | Match the exact brand and model; flush the body before reinstalling |
Is the leak from the cartridge?
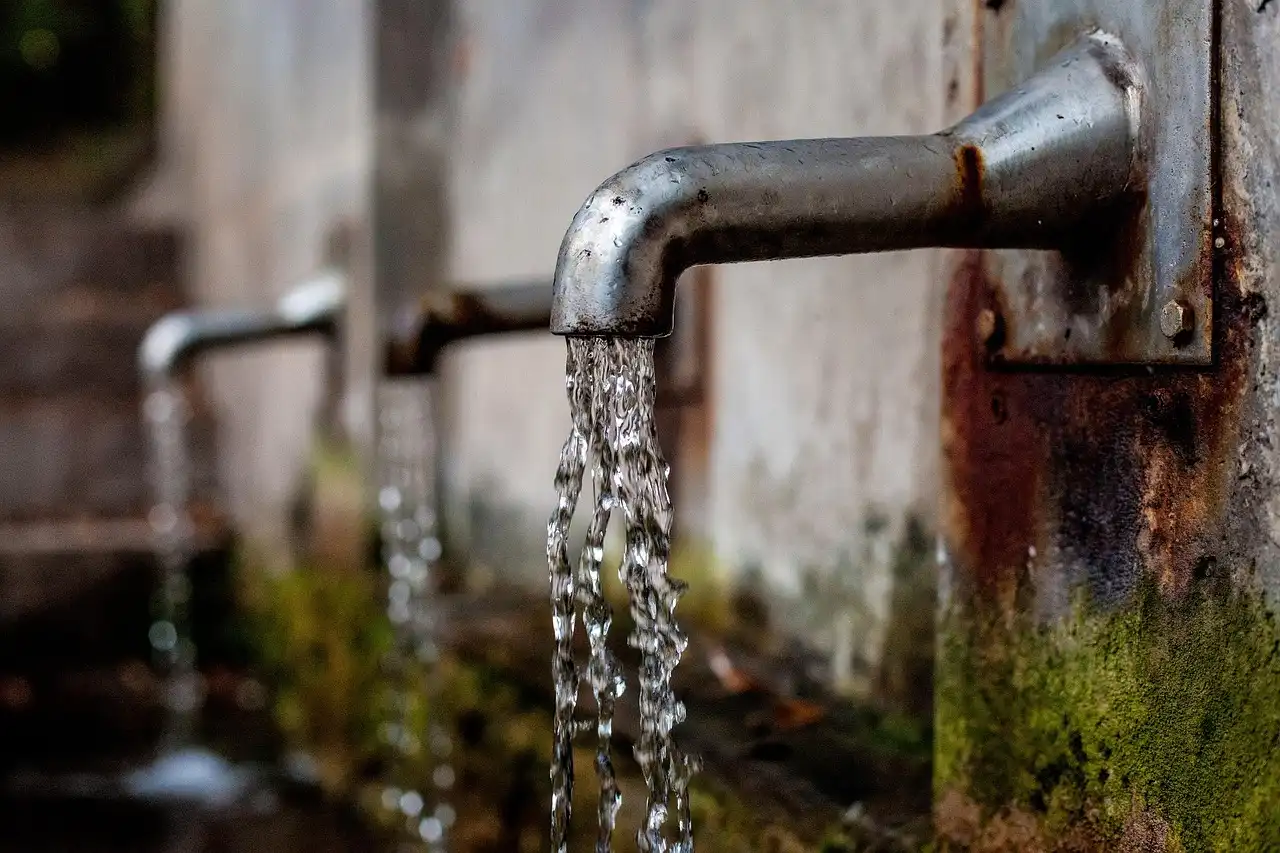
On a single-handle faucet, a spout drip after shutoff usually means the cartridge is not sealing. On some two-handle faucets, a cartridge can also be the shutoff part. If the faucet has a handle that moves one stem or lever and the drip comes from the spout tip, start with the cartridge.
Single-handle and two-handle cartridge clues
Modern single-handle faucets often use a cartridge or ceramic-disc mechanism. A cartridge can fail from worn seals, scratches, or hairline cracks. In some cases, the leak looks minor but keeps returning because the internal shutoff surface is damaged rather than dirty.
Brand- and model-specific fit
Cartridges are often brand- and model-specific. That matters because a close-looking part may still sit too high, twist wrong, or seal in the wrong place. A cartridge replacement is the standard fix for spout-tip drips on single-handle faucets, but only the correct cartridge will fit the valve body properly.
When a new cartridge still leaks
If the faucet still drips after a new cartridge, do not assume the cartridge is bad. Recheck for debris in the valve body, a mis-seated cartridge, or a pitted seat gasket surface. In some faucets, mineral buildup on the internal bore can keep the new part from sealing cleanly.
Suppose a kitchen faucet with one lever still drips every four seconds after a cartridge swap. If the replacement part is not the exact model, the leak may continue even though the handle feels normal. In that case, confirm the cartridge number and inspect the valve body for grit.
When the valve seat is the problem
A damaged valve seat can defeat a fresh washer almost immediately. In a compression faucet, the washer presses against the seat; if the seat is pitted or corroded, the new washer cannot seal across the low spots. A faucet with two handles and increasing resistance often points to a compression faucet.
How a worn seat defeats a new washer
A pitted brass seat can destroy a fresh washer quickly and keep the leak returning. The washer may look fine, but the sealing surface underneath is no longer flat. That is why a new washer sometimes buys only a short pause before the drip comes back.
Pitting, corrosion, and mineral buildup
Look for a dull ring, a groove, or rough metal where the washer contacts the seat. Mineral buildup can scratch or score internal parts and make the sealing surface uneven. If the seat is visibly damaged, cleaning alone will not fix the seal.
Resurface or replace the seat
Some seats can be dressed with a seat dressing tool if the damage is light. If the pit is deep or the brass is badly worn, seat replacement is the better fix. A new washer on a bad seat is usually wasted effort.
Could a washer or O-ring be failing?
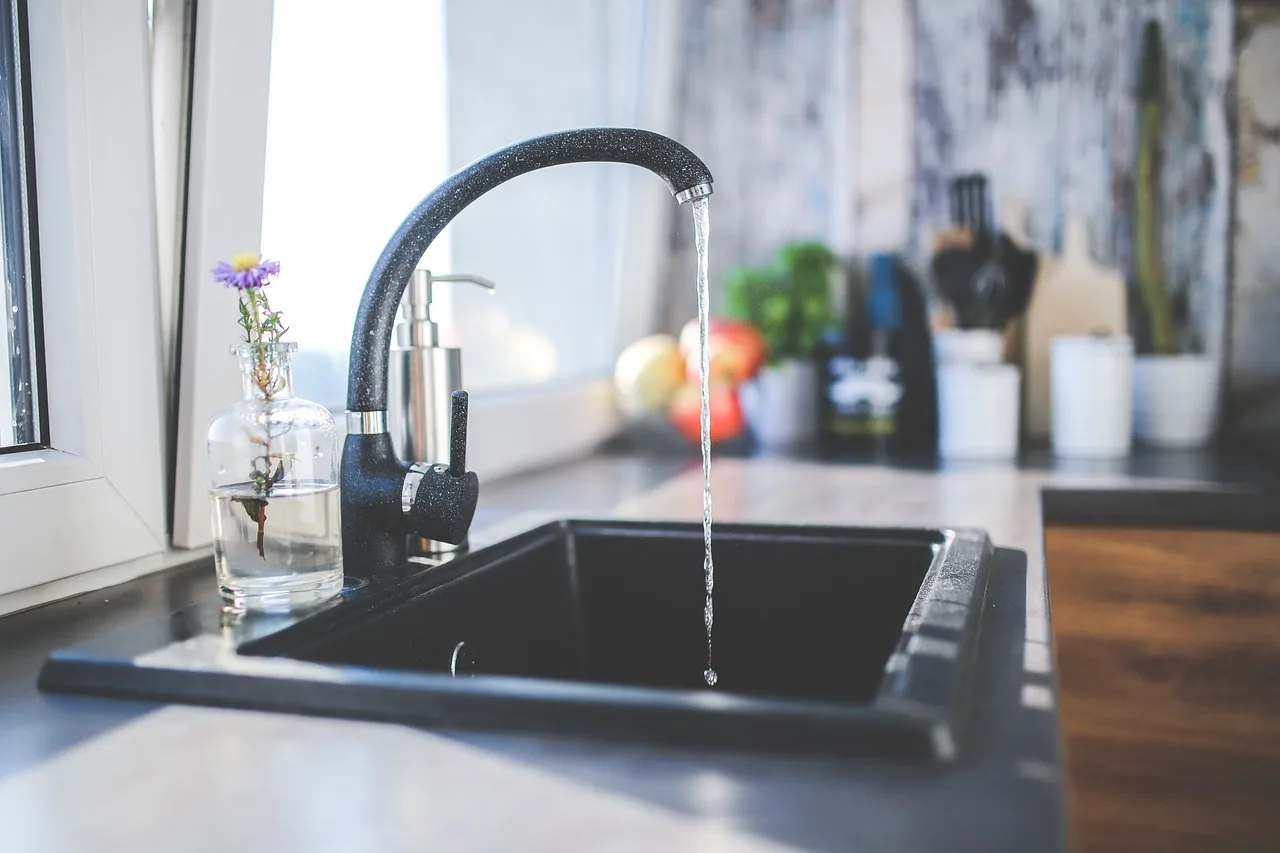
Yes. In compression faucets, the washer is commonly reported as a shutoff part that wears out. An O-ring usually causes leaks around moving joints, not a spout-tip drip by itself. If water appears at the handle base or around the stem, the O-ring or packing area deserves attention first.
Washer wear in compression faucets
A washer can flatten, crack, or harden over time. That makes it less able to press evenly against the seat. Washers are often cheap and easy to replace, but they will not seal if the seat is damaged. A worn washer and a pitted seat often appear together.
O-ring leaks around the base or stem
If water pools around the base of the spout, the likely culprit is an O ring. If the leak shows at the handle base, that often points to a worn O-ring or stem seal. O-rings can dry out, flatten, and lose their round cross section, which lets water sneak past the moving joint.
Packing nut checks without overtightening
A quarter-turn snug on the packing nut rather than overtightening. That can help with stem-area seepage, but it should not be used to force a stop on a spout drip. If the handle becomes harder to move, back off and inspect the internal seal instead.
A common first-timer mistake is to tighten the handle hardware because the drip appears near the stem, then leave the spout leak untouched. If the drip comes from the tip, the handle hardware is usually not the root cause.
Ball and ceramic disc faucet failures
Ball faucets and ceramic disc faucets fail differently from compression faucets. A ball faucet uses spring-loaded seats under a ball, while a ceramic disc faucet uses two polished ceramic discs to control flow. Grit or mineral scale can interrupt either sealing surface and keep the faucet from shutting off fully.
Ball faucet seats and springs
A ball faucet has a rounded cap and a single handle. Drips often trace to worn seats or weak springs under the ball. If the faucet drips from the spout tip after shutoff, the seats and springs are more likely than the spout itself.
Ceramic disc scoring from grit
A ceramic disc faucet can leak if grit scores the polished discs or if mineral scale keeps them from closing flush. A scored disc may not show obvious damage until the faucet is reassembled and still drips. In that case, the sealing surface inside the cartridge assembly is the problem.
What these failures look like after shutoff
Ball and disc faucets usually drip from the spout tip rather than the handle base when the shutoff surface fails. If the leak is only around the handle, look elsewhere. If the drip continues after shutoff, look at the internal seats, springs, or disc surfaces before replacing exterior trim parts.
Faucet repair part matrix
This table turns the symptom pattern into a buying decision. Use it before you order parts, especially when the faucet body looks similar across brands but the internal parts are not interchangeable.
| Faucet type | Symptom pattern | Likely part | Confidence | Next inspection step |
|---|---|---|---|---|
| Single-handle | Spout tip drips after shutoff | Cartridge | High | Match brand and model before buying |
| Single-handle | Still drips after cartridge replacement | Incorrect cartridge, debris, or mis-seated cartridge | High | Compare part number and inspect the valve body |
| Compression | Handle gets harder to turn as it closes, then drips | Washer or valve seat | High | Check seat condition for pitting or corrosion |
| Compression | New washer still drips | Pitted seat | High | Resurface or replace the seat |
| Any faucet | Water around handle base | O-ring | High | Inspect the stem and base for flattening or cracks |
| Ball faucet | Spout drip with single lever | Seats and springs | Medium | Inspect the under-ball parts for wear |
| Ceramic disc | Drip continues after shutoff and returns after cleaning | Scored discs or debris | Medium | Check for grit and mineral scale on the discs |
Say your bathroom faucet has two handles and the cold side needs a firm twist to stop dripping. That pattern fits a compression faucet more than a cartridge faucet. If a new washer does not help, inspect the valve seat next, because a damaged seat can keep the leak alive.
Frequently asked questions
Why does my faucet keep dripping after I turn it off?
Most post-shutoff drips come from a sealing surface that no longer closes fully. On single-handle faucets that is often the cartridge; on compression faucets it is usually the washer or valve seat. If the drip keeps going instead of stopping within seconds, it is a real leak.
How do I tell if the leak is from the cartridge, washer, or valve seat?
Start with faucet type and drip location. A spout-tip drip on a single-handle faucet points to the cartridge. A compression faucet that tightens as it closes points to a washer or seat. If a new washer still leaks, the seat is often pitted or corroded.
Is a few drops after shutoff normal or a real leak?
A few drops right after shutoff can be water draining from the spout and body. If the dripping stops within seconds, that may be normal. If it keeps dripping beyond that short period, or returns after a pause, treat it as a sealing failure.
What if I replaced the washer and the faucet still drips?
That usually means the washer is not the only problem. A pitted brass seat can destroy a fresh washer quickly, and mineral buildup can keep the new part from sealing. Recheck the seat for grooves, corrosion, or rough spots before buying more washers.
Do I need to identify the faucet brand and model before buying a cartridge?
Yes, especially for a single-handle faucet. Cartridges are often brand- and model-specific, and the wrong part may look close but fail to seat correctly. Match the exact faucet brand and model whenever possible before buying, or remove the old cartridge and compare part numbers.
What should I check before taking the faucet apart?
Shut off the supply valves, open the faucet to relieve pressure, and note where the water appears. Check whether the drip is at the spout tip, handle base, or under-sink area. That simple location check points you toward the right internal part before any disassembly starts.
Sponsored / affiliate links. As an Amazon Associate I earn from qualifying purchases. I may earn additional commission from eligible campaigns.