Faucet Repair and Maintenance Guide for Common Fixes
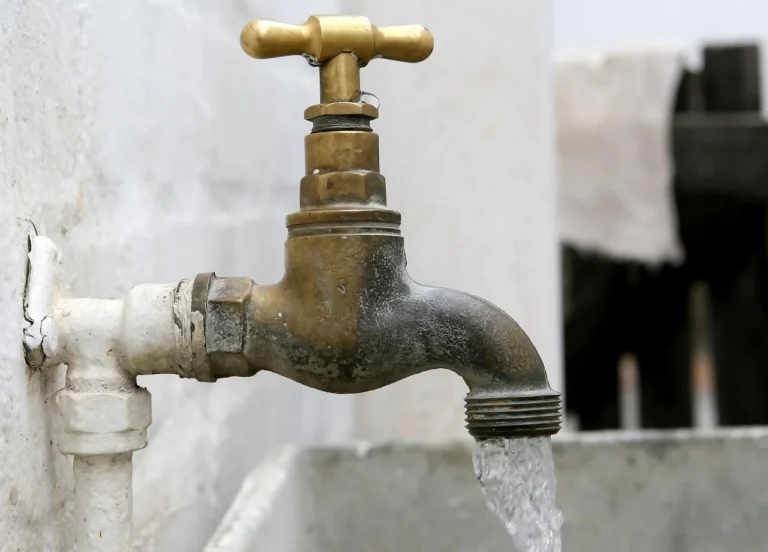
In my experience, many faucet problems come from parts like the aerator, cartridge, O-ring, washer/seat, or supply valve; match the symptom before buying, and replace the faucet if it is cracked, corroded, or quite old. I have seen people guess, buy the wrong part, round over fittings, soak a sink base, or let a tiny leak push up the water bill for months. This guide ties symptoms to parts, covers safe shutoff and basic fixes, and gives a maintenance routine to prevent repeat drips, noise, and low flow. For context on why small drips matter, the U.S. Environmental Protection Agency says a faucet that drips at one drip per second can waste more than 3,000 gallons per year, which is why I treat even a slow, “minor” leak as worth fixing.
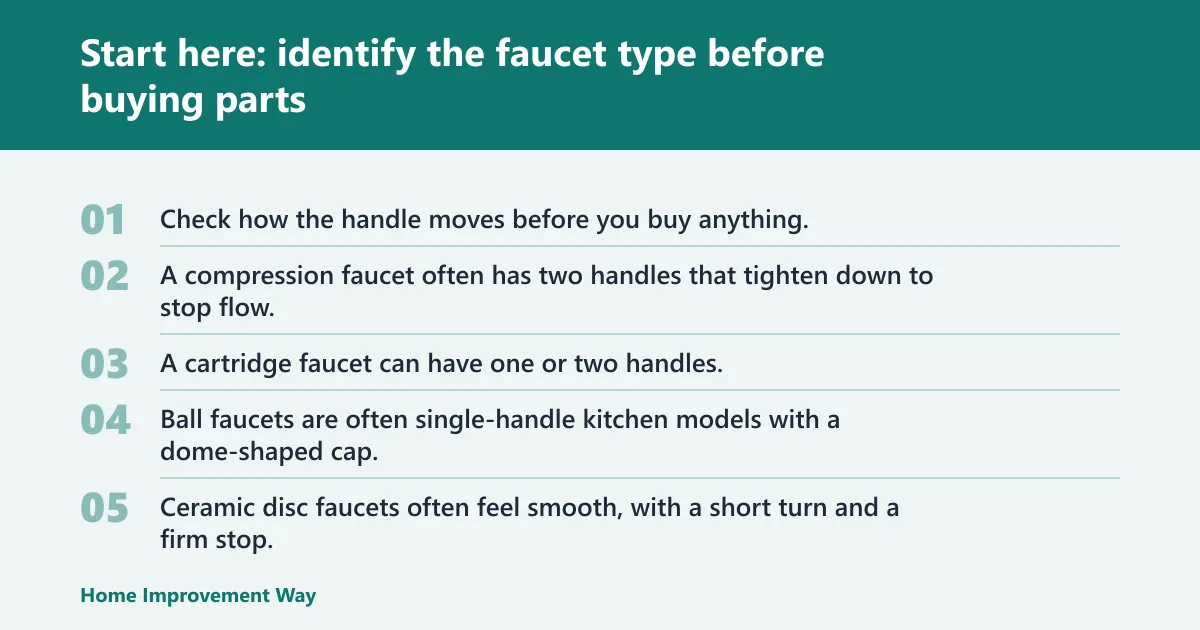
Start here: identify the faucet type before buying parts


How to tell compression, cartridge, ball, and ceramic disc faucets apart
Check how the handle moves before you buy anything. A compression faucet often has two handles that tighten down to stop flow. A cartridge faucet can have one or two handles, and the motion often feels straighter and more controlled. Ball faucets are often single-handle kitchen models with a dome-shaped cap. Ceramic disc faucets often feel smooth, with a short turn and a firm stop. That general behavior lines up with the way major manufacturers describe their valve designs in repair literature: compression valves seal by tightening a washer, cartridges use a removable valve unit, ball faucets use a cam-and-ball assembly, and ceramic disc valves use polished ceramic sealing surfaces.
That difference decides which part to pull first. A drip in a compression faucet often points to a washer and valve seat, while a drip in a single-handle bathroom faucet often points to a cartridge. In my own repairs, the biggest time-waster is treating every faucet drip like “just a washer” when the faucet is actually a cartridge or ceramic-disc model. I check the faucet type first because symptom-only guessing wastes time.
What the handle count and handle movement reveal
Two handles do not always mean compression, but full multi-turn closing strongly suggests it. A short quarter-turn feel usually points toward ceramic disc internals. If the handle lifts and rotates, think cartridge or ball before anything else.
Consumer Reports says single-handle faucets are easier to use and install. That helps when replacing a faucet, and it also explains why many repair calls center on single-handle cartridges and handle adapters. (consumerreports.org)
Where to find model clues on the faucet body or trim
Look on the back of the spout, under the sink, on the escutcheon, or under a decorative cap on the handle. Brand marks may be faint. Model numbers are less common, but trim style, stem shape, and cartridge length can narrow the search.
I take photos before disassembly and after each layer comes off. Keep parts in order in a tray. A side-by-side comparison avoids buying a nearly right cartridge that still will not seal. On Delta bathroom faucets, I have often found the trim style easier to identify than the cartridge itself. On Moen one-handle lavatory faucets, the cartridge clip and stem profile are usually the giveaway. On older Price Pfister and some no-name big-box faucets, the challenge is often the stem broach or spline count rather than the visible trim.
Why exact part matching matters for cartridges and stems
Cartridges are not universal. The replacement must match shape, stem length, and internal configuration exactly. A close match can still cause poor shutoff, reversed hot and cold, handle binding, or a drip that remains after reassembly. Manufacturer parts diagrams from Delta, Moen, Kohler, and Pfister all separate cartridges by family for this reason.
The same caution applies to faucet stems. Stem length, spline pattern, thread pitch, and seat interface vary by faucet type and brand. Buy after inspection, not before. I have had “almost right” stems thread in and still fail because the washer never landed squarely on the seat.
📊 Handyman Expert says faucet repairs usually start at 75 dollars. Source: Handyman-expert.
What tools and supplies do you actually need?
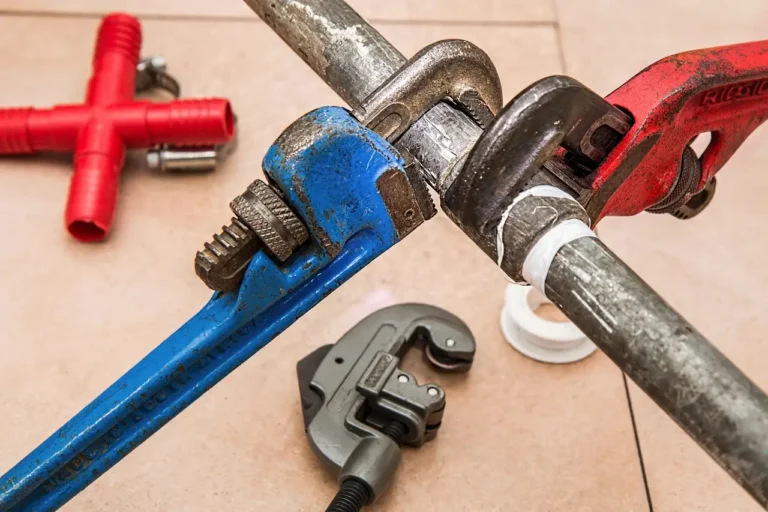
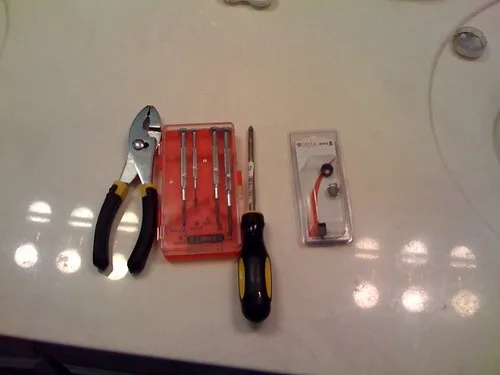
For most faucet repairs, I reach for a short, practical kit: adjustable wrench, screwdrivers, hex keys, slip-joint pliers, pick, flashlight, towels, and a parts tray. Add a cartridge puller for stuck cartridges and a seat wrench for compression faucets. That covers the tools commonly specified in manufacturer repair sheets and the ones I actually use under a sink.
Core hand tools for most faucet repairs
- Adjustable wrench for retaining nuts and supply connections
- Phillips and flat screwdrivers for caps, screws, and trim
- Hex key set for hidden handle set screws
- Slip-joint pliers for light gripping with a rag to protect finish
- Pick or small hook for O-rings, clips, and debris
- Flashlight for model marks and under-sink checks
- Towels and a shallow tray for water and small parts
Special tools that save time on stuck cartridges and valve seats
A cartridge puller is worth having when a cartridge is frozen by mineral scale. I have watched people twist with pliers, snap the stem, and turn a simple repair into faucet-body damage. On compression faucets, a seat wrench helps remove replaceable valve seats without chewing up the recess. On a scale-locked Moen cartridge, I have had the handle come off cleanly but the cartridge stay welded in place by mineral buildup; the puller turned a likely replacement job back into a straightforward repair.
Supplies worth having on hand
Keep replacement O-rings, a small brush, white cloths, and silicone plumber’s grease nearby. O-rings often flatten or harden over time, and they are commonly replaced as a set rather than one at a time. Use the grease only where the faucet maker allows it. It helps on some seals and moving parts, but it is not a cure-all for every faucet or every lubricant point. NSF/ANSI 61-compliant silicone plumber’s grease is the safest default around potable-water fixtures.
Finish-safe cleaners for scale, debris, and aerators
Use mild soap, water, and a soft cloth for routine exterior cleaning. For aerators and mineral scale, soak the removed aerator components in a finish-safe descaling solution or plain vinegar if the manufacturer permits it. Do not attack plated surfaces with steel wool, harsh powder cleaners, or aggressive scraping. Kohler, Delta, and Moen care guides all warn against abrasive cleaners on decorative finishes, and that matches what I have seen in the field: the finish damage often ends up more obvious than the leak you started with.
How do I shut off the water before repairing a faucet?
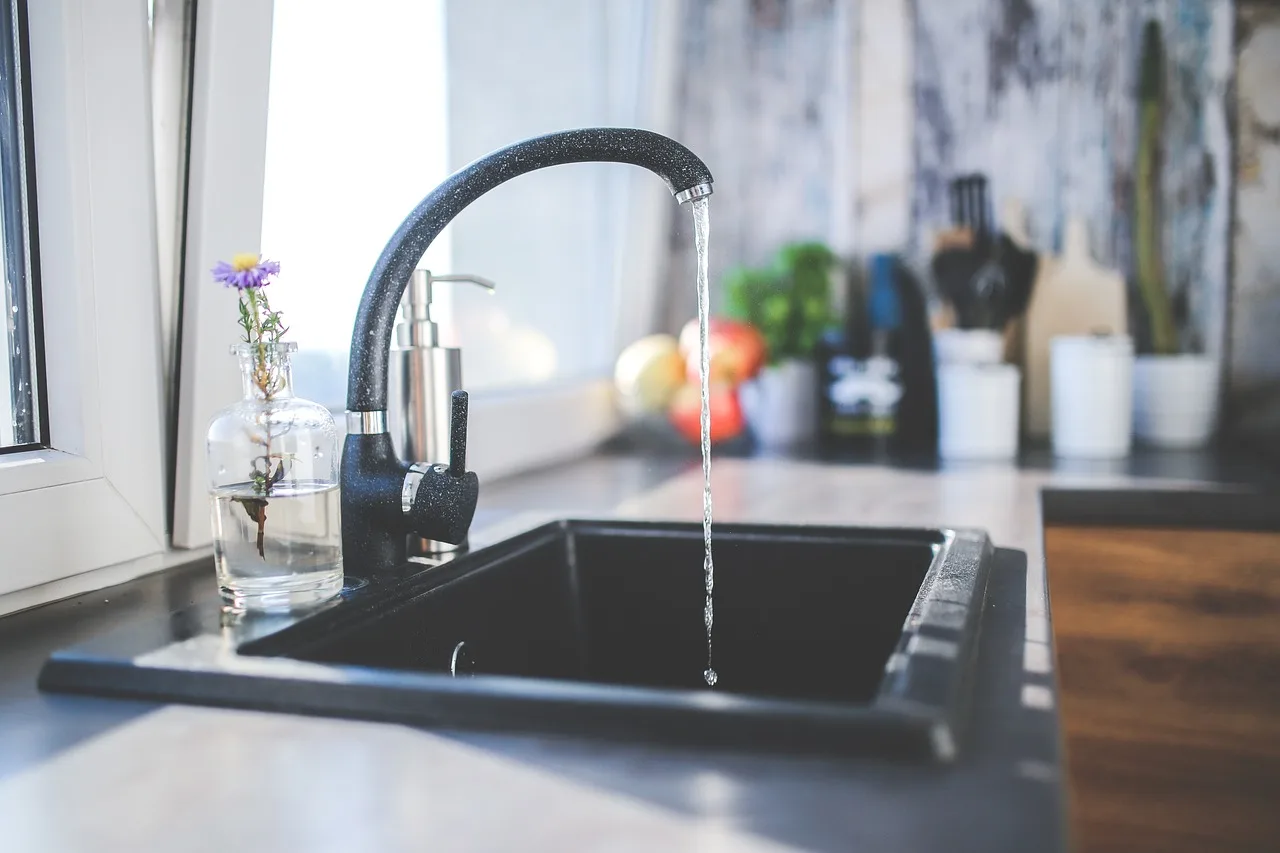
Close the fixture stop valves under the sink before you loosen a single screw, then open the faucet and verify that flow stops completely before removing any parts. If a shutoff valve is stuck, leaking, or still passing water, stop there and fix that valve first. This is the same sequence shown in standard faucet repair instructions from major faucet brands and basic home-repair references.
Closing the stop valves and checking whether they seal fully
- Clear out the cabinet and place towels under the valves.
- Turn the hot and cold stop valves clockwise until snug.
- Open the faucet handle to relieve pressure.
- Watch for a full stop, not a slow trickle.
- Test both hot and cold positions on single-handle faucets.
A shutoff that turns but does not stop flow is a repair problem of its own. Do not assume the faucet is safe to open because the handles feel tight. On quarter-turn angle stops, I also check for seepage around the stem after turning them; older multi-turn stops are especially prone to this.
How to relieve pressure and protect the sink area
After the stops are closed, open the faucet and let residual water drain. Plug the sink only if you are sure you can still catch dropped clips and screws. I usually lay a towel over the drain instead. A white towel also helps me spot the tiny U-clips and springs that like to disappear in a porcelain basin.
What to do if a shutoff valve is stuck, leaking, or will not stop flow
If the stop valve stem leaks when turned, the packing may need service or the valve may need replacement. If the valve will not close enough to stop flow, the house branch or main shutoff may be the next step. At that point, many homeowners are better off repairing the shutoff before touching the faucet. In older homes, I have had stop valves fail the moment they were disturbed after years of not being used, so I never treat them as automatic “safe points” without testing them.
When to stop and repair the shutoff before touching the faucet
If water continues to run, if the stop drips onto the cabinet floor, or if the valve body is badly corroded, pause the faucet project. A leaking stop valve can turn a small faucet repair into cabinet damage fast.
Symptom-to-failure matrix: what the faucet is telling you
The 10-symptom matrix
| Symptom | Most likely part or failure point | Fastest inspection step | Smarter move |
|---|---|---|---|
| Drip from spout after shutoff, single-handle | Worn cartridge or debris on cartridge seals | Remove handle and inspect cartridge for wear, scoring, or grit | Repair if body is sound; replace faucet if cartridge is unavailable |
| Drip from spout after shutoff, compression faucet | Washer and possibly valve seat | Pull stem, inspect washer face and seat for pitting | Repair if seat is serviceable; replace if seat area is badly damaged |
| Leak around handle when faucet is on | O-ring or packing around stem | Check under handle for wetness at stem entry point | Repair with new O-rings or packing service |
| Leak at base of spout | Spout O-rings | Lift and rotate spout, inspect for side-to-side looseness and water tracks | Repair with correct O-ring set and approved grease |
| Low flow from spout | Clogged aerator or debris in cartridge inlet | Remove aerator and compare flow with and without it | Clean first; repair only if flow stays poor |
| Sputtering, splash, or noisy first-turn water | Aerator scale, trapped debris, or partial blockage | Disassemble aerator and inspect screen and mixer parts | Clean first |
| Handle turns hard | Scale on cartridge or worn stem packing | Remove handle and check motion at bare stem | Repair if motion improves after cleaning; replace worn cartridge or stem |
| Handle wobbles | Loose handle screw, worn adapter, or stripped handle hub | Remove cap and inspect screw and handle insert | Repair if threads hold; replace handle or faucet if mounting point is damaged |
| Water under sink near supplies | Loose supply connection or leaking stop valve | Dry all joints, then run faucet and watch each connection | Repair connection or stop valve before opening faucet body |
| Persistent leak after replacing wear parts | Pitted valve seat, cracked body, wrong cartridge, or internal corrosion | Recheck exact part match and inspect body sealing surfaces | Replace faucet if body damage or severe corrosion is present |
Symptoms that point to cartridges, O-rings, washers, stems, or seats
Use symptom clusters, not one isolated clue. A spout drip with smooth handle action in a single-handle faucet often points to the cartridge. A handle-area leak points more strongly to O-rings or stem packing. A compression faucet that still drips after a new washer may have a damaged valve seat. That diagnosis pattern is consistent with common manufacturer troubleshooting charts and with what I see most often on bathroom sink faucets.
Symptoms caused by mineral buildup or aerator blockage instead of worn parts
Low flow, sputter, splash, hissing, and odd first-turn spray can come from mineral scale or trapped debris. Those symptoms often look like cartridge failure. Clean the aerator before ordering internal parts. EPA WaterSense maintenance guidance and faucet maker care instructions both treat aerator debris as a routine cause of poor stream quality, and I agree with that order of operations.
Red-flag symptoms that suggest faucet body damage or replacement
Replace rather than repair when the body is cracked, heavily corroded inside the valve cavity, or worn where a cartridge or stem must seal. Repeat failures after correct parts are installed also point to damage beyond normal wear. If you are weighing a more involved swap, it helps to compare this with bathroom faucet replacement steps and a basic bathroom faucet installation cost guide before you sink more time into a compromised body.
Why is my faucet dripping after I shut it off?
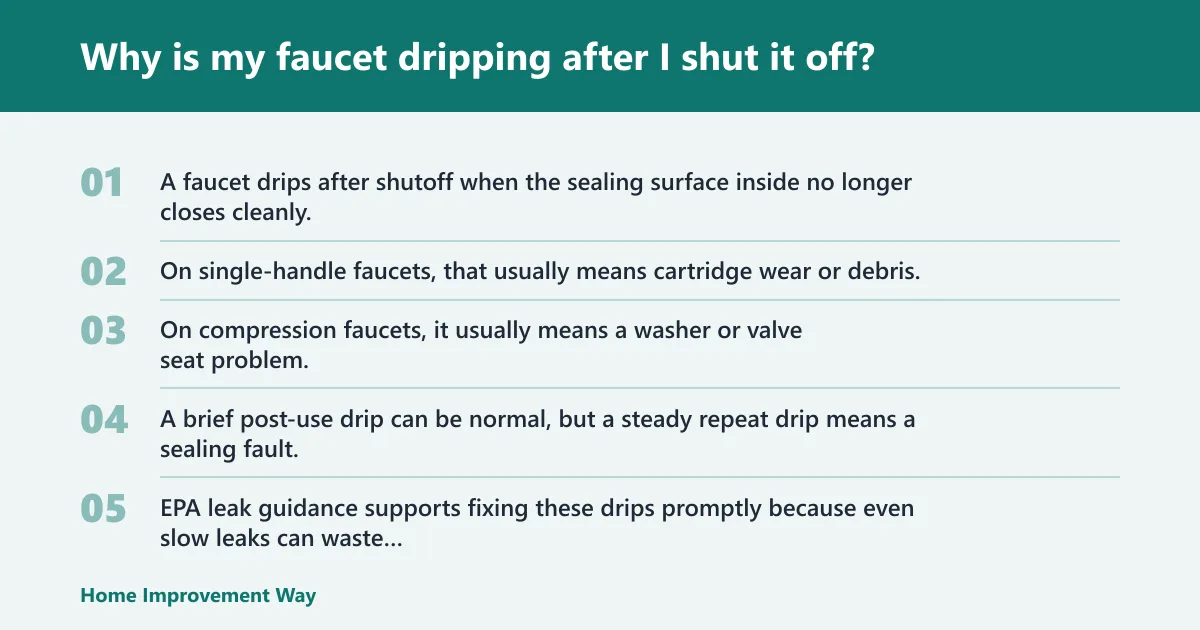
A faucet drips after shutoff when the sealing surface inside no longer closes cleanly. On single-handle faucets, that usually means cartridge wear or debris. On compression faucets, it usually means a washer or valve seat problem. A brief post-use drip can be normal, but a steady repeat drip means a sealing fault. EPA leak guidance supports fixing these drips promptly because even slow leaks can waste substantial water over time.
Drips from single-handle faucets
The cartridge is the common failure point in single-handle and many bathroom faucets. Wear on the sealing faces, grit caught in the cartridge, or a wrong replacement cartridge can all cause poor shutoff. Exact matching matters here more than anywhere else. In my own repairs, I have seen this most on older Moen and Delta lavatory faucets where mineral flakes from the supply line score the cartridge seals.
Drips from compression faucets
Compression faucets rely on a washer pressing against a valve seat. If the washer is damaged or compressed, the faucet drips. If the seat is pitted or corroded, a new washer may still leak. Inspect both together. On older two-handle faucets, I usually expect the hot side to fail first because heat tends to harden washers and O-rings faster.
How to tell a normal post-use drip from a true sealing failure
A normal post-use drip tapers off quickly as water drains from the spout. A sealing failure returns every time, forms at regular intervals, or keeps building pressure and dripping long after use stops. If I can come back five or ten minutes later and still catch fresh drops forming, I treat it as a repair issue, not leftover drainage.
When a persistent drip means the repair part was misidentified
If a new cartridge or washer did not stop the drip, do not simply tighten harder. Recheck faucet type, part orientation, and the condition of the body sealing surfaces. I have corrected more than one “bad new cartridge” that turned out to be the right brand but the wrong hot/cold orientation or the wrong cartridge family entirely.
How do I know if my faucet needs a cartridge, washer, O-ring, or stem?
The part choice comes from leak location, handle feel, and faucet type. Spout drips on single-handle faucets usually point to a cartridge. Handle-area leaks often point to O-rings or stem packing. Compression faucet drips usually point to a washer and seat. Stiff or unreliable shutoff can point to a worn stem. In practical terms, I diagnose by where the water exits first, then by how the handle behaves.
Single-handle faucet diagnosis
If the leak comes from the spout and the faucet uses a cartridge, inspect the cartridge first. If water seeps around the handle or at the rotating spout base, inspect O-rings before the cartridge. If flow is weak or erratic, clean the aerator and check for debris before replacing internals. On a single-handle faucet with a pull-down sprayer, I also check the diverter path if stream behavior changes but the main valve still shuts off correctly.
Compression faucet diagnosis
Compression repairs often start with the washer, then move right to the valve seat inspection. If the handle area leaks, the stem packing or O-ring may be the issue. If turning the handle feels rough or the faucet will not shut off cleanly, the stem itself may be worn. On very old faucets, I inspect the stem threads closely because worn threads can make a faucet feel “closed” before the washer truly seals.
Handle-area leaks vs spout drips vs base leaks
- Handle-area leak: O-ring, packing, or stem service
- Spout drip: cartridge on many single-handle faucets; washer and seat on compression faucets
- Base leak: spout O-rings, mounting gasket, or splash from a clogged aerator
Part matching checkpoints before ordering replacements
Match cartridge shape, stem length, tab layout, and internal configuration exactly. Match stems by length, splines, threads, and seat style. Replace O-rings in sets when possible and use the approved lubricant. Do not assume similar-looking parts interchange. If you are still deciding whether the issue is in the faucet or farther down the line, it can also help to compare symptoms with low water pressure in a bathroom sink and bathroom sink drain troubleshooting so you do not blame the faucet for a drain or supply problem.
How do I stop a faucet handle from wobbling or turning hard?
A wobbling handle usually needs a tightened screw, a new adapter, or a replacement handle hub. A hard-turning handle usually points to mineral scale, dried seals, cartridge wear, or stem wear. Start at the handle hardware, then move inward only if the bare stem or cartridge still binds. That basic progression matches both field experience and manufacturer troubleshooting steps.
Loose handle screws, stripped adapters, and worn mounting points
Pry off the decorative cap, expose the screw, and check for looseness first. If the screw tightens but the wobble remains, inspect the handle insert and adapter splines. If the faucet body mounting point is worn or cracked, replacement is the better path. I have also seen zinc-alloy handle hubs split internally, which leaves the screw tight but the handle still sloppy.
Stiff movement from scale, dried seals, or stem wear
Remove the handle and test the cartridge or stem directly. If the bare mechanism still turns hard, mineral scale or internal wear is the likely cause. On compression stems, a packing nut that is too tight can also add drag. On ceramic-disc faucets, forcing a stiff handle is especially risky because the trim may take the punishment before the valve body does.
Where silicone plumber’s grease helps and where it does not
Silicone plumber’s grease can help on some O-rings and moving seals when the manufacturer allows it. It should not be smeared on every part in sight. It will not fix a pitted seat, a damaged cartridge, or a stripped handle connection. In my own work, a light film on approved spout O-rings often restores smooth swivel action, but too much grease only attracts grit.
When handle problems point to deeper cartridge or stem failure
If stiffness returns soon after cleaning, or the handle binds near the shutoff point, the cartridge or stem is probably worn. Replace the failed internal part before forcing the handle harder and damaging trim.
Step-by-step repair flow for the most common faucet faults
Safe disassembly without losing clips, springs, or part orientation
- Shut off both stop valves and confirm water is actually off.
- Cover the drain and lay towels in the sink.
- Remove the handle cap, then the handle screw or set screw.
- Photograph each layer before it comes off.
- Remove trim, retaining clip, or retaining nut in order.
- Lift the cartridge or stem straight out if possible.
- Keep parts laid out in removal order.
Inspecting and replacing cartridges, washers, O-rings, and stems
On cartridge faucets, inspect the cartridge body, seals, and valve cavity for grit. On compression faucets, inspect the washer and the valve seat together. On spout-base leaks, replace the O-rings as a set and lightly lubricate if approved. On worn stems, inspect packing, threads, and sealing faces before deciding between service and full replacement. A real-world example: on a two-handle lavatory faucet, I replaced the hot-side washer and still had a drip until I shined a flashlight into the body and found a pitted brass seat. On a Delta-style single-handle faucet, I have pulled a cartridge that looked fine until I found scoring on the rubber seals and grit packed in the inlet ports.
Cleaning valve cavities, seats, and aerators before reassembly
Flush debris from the valve body with the cartridge or stem removed only if the water can be controlled safely. Clean the cavity gently. Do not gouge sealing surfaces. At the aerator, separate the screen and mixer pieces, brush off scale, and reassemble in the same orientation. If the faucet has a cache aerator, I use the proper key instead of improvising with picks because it is easy to mar the outlet.
Reassembly, leak testing, and what to recheck if the problem remains
Reassemble in reverse order. Tighten retaining nuts and trim to hand-snug, then a slight additional turn if needed. Do not muscle them down. Over-tightening is one of the fastest ways to crack trim, distort seals, or make the next repair much harder.
Open the stop valves slowly. Check the spout, handle area, under-sink supplies, and shutoff valves. If the problem remains, recheck exact part match, part orientation, and whether the true failure point was the seat, stem, or stop valve rather than the part first replaced. I also wipe everything dry and leave tissue under suspect points for a few minutes; it shows tiny leaks faster than waiting for a visible drop.
When should I repair a faucet instead of replacing it?
Repair makes sense when the faucet body is sound, parts are available, and the failure is normal wear such as a cartridge, washer, O-ring, aerator, or stem packing. Replace when the body is cracked, the seat area is too damaged, corrosion is severe, parts are discontinued, or the same faucet keeps failing. Consumer guidance and manufacturer warranty policies point the same direction: wear parts are routine, but damaged castings and unsupported models are poor repair bets.
Repairable wear vs body damage, corrosion, or obsolete parts
Wear parts are routine. Cracked castings are not. Heavy internal corrosion that prevents proper sealing is also a replacement trigger. If parts are discontinued, replacement may make more sense than chasing salvage parts or trial-and-error substitutes.
Consumer Reports says there are few performance differences between faucet brands and that most faucets come with lifetime warranties for the original buyer. That shifts the decision toward fit, finish, warranty coverage, and part support rather than chasing a dramatic performance jump. In practice, I am more willing to repair a supported Delta, Moen, or Kohler faucet than an unmarked older unit with no clear parts path.
DIY parts cost and time by repair type
DIY repair costs vary by brand and part style. In general, an aerator cleaning is usually the fastest and cheapest task. Replacement aerators and O-rings are commonly low-cost consumables, while genuine cartridges are usually a moderate parts purchase and may cost more on premium brands or specialty finishes. A stuck cartridge can add significant labor time even when the part itself is inexpensive. If a professional is called, Handyman Expert says faucet repairs usually start at 75 dollars.
If the faucet is replaced instead, Handyman Expert says faucet replacements range from 150 to 300 dollars including labor and setup. That can be the better use of money when shutoff valves also leak, the faucet body is damaged, or the repair path involves multiple unknown parts. Those labor numbers are broad market averages rather than a fixed national price, so I use them as a reality check, not a quote.
When repeat failures make replacement the better use of time
If a faucet has already had repeat drips after correct repairs, inspect the body closely for wear at the sealing points. A rough valve cavity, eroded seat area, or sloppy stem bore often causes comeback leaks. I usually draw the line after a second well-executed repair on a low-value faucet body; at that point, replacement is often more predictable.
Sink hole count, mounting holes, and base plate fit if you replace
Consumer Reports recommends matching the faucet to the number of mounting holes. That matters before any purchase. If the new faucet footprint does not cover the old sink layout, a base plate may be needed to cover extra holes. Check hole count and spacing before ordering. Consumer Reports also notes that pullout spouts use a hose and a counterweight for retraction, which matters for under-sink clearance. I also measure backsplash clearance because a beautiful replacement faucet is still a bad pick if the handle hits the wall every time it opens.
Faucet maintenance that prevents repeat leaks
Seasonal checks under the sink and at the handle and spout
Once each season, dry the supply lines, stop valves, and drain area with a towel, then run the faucet and inspect for fresh moisture. Check for handle looseness, stiff turning, and drips at the spout after shutoff. This takes only a few minutes and catches the small leaks that later stain cabinet floors or swell particleboard bottoms.
Aerator cleaning intervals for hard water homes
Hard water loads the aerator with scale and grit faster than most people expect. If splash, hiss, or low flow starts creeping in, clean the aerator before touching internal parts. In homes with frequent scale, that may be a regular routine job. In my experience, this single step solves a surprising share of “bad faucet” complaints that are really just clogged screens.
Scale removal that will not harm common faucet finishes
Use mild soap and a soft cloth on the exterior. For stubborn mineral residue, apply cleaner to the cloth rather than spraying the faucet directly. Keep strong chemicals away from plated trim, decorative coatings, and rubber seals. Manufacturer finish-care guides are consistent on this point, and I have seen overspray dull or spot finishes around handle bases and escutcheons.
A simple yearly checklist for smooth movement and dry connections
- Check stop valves for full shutoff and stem leakage.
- Clean the aerator and reassemble it in the same order.
- Inspect handle screws and trim for looseness.
- Check for drips at spout, handle base, and supply connections.
- Confirm smooth handle travel without binding.
- Replace aging O-rings during planned service instead of waiting for a leak.
Frequently asked questions
Why is my faucet dripping after I shut it off?
A steady drip usually means the internal sealing surface is worn or dirty. In single-handle faucets, that often means a cartridge issue. In compression faucets, it often means a washer or valve seat issue. A short post-use drip can be normal, but repeated dripping after every shutoff is a repair signal. EPA guidance on household leaks backs up taking these drips seriously because even slow leaks waste measurable water over a year.
How do I know if my faucet needs a cartridge, washer, O-ring, or stem?
Match the part to the symptom and faucet type. Spout drips often point to a cartridge or washer. Handle-area leaks often point to an O-ring or packing issue. Hard turning or poor shutoff can point to a worn stem. Inspect first, then order the exact replacement. If the faucet is a known brand, I always compare the removed part to the manufacturer parts diagram before buying.
What tools do I need for basic faucet repair and maintenance?
The core set is an adjustable wrench, screwdrivers, hex keys, slip-joint pliers, a pick, flashlight, towels, and a parts tray. A cartridge puller helps with seized cartridges, and a seat wrench helps on compression faucets. Keep finish-safe cleaner and approved silicone plumber’s grease nearby. That is enough for most bathroom faucet service without overbuying specialty tools.
How do I shut off the water before repairing a faucet?
Close the hot and cold stop valves under the sink, then open the faucet to confirm water stops fully. Test both temperature sides on single-handle faucets. If a shutoff valve leaks, sticks, or keeps passing water, repair that valve before opening the faucet body. Never assume a stop valve works just because it turns.
When should I repair a faucet instead of replacing it?
Repair when the faucet body is sound and the issue is a normal wear part such as a cartridge, washer, O-ring, aerator, or packing. Replace when the body is cracked, badly corroded, missing support for new parts, or dependent on discontinued parts that are hard to source. I also lean toward replacement when repeat repairs have already failed with the correct parts.
What type of faucet do I have before I buy parts?
Use handle action first. Full-turn handles usually point to compression. Lift-and-turn single handles often point to cartridge or ball designs. Short, smooth quarter-turn action often points to ceramic disc internals. Check brand marks on the trim or body, then compare the removed part before ordering. If you still are not sure, identifying the cartridge or stem after removal is more reliable than buying off appearance alone.
Sources
- U.S. Environmental Protection Agency, WaterSense: household leaks guidance, including the estimate that a faucet dripping once per second can waste more than 3,000 gallons per year.
- Consumer Reports faucet buying guidance: consumerreports.org
- Handyman Expert cost overview for faucet repair and replacement labor ranges: Handyman-expert
- Manufacturer installation, maintenance, and parts literature from Delta, Moen, Kohler, and Pfister for faucet type identification, cartridge matching, finish care, and repair procedures.
- Supplemental related guide: single-handle and many bathroom faucets
Done the right way, most faucet repairs are not mysterious: identify the faucet type, match the symptom to the likely wear part, verify shutoff, inspect carefully, and replace only what the evidence points to. That approach is what has saved me the most time, prevented return leaks, and kept simple faucet jobs from turning into full sink-area repairs.
Sponsored / affiliate links. As an Amazon Associate I earn from qualifying purchases. I may earn additional commission from eligible campaigns.