How to Replace Faucet O-Rings and Restore a Proper Seal
Replace the faucet O-ring if the leak is around the stem, the ring is cracked, flattened, or swollen, and the valve body or cartridge still seats cleanly; if a new ring stops the leak only briefly, replace the stem or cartridge. A bad seal wastes water and can trap moisture inside the faucet body, which can damage threads and finishes. This guide shows how to confirm the O-ring is the problem, swap it correctly, and decide when the repair should move to a stem or cartridge.
How to tell the leak source
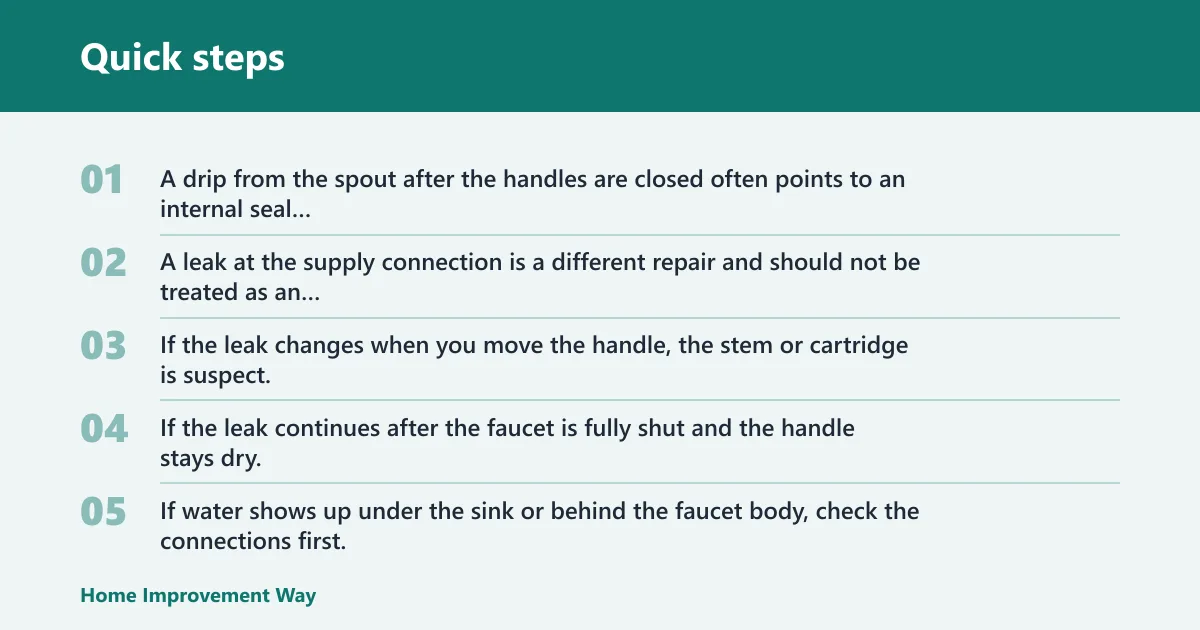


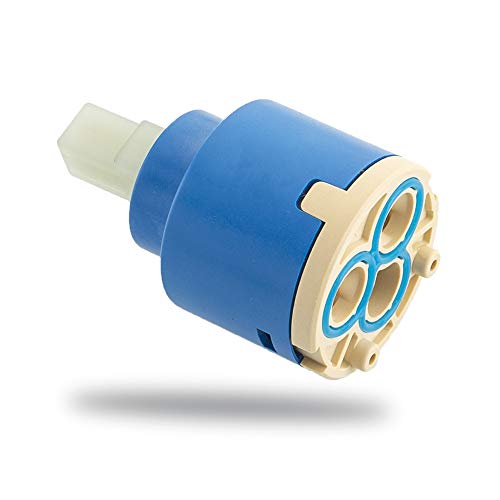
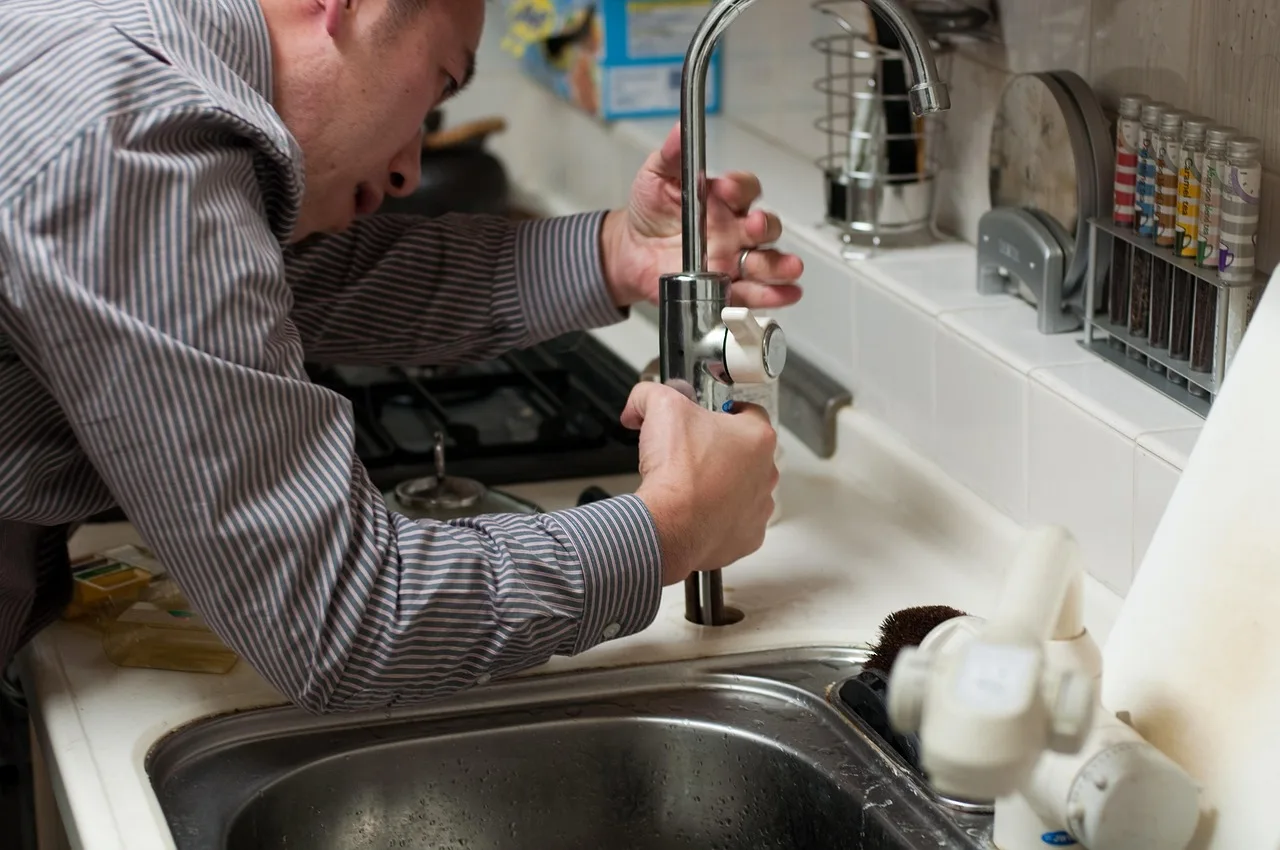
Start by locating where the water appears. A drip from the spout after the handles are closed often points to an internal seal problem, while moisture around the handle usually points to the stem, packing nut, or cartridge area. A leak at the supply connection is a different repair and should not be treated as an O-ring failure.
A quick rule helps. If the leak changes when you move the handle, the stem or cartridge is suspect. If the leak continues after the faucet is fully shut and the handle stays dry, the valve seat or an internal seal is more likely than the supply line. If water shows up under the sink or behind the faucet body, check the connections first.
Spout leaks versus handle seepage
Water from the spout after shutoff usually means the internal seal is not holding back pressure. Water collecting at the base of the handle points toward the O-ring on the stem, the packing nut, or a worn cartridge body. A dry handle with a wet aerator is a different clue than a wet handle with a dry spout.
Drip-after-shutoff clues
When the drip starts only after the water is turned off, look for a failed sealing surface inside the faucet body. The O-ring may be worn, but a pitted valve seat or a scored stem can create the same symptom. If the faucet slows, then starts dripping again, the leak may be returning from a damaged sealing surface rather than the ring itself.
When a supply connection is the real problem
If water appears below the sink, at the shutoff valve, or where the supply tube meets the faucet, the O-ring is probably not the cause. Check compression nuts, flexible supply lines, and the valve stems at the shutoff. A dry faucet body with a wet cabinet floor usually means the repair belongs at the connection, not inside the faucet.
Faucet O-ring diagnostic checklist
This checklist helps separate an O-ring failure from a cartridge, stem, seat, or connection problem before you open the faucet. Use the leak location, visible condition, and quick test together. That saves time and keeps you from replacing the wrong part.
| Leak location | Likely failed part | Visual symptom | Quick test | Recommended action |
|---|---|---|---|---|
| Spout drip after shutoff | O-ring, valve seat, cartridge, or stem | Water drips from the spout; handle may look dry | Close the faucet fully and watch for continued dripping | Inspect the O-ring first; if the new seal fails again, inspect the seat and stem or cartridge |
| Handle seepage | Stem O-ring or packing nut | Moisture around the handle base or escutcheon | Move the handle side to side and watch for seepage | Check the stem O-ring, then snug the packing nut slightly after reassembly |
| Drip after shutoff with clean handle | Valve seat or internal cartridge seal | Spout drips even though the handle area stays dry | Turn the supply off and reopen the faucet to relieve pressure | Inspect the seat and stem or cartridge if the O-ring alone does not fix it |
| Leak returns after reassembly | Scored stem, damaged groove, pitted seat, or wrong size ring | New seal looks intact but the leak comes back quickly | Compare the old and new ring against the groove and check for scratches or corrosion | Replace the stem or cartridge assembly if wear is visible or the groove is damaged |
| Leak near supply line or shutoff valve | Supply connection | Cabinet floor is wet; faucet body may be dry | Dry the area, then watch the connection while the water is on | Repair the connection or replace the supply line; the O-ring is likely not the issue |
Do you need to shut off the water?
Close the hot and cold supply valves before opening the faucet. Then open the faucet to bleed off trapped pressure and confirm that water stops flowing. If the faucet still runs, the shutoff valves may not be closing fully and should be checked before disassembly.
Some faucets get water from separate hot and cold shutoff valves, so both may need to be closed. Depressurizing the line first makes the repair cleaner. It also keeps small parts from popping free under residual pressure.
Close the hot and cold shutoff valves
Turn each shutoff valve clockwise until it stops. Do not force an old valve. If a valve will not close, the main supply may need to be turned off for the repair. Keep a towel or small container under the area in case water remains in the lines.
Relieve pressure by opening the faucet
After closing the supply valves, open the faucet handle to let trapped water escape. This also tells you whether pressure is really gone. A short burst of water or a slow stream means the shutoff is not complete yet.
Confirm the water is fully off
Leave the faucet open for a few seconds and check both hot and cold sides. If water still drips, the shutoff valve may need service before the faucet repair continues. Full shutoff keeps you from mistaking pressure release for a leak from the parts you plan to replace.
How to remove the handle and stem
Remove the handle carefully so the finish stays intact. Use the correct screwdriver for the handle screw, and reach for an adjustable wrench only if you need it for retaining hardware or the stem nut. Put a cloth between the tool and the finish whenever possible to avoid scratches and dents.
Once the handle is off, the stem or cartridge usually comes out as an assembly or in a few separate pieces. That is the point where the O-ring becomes visible. If the faucet uses a cartridge rather than a threaded stem, note the brand and style before ordering parts.
Protect the finish while loosening hardware
- Cover the area with a towel.
- Use the correct screwdriver for the handle screw.
- Wrap a soft cloth around the stem nut before using an adjustable wrench.
- Turn hardware slowly so plated finishes do not get marred.
A common first-timer mistake is using pliers directly on a polished stem nut. That can scar the metal and make the part harder to reseal later. Slow, even pressure is safer than a hard twist.
Remove the stem or cartridge assembly
Pull the stem or cartridge straight out if the design allows it. Some stems unscrew, while others lift out after a retaining clip or bonnet nut is removed. Keep track of the order of washers, clips, and spacers so reassembly is straightforward.
Inspect the packing nut and retaining parts
The packing nut sits near the stem and can control seepage around the handle. If it is loose, a slight tightening after reassembly may stop seepage. If it is overtightened, the handle can turn stiff and the stem may wear faster. Check the nut, retaining clip, and washer surfaces for corrosion or distortion.
Which O-ring size should you buy?
Choose an O-ring that matches the groove diameter and thickness, not just the outside appearance of the old ring. An old ring may be flattened, swollen, cracked, or missing a section, so its visible size can be misleading. Matching the groove is the safer way to get the right fit.
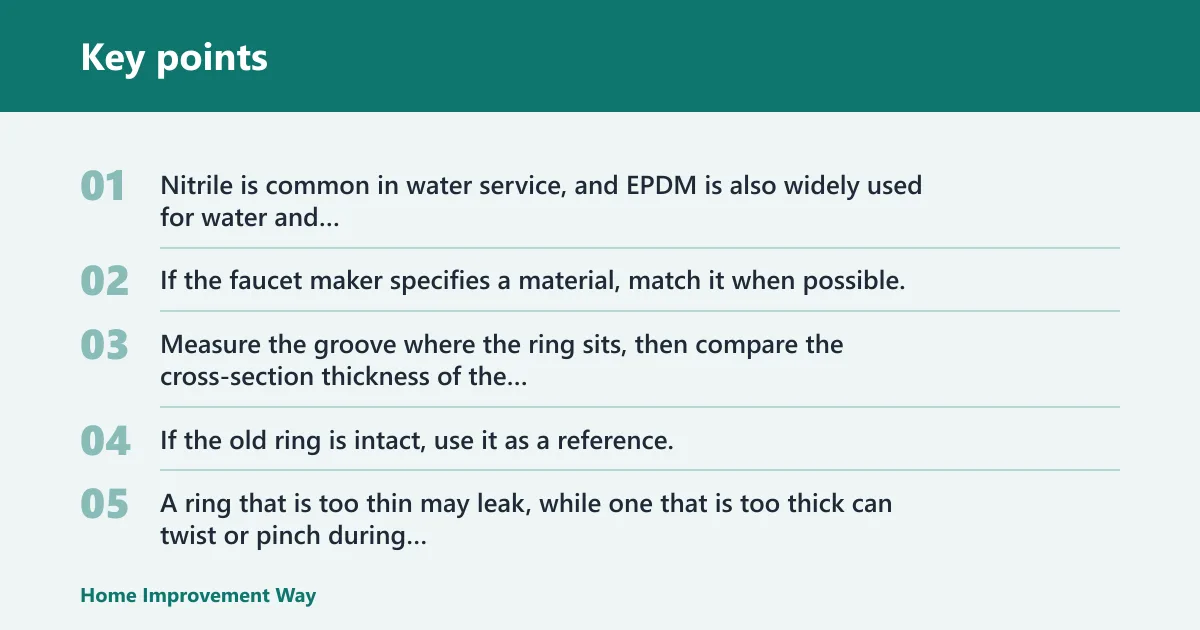
Material matters too. Common faucet O-rings use nitrile or EPDM. Nitrile is common in water service, and EPDM is also widely used for water and temperature exposure. If the faucet maker specifies a material, match it when possible, because seal compatibility affects how long the ring holds up.
Match groove diameter and thickness
Measure the groove where the ring sits, then compare the cross-section thickness of the replacement. If the old ring is intact, use it as a reference, but do not rely on its flattened shape alone. A ring that is too thin may leak, while one that is too thick can twist or pinch during assembly.
Read material clues: nitrile or EPDM
If the old ring feels hard and brittle, it may be aged nitrile or another rubber blend that has lost flexibility. If it looks swollen or soft, it may have reacted to the wrong lubricant or cleaning product. For potable water faucet parts, choose a seal material intended for water service, and avoid guessing when the manufacturer lists a specific type.
What to do if the old ring is damaged
If the old O-ring is stuck, torn, or broken into pieces, measure the groove and the stem instead of the damaged ring. Take note of the groove width, the stem diameter, and the depth of the channel. If the stem is worn or the groove is distorted, a new ring may not hold for long.
Suppose a bathroom faucet has a flattened black ring that splits as soon as it is removed. The groove still measures cleanly, but the stem shows a faint wear line where the seal rides. In that case, the ring size can be matched from the groove, yet the stem should also be inspected before the faucet is closed back up.
When to replace the stem assembly
Replace the full stem or cartridge assembly when the wear is not limited to the O-ring. If the stem is scored, corroded, or out of round, a new seal may fail quickly. The same is true when the valve seat is pitted or the cartridge body is worn together with the seal.
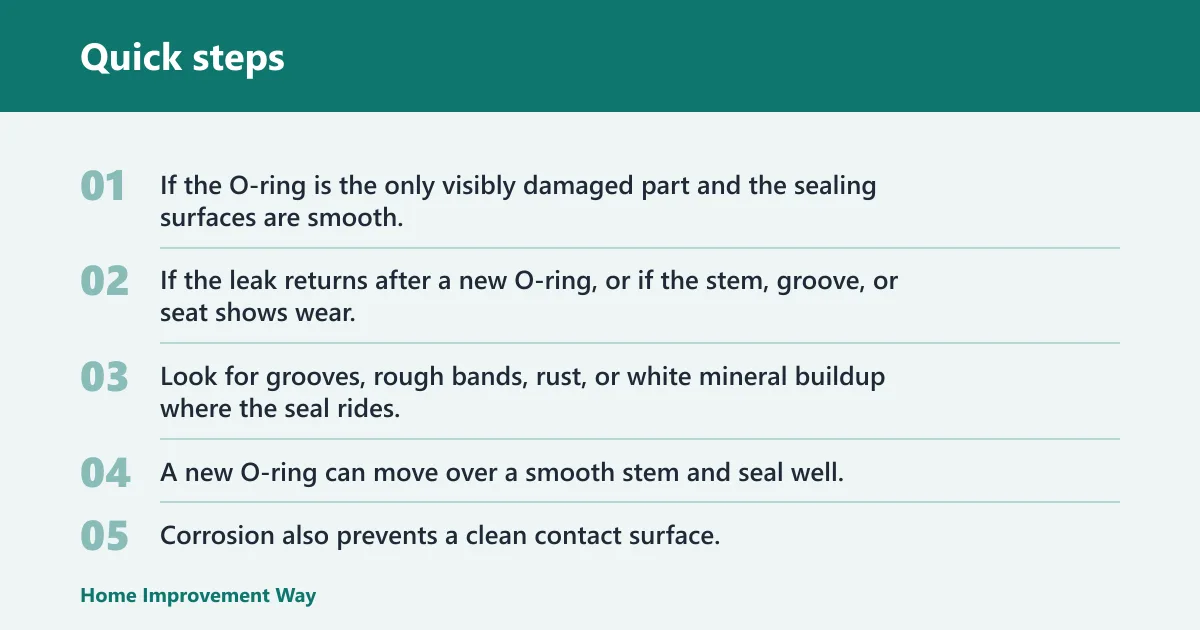
The decision rule is simple. If the O-ring is the only visibly damaged part and the sealing surfaces are smooth, a seal-only repair is reasonable. If the leak returns after a new O-ring, or if the stem, groove, or seat shows wear, replace the assembly instead of repeating the same repair.
Signs of scored or corroded stems
Look for grooves, rough bands, rust, or white mineral buildup where the seal rides. A new O-ring can move over a smooth stem and seal well, but a scored stem can cut or distort the ring. Corrosion also prevents a clean contact surface, which can create a leak even when the ring is the correct size.
Pitted valve seats and repeat leaks
If it is pitted or damaged, the faucet can drip even after a new O-ring is installed. A damaged seat can mimic an O-ring leak, so inspect it if the repair only works for a short time or the faucet still drips after the new seal is in place.
Picture a kitchen faucet that still drips every few minutes after a new ring goes in and the stem looks clean. In that case, replacing the seat or the whole cartridge or stem assembly is usually the better fix.
Decision rule: seal-only fix or full replacement
Use the seal-only repair when the stem moves smoothly, the groove is intact, and the seat looks smooth. Replace the stem or cartridge when the sealing surfaces are worn together, when the new ring leaks again, or when the faucet design makes the internal parts hard to isolate. If the faucet body appears cracked or damaged, stop and call a plumber.
Reinstall the parts gently, then snug the packing nut only enough to stop seepage. Do not crank it down. If the handle becomes stiff, back it off slightly and retest. Final leak checks matter because an over-tightened repair can work poorly even when the new ring is correct.
Frequently asked questions
How do I know if the O-ring is the part that’s leaking?
Check where the water appears. A leak at the handle base may point to the stem O-ring or packing nut, while a drip from the spout after shutoff may point to the internal seal, valve seat, or cartridge. If the supply line or shutoff area is wet, the O-ring is probably not the source.
Which O-ring size do I need for my faucet?
Match the groove diameter and thickness, not just the look of the old ring. If the old part is flattened or split, measure the groove and stem instead. Most faucet brands use specific sizes, so the safest choice is the one that fits the groove without stretching hard or pinching.
Do I have to shut off the water before replacing faucet O-rings?
Yes. Close both hot and cold shutoff valves before taking the faucet apart, then open the faucet to release trapped pressure. If the water still flows, the shutoff is not complete and the supply valve may need attention before the repair continues. That step prevents sudden sprays and lost parts.
What lubricant should I use on a faucet O-ring?
Use a small amount of silicone plumber’s grease on the new rubber seal. It helps the ring seat without tearing and is suitable for many faucet rubbers. Avoid petroleum-based grease if it can degrade the rubber material, because that can shorten seal life and make the part swell or soften.
Why does the faucet still leak after replacing the O-ring?
If the leak continues, the problem may be a worn stem, a pitted valve seat, a damaged groove, or the wrong size ring. Recheck the seal surfaces and the packing nut. A faucet that leaks again soon after repair usually has more than one worn part, so the O-ring alone is not enough.
Should I replace the cartridge or stem instead of just the O-ring?
Replace the cartridge or stem when the seal rides on a scored, corroded, or distorted surface, or when the faucet still leaks after a new ring. Many faucets use a cartridge or stem assembly that is cheaper in time and effort to replace than to rebuild part by part.
Sponsored / affiliate links. As an Amazon Associate I earn from qualifying purchases. I may earn additional commission from eligible campaigns.
 Faucet Hose Connector, 39 Inch Length Faucet Water Supply Lines 2 PCS Braided Stainless Steel 3/8" Comp x 1/2" Comp for Bathroom Kitchen Sink Faucet (1 Pair)
 Multi-Purpose Rust Remover Spray & Lubricant, Multipurpose Rust Remover Spray, Perfect for Car Maintenance on Metal and Chrome Parts (1PCS-100ML)