How to Fix a Faucet That Won’t Turn Off Completely
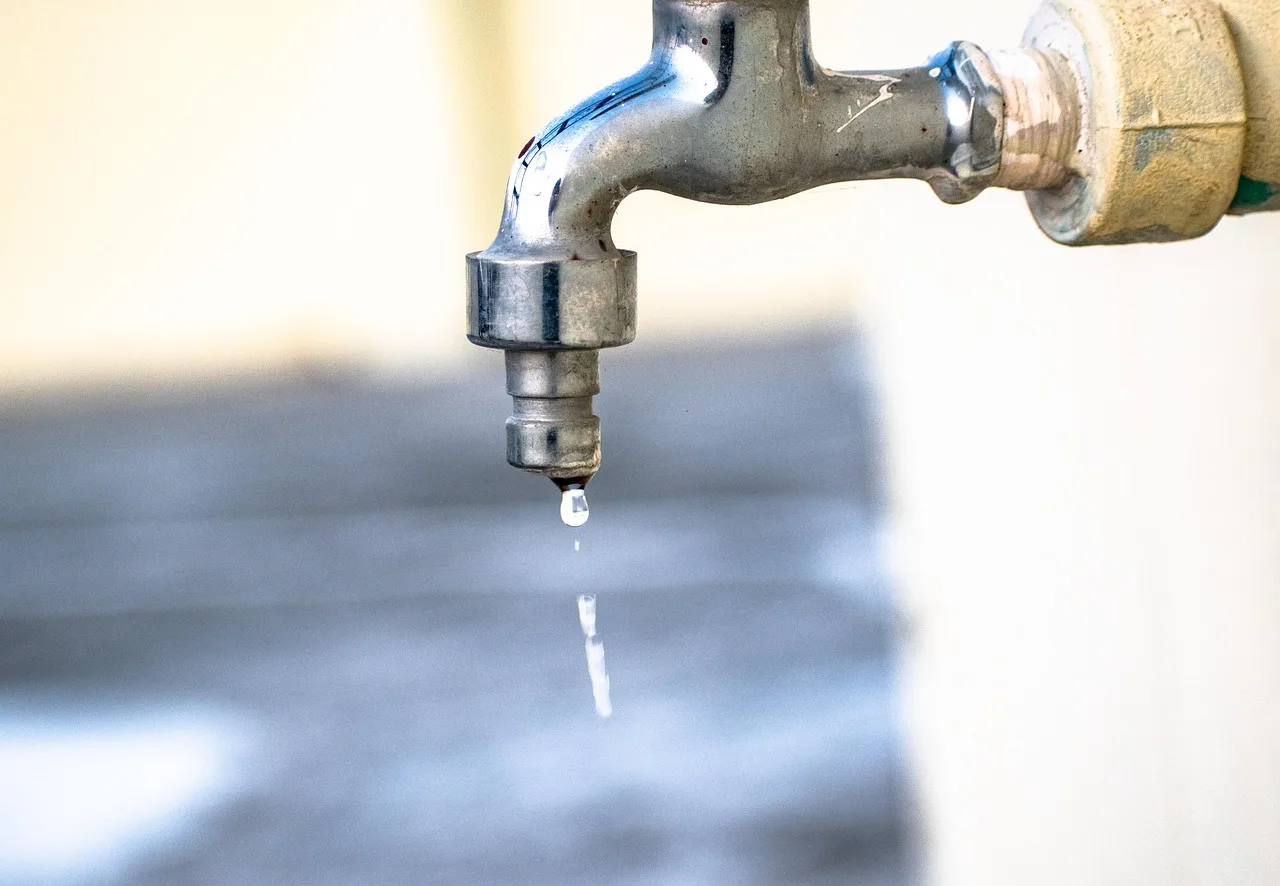
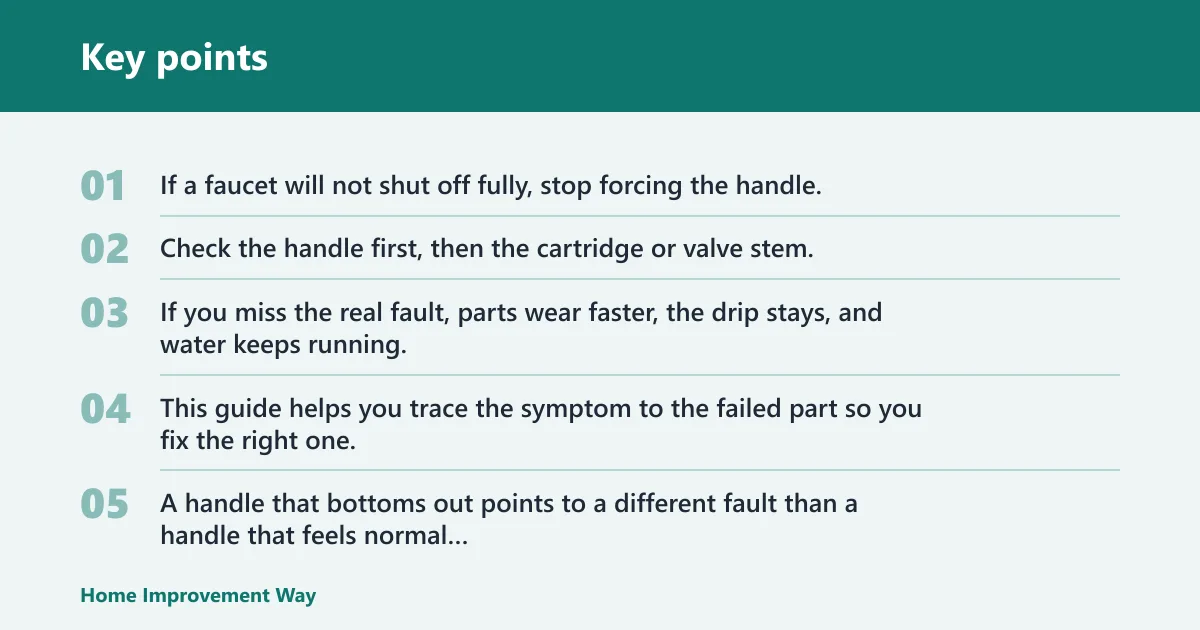
If a faucet will not shut off fully, stop forcing the handle. Check the handle first, then the cartridge or valve stem, then the seat and supply-side parts. If you miss the real fault, parts wear faster, the drip stays, and water keeps running. This guide helps you trace the symptom to the failed part so you fix the right one.
Use the symptom pattern first. A handle that bottoms out points to a different fault than a handle that feels normal but still drips. Fast repairs usually follow this order: clean, reseat, replace sealing parts, then replace the cartridge or valve assembly.
What the symptom means


| Symptom | Likely cause | Confirmatory check | Best fix |
|---|---|---|---|
| Handle bottoms out but water still runs | Cartridge, washer, or valve seat is not sealing | Turn off the supply at the shutoff valve, remove the handle, and inspect the sealing surface for scoring or debris | Clean the seat; replace the cartridge or washer if the seal is worn |
| Handle feels normal but drip continues | O-ring wear, mineral buildup, or a cartridge that is not seating fully | Look for seepage at the spout base or around the stem after the faucet is closed | Clean the parts, then replace the worn O-ring or cartridge |
| Water stops only when body is wiggled | Loose valve stem, misseated cartridge, or worn packing nut | Move the body gently; if the flow changes, the internal parts are shifting | Reseat the part and snug the packing nut; replace cracked pieces |
| Faucet won’t close unless overtightened | Worn washer, damaged valve seat, or stiff cartridge | See whether extra handle force only masks the leak for a moment | Replace the washer or cartridge and inspect the seat for pitting |
| Leak appears after replacing a part | Wrong size part, bad install order, or a nicked sealing surface | Compare the replacement to the original and check for twisted O-rings or a loose clip | Reinstall in the correct order; replace the damaged seal or seat |
| Leak persists after shutoff-valve closure | Residual pressure, failed shutoff valve, or a leak above the isolation point | Confirm the shutoff valve is fully closed and that another fixture is not feeding the line | Fix the shutoff valve first, then repair the faucet internals |
What you’ll need
- Adjustable wrench
- Phillips and flathead screwdrivers
- Allen key set for a hidden handle screw
- Needle-nose pliers
- Replacement cartridge, washer, O-ring, or valve stem parts that match the faucet brand and model
- Soft brush
- White vinegar for mineral buildup
- Clean rag or towel
- Bucket or shallow pan
- Flashlight
- Small pick for removing clips or seals
- Plumber’s grease if the manufacturer calls for it
How do you shut off the water before repairing the faucet?
Close the under-sink shutoff valve first. If there is no accessible stop valve, use the whole-house shutoff, then open the faucet to relieve pressure. Water must be off before disassembly, or the cartridge, washer, or stem can spring loose and spray water.
Find the under-sink shutoff valve
- Look under the sink for the hot and cold stop valves.
- Turn each valve clockwise until it stops.
- Open the faucet to confirm the flow has stopped.
Use the whole-house shutoff if needed
- Locate the main shutoff near the water meter, basement wall, or utility area.
- Turn it to the closed position.
- Open the faucet briefly to drain pressure from the line.
Relieve pressure before opening the faucet
- Place a towel and bucket under the work area.
- Open both hot and cold handles after shutoff.
- Wait until the sputtering stops, then begin disassembly.
What part is failing?
The repair path depends on the faucet design. Single-handle faucets commonly use a cartridge, and that cartridge is a common failure point in both single-handle and shower faucets. Double-handle faucets often use washers and spout-mounted O-rings instead. If you choose the wrong path, the faucet can still seep after reassembly.
Single-handle faucet cartridge
Remove the handle cap, set screw, and trim to reach the cartridge. Many cartridges are held by a clip or nut, and the replacement must match the faucet brand and model. If the handle motion feels normal but the faucet still drips, a worn cartridge is a likely cause.
Double-handle washer and valve seat
Compression faucets are older, common faucets with two handles and a rubber washer. A worn or hardened washer can keep the faucet from shutting off, and a pitted valve seat can do the same. If the faucet needs extra force to stop, check the washer before overtightening the handle again.
O-ring, valve stem, and packing nut checks
An O-ring can leak at the handle or base. A valve stem can be loose, cracked, or worn. A packing nut can loosen over time and let water seep around the stem. Tightening may help only if the damage is minor; if the leak returns, the seal or stem needs replacement.
How do you clean and reseat the parts?
Start with cleaning and reseating before you replace anything. Mineral buildup can block the sealing surface, and sediment can keep a good part from closing fully. White vinegar and a soft brush work well when the part is still serviceable.
Remove the handle and trim
- Take off the handle cap if present.
- Remove the set screw or retaining screw.
- Lift off the handle, then remove the trim plate or collar.
Clean mineral buildup from sealing surfaces
- Pull the cartridge, washer, or stem assembly straight out.
- Soak the mineral-coated area in white vinegar for about 15 to 30 minutes.
- Brush the surface with a soft brush and rinse it clean.
- Wipe the seat, bore, and threads before reassembly.
Check for nicked or misaligned parts
- Inspect O-rings for cuts, flattening, or twists.
- Check the valve seat for pits, rust, or rough edges.
- Make sure the cartridge or washer sits squarely in place.
Say a kitchen faucet still drips after you clean the seat and reinstall the cartridge. If the drip stops only when the handle is pushed hard, the seal is usually off-center or the part size is wrong. Check the orientation before you replace anything else.
How do you replace the worn part?
Replace the part only after you have cleaned and checked the sealing surfaces. If the symptom points to a washer, O-ring, or cartridge failure, the new part should match the old one exactly in shape and size. A mismatch often creates a leak that looks like an installation mistake.
Replace a washer or O-ring
- Remove the stem or spout section that holds the seal.
- Lift out the old washer or O-ring with a small pick.
- Install the new seal in the same groove or recess.
- Reassemble and tighten the packing nut only enough to stop seepage.
Replace a cartridge
- Remove the retaining clip or nut.
- Pull the cartridge straight out; use a cartridge puller if the faucet design requires it.
- Install the replacement in the same orientation.
- Reinstall the clip or nut, then refit the handle and trim.
Match brand and model before reassembly
- Compare the old part to the new one side by side.
- Check the stem length, spline count, and seal shape.
- Reassemble only after the part sits fully against the seat.
Common mistakes
Overtightening is the most common misstep. It can crush a washer, distort an O-ring, or damage the valve seat, which makes the leak worse. Tightening the packing nut too far can also bind the stem and create a new drip point.
Using the wrong part is another frequent error. A washer that is slightly too large or too small may appear to fit, but it will not seal correctly. The same problem happens with cartridges that look close but do not match the faucet brand and model.
Say your handle feels fine, but the faucet still runs after reassembly. That usually means the part is misseated, the seat is damaged, or the body has a crack that only opens under pressure. If the leak started after a replacement, check orientation and seal size before opening the package for another part.
What if the faucet still runs after you tighten the handle? Stop there. If the valve stem or packing nut is only slightly loose, a careful turn may help, but persistent runoff means the washer, seat, cartridge, or body needs attention instead of more force.
When should you call a plumber instead of DIY?
Call a plumber if the shutoff valve is stuck, the faucet body is cracked, the internal parts are stripped, or the leak continues after correct reassembly. A pro is also the better choice when the faucet model is unknown and the replacement part cannot be matched with confidence.
Frequently asked questions
Why won’t my faucet turn off completely?
The most likely cause is a worn cartridge or washer that no longer seals against the valve seat. Mineral buildup, a loose stem, or a failing packing nut can contribute too. Start by shutting off the water, then inspect the sealing surfaces before replacing parts.
How do I fix a faucet that won’t turn off?
Close the shutoff valve, remove the handle, and inspect the cartridge, washer, O-ring, valve stem, and seat. Clean deposits first, then replace the worn sealing part. Reassemble in the same order and test the faucet with the water restored.
How do I know if the cartridge is bad?
If the handle bottoms out but water still runs, or the faucet keeps dripping after the handle is closed, the cartridge may be worn or may need replacement. Remove it and compare the seal faces and length to the replacement. Most single-handle faucets use a cartridge held by a clip or nut.
Can mineral buildup keep a faucet from shutting off?
Yes. Sediment and hard-water deposits can keep a washer, seat, or cartridge from closing fully. Soak affected parts in white vinegar, brush them clean, and check the seat for pitting. If the surface is damaged, cleaning alone will not stop the leak.
Should I replace the washer, O-ring, or cartridge?
Replace the part that matches the symptom. Compression faucets usually point to a washer or valve seat problem, while single-handle faucets often need a cartridge. If the leak is at the handle or base, inspect the O-ring and valve stem before replacing larger parts.
How to fix a tap that won’t turn off fully
Start with the symptom, not the part. Shut off the water, inspect the handle travel, then clean and reseat the washer, O-ring, seat, or cartridge before replacing anything. If the tap still leaks after reassembly, the part is likely wrong, damaged, or not seated squarely.
How to fix a tap that won’t turn on fully
A tap that opens poorly usually has a different fault path than one that will not shut off. Check for a blocked aerator, stiff stem, or internal debris first, then inspect the cartridge or washer. If the handle travel is short, the stop or stem may be binding.
Sponsored / affiliate links. As an Amazon Associate I earn from qualifying purchases. I may earn additional commission from eligible campaigns.