Plumbing Shutoff Valves: Identify, Use, and Maintain
Find the nearest valve upstream of the fixture: quarter-turn ball valves have a straight handle, multi-turn stop or gate valves a round knob; closed means handle across the pipe or stem fully seated. I have seen a simple cartridge swap turn into a soaked vanity fast, usually because someone moved the wrong valve or trusted a half-dead stop. This guide covers valve locations, fast open/closed checks, branch isolation without guesswork, and when safe maintenance makes sense versus replacement.
I am writing this from a service-minded, field-check perspective: identify the smallest valve that should isolate the work, verify that it truly stops flow, and treat any old valve that only partly works as a failure until proven otherwise. For valve type, stop-valve behavior, and meter/curb-stop access norms, the most reliable references are manufacturer installation instructions for common shutoff valves and utility guidance that treats meter setters and curb stops as regulated equipment rather than homeowner convenience hardware.
How household plumbing shutoffs are organized
Main shutoff, meter shutoff, branch shutoff, and fixture shutoff
Household shutoffs work in a simple hierarchy. The main water shutoff is often the first valve on the house side after the service line enters the building, and closing it should cut water to the whole house. Branch or room isolation valves stop a section, such as one bathroom or a water heater feed. Fixture shutoff valves stop a single sink, toilet, dishwasher, refrigerator, or washing machine.
The best choice is the smallest shutoff that fully isolates the work area. If a faucet cartridge needs replacement, I use the local under-sink stops first. If a toilet shutoff is missing or fails, step back to the bathroom branch valve if there is one. If that also fails, use the main shutoff.
The water meter shutoff is different from the house main. In many homes, the house main is on the customer side near where the service line enters the building. A meter-side or curbside shutoff may be utility-owned, utility-adjacent, or controlled with a special key. That makes it a last resort unless the utility allows access. Water utilities and AWWA-style meter-setting guidance commonly treat the curb stop and meter setting as utility-controlled or utility-protected components, so access rules matter as much as valve location.
Choosing the smallest shutoff that will do the job
- Check under, behind, or beside the fixture for its dedicated stop valve first.
- If none exists, look for a nearby branch or room valve.
- If the branch valve is absent, hidden, or not working, use the main shutoff.
- Use the meter or curb stop only when permitted and only if the house-side main cannot control the water.
- After closing a valve, open a nearby faucet to relieve pressure and check that the water stops.
📊 Merritt Plumbing & Heating offers a 100% guarantee on products and labor. Source: Merrittplumbingandheating. That is a promotional business claim, not a technical source for identifying or operating shutoff valves, so I do not rely on it for valve guidance.
How do I identify the different plumbing shutoff valves in my house?
Identify shutoff valves by body shape, handle style, outlet direction, and location. Ball valves usually have a straight lever and typically open or close with a quarter turn. Gate valves usually have a round or T-style handle and take several turns to close. Fixture stops are compact valves at walls or cabinets, often with a small oval knob or mini lever. This matches the way common stop-valve manufacturers describe quarter-turn ball valves versus multi-turn stops and the way model plumbing texts distinguish fixture supply stops from service-entry isolation valves.
Ball valve
A ball valve is usually the easiest one to read. The body looks stout and straight through, with a lever handle on top or to the side. It opens and closes in a quarter turn. This is a common style for main shutoffs, branch lines, water heaters, and newer appliance feeds because it closes fast.
On the common style, a handle parallel to the pipe usually means open. A handle perpendicular to the pipe usually means closed. If corrosion or paint hides the pipe direction, trace the pipe with a hand before moving the handle.
Gate valve
A gate valve usually has a round wheel handle or a small T-handle on a rising or non-rising stem. The body often narrows in the middle and looks less compact than a ball valve. It needs multiple turns to close and is common in older homes.
Older gate valves can look usable and still fail under load. I have had stems turn while the internal gate never dropped all the way. Some seize after years untouched. For that reason, they are poor candidates for repeated exercising compared with quarter-turn ball valves.
Angle stop and straight stop
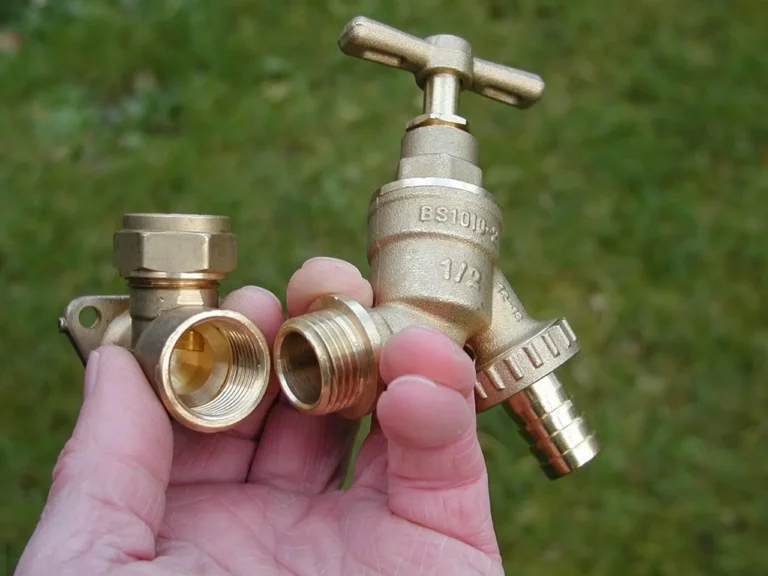
Fixture shutoffs are smaller. The two common shapes are angle stops and straight stops. An angle stop has a right-angle outlet, often coming out of the wall under a sink or behind a toilet, then turning toward the supply tube. A straight stop has inlet and outlet in line, and is often used where the supply comes through the floor or at some appliances.
These valves may use a small oval knob, a short round handle, or a compact quarter-turn lever. Toilet supply valves are usually angle stops. Under kitchen and bath sinks, one angle stop often serves hot and another serves cold.
What connection style tells you
Connection style helps with replacement planning. A compression stop tightens onto copper or CPVC with a nut and ferrule. A sweat stop is soldered to copper. A threaded stop screws onto male threads coming out of the wall or a nipple. Appliance shutoffs may connect to braided supply lines, copper tubing, or plastic icemaker tubing.
If the valve body has a large nut behind it at the wall, it is often compression. If there is no visible nut and the valve looks fused to copper, it may be sweat. If the valve screws onto visible threads, it is threaded.
How can I tell if a shutoff valve is open or closed?
Read the handle first, then verify at the fixture. On ball valves, parallel to the pipe usually means open and perpendicular means closed. On gate valves and multi-turn stops, closed usually means turned clockwise until gentle resistance. I never trust handle position alone on old valves, I crack open the faucet, toilet, or appliance connection downstream and make sure flow actually stops.
Reading ball-valve position cues
Ball valves are intuitive once the pipe direction is clear. Handle in line with the pipe means water can pass through. Handle across the pipe means the internal ball has rotated shut. Many lever handles also have a stop that makes the quarter-turn limit obvious.
If the valve is mounted in a tight cavity, use a flashlight and trace the pipe. A handle that seems sideways in a cabinet may still be parallel to the pipe if the line runs front to back.
Reading gate valves and fixture stops
Gate valves and older fixture stops need actual turning. In most cases, clockwise closes the valve. Stop when resistance increases. Forcing past that point can strip the stem, crack an old bonnet, or start a leak at the packing nut.
Some multi-turn fixture stops feel closed before they truly seat. Turn gently, then verify at the faucet or toilet. If water slows but does not stop, the washer or internal seat may be worn.
How to verify closure without guessing
- Close the valve gently.
- Open the nearest faucet or run the fixture briefly.
- Wait for pressure to bleed off.
- Watch whether flow stops completely or only drops.
- For toilets, flush once and see whether refill water returns.
- For appliances, disconnect power if needed and check the supply side carefully for continued pressure.
What does a plumbing shutoff valve symbol mean on a plan or label?
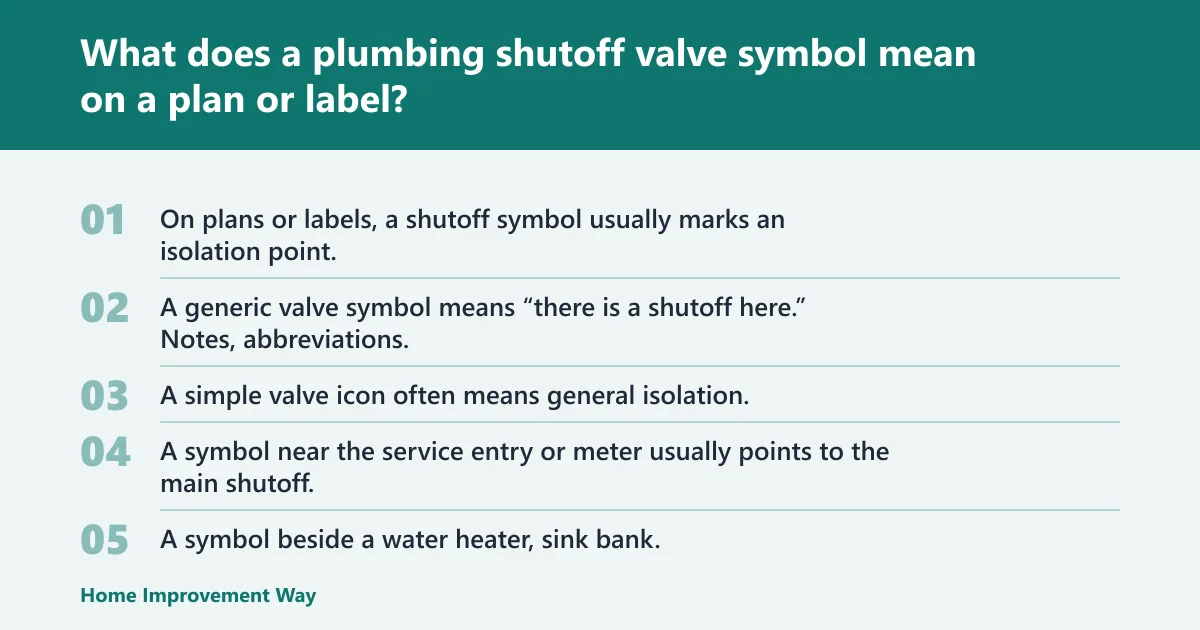
On plans or labels, a shutoff symbol usually marks an isolation point, but the drawing style may not identify the exact valve type. A generic valve symbol means “there is a shutoff here.” Notes, abbreviations, and nearby fixture labels usually tell whether it is a main, branch, ball valve, gate valve, or fixture stop.
Common plan-reading cues
A simple valve icon often means general isolation. A symbol near the service entry or meter usually points to the main shutoff. A symbol beside a water heater, sink bank, or laundry box often marks a branch or fixture shutoff.
Labels matter. “MV” may indicate a main valve. A callout beside a dishwasher or icemaker line may indicate a local appliance shutoff. Plans vary, so use the symbol as a location clue, then confirm in the field by shape and placement.
Use labels as a starting point, not proof
Homeowners often find that remodels changed piping after the original plan was drawn. A label can point to the right wall bay or cabinet, but the actual valve may be moved, capped, or hidden behind an access panel. Field verification matters more than the symbol alone.
Where are shutoff valves usually located?
Main shutoff locations inside and outside the home
The main house shutoff is commonly near the water meter, near the foundation wall where the service line enters, or at the first accessible point after the line comes inside. Typical spots include a basement wall, crawlspace entry, utility room, garage, or mechanical closet.
In warmer areas, the meter and main may be outside in a ground box, side yard box, or wall box. In colder areas, the main is more often indoors to protect it from freezing. If the service line enters through a basement wall, look a short distance downstream for either a ball valve or older gate valve.
Water meter and curbside shutoff locations and access limits
The meter shutoff is often beside the meter or in the meter box. The curbside or street-side shutoff is often under a small lid near the sidewalk or property line. That shutoff commonly needs a long key and may be utility-controlled.
Do not assume curb-stop access is open for homeowner use. Some utilities treat it as utility-owned equipment or require permission. If the house main fails in an emergency and the meter or curb stop is the only way to stop water, contact the utility or emergency plumbing help. That caution is consistent with utility operating rules and meter-box safety guidance, not with retail valve advice.
Typical fixture shutoff locations
Under sinks, look where the supply tubes leave the wall or floor. Behind toilets, look low on the wall near the bowl tank supply. Dishwashers are often fed from the hot-water angle stop under the kitchen sink, with a branch line to the appliance.
Refrigerator icemaker shutoffs may be under the kitchen sink, in the cabinet beside the refrigerator, in the basement ceiling below, or inside a recessed outlet box behind the refrigerator. Washing machine shutoffs are usually in a laundry box with hot and cold valves. Water heater shutoffs are usually on the cold inlet above the heater.
Room-by-room shutoff map
- Kitchen: hot and cold sink angle stops, dishwasher feed from hot stop, refrigerator line in nearby cabinet or wall box.
- Bathroom: sink angle stops, toilet supply valve, tub or shower branch shutoff only if the house has access-panel isolation.
- Laundry: washer box hot and cold valves, utility sink stops if present.
- Basement or utility room: main shutoff, water heater cold inlet valve, softener bypass, branch isolation on remodels.
- Garage: main shutoff in slab-on-grade homes, hose bib branch valves, water heater shutoff if the heater is in the garage.
How do I find the shutoff valve under a sink before a repair?
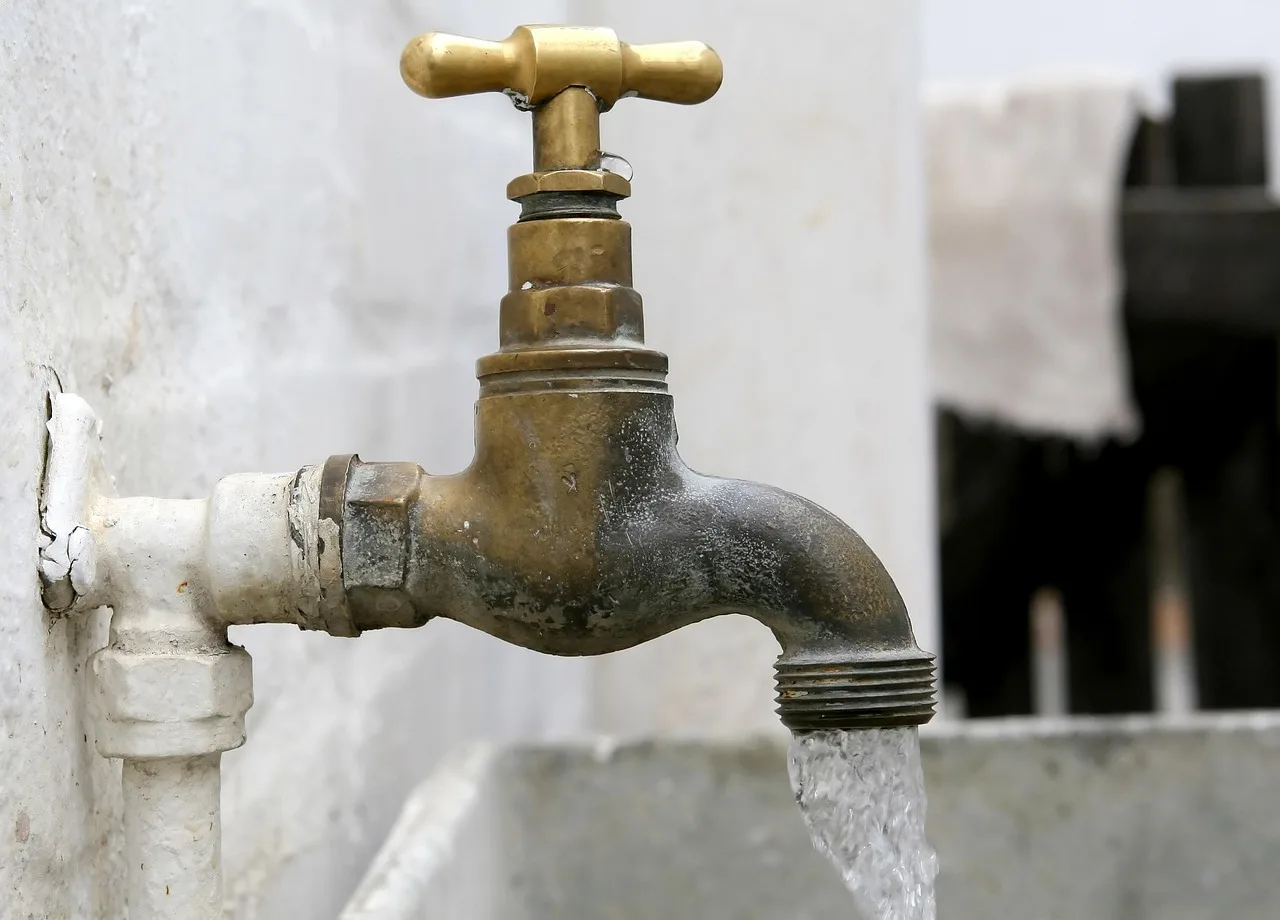
Trace the supply tube from the faucet down to the wall or floor stub-out. The shutoff valve is usually mounted there, inside the cabinet, with one valve for hot and one for cold. Under bathroom sinks and toilets, it is often an angle stop with a small knob or mini lever.
Tracing the supply line correctly
Start at the faucet tailpiece or the toilet fill valve. Follow the braided line or rigid tube backward until it meets a valve body. In deep sink bases, the valve may sit behind cleaning supplies, disposal piping, or pull-out trash hardware.
If the sink has no visible shutoff, check the basement or crawlspace below for a branch valve. Some older installations were piped without local fixture stops, especially at tubs, showers, and utility sinks.
Before loosening any supply line
Close the suspected valve first. Open the faucet to relieve pressure. Place a bucket and towels under the connection before loosening anything. If the valve will not close fully, stop there and move upstream to a branch or main shutoff rather than gambling on a slow drip.
How do I shut off water to a bathroom, kitchen, or appliance line?
Use the local fixture valve if it exists, then test it before starting work. Bathrooms usually have toilet and sink stops. Kitchens usually have sink stops that may also feed the dishwasher. Appliances often have dedicated valves in a laundry box, wall box, adjacent cabinet, or basement ceiling below the appliance.
Bathroom shutoffs
To shut off a toilet, close the valve behind or beside the bowl, then flush. If the tank refills, the valve did not seal. For a bathroom sink, close both hot and cold angle stops and open the faucet to drain pressure.
Showers and tubs rarely have obvious local shutoffs unless an access panel was built with branch isolation. If there is no branch valve behind the access panel, use the bathroom group shutoff if present, or the main.
Kitchen and appliance shutoffs
For a kitchen faucet, close the hot and cold under-sink stops. For a dishwasher, look first under the sink at the hot stop or a tee feeding the dishwasher line. For a refrigerator line, check the cabinet beside the fridge, under the sink, or the basement below.
For washing machines, close both laundry box valves. For a water heater, close the cold-water supply valve above the unit; that isolates incoming water but does not empty the tank. For ice makers and filtration units, trace the small tubing line back to its feed valve rather than assuming the nearest sink stop controls it.
Valve identification and troubleshooting table
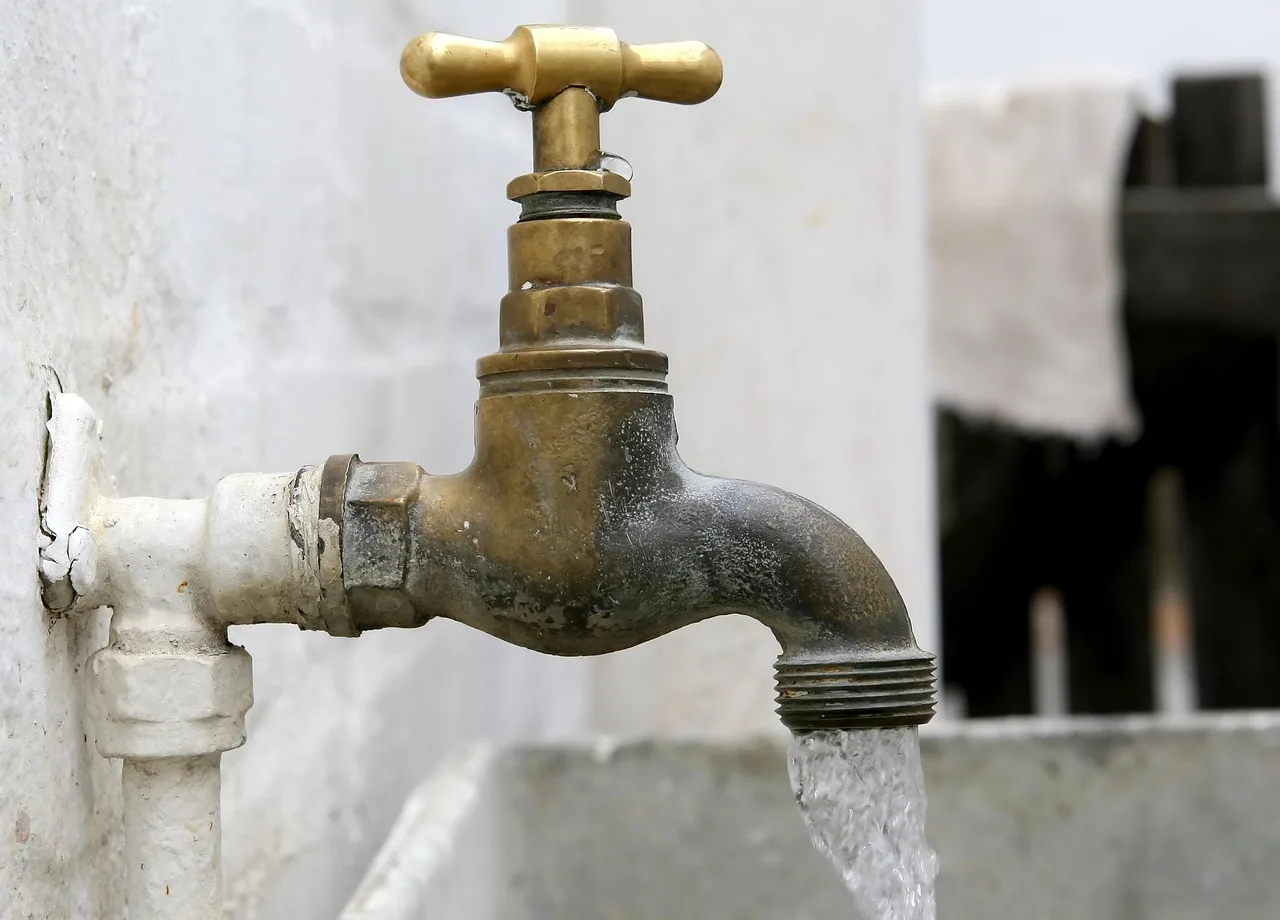
Decision table for the most common shutoff valves
The fastest way to avoid mistakes is to match three things at once: valve shape, handle motion, and a live verification test downstream. The table below keeps that logic explicit and adds the most common failure pattern I see with each valve family.
| Valve family | Precise open cue | Precise closed cue | Common failure mode | What to do next |
|---|---|---|---|---|
| Main ball valve | Lever is aligned with the run of pipe; downstream pressure remains normal | Lever is 90 degrees across the run of pipe; a nearby faucet should stop after pressure bleeds off | Handle frozen from age or corrosion; stem or body seepage after movement | Do not force it. Verify whether a second house-side valve exists, and if not, line up utility-approved shutoff access before replacement. |
| Main gate valve | Stem backed out and water continues flowing normally | Turned clockwise to a gentle seat, then verified by no downstream flow | Stem turns but gate does not fully drop; valve “closes” yet still passes water | Treat partial shutoff as failure. Move upstream if possible and plan replacement with a full-port quarter-turn valve. |
| Quarter-turn angle or straight stop | Mini lever aligned with the outlet path | Mini lever turned across the outlet path; faucet or toilet should stop after pressure drains | Internal seal wear or mineral locking after years in one position | If it will not shut fully, use the branch or main and replace the stop rather than relying on repeated partial closure. |
| Multi-turn fixture stop | Knob backed out to normal operating position | Knob turned clockwise until gentle resistance, then verified by zero flow | Worn washer, scarred seat, or stem packing drip | A slight packing-nut adjustment may help a stem drip, but a valve that still passes water belongs on the replacement list. |
| Washing machine valve set | Both hot and cold valves open and hoses stay pressurized | Both valves closed and hoses lose pressure; washer should not refill | Seized stems, hose-thread seepage, or one side not sealing | Close the pair, disconnect power to the appliance if needed, and replace failed valves or hoses before reuse. |
| Meter or curb-stop valve | Utility or owner-permitted operation leaves the home pressurized | Only confirmed by field test at the house after operation | Restricted access, buried box, special key requirement, or utility ownership limits | Follow utility rules first. If ownership or access is unclear, stop and call the utility rather than improvising. |
| Valve type | How it looks | Handle movement | Open/closed cue | Typical locations | If stuck, leaking, or not fully closing |
|---|---|---|---|---|---|
| Main ball valve | Thicker straight-through body, long lever handle | Quarter-turn | Parallel to pipe = open; perpendicular = closed | Near meter, foundation entry, basement, garage, utility room | Do not use cheater bars. If handle will not move or body seeps, move to meter-side help if permitted and plan replacement. |
| Main gate valve | Round wheel or T-handle, taller stem body | Multi-turn, usually clockwise to close | Closed only when gently seated; handle position alone does not tell status | Older homes near service entry or old branch lines | If stiff, stop before forcing. If it spins or closes only partly, treat it as failed and use an upstream shutoff. |
| Angle stop | Compact valve with 90-degree outlet | Quarter-turn or multi-turn, depending on style | Mini lever across outlet path = closed; knob style closes when gently seated | Under sinks, behind toilets, at some dishwashers | If stem drips, slight packing-nut tightening may help. If body is corroded or will not seal, replace rather than force. |
| Straight stop | Compact inline valve, inlet and outlet in one line | Quarter-turn or multi-turn | Same cues as angle stop, but line stays straight | Floor-fed fixtures, some appliance supplies | If the valve closes but water keeps feeding, the internal seal is worn. Move upstream and replace. |
| Toilet supply valve | Usually a small angle stop with short outlet to toilet fill valve | Quarter-turn or multi-turn | Flush after closing; tank should not refill | Behind or beside toilet near floor or wall | If it leaks after turning, check the packing nut first. If the handle shaft wobbles or cracks, replacement is safer. |
| Washing machine valve | Pair of hot/cold valves in laundry box or exposed wall set | Quarter-turn or multi-turn | Hoses lose pressure after closure and machine no longer fills | Laundry room box, basement laundry area | If either valve sticks or the hose connection seeps, isolate at branch or main before replacing the pair. |
| Water meter shutoff | Valve at or near meter, often in meter box or by house entry | Varies; may require special key | Field verification required after operation | Meter pit, curb box, utility vault, basement meter set | Treat as regulated access unless clearly homeowner-operated. If in doubt, call the utility. |
How to use the table safely
Start with appearance and location. That usually narrows the valve type fast. Then read the handle movement before applying force. If the valve type is still unclear, test closure gently and verify at the fixture. A valve that moves but does not stop flow should be treated as failed, even if it looks normal.
What should I do if a shutoff valve is stuck, leaking, or will not fully close?
Start by reducing stress on the valve. Support the pipe, apply gentle force only, and have a bucket and towels ready. If the valve leaks at the stem, a slight packing-nut tightening may stop it. If it remains stuck, spins freely, or closes only partly, move upstream to another shutoff.
Safe first moves
Clear the area so the handle can turn without twisting the pipe. Hold the valve body or nearby pipe with a second tool if the piping is exposed and sturdy enough for support. Do not jerk the handle. Slow pressure is safer than a sudden snap.
If the valve is painted in place, cut the paint line first. If corrosion has narrowed the stem area, stop early. Older gate valves and crusted angle stops often fail right after their first movement in years.
Stem packing nut leaks
The valve stem packing nut sits behind the handle on many shutoffs. A stem leak often shows as a drip or moisture bead around the handle shaft only when the valve is being turned or after it has been moved. In mild cases, a slight tightening can compress the packing enough to stop the drip.
Use very small movement. Over-tightening can bind the stem or worsen the leak. If the drip continues or the nut bottoms out, replacement is the better path.
When the internals have failed
A valve that spins without changing flow usually has failed internals. A valve that reduces water but never stops it may have a worn washer, damaged gate, or scarred seat. At that point, stop relying on it. Use a branch or main shutoff and plan replacement.
If the valve controls the house main and there is no reliable backup, the next step is not brand shopping or sales claims. The next step is utility-safe isolation planning or licensed repair. That is the practical lesson I trust from field failures: once the shutoff itself is the weak point, speed matters less than control.
When should I replace a shutoff valve instead of forcing it?
Replace a shutoff valve when it is seized, badly corroded, leaking from the body, spinning without control, or failing to stop water fully. Forcing those valves risks a bigger leak. Older gate valves and crusted angle stops are common replacement candidates, especially when planned plumbing work already has the water off.
Clear replacement triggers
- Valve handle will not move with gentle pressure.
- Valve moves but water flow does not change.
- Stem keeps leaking after slight packing-nut adjustment.
- Body shows green corrosion, rust scale, or active seepage.
- Fixture stop is buried, bent, or loosely mounted in the wall.
- Old multi-turn gate valve is being depended on for regular shutoff duty.
Why quarter-turn replacements are often preferred
Quarter-turn ball-style shutoffs are easier to read and faster to operate. They also avoid the long stem travel and seat wear common with old gate valves. During planned work, many plumbers swap aging multi-turn fixture stops for quarter-turn models because future isolation is simpler and less risky.
That preference is consistent with common stop-valve product lines from major plumbing manufacturers, which increasingly center quarter-turn fixture stops for routine residential service. I still match the new valve to the pipe material and connection type first; quarter-turn is a handling advantage, not an excuse to improvise the wrong connection.
How do I stop a shutoff valve from leaking at the stem packing nut?
A small drip at the handle shaft often comes from the packing nut, not the whole valve body. Dry the area, confirm the leak starts at the stem, then tighten the packing nut slightly. If the drip stops, monitor it. If it keeps leaking or the stem binds, replacement is safer.
Recognizing a true packing-nut leak
Water at the wall escutcheon can mislead. Dry everything first, then watch the handle shaft while the valve is under pressure. If a bead forms right where the stem enters the valve, the packing area is the likely source.
Tightening versus replacing
Use the smallest practical wrench movement. A small adjustment is often enough. If the leak worsens, the nut strips, or the stem becomes hard to turn, stop. Packing material and internal seals on old stops do not last forever, and replacement is cleaner than repeated tinkering.
How do I locate the main water shutoff or water meter shutoff?
The main house shutoff is usually near the meter or where the service pipe first enters the building. Check the basement wall, crawlspace entry, garage, or utility room. The meter shutoff may be beside the meter, while the curbside shutoff is often in a box near the street and may need utility access.
Inside-the-house search pattern
- Find the water meter if it is indoors.
- Look on the house side of the meter for the first accessible valve.
- If there is no indoor meter, trace the likely service entry wall.
- Check unfinished utility spaces before looking behind finished panels.
Outside-the-house search pattern
Look for meter lids, side-yard boxes, or wall boxes near the front corner facing the street. If the box contains the meter, there may be a valve beside it. Street-side curb stops often sit in narrower access tubes or boxes nearer the property line.
If you find a curb box but cannot clearly tell whether it is homeowner-accessible, stop there and check utility rules. That is a better move than guessing with a long key on equipment that may belong to the water provider.
What tools do I need if a shutoff valve needs replacement?
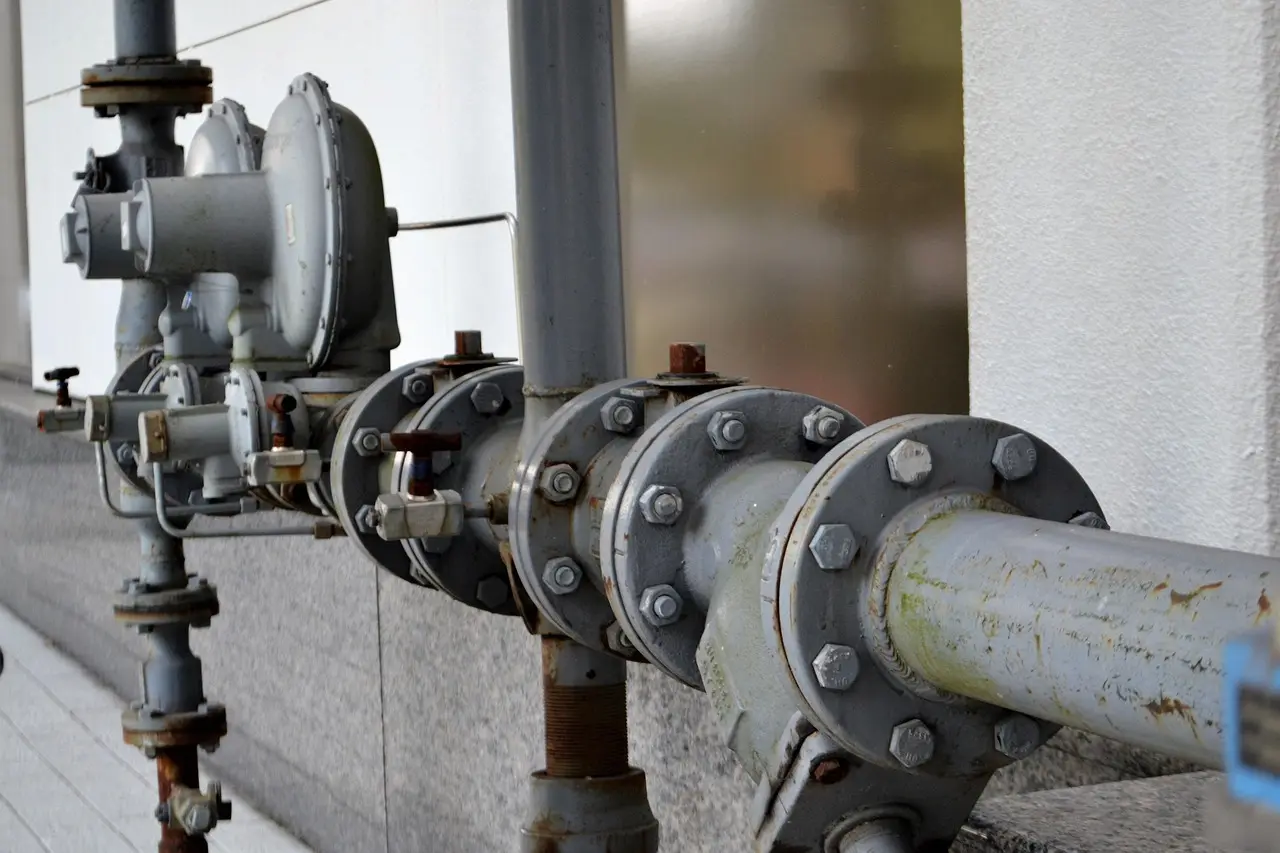
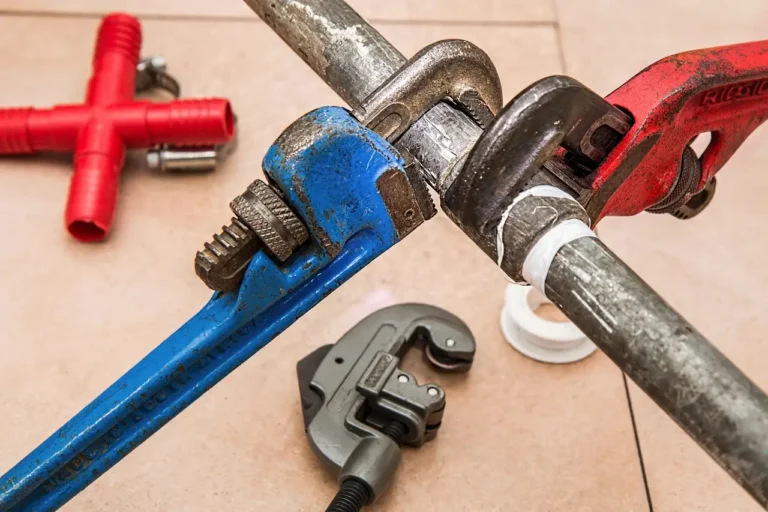
For a basic shutoff replacement, gather an adjustable wrench, channel-lock pliers, bucket, towels, pipe cutter or tubing cutter, and thread sealant or plumber’s tape where the connection type calls for it. Match the replacement valve to the existing pipe and connection style before disassembly starts.
Core replacement tools
- Adjustable wrench
- Channel-lock pliers
- Bucket and absorbent towels
- Pipe cutter or tubing cutter
- Thread sealant or plumber’s tape
- Replacement valve matched to compression, sweat, or threaded connection
Useful extras for stubborn fixture stops
An escutcheon puller can help remove trim without wall damage. A compression sleeve puller can save time when a ferrule refuses to come off an old copper stub-out. Those tools are optional, but they reduce the chance of scoring the pipe during removal.
Prep that avoids cabinet and wall damage
Protect cabinet floors with towels before loosening anything. Keep a shallow pan under low wall valves where a bucket will not fit. If the valve feeds an appliance, disconnect power as needed and pull the appliance carefully to avoid kinked lines.
Connection-specific tools and parts to stage before you begin
Finish the prep before you crack a single nut loose. For compression valves, I stage a second wrench for backup, a new compression nut and ferrule if the old hardware looks suspect, and a sleeve puller if the stub-out is short. For threaded valves, I check thread type, add the correct sealant for potable water service, and make sure the nipple in the wall is solidly supported. For sweat valves, the right approach is more specialized because heat near finishes, old solder, and trapped water can complicate the job fast; if the line cannot be dried and protected correctly, replacement is better left to a licensed pro.
Step-by-step replacement checklist
Use a checklist, not memory. This is the sequence I trust when replacing a common fixture shutoff on an accessible stub-out.
- Confirm the replacement valve matches the pipe material, pipe size, and connection type already in the wall or floor.
- Shut off the correct upstream valve and verify zero flow at the fixture, not just a pressure drop.
- Open the fixture to relieve pressure and place towels, a pan, or a bucket under the work area.
- Disconnect the supply tube from the old stop and inspect the tube for kinks, corrosion, or damaged threads.
- Stabilize the pipe or valve body with a backup wrench where the installation allows it.
- Remove the old valve according to type: loosen compression hardware, unscrew threaded connections, or stop and reassess if the valve is soldered and you are not set up for safe heat work.
- Inspect the exposed stub-out or nipple for scoring, pitting, out-of-round damage, or looseness in the wall.
- Trim the pipe only if needed for a clean sealing surface and only if enough pipe length remains for the new valve.
- Install the new valve square to the pipe, tightening in a controlled way without twisting the stub-out.
- Reconnect the supply tube, replacing the tube if its seal, cone washer, or braided line condition is questionable.
- Turn the upstream water back on slowly while watching the new valve, stem, inlet, and outlet connections.
- Open and close the new shutoff once, then run the fixture and recheck for drips after pressure stabilizes.
Post-replacement checks that catch small leaks early
After a new stop goes in, I wipe every connection dry and check again after a few minutes, then again after the fixture has been used under normal pressure. A clean paper towel under the valve body and supply nut makes tiny drips obvious. This is especially important under sinks where a slow seep can hide in the cabinet floor for days.
Maintenance that keeps shutoff valves usable
Inspection and exercise routine
Check visible shutoffs on a regular schedule rather than waiting for a repair day. A practical pattern is to inspect visible valves when changing HVAC filters or doing seasonal home checks, and to exercise selected valves periodically instead of all at once.
Main ball valves usually tolerate periodic operation well. Older gate valves deserve more caution. If an old gate valve has not moved in years and there is no backup shutoff, do not make that day its first test unless the risk is acceptable.
What to look for
- Green or white mineral buildup around the body or stem
- Rust scale on steel parts
- Moisture at the packing nut
- Loose wall mounting or wobble at fixture stops
- Handles that bend, bind, or feel stripped
- Valves that never quite stop water
Lubrication cautions and replacement checklist
Avoid random oils or grease on potable-water valves unless the product is clearly meant for that use. Excess product attracts dirt, softens some trim parts, and can mask a real leak. Over-tightening is a more common problem than dry stems.
Replacement is a good idea when a valve has already shown seepage after use, when an old gate valve controls the whole house, when a toilet or sink stop is corroded enough to threaten the stub-out, or when a remodel opens the wall and access is easy. The best replacement timing is controlled downtime, not the moment a weak shutoff finally gives up during an urgent repair.
Frequently asked questions
How do I identify the different plumbing shutoff valves in my house?
Look at handle shape, body shape, outlet direction, and location. Ball valves have a straight lever and quarter-turn action. Gate valves have a round or T-style handle and take several turns. Under sinks and behind toilets, compact angle stops or straight stops control one fixture at a time.
How can I tell if a shutoff valve is open or closed?
On a ball valve, handle parallel to the pipe usually means open, and across the pipe means closed. On gate valves and multi-turn stops, close by turning clockwise until gentle resistance. Then verify by opening the downstream fixture and checking whether flow fully stops.
How do I find the shutoff valve under a sink before a repair?
Trace each supply tube from the faucet down to the wall or floor. The shutoff is usually mounted at that stub-out point. Most sinks have one hot and one cold valve. If no local stop is visible, check below the floor or use a branch or main shutoff.
What should I do if a shutoff valve is stuck or hard to turn?
Use gentle pressure only, support the pipe if possible, and stop if the valve binds sharply or the piping moves. Cut paint around the handle if needed. If the valve still resists, move upstream to another shutoff. Old gate valves and corroded fixture stops often fail when forced.
How do I stop a shutoff valve from leaking at the stem packing nut?
Dry the valve and confirm the leak is coming from the handle shaft area. Tighten the packing nut slightly and recheck. If the drip stops, monitor it. If the leak continues, the stem binds, or the nut is already tight, replacement is the better fix.
What tools do I need if a shutoff valve needs replacement?
At minimum, have an adjustable wrench, channel-lock pliers, bucket, towels, and a pipe cutter or tubing cutter if the pipe or stub-out may need trimming. Use thread sealant or plumber’s tape only where the connection type calls for it, and match the new valve to the pipe material.
Why does a shutoff valve look closed but the fixture still has water?
That usually means residual pressure is still bleeding off, the wrong valve was operated, or the valve internals are worn and no longer sealing. I test by opening the downstream fixture long enough to empty trapped pressure; if flow continues beyond that, I treat the valve as failed and move upstream.
Can I use the water meter shutoff or curb stop myself?
Only if your utility allows it and the hardware is clearly intended for customer operation. Many utilities restrict curb-stop access or treat it as utility equipment. If ownership or permission is unclear, call the utility instead of forcing access.
What usually fails first on an old fixture shutoff?
The most common early failures are a packing-nut drip at the stem, a washer or seal that no longer stops flow fully, or corrosion that locks the stem in place. Once a stop has two of those symptoms at once, replacement is usually more dependable than trying to nurse it along.
Should I replace just one bad fixture stop or both hot and cold under the sink?
If both are the same age and condition, replacing the pair during one shutdown is often the cleaner choice. I especially lean that way when one valve has already seized or seeped, because the matching valve is often not far behind.
Sponsored / affiliate links. As an Amazon Associate I earn from qualifying purchases. I may earn additional commission from eligible campaigns.