How to Thaw Frozen Pipes Fast Without a Heat Gun
Thaw a frozen pipe by opening the faucet, warming the pipe from the faucet side back toward the blockage, and stopping if the line is hidden or behind a wall; call a plumber for hidden, split, or still-dead pipes. Bad thawing can burst the pipe, flood walls, and turn a quick fix into a repair bill. This guide ranks safe no-heat-gun thaw methods by access and risk, plus the stop points for calling a plumber.
What to do first when a pipe freezes
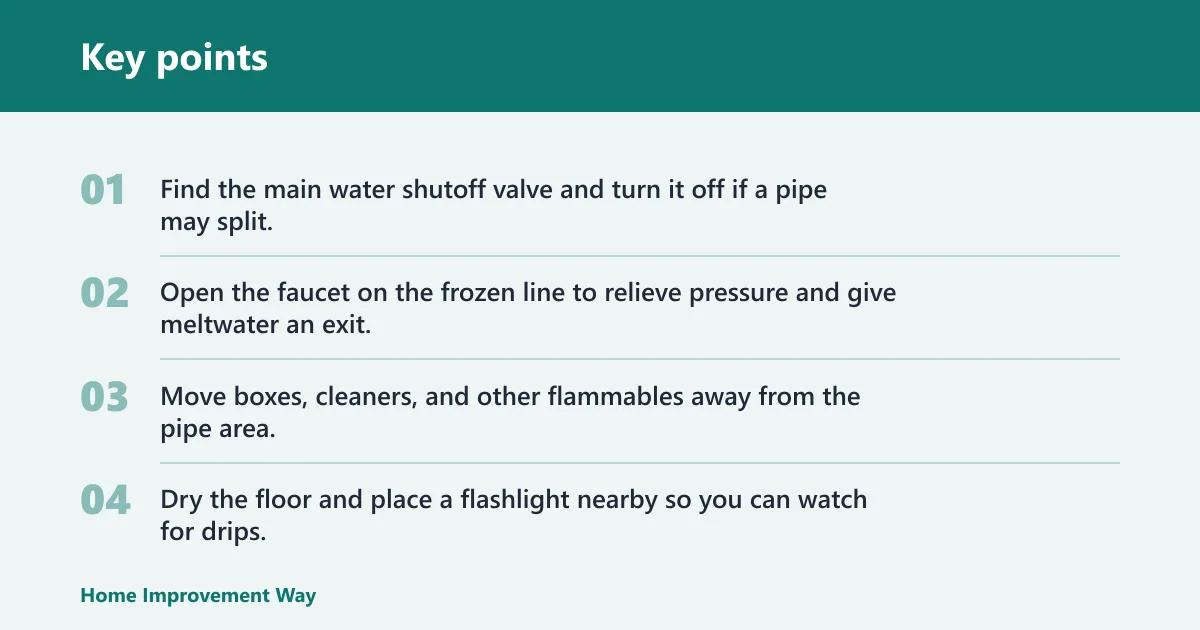


Shut off the main water supply first if the pipe may burst, then open the affected faucet so meltwater has a path out. Clear the area around the pipe so you can reach it safely and see drips, swelling, or wet fittings as thawing begins.
A frozen pipe blocks flow when water inside it turns to ice and narrows or seals the line. The main water shutoff valve controls water entering the home, so turning it off cuts the chance of leaks or a burst during thawing. Leave the faucet on the affected line open; that lets melting water escape instead of building pressure.
- Find the main water shutoff valve and turn it off if a pipe may split.
- Open the faucet on the frozen line to relieve pressure and give meltwater an exit.
- Move boxes, cleaners, and other flammables away from the pipe area.
- Dry the floor and place a flashlight nearby so you can watch for drips.
Suppose a cold snap left the kitchen sink dead while the basement laundry faucet still runs. Open the kitchen sink line first and warm that pipe, because the faucet gives meltwater a way out and tells you when flow returns before the line refreezes.
What you’ll need
- Hair dryer for accessible pipe exterior
- Heating pad or electric heating pad
- Hot-water towels in a bucket or basin
- Heat lamp for gentle external heat
- Space heater for warming the room near an inaccessible pipe
- Flashlight
- Dry towels or rags
- Bucket or shallow pan for drips
Frozen pipe decision table
This table ranks thaw choices by access and risk so you can choose the least hazardous method first.
| Pipe location | Best safe heat source | Expected difficulty | Burst-risk warning signs | Stop-call-a-plumber triggers |
|---|---|---|---|---|
| Exposed basement pipe | Hair dryer or heating pad | Low | Bulge, sweating joint, crack line, steady drip | Pipe splits, water appears behind insulation, flow never starts |
| Cabinet pipe | Hot-water towels or hair dryer | Low to moderate | Damp cabinet floor, warped wood, visible corrosion | No safe hand access, leak at a fitting, cabinet walls block view |
| Exterior-wall pipe | Hair dryer, heat lamp, or room heat | Moderate | Cold wall patch, peeling paint, wet drywall, soft spot | Pipe is inside the wall, you cannot see the line, wall damage grows |
| Crawlspace pipe | Space heater aimed at the area, not the pipe directly | High | Musty smell, dripping insulation, frost on pipe, standing water | Unsafe access, flammables nearby, no clear view of the pipe |
| Suspected main line freeze | None for DIY beyond gentle room heat | High | Little or no water at multiple fixtures, pressure drops, partial flow | Likely freeze in the service line or buried line; call a plumber |
How to thaw an accessible pipe
Start at the frozen section near the faucet, then work back toward the blocked area. Gentle heat is the safer choice on exposed pipe because it warms the metal or plastic from the outside without torch flame or sudden temperature shock. Keep the faucet open while you work.
- Place a towel or pan under the pipe if drips are possible.
- Use a hair dryer on the pipe exterior and keep it moving.
- Begin at the edge closest to the faucet, then move slowly back along the frozen stretch.
- Switch to a heating pad or hot-water towels if the pipe shape makes drying awkward.
- Heat one section at a time until water starts to move.
- Keep the faucet open and watch for steady flow, then keep warming for a few minutes more.
Hair dryers are a common DIY heat source and Redfin says a heat lamp may be the best bet for thawing pipes. Bob Vila lists the task as beginner level, with about one hour of working time and total time about one hour, though Bob Vila also notes thawing can take thirty to forty-five minutes depending on conditions. A common rule is that longer cold exposure and poorer insulation slow the job down.
When a cabinet line freezes under a sink, wrap a heating pad around the exposed section for controlled heat. If the cabinet is tight, hot-water towels may fit better. Swap them as they cool so the pipe keeps warming instead of cycling cold.
The same source recommends heat sources such as a hair dryer, heat lamp, or space heater, and Bob Vila estimates cost at zero to thirty-five dollars. That range is useful if you need a quick decision and already have one of those tools on hand.
How to thaw a pipe in a wall or crawlspace
Use indirect heat on the room or cavity, and stop if you cannot reach the pipe safely. A pipe inside a wall, ceiling, or crawlspace is harder to monitor, so the priority shifts from speed to control. Keep heat sources away from flammables and never leave them unattended.
- Keep the faucet open and confirm which fixture is dead.
- Warm the room or cavity with a space heater placed well away from cardboard, insulation, and stored items.
- If the pipe is partly visible, use a hair dryer or heat lamp only on the accessible section.
- Check every few minutes for drips, wall dampness, or a change in water sound.
- Stop at once if the pipe is hidden, the area is unsafe, or the wall starts to show moisture.
Say your bathroom pipe runs through an exterior wall and only the sink loses flow. That hidden location raises the risk, because a split may not show until after water returns. In that case, indirect room heat and a plumber are safer than trying to force heat through drywall.
Heating pads can work on short exposed runs near a crawlspace opening. They are one of the Red Cross-listed methods and provide controlled heat, but they do not solve a buried or wall-locked freeze you cannot reach.
How to thaw frozen hot water pipes
Thaw hot-water lines the same careful way as cold lines: open the hot faucet, heat from the faucet side back toward the freeze, and stop if the pipe disappears into a wall or ceiling. Hot lines can freeze too, especially in long, poorly insulated runs.
Do not assume only the cold side is affected. If the kitchen hot tap is dead but the cold tap still runs, check the hot line first and inspect the cabinet and wall edge for frost or a damp seam. The same safe heat sources apply: hair dryer, heating pad, hot-water towels, heat lamp, or space heater used with caution.
A faster thaw does not justify using more heat. Open flame devices, including blowtorches, kerosene, propane, or charcoal heat, carry serious fire and carbon monoxide risk, and they can damage pipe, cabinet finishes, or nearby wiring.
Common mistakes
Most thaw failures come from too much heat, too little access, or skipping the leak check after flow returns. Keep the process slow enough to watch the pipe and the room around it.
- Using open flames. Do not use blowtorches, propane, kerosene, or charcoal heat near plumbing.
- Leaving heat sources unattended. Heat lamps and space heaters must stay attended and away from flammables.
- Heating only one spot. Move the heat source so the frozen section thaws from the faucet end outward.
- Skipping leak checks. A burst pipe may only show itself after thawing, once pressure returns.
- Forcing the pipe back into service too soon. Restore flow only after you inspect fittings, joints, and the nearby wall or floor.
Picture a crawlspace pipe that begins dripping into insulation after ten minutes of warming. That drip is not a sign to keep pushing harder. It is a stop point, because the pipe may already have split and only just started leaking.
When should you call a plumber?
Call a plumber if the pipe is inside a wall, ceiling, or crawlspace and cannot be reached safely, if the main line may be frozen, or if there are bulges, cracks, or leaking joints. Also call if water pressure returns and then drops again. That pattern can mean a split line or a partial freeze that is not fully clear.
Use the main shutoff valve before calling if the line may burst. For a suspected main line freeze, do not keep heating blindly; the problem may sit in a buried or inaccessible section where DIY heat will not reach it. A plumber can isolate the line, check fittings, and decide whether the issue is a freeze, crack, or larger supply problem.
The same source says thawing can take thirty to forty-five minutes depending on conditions, but a hidden freeze can take longer or fail entirely without proper access. If water does not return after careful, controlled warming, stop.
Frequently asked questions
How to thaw frozen hot water pipes: treat hot-water lines like
Treat hot-water lines like any other frozen line: open the hot tap, then warm the pipe from the faucet side back toward the blocked stretch. Hot lines can freeze too, especially in exterior walls and cold crawlspaces. If the line disappears behind finished surfaces, do not force the thaw.
When should you call a plumber for frozen pipes?
Call when the pipe is inaccessible, the freeze seems to be in the main line, water pressure returns and then drops again, or you see cracks, bulges, or wet drywall. A plumber should also handle any line that bursts or shows signs of leaking once pressure returns after thawing.
Sponsored / affiliate links. As an Amazon Associate I earn from qualifying purchases. I may earn additional commission from eligible campaigns.