How to Wrap Water Pipes with Foam Insulation for Winter
Wrap exposed water pipes by cleaning the pipe, cutting foam sleeves to fit tightly, sealing every joint with pipe-safe tape, and covering gaps; foam alone is fine for indoor pipes in mild cold, but exposed, unheated, or draft-prone lines need heat tape or another fix. Miss the weak spots and pipes can freeze, burst, and flood. This guide shows the correct wrap sequence and a risk checklist for choosing foam alone versus a paired solution.
Why exposed pipes freeze first
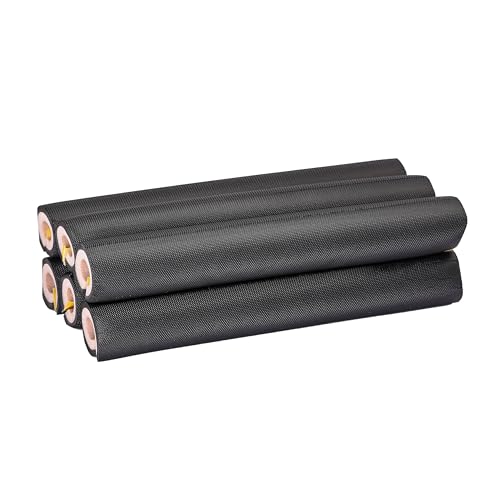
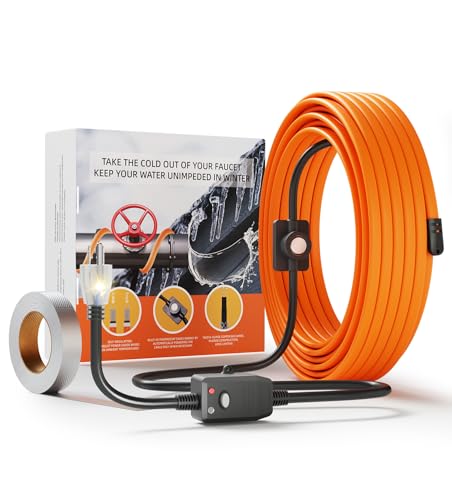
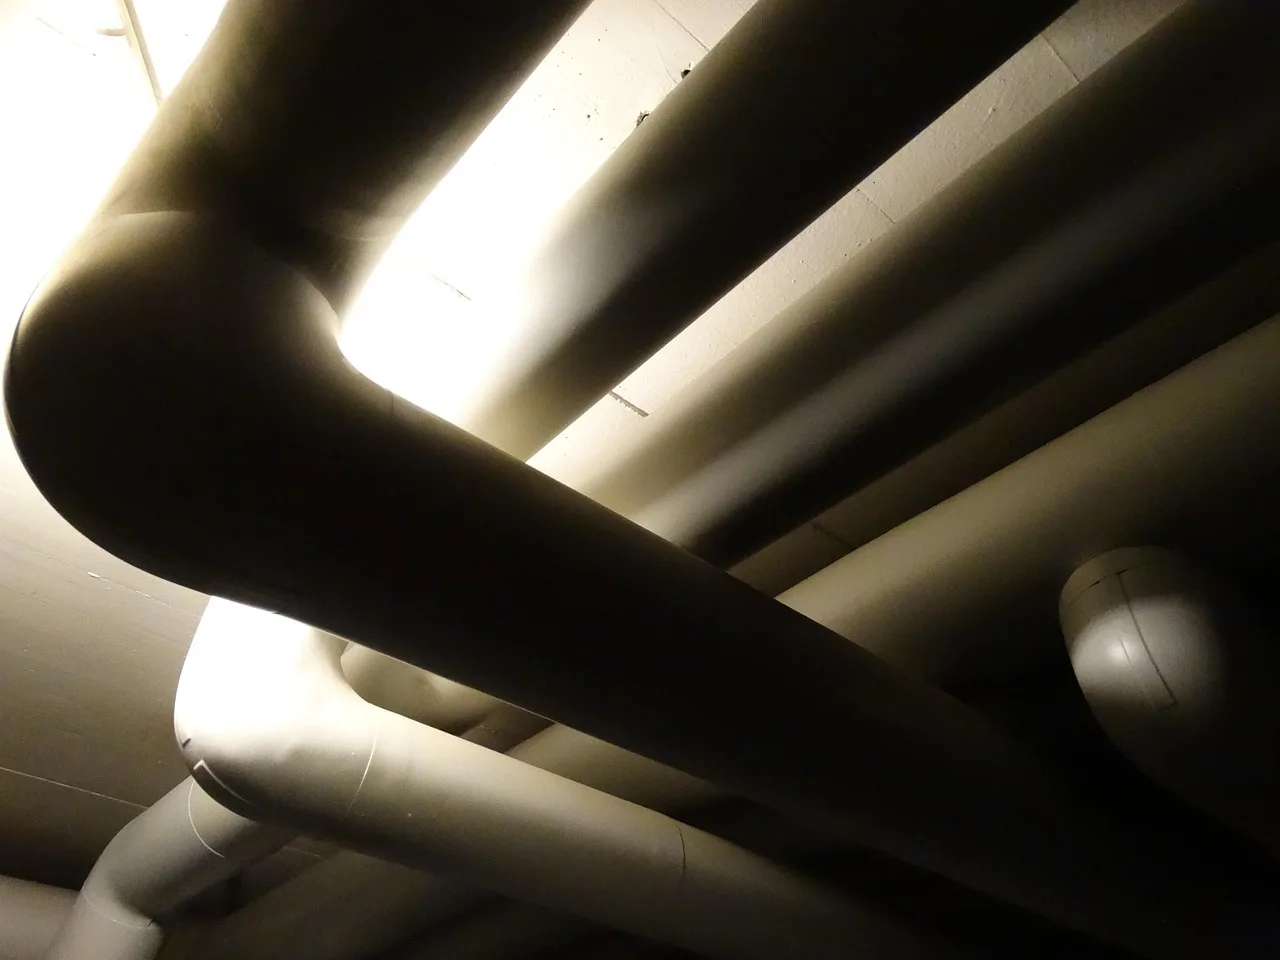
Unheated spaces shed heat fast. Crawl spaces, attics, exterior walls, and garages often run colder than the rest of the house, so exposed copper water pipe or PEX cools quickly and freezes sooner than hidden lines. Foam pipe insulation slows that heat loss, but drafts, gaps, and long exposed runs raise the freeze risk.
Foam sleeves are the easiest DIY option for straight sections, and they are commonly sold in 3-foot or 6-foot sticks. For unheated spaces, choose a thicker sleeve or follow the product’s R-value guidance for the space. In very cold crawl spaces or attics, thicker-wall foam may be a better fit than a thin sleeve.
What you’ll need
- Foam pipe insulation sleeves sized to the pipe outside diameter
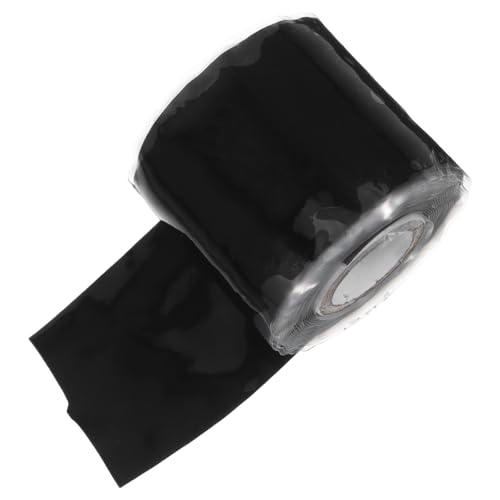
- Seam tape approved by the insulation manufacturer, or pipe-safe tape where allowed
- Utility knife or sharp scissors
- Measuring tape
- Marker
- Self-regulating heat tape, UL-listed, if the location needs extra freeze protection
- GFCI-protected outlet for any heat tape installation
- Pipe-safe cleaning cloth or rag
- Insulated outdoor faucet cover, if a hose bib is exposed
- Replacement pipe clips or supports if the old ones are broken
Materials for straight runs and fittings
Use foam sleeves on straight pipe sections. Most foam pipe sleeves are pre-slit tubes that snap over the pipe, which makes them fast to install. Around elbows, tees, and valves, cut the foam so the pipe stays covered instead of leaving open gaps that let cold air reach the metal or plastic.
Tools for measuring, cutting, and sealing
Measure the pipe before buying sleeves. A common residential copper water pipe and PEX each need the insulation sized to the pipe outside diameter. Use the seam tape or adhesive specified for the insulation product, and use foil HVAC tape only where the product allows it. Foil HVAC tape is for closing seams and butt joints, not for building up large missing sections.
Pipe wrap decision table
| Location | Freeze risk | Recommended wrap order | Seam treatment | Stop-work warning signs |
|---|---|---|---|---|
| Interior heated wall cavity | Low | Foam only | Seal slit and end joints with foil HVAC tape | Pipe is wet, corroded, cracked, or already frozen |
| Basement near exterior wall | Moderate | Foam only if the run stays dry and protected | Seal seams tightly; cover fittings with fitted foam pieces | Strong drafts, recurring freeze points, or damaged pipe supports |
| Crawl space | High | Heat tape first, then foam over it | Seal all seam joints and butt joints; do not leave air gaps | Standing water, active leak, rodent damage, or missing power protection |
| Attic | High | Heat tape first, then foam over it if the product allows coverage | Seal seams; use thicker foam where the space is very cold | Loose insulation, electrical damage, or a product label that forbids covering |
| Exterior wall section | High | Foam only for protected runs; heat tape may be needed in severe cold | Seal every joint and cover the full exposed length | Pipe is already frozen, leaking, or inaccessible without opening the wall |
| Outdoor faucet / hose bib | High | Drain first, disconnect hose, then add insulated cover if needed | Cover the bib body; do not rely on pipe foam alone | Hose still attached, water not drained, or freeze damage visible |
Pipe size guide for insulation selection
| Pipe outside diameter | Common example | Insulation size to buy | Wall thickness for freeze-prone spaces |
|---|---|---|---|
| About 5/8 in. | Some small PEX runs | Match the sleeve to the outside diameter | At least 1/2-inch wall |
| About 7/8 in. | Typical 1/2-inch copper water pipe | Match the sleeve to the outside diameter | At least 1/2-inch wall |
| About 1-1/8 in. | Typical 3/4-inch copper water pipe | Match the sleeve to the outside diameter | At least 1/2-inch wall, 1-inch wall for very cold spaces |
Size the insulation to the pipe’s outside diameter, not just the nominal pipe label. If the pipe is in a crawl space or attic, move up to a thicker wall before you settle for a thin sleeve. The wrong size leaves gaps, and gaps let cold air reach the pipe.
How do you wrap water pipes with foam insulation?
Start with a clean, dry pipe, then fit the sleeve snugly so it closes fully along the slit. If the space is unheated or draft-prone, install UL-listed self-regulating heat tape first and plug it into a GFCI-protected outlet, then wrap the foam over it if the product allows coverage. Seal the slit and all end joints with the tape or adhesive specified for the insulation, or with foil HVAC tape where allowed by the product instructions.
- Measure the pipe outside diameter and the exposed length.
- Buy foam sleeves that match the pipe size and straight-run length.
- Wipe the pipe dry and remove dust or loose rust.
- Dry-fit the sleeve before cutting so the seam lines up cleanly.
- If heat tape is needed, route it first exactly as directed by the product label.
- Snap the foam sleeve over the pipe and close the slit fully.
- Seal each butt joint with the tape or adhesive specified for the insulation, or with foil HVAC tape where allowed, and close small gaps at the ends.
Say your basement has a copper line along an exterior wall. A snug pre-slit sleeve on the straight run is the first layer, but if the wall cavity stays cold, the safer move is heat tape first, then foam. That order matters because the heater must warm the pipe, not get buried in the wrong layer.
How to handle seams and butt joints
Close each seam fully, then tape the slit closed. The guide says to seal all seam joints and butt joints between pieces. That keeps cold air from moving into the sleeve and cutting its effect.
Do not leave a raw end where two pieces meet. Tape the joint tightly, but do not compress the foam so hard that it opens again. If a gap stays visible, cut a short filler piece and cover the opening before you move on.
How do you handle elbows, tees, and valves?
Fittings need cut-and-fit work. Foam sleeves are meant for straight sections, so elbows, tees, and valves usually need miter cuts, short filler pieces, or a combination of preformed covers and foil tape. Leaving a fitting exposed creates a cold bridge that can freeze the line even when the straight run is insulated.
- Mark the fitting shape on the foam before cutting.
- Cut the sleeve in short sections so each side of the fitting stays covered.
- Wrap the elbow with small angled pieces instead of forcing one long sleeve to bend.
- Build tee coverage with one main sleeve and two trimmed branches.
- Use foil HVAC tape to close every cut edge and butt joint.
A common first-timer mistake is covering a straight copper run and leaving the tee bare. That tee can chill the whole section. Cover the fitting itself, then tape the edges so drafts cannot reach the pipe.
Can you insulate pipes in a crawl space or attic?
Yes, but those spaces need extra attention. Crawl spaces are unheated and often damp, so drafts and exposed runs can cool a pipe quickly. Attics can be just as risky when insulation is thin or missing around the line. Use thicker foam, and add heat tape where cold is severe.
In these zones, insulation alone may not stop freezing. If the pipe is already cracked, leaking, corroded, or partially frozen, stop the project and repair or thaw the pipe safely before wrapping it. A burst pipe can cause major water damage.
Suppose a PEX line in a crawl space runs across open joists with a strong draft beneath it. Foam sleeves on the straight run help, but a one-layer wrap is often not enough in that setting. Move to heat tape first, then foam, and close every seam so moving air cannot strip heat away. Before using heat cable on PEX, confirm that the product instructions say it is approved for plastic pipe.
When insulation is not enough
Insulation is the wrong fix when the pipe is damaged, the space floods, or the run is so exposed that the heat loss is extreme. In those cases, repair the cause first. Add air sealing, fix the broken support, or replace the vulnerable section instead of hiding the problem under foam.
Common mistakes
Most failures come from order, fit, or ignored warning signs. The fix is simple when you catch those mistakes early.
- Installing heat tape over foam instead of under it. Use heat tape first, then foam if the product allows coverage.
- Plugging heat tape into a plain outlet instead of a GFCI-protected outlet.
- Leaving the hose attached to an outdoor faucet. A hose left on can freeze even if the bib is frost-free.
- Skipping seam tape on butt joints and slit edges.
- Wrapping over a pipe that is already frozen, leaking, or corroded.
Top up seam tape where it lifts, then recheck the joint after the foam settles. If a gap opens again, cut a short replacement piece instead of stacking tape over a bad fit.
Outdoor faucet and hose bib winterization
Disconnect the hose, drain the line, and close the valve before cold weather sets in. Add an insulated cover if the bib is exposed. Do not count on pipe foam alone here, because the exposed fixture itself can still freeze.
Frequently asked questions
How do you wrap water pipes with foam insulation for winter?
Measure the pipe outside diameter, buy the matching pre-slit sleeve, dry the pipe, then snap the foam on and tape the slit and butt joints with the tape or adhesive specified for the insulation, or with foil HVAC tape where allowed. If the area is very cold or drafty, apply self-regulating heat tape first and connect it to a GFCI-protected outlet before the foam goes on.
What size foam pipe insulation do I need for my water pipes?
Choose the sleeve by pipe outside diameter, not guesswork. Different pipe types and sizes need different sleeve sizes. For unheated spaces, choose a thicker sleeve or follow the product’s R-value guidance for the space, and use thicker-wall foam where the product calls for it.
Should heat tape go under or over foam pipe insulation?
Heat tape goes under the foam, not over it. Route the UL-listed cable exactly as directed, plug it into a GFCI-protected outlet, and do not overlap, spiral, or cross the cable unless the instructions allow it. Some products also must not be covered with insulation, so check the label before closing the sleeve.
Can you insulate pipes in a crawl space for winter?
Yes, but a crawl space is a high-risk zone. Use thicker foam, seal every seam, and add heat tape where the cold is severe. If the pipe is damp, damaged, frozen, or exposed to strong drafts, repair the cause first; insulation cannot fix a leak or a split pipe.
Do hot water pipes need insulation too?
Yes. Hot water lines lose heat through exposed runs, and insulation helps reduce that loss. In unheated spaces, the same wrap also helps lower freeze risk for the line itself. Use the same size-matching rules and seal the same seams on hot and cold runs.
Can foam insulation alone stop pipes from freezing?
Sometimes, but not in every location. Foam sleeves are often enough for protected indoor runs and mild cold, yet exposed exterior walls, crawl spaces, and attics may need heat tape or another fix. If the pipe already froze once, assume the layout needs more than foam alone.
What should you do if a pipe has already frozen before insulating?
Stop the wrap job and thaw the pipe safely first. Shut off water, inspect for cracks, and look for leaks after the ice clears. If the pipe is split, corroded, or wet, repair it before adding insulation. Wrapping a damaged line only hides the problem.
How do you seal pipe insulation seams so cold air doesn’t get in?
Use the seam tape or adhesive specified for the insulation, or foil HVAC tape where allowed, on the slit, end joints, and butt joints between pieces. Press the tape flat so it bonds along the full edge. Keep the foam tight around elbows and tees, because a loose fit leaves a gap that sends cold air straight to the pipe.
Sponsored / affiliate links. As an Amazon Associate I earn from qualifying purchases. I may earn additional commission from eligible campaigns.