How to Install Heat Tape on Water Pipes
Use UL-listed heat tape rated for your pipe type, and match the cable length to the pipe run without overlaps unless the label permits them. Wrong tape, poor thermostat placement, or crossed cable can overheat pipes, trip breakers, or still leave sections frozen. This guide shows how to choose a compatible heat tape, verify pipe materials, install it safely, and avoid common power mistakes.
This guide is part of our Frozen Pipes: How to Prevent, Thaw and Fix Them series.
What you’ll need


- Heat tape or heating cable labeled for plumbing pipes
- Pipe measurement tape or a tape measure
- Three-prong GFCI outlet
- Approved electrical tape or manufacturer-approved fastening clips
- Pipe insulation that the product label allows
- Aluminum foil, if the product instructions allow it for plastic pipe
- Cleaning rag for dry, accessible pipe surfaces
- Flashlight for basement, crawl space, attic, or under-mobile-home runs
What heat tape does and where it belongs
Heat tape is described as a type of freeze-protection cable for visible water pipe runs. It belongs on exposed plumbing in basements, crawl spaces, attics, and under-mobile-home lines when the product is rated for that location. It should not go inside walls, ceilings, or other hidden cavities.
Use pipe heat cable, heat tape, and heat trace as related terms for the same general job: temperature management in pipes. The key difference is the product label. Some versions are for indoor use only, some are rated outdoors, and some are made for well-water or under-mobile-home runs.
Where it should not go
Do not install heat tape on pipe that disappears into a wall cavity. Do not run it across valves, unions, or fittings unless the manufacturer gives a specific method for those parts. Do not use roof ice-dam tape on plumbing. That product is made for a different job.
Suppose a copper line runs through a basement wall for 8 feet and then disappears. The visible 8-foot section can be protected if the product allows it, but the hidden section should be handled by routing changes or insulation work, not by wrapping cable where you cannot inspect it.
What to check before you buy
Choose cable by pipe length and diameter, not by guesswork. The piping guide gives a product-specific limit, so check the label rather than assuming a universal maximum diameter. The cable also must be long enough for the run without forcing spirals, overlaps, or tight coils.
Check whether the product is indoor, outdoor, or both. Some heat tapes work outdoors for pipes under mobile homes or for well-water lines. Also check wattage guidance on the package; most products list their own coverage limits, and a mismatch can leave cold sections unprotected.
Can you use heat tape on PVC?
Yes, but only if the product label says it is safe for PVC or for plastic pipe. PVC is heat-sensitive, so the cable has to stay within the manufacturer’s temperature limits. For plastic pipe, the guide recommends wrapping the pipe with aluminum foil first when the instructions allow it.
Watch the fittings too. Valves, couplings, and elbows can create heat concentration points, so follow the manufacturer’s method for those areas. If the pipe material is unknown, do not install the cable until you identify it. A heat-safe product for one plastic may still be wrong for another.
Pipe materials that need extra caution
Plastic pipe, some heat-sensitive fittings, and any section with unknown material deserve a hard stop before installation. If the label does not name the material, do not assume it is acceptable. A product made for metal pipe may be too aggressive for PVC or other plastics.
Pipe compatibility checklist
| Pipe material | Location | Cable type | GFCI power | Insulation allowed | Red-flag conditions | Pass/fail |
|---|---|---|---|---|---|---|
| Copper | Basement or crawl space | Plumbing heat tape rated for the run length | Three-prong GFCI outlet | Yes, if label allows it | Damaged jacket, hidden wall section, cable too short | Pass if visible and labeled for plumbing |
| PVC | Visible indoor run | Only cable labeled safe for PVC | Three-prong GFCI outlet | Only with product permission; foil may be allowed first | No PVC label, unknown temperature limit, crossed cable | Pass only with PVC-rated product |
| Plastic pipe other than PVC | Exposed plumbing | Only if the label names that plastic | Three-prong GFCI outlet | Only if specified by manufacturer | Generic “all plastic” claim, fitting hot spots, wall cavity | Fail unless specifically approved |
| Any material | Inside a wall | Not allowed | Not applicable | Not applicable | Hidden cavity, inaccessible repair point | Fail |
| Any material | Under mobile home or well-water line | Outdoor-rated plumbing heat tape | Three-prong GFCI outlet | Only if outdoor rating allows it | Extension cord, damaged jacket, coiled cable | Pass only with outdoor-rated product |
How do you install heat tape on water pipes?
Start with a straight, visible pipe run that matches the product label, then secure the heating cable to the pipe with the fastening spacing the manufacturer allows. Keep the cable flat against the pipe, do not wrap it over itself, and position the thermostat according to the label before power is applied.
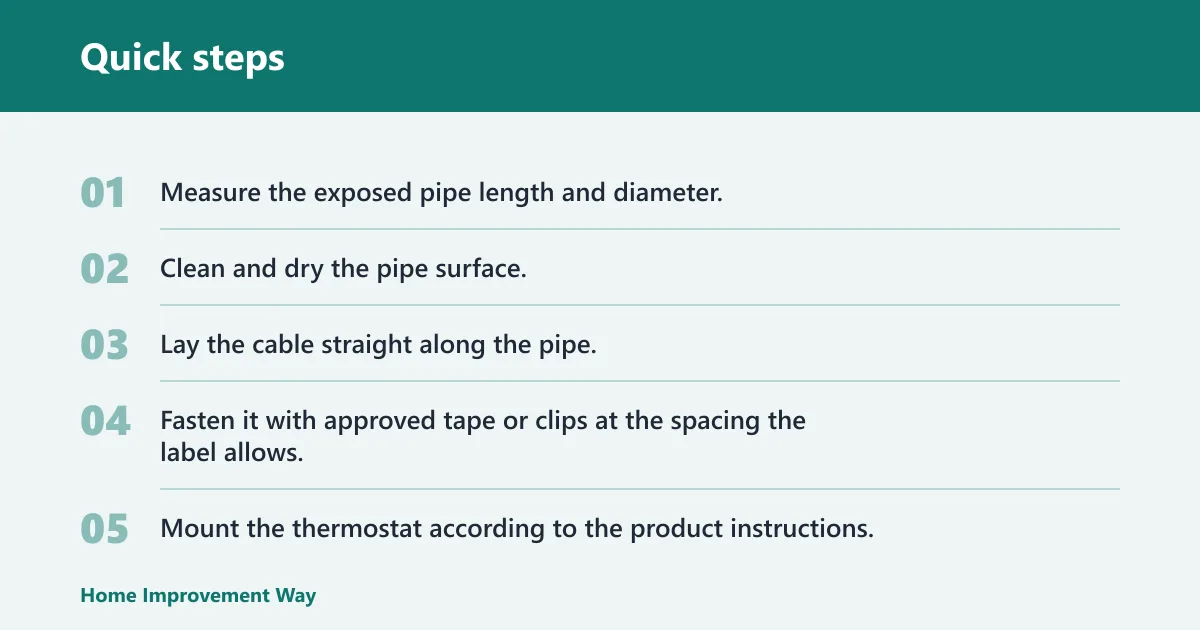
- Measure the exposed pipe length and diameter.
- Clean and dry the pipe surface.
- Lay the cable straight along the pipe.
- Fasten it with approved tape or clips at the spacing the label allows.
- Mount the thermostat according to the product instructions.
- Plug into a three-prong GFCI outlet only after the full run is installed.
How do you put heat tape on water lines?
Put it on the accessible line only, not on hidden sections. Keep the cable from touching, crossing, or overlapping itself. If the line has valves or fittings, follow the manufacturer’s specific method for those parts.
A common first-timer mistake is buying a cable that is 2 feet short. In that case, do not stretch it tighter or spiral it around the pipe. Stop and get the correct length, because altered routing can create hot spots and cold gaps at the same time.
Step 1: Measure and inspect the pipe
Measure the full visible run and note the diameter. Check the pipe for leaks, dents, brittle spots, old tape, and old insulation that may trap heat or hide damage. If the cable is too short or too long for the run, replace it rather than forcing a bad fit.
Look for cold spots where the pipe is most exposed, such as near rim joists, exterior walls, or unheated corners. Those areas help determine thermostat placement and insulation needs. Do not install over damaged jackets or over wet pipe that still needs repair.
Step 2: Attach the heating cable correctly
Run the cable straight along the pipe. Do not spiral it unless the product specifically tells you to do that. Use electrical tape or approved clips at the spacing the label allows, and keep the fastening firm without cutting into the jacket or making sharp bends.
Never plug the cable in while it is coiled. Never allow it to touch, cross, or overlap itself. If you need more coverage, the fix is a properly sized cable, not a tighter wrap. That rule matters even more near valves, tees, and elbows.
Step 3: Install the thermostat and power safely
Place the thermostat sensor according to the product instructions. Some products call for placement at the coldest end of the pipe, while others use a different location or have integrated controls. Check the label before installing. Keep the sensor insulated with the rest of the pipe if the product allows insulation over the cable.
Plug the system into a three-prong GFCI outlet. Do not use an extension cord. Do not use a two-prong adapter. If the outlet is not GFCI protected, stop and have the power source corrected before energizing the cable.
How do you use heat tape on pipes safely?
Use it only on exposed pipe runs, only with compatible pipe material, and only with the correct power source. The safest setup is a properly sized cable, a thermostat placed as the label directs, and insulation only where the product allows it. That combination reduces overheating risk and freeze gaps.
Picture an under-mobile-home line with 20 feet of exposed pipe and a cable rated for 20 feet outdoors. That can be a fit. If the same line has a damaged jacket, a hidden section, or a non-GFCI outlet, the safer move is to stop before power-up.
Pipe heat checklist
- Pipe is visible and accessible.
- Pipe material is named on the product label.
- Run length and diameter fit the cable limits.
- Cable is not altered in length.
- Cable is not plugged in while coiled.
- Cable does not touch, cross, or overlap itself.
- Thermostat sits where the product instructions call for it.
- Connection uses a three-prong GFCI outlet.
- No extension cord is in use.
- The pipe checklist says insulation may be allowed if the product instructions allow it.
Common mistakes to avoid
Too much insulation can trap heat and push the pipe beyond the product’s limit. Use only the thickness the manufacturer allows. Wrong pipe material is another failure point, especially with PVC or other plastics that need a specific label match.
Bad cable routing is just as serious. If the cable overlaps, crosses itself, or gets wrapped too tightly, heat builds in one spot. If the cable is damaged, too short, or already installed incorrectly, remove it and start over with the correct product and layout. Measure first, then buy.
Can you cover heat tape with pipe insulation?
Yes, but only if the product label allows insulation over the cable. Use nonflammable or flame-retardant insulation when specified, and do not exceed any thickness limit in the installation sheet. Too much insulation can trap heat and raise pipe temperature above safe levels.
Wrap the thermostat with the rest of the insulated section if the instructions call for that placement. Keep access to the plug and visible portions of the cable for later inspection. If the product forbids insulation over the cable, leave it exposed and follow the label.
Frequently asked questions
How do you install heat cable on water pipes?
Measure the exposed pipe, choose a plumbing-rated cable that matches the diameter, fasten it at the spacing the label allows, and place the thermostat where the instructions call for it. Then plug it into a three-prong GFCI outlet. Do not overlap, cross, or spiral the cable unless the label specifically allows it.
How do you install heat tape on PVC water pipes?
Use only a product labeled safe for PVC, and follow any foil or temperature-limit instructions on the package. Install it on visible pipe only, keep the cable straight, and follow the manufacturer’s method for valves or fittings if those areas are allowed.
Can you put heat tape on plastic pipes?
Yes, but only when the product label names that plastic. “Plastic-safe” in general is too vague for a heat-sensitive line. If the label does not list the pipe material, or if the pipe runs through a wall, do not install it.
Can heat tape overlap or cross itself?
No. The cable must not touch, cross, or overlap itself. That rule applies during installation and while in service. If the pipe shape makes a straight run impossible, select a different product or reroute the pipe, because altered cable paths can create hot spots.
Do you need a GFCI outlet for heat tape?
Yes. The electrical installation should use a three-prong GFCI outlet, and the cable should not be plugged into an extension cord. If the outlet is not GFCI protected, correct the circuit before power is applied.
Should heat tape go on pipes inside a wall?
No. Heat tape should never be used on pipes enclosed inside a wall. It is meant for visible, accessible pipe runs where the cable, thermostat, and connections can be inspected and repaired if needed.
Sponsored / affiliate links. As an Amazon Associate I earn from qualifying purchases. I may earn additional commission from eligible campaigns.