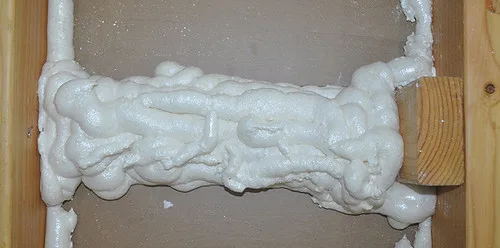
Insulation and Air Sealing
Air-seal first, then insulate. In most existing homes, the best sequence is to stop the biggest leaks at the attic floor, rim joists, top plates, duct boots, and service penetrations before adding insulation. The U.S. Department of Energy says air sealing can cut unwanted infiltration and improve the performance of insulation, and ENERGY STAR recommends sealing attic air leaks before adding attic insulation because insulation does not stop airflow by itself.[1][2] This guide covers leak priorities, materials and R-values, diagnostics, safety limits, costs, and when rebates or contractor work change the best plan.
Author: Home Improvement Way editorial team
Technical review: Reviewed for building-science accuracy against U.S. Department of Energy, ENERGY STAR, International Residential Code/International Energy Conservation Code references, and current utility-program requirements listed in the Sources section. The decision criteria used here match what insulation and weatherization contractors commonly verify on real homes before quoting work: biggest connected leakage paths first, then combustion and wiring safety, then moisture and ventilation, then insulation depth by assembly and climate zone.
Why insulation and air sealing must be planned in sequence

Airflow control versus thermal resistance
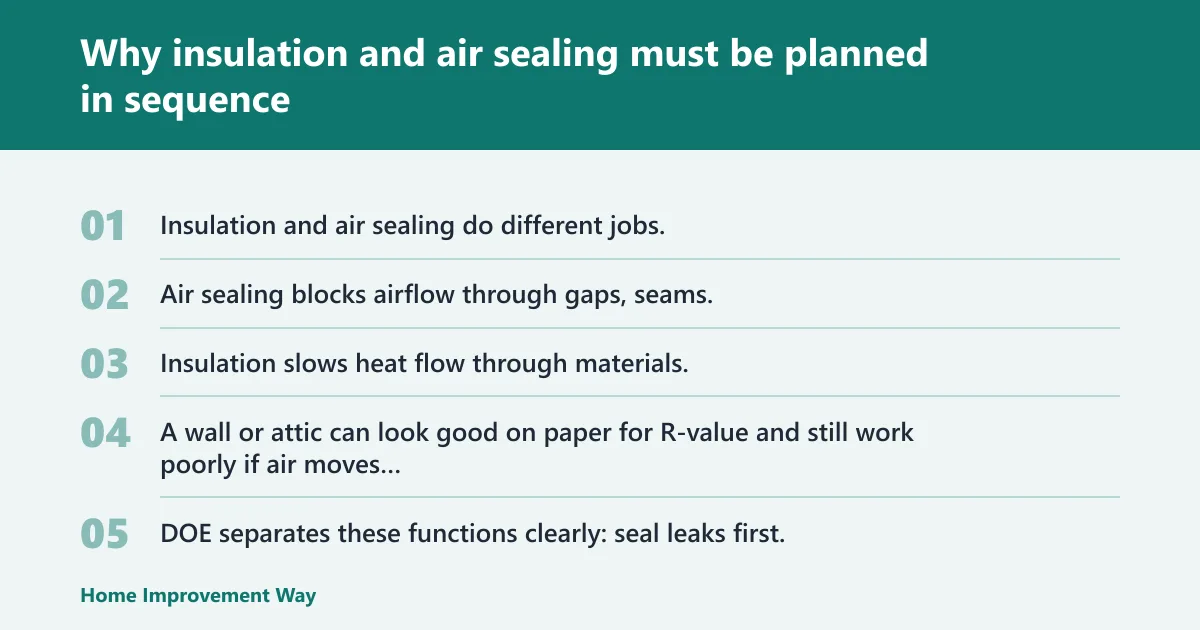
Insulation and air sealing do different jobs. Air sealing blocks airflow through gaps, seams, and penetrations in the building enclosure. Insulation slows heat flow through materials. A wall or attic can look good on paper for R-value and still work poorly if air moves around, through, or under that insulation. DOE separates these functions clearly: seal leaks first, then insulate to the recommended level for the assembly and climate.[1][3]
That is why air sealing vs insulation is not a product contest. It is an order-of-operations decision. Seal first where air bypasses the enclosure, then install or upgrade insulation to the right depth and type.
Why leaks can erase part of an insulation upgrade
Loose-fill or batt insulation installed over open top plates, plumbing holes, can-light openings, attic hatches, or duct chases does not stop the leak below. The insulation may cut heat transfer, but moving air can still carry heat and moisture through the assembly. DOE and ENERGY STAR both treat attic air sealing as a distinct step before adding attic insulation for exactly this reason.[1][2]
A common first-timer mistake is blowing cellulose over an attic floor before sealing the chimney chase, bath fan housing, and wire penetrations. The attic looks full, but the main bypasses are still open and now much harder to find.
What changes when you treat the house as one enclosure
Whole-home work starts to make sense once you treat the house as one enclosure. Air leaking out through the attic often pulls replacement air from the basement, crawlspace, attached garage edges, or around window and door openings. DOE explains this stack-effect behavior in its air-sealing guidance, which is why a whole-home plan often beats room-by-room patching.[1]
Those gains show up most clearly when you fix the biggest bypasses first instead of starting with visible trim gaps.
📊 Focus on Energy requires improved attic insulation of R-42 or greater. Source: Focusonenergy.
Sequencing air sealing and insulation for maximum energy savings
Air sealing should almost always happen before adding new insulation. Stopping leaks in attics, crawl spaces, and basements first prevents conditioned air from escaping and keeps moisture from degrading your building materials. If you install insulation over unsealed gaps, you waste energy and risk long-term comfort issues.
Understanding insulation versus air sealing helps homeowners choose the right project order. The supporting guide details when to seal accessible leaks first, when existing insulation can stay in place during that work, and when bundling both upgrades makes sense. Following this sequence ensures every dollar spent on thermal performance actually reduces heating and cooling loads rather than masking hidden drafts.
Air sealing vs insulation: which should come first?
Air sealing usually comes first, especially in attics, basements, crawlspaces, and rim joists where hidden bypasses move a lot of air. Insulation can follow right after, or be installed as part of the same scope, but covering major leaks before sealing them is the mistake to avoid. ENERGY STAR’s attic guidance explicitly puts sealing attic air leaks ahead of adding insulation.[2]
The rule for attics, basements, and crawlspaces
In most homes, the attic floor is the first place to look. It is often the main heat-loss plane and a major leakage plane at the same time. DOE and ENERGY STAR both focus on prep, air sealing, and ventilation details before attic insulation goes in.[1][2] That order matters because attic insulation is easy to bury and hard to remove cleanly later.
At the lower end of the house, rim joists, sill plates, and foundation penetrations are the next tier. These areas often connect conditioned rooms to outdoor air, crawlspaces, or basements.
Cases where insulation can come first or be done together
Some assemblies allow combined work. Closed-cell spray foam, for example, can air seal and insulate in one step when the assembly, moisture profile, and code path fit. Dense-pack cellulose in finished walls can reduce air movement in cavities, but it does not replace targeted sealing at top plates, rim areas, or utility penetrations. DOE’s insulation guidance distinguishes between cavity insulation and dedicated air-sealing details at leaks and penetrations.[3]
If access is limited, contractors may stage the work: diagnostic testing, priority sealing, then insulation. That still keeps the logic intact.
Warm interior air can reach cold surfaces inside an attic or wall. That raises condensation risk. It also leaves comfort problems behind, such as cold rooms under kneewalls, drafty second floors, or ice-dam conditions at roof edges. ENERGY STAR warns that attic air leaks can contribute to moisture problems and ice dams if they are left open under new insulation.[2]
Picture an attic of about 1,600 square feet with existing batts and a leaky hatch over a hallway. Add more insulation without sealing the hatch, top plates, and bath fan housing, and the hallway may still feel drafty because the pressure boundary never changed.
Where should you seal first in a typical home?
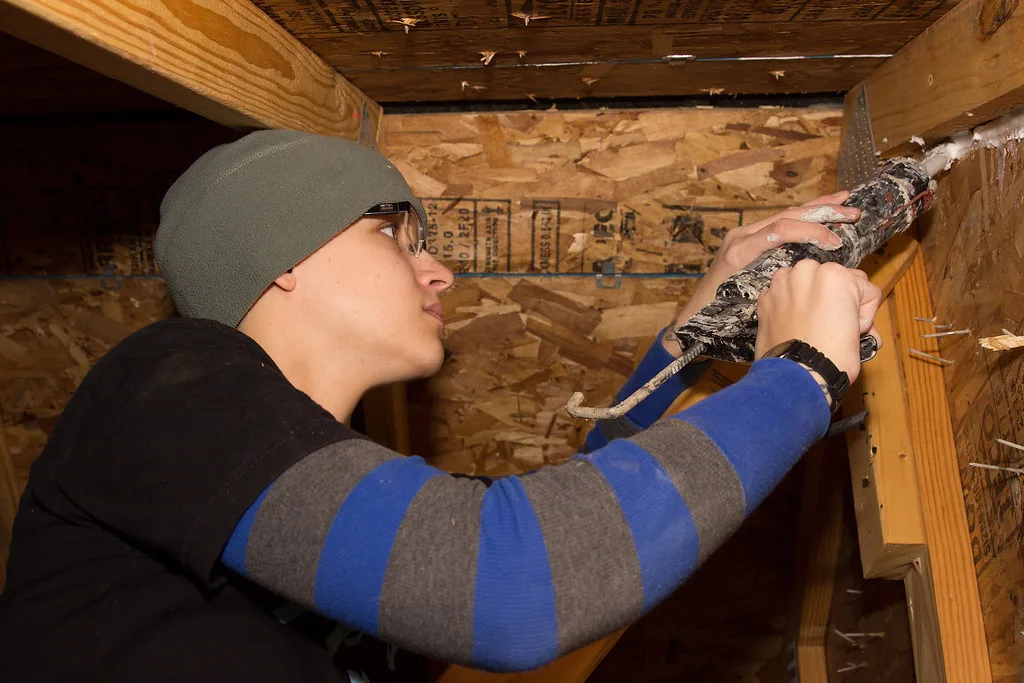
Start at the highest-payoff bypasses: attic floor penetrations, open chases, top plates, recessed fixtures, duct boots, attic hatches, and rim joists. After those are sealed, move to foundation penetrations and duct leakage outside conditioned space. Window and door frames, worn weatherstripping, outlet gaskets, and cracked trim are still part of the enclosure, but they usually come after the bigger leaks unless one opening is visibly failed or water-prone. DOE and ENERGY STAR both emphasize attic-floor bypasses and other large leakage sites before finish-stage touchups.[1][2]
Attic bypasses that deserve first attention
Priority targets usually include top plates, plumbing and wiring penetrations, dropped soffits, open wall cavities, chimney and flue chases with proper clearances, duct boots, attic hatches, pull-down stairs, and older recessed lights. These openings are often large enough to matter and hidden enough to get missed.
Attic floors are commonly addressed with blower-door-guided air sealing because pressure testing helps reveal leaks buried under old insulation or tucked behind framing.
Foundation and rim joist leaks
At the basement or crawlspace, seal the band joist or rim joist area, sill plate joints, plumbing and electrical entries, and any chase that runs upward into walls. These leaks often feed the stack effect: air exits high, replacement air enters low. DOE specifically identifies rim joists and sill areas as common air-leak locations in existing homes.[1]
Outlets on exterior walls can leak too, but a leaky rim bay generally has a bigger payoff than swapping every cover plate first.
Lower-payoff room leaks
Window and door frames, sash-to-frame weatherstripping, outlet and switch gaskets on exterior walls, and trim cracks at baseboards or casing are still part of the enclosure. They usually rank below open attic chases, top-plate seams, rim joists, and foundation penetrations because they move less air overall, unless one opening has failed badly or is taking on water.
That ranking separates a cosmetic sealing job from one that changes building performance.
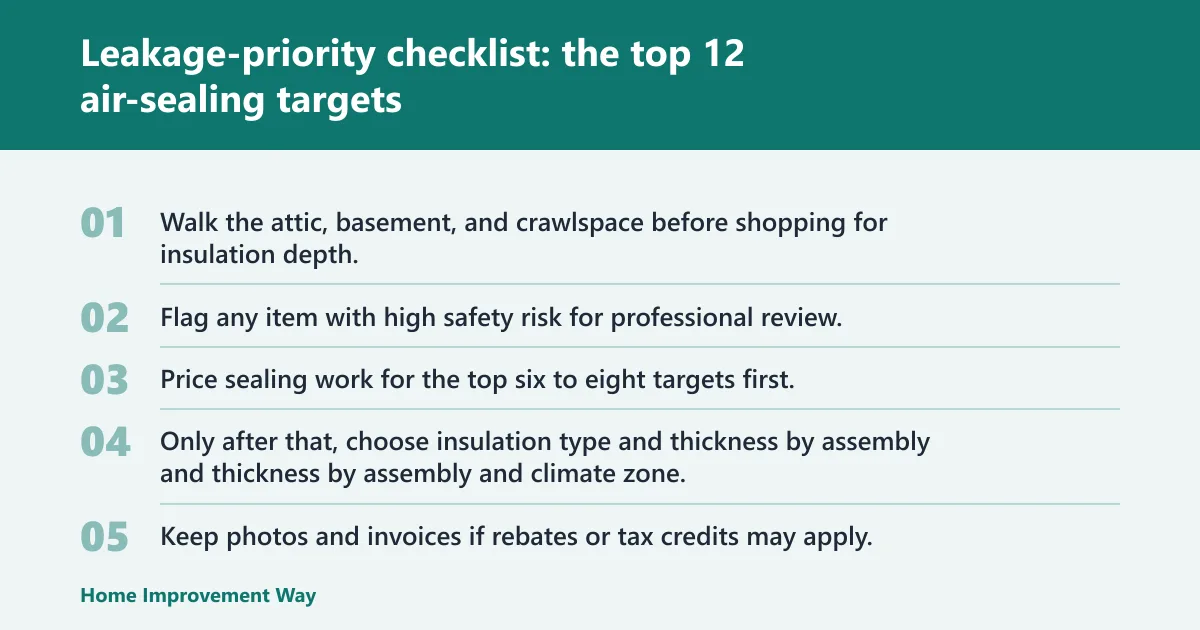
Leakage-priority checklist: the top 12 air-sealing targets
How the ranking works
The ranking below uses three homeowner-friendly screens: expected payoff, access difficulty, and safety risk. High-payoff items move the most air or connect large concealed spaces. Higher safety-risk items involve combustion vents, old wiring, or assemblies that need fire-clearance rules. The sequence also reflects what contractors commonly find during attic and basement inspections: a few large connected bypasses usually outperform a long list of small finish leaks.
| Rank | Target | Expected payoff | Access difficulty | Safety risk | Why it ranks here |
|---|---|---|---|---|---|
| 1 | Open attic chases and dropped soffits | Very high | Medium | Medium | Large hidden bypasses between house and attic |
| 2 | Top plates and partition-wall seams at attic floor | Very high | Medium | Low | Continuous leakage paths across many rooms |
| 3 | Plumbing and wiring penetrations through attic floor | High | Low | Low | Common, numerous, easy to miss under insulation |
| 4 | Attic hatch or pull-down stair opening | High | Low | Low | Large opening in the pressure boundary |
| 5 | Duct boots and register cutouts at attic floor | High | Medium | Low | Leakage at supply and return connections |
| 6 | Recessed lights and electrical boxes at attic plane | High | Medium | High | Frequent leak points with fixture-rating limits |
| 7 | Chimney and flue chases | High | Medium | High | Often large, but fire-clearance rules control materials |
| 8 | Bath fan housings and fan duct penetrations | Medium-high | Medium | Medium | Common source of moist interior air into attic |
| 9 | Rim joists and band joists | High | Medium | Low | Major low-level leakage and conductive loss |
| 10 | Sill plate and foundation service penetrations | Medium-high | Medium | Low | Air entry point that feeds whole-house pressure flow |
| 11 | Duct joints outside conditioned space | Medium-high | Medium | Low | Energy loss plus comfort problems in served rooms |
| 12 | Window and door perimeter leaks, outlets, switches | Medium to low | Low | Low | Worth doing, but usually after larger bypasses |
Companion table: match each target to the right material
| Target | Best material or method | Use when | Common mistakes to avoid |
|---|---|---|---|
| Open chases and soffits | Rigid air-barrier patch sealed with foam or caulk | Opening is too large for foam alone | Foaming across a large hole with no backing |
| Top plates | Caulk or one-part foam | Narrow seams and repeated framing joints | Skipping partition walls under old insulation |
| Wire and pipe penetrations | Caulk for small gaps, one-part foam for larger irregular gaps | Standard attic-floor penetrations | Using too much foam where trim-out is needed later |
| Attic hatch | Weatherstripping plus rigid foam insulation on hatch | Movable access panel or pull-down stair cover | Insulating hatch without air gasket |
| Duct boots | Mastic at boot seams, foam or caulk at boot-to-drywall gap | Registers at ceilings or floors | Using cloth duct tape as the main seal |
| Recessed lights | Fixture-specific cover or approved air-barrier detail | Only where fixture rating and clearance allow | Foaming directly against non-IC fixtures |
| Chimney or flue chase | Sheet-metal flashing with fire-rated sealant where required | Heat-producing vent or chimney area | Using standard foam inside required clearances |
| Bath fan housing | Foam or caulk at housing seams; sealed duct connection | Fan vented outdoors | Leaving fan to dump into attic |
| Rim joists | Cut-and-cobble rigid foam with sealed edges, or spray foam | Basement rim bays and band boards | Adding fiberglass alone to an unsealed rim |
| Sill plate and service entries | Caulk, foam, or sealant matched to substrate and movement | Concrete-to-wood joints and penetrations | Ignoring moisture or bulk-water entry first |
| Duct joints | Mastic or UL-listed tape where permitted | Supply and return trunk seams, takeoffs, boots | Sealing insulation jacket but not metal joint below |
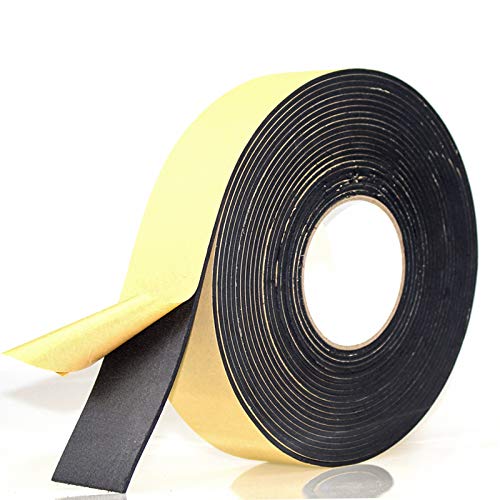
| Windows, doors, outlets | Backer rod and caulk, weatherstripping, foam gaskets | Finish-stage room leaks | Expanding foam that bows frames |
How to use the checklist before pricing insulation
- Walk the attic, basement, and crawlspace before shopping for insulation depth.
- Flag any item with high safety risk for professional review.
- Price sealing work for the top six to eight targets first.
- Only after that, choose insulation type and thickness by assembly and climate zone.
- Keep photos and invoices if rebates or tax credits may apply.
- 1. Open attic chases and dropped soffits: Highest payoff because they connect large wall or soffit cavities directly to the attic. Typical fix is a rigid blocking panel plus sealed edges. Do not try to bridge a wide opening with foam only; it wastes material and can fail.
- 2. Top plates and partition seams: Usually fast to seal once insulation is pulled back. Low material cost, repeated benefit across many rooms. Best pairing is caulk or one-part foam; common miss is skipping interior partition walls.
- 3. Plumbing and wiring penetrations: Usually low access difficulty and strong payoff because there are many of them. Use caulk for small annular gaps and foam for irregular openings. Avoid burying active leaks under new loose-fill.
- 4. Attic hatch or pull-down stairs: Big opening, easy access, clear comfort payoff near hallways and landings. Weatherstrip the lid and insulate the panel or add a code-clear cover box. Mistake to avoid: adding foam board without an air gasket.
- 5. Duct boots and register cutouts: Good payoff where attic supply or return boots leak at drywall. Seal the metal-to-metal joint with mastic and the boot-to-ceiling gap with foam or caulk. Do not rely on cloth duct tape.
- 6. Recessed lights and electrical boxes: Strong payoff, but safety screening comes first. Non-IC-rated fixtures cannot be buried or foamed against unless replaced or detailed with an approved enclosure per listing and code. When in doubt, stop and call an electrician or qualified insulation contractor.
- 7. Chimney and flue chases: Often large leaks, but also a hard safety boundary. Use sheet metal and fire-rated sealant where required, and maintain code-required clearance to vents and chimneys. Never use standard spray foam inside required clearance zones.[4]
- 8. Bath fan housings and duct penetrations: High moisture-risk item. Seal the housing to the ceiling plane and make sure the duct terminates outdoors, not into the attic. Common mistake: sealing the housing but leaving a disconnected flex duct above it.
- 9. Rim joists and band joists: Strong heating-season payoff and often visible from the basement. Best material pairings are sealed rigid foam or spray foam. Fiberglass alone is a common miss because it does not stop airflow.
- 10. Sill plate and foundation service penetrations: Medium payoff individually, strong payoff together because they feed stack-effect replacement air. Seal only after checking for bulk-water entry first; wet basements need moisture corrections before encapsulating leaks.
- 11. Duct joints outside conditioned space: Good payoff in attics, garages, crawlspaces, and unconditioned basements. Seal the actual duct seams, takeoffs, and plenums first, then insulate. Common mistake: taping or wrapping the jacket while the metal joint underneath still leaks.
- 12. Window and door perimeters, outlets, and switches: Usually lower whole-house payoff but still worth finishing. Use backer rod and caulk at trim gaps, weatherstripping at operable sashes and doors, and gaskets behind plates. Avoid high-expansion foam that can bow frames.
Do you need a blower door test before sealing and insulating?
A blower door test is not mandatory for every job, but it is often worth it for attic upgrades, whole-home projects, comfort complaints, or rebate programs. It measures leakage and helps find hidden bypasses, turning a guess-based scope into a ranked work plan. ENERGY STAR and many utility programs use testing or inspection to verify air-sealing improvements.[2][5]
What a blower door test measures
The test depressurizes or pressurizes the house with a calibrated fan. That makes leakage easier to find at attic bypasses, rim joists, duct boots, window frames, and other seams. It does two useful things for homeowners: it shows where air is moving, and it gives a before-and-after measure of how much the enclosure improved.
On real inspection scopes, the test most often changes priorities when one hidden chase, return plenum opening, or rim-joist line leaks far more than the visible finish gaps the owner notices every day.
When diagnostics are worth the cost
Consider testing when the scope is larger than simple weatherstripping, when rooms are hard to heat or cool, when contractors disagree about priorities, or when an incentive program asks for measured performance.
It is especially helpful before deep attic work because the attic floor often has many small leaks plus a few very large ones.
How testing can change the work scope
Suppose a contractor plans a straightforward attic top-up, but testing points to major leakage at the rim joist and a return duct chase open to the attic. The scope should shift. Seal the chase and rim area first, then revisit insulation quantities. That decision rule is practical: fix leakage paths that connect large volumes of air before paying for more R-value above them.
How do you choose the right sealants and insulation materials?
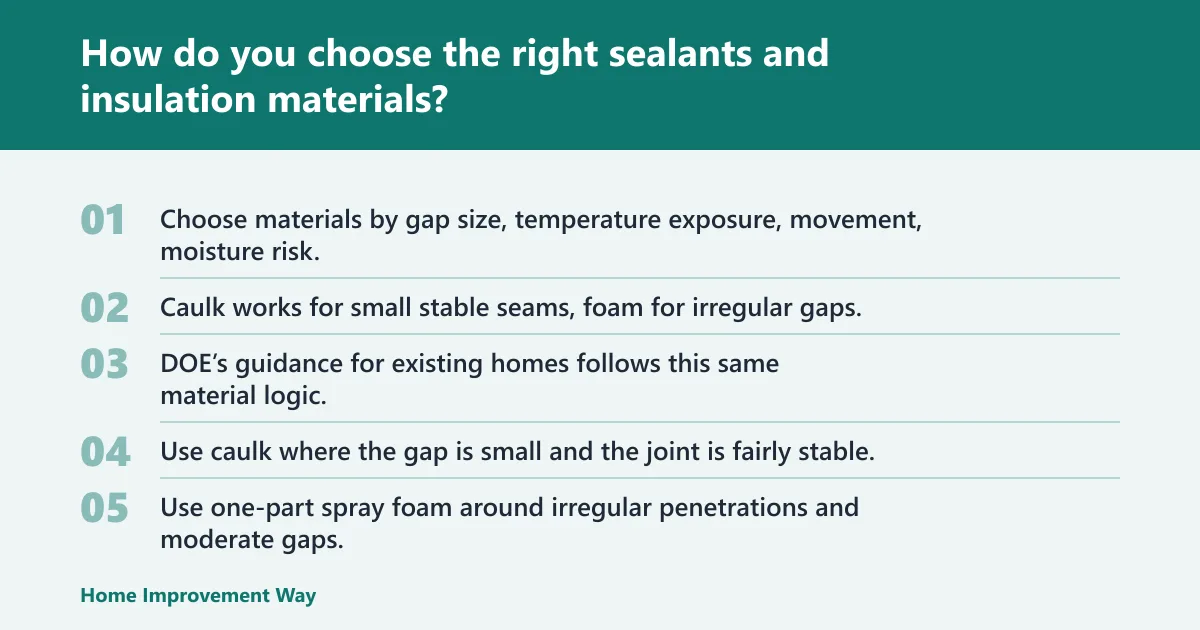
Choose materials by gap size, temperature exposure, movement, moisture risk, and whether the assembly needs air control, thermal control, or both. Caulk works for small stable seams, foam for irregular gaps, rigid patches for large openings, and fire-rated details where heat sources are involved. DOE’s guidance for existing homes follows this same material logic.[1]
Sealants and foams by gap size and location
Use caulk where the gap is small and the joint is fairly stable, such as top plate seams or trim-adjacent cracks. Use one-part spray foam around irregular penetrations and moderate gaps. Use rigid patches or site-built blocking for larger openings that need backing and shape control.
Use fire-rated sealants or sheet-metal blocking where required near chimneys, flues, and other hot components. Foam gaskets fit behind outlet and switch plates after the larger enclosure leaks are handled.
Insulation types by assembly
Fiberglass is common and affordable, but it does not air seal by itself. Cellulose is good for dense-packed walls and attic loose-fill, and it can slow air movement better than fiberglass, though it is still not a substitute for dedicated air sealing. Mineral wool handles heat and moisture exposure well in many assemblies but also needs an air-control layer.
Spray foam can insulate and air seal at once, depending on type and installation. Rigid foam board works well for cut-and-seal rim joists, foundation walls in many cases, and large patch areas. DOE’s insulation guidance and ENERGY STAR’s attic guidance both treat product choice as secondary to correct assembly detailing and full coverage.[3][2]
Most manufacturers list approximate R-value per inch on product labels, and that label should guide the depth calculation. Air-sealing performance varies more sharply by product category: fiberglass batts insulate, while sealed rigid foam or spray foam can also act as an air barrier when detailed correctly.
How to seal and insulate ductwork
Seal duct joints first, then insulate ducts that run outside conditioned space. Priority areas are attics, vented crawlspaces, garages, and unconditioned basements. Seal metal joints, takeoffs, boots, and plenums with mastic or another approved sealing product before wrapping or replacing insulation. ENERGY STAR and DOE both advise sealing ducts first because duct insulation alone does not stop leakage.[6][7]
Do not confuse the outer insulation jacket with an air seal. Leaky return ducts can pull dusty or humid air into the system, while leaky supply ducts can dump conditioned air into the attic or crawlspace.
For a related room-by-room loss approach, see room-by-room patching. For enclosure-adjacent work, pair this scope with attic air-sealing details, rim-joist insulation, and door frames weatherstripping only after the larger bypasses are handled.
Matching materials to specific gap sizes and locations
Choosing the right air-sealing material depends on the precise dimensions of the opening and the specific location within your home structure. For narrow cracks and joints, caulk remains the most effective and cost-efficient option, while low-expansion foam is typically reserved for gaps between 1/4 and 1/2 inch. Applying the wrong product can lead to wasted materials, persistent leaks, or damaged finishes once insulation is installed.
Before adding insulation, you must seal these leaks to prevent moist air from reaching the insulation layers. Our guide on best air sealing materials maps common gap sizes to the appropriate products, ensuring you select the correct sealant for doors, windows, and structural seams.
How much insulation do you need for your climate and assembly?
You need enough insulation to meet the climate zone, local code, and the assembly you are insulating. For attics, DOE and ENERGY STAR commonly point homeowners to levels that often land in the R-38 to R-60 range depending on climate and existing conditions, while walls, basements, and crawlspaces vary more by framing depth, foundation type, moisture risk, and interior finish conditions.[3][2]
Attic R-value targets and climate
Attics often receive the highest R-value targets because they are broad horizontal areas with strong stack-effect pressures. DOE’s insulation recommendations for existing homes commonly place attic targets in the R-38 to R-60 range depending on climate zone and insulation location.[3] Program rules can also set minimums. Focus on Energy requires improved attic insulation of R-42 or greater for one of its DIY attic insulation and air sealing rebate paths.[5]
That does not mean every attic should stop at the same number. Local code, climate zone, and existing conditions still set the real target. Where adopted code is the controlling standard, verify the required assembly values under the local edition of the IECC or IRC energy chapter.[8]
Walls, basement walls, and crawlspaces
Walls are usually limited by cavity depth unless exterior insulation is added. Basements and crawlspaces depend on whether the assembly is vented or unvented, where the thermal boundary sits, and whether moisture management is already under control. DOE’s climate guidance and code tables are the safest starting point for these assemblies.[3][8]
For finished walls, drill-and-fill options such as dense-pack cellulose can work well where cavities are accessible and dry. They are a way to improve existing homes, not a cure for missing top-plate or attic-floor air sealing.
Depth, coverage, and settling
Installed performance depends on full coverage, proper density, and avoiding compression or wind washing. Product bags and spec sheets translate target R-value into installed depth or bag count. Follow those directions rather than guessing by visual thickness alone. ENERGY STAR also notes that keeping ventilation baffles clear at eaves is essential when adding attic insulation.[2]
If an attic is vented, preserve soffit intake and ventilation channels with baffles where needed. Do not bury the vent path under loose-fill.
What safety and durability checks come before closing up the enclosure?
Combustion safety, attic ventilation, moisture conditions, and hidden hazards must be checked before major air sealing or attic insulation work. Fuel-burning equipment, flues, fireplaces, vermiculite, asbestos-containing materials, knob-and-tube wiring, and wet assemblies can all change the scope or require a professional instead of DIY work. This is the point where a generic checklist stops and a site-specific safety review starts.
Combustion safety near heat sources
Combustion safety comes first. If the home has atmospherically vented appliances, fireplaces, or vent connectors passing through the enclosure, sealing can affect draft and pressure balance. DOE and weatherization guidance both treat combustion safety as a prerequisite to tightening a house, and clearance rules around vents and chimneys come from code and the appliance listing.[1][4]
That is why sealing around flues and combustion appliances is not a casual foam job. Required clearances, approved materials, and equipment testing matter for indoor safety and code compliance.
Safety boundary: Do not seal, box, or insulate against metal vents, masonry chimneys, or appliance flues unless the detail matches the applicable code clearance and the venting system listing. If a furnace, boiler, or water heater is naturally drafted, have combustion safety and draft checked when significant air sealing is planned.
Attic ventilation and moisture control
If the roof assembly relies on soffit-to-ridge or soffit-to-gable airflow, keep that path open after air sealing the attic floor. Air sealing the ceiling plane is different from blocking attic ventilation. ENERGY STAR’s attic guidance specifically calls for keeping soffit vents clear and using baffles where needed.[2]
Baffles maintain the intake channel above exterior walls so loose-fill insulation does not plug soffit vents. That small detail often decides whether the upgrade stays dry and durable.
Stop-and-call-a-pro conditions
Stop the DIY plan if you find vermiculite insulation, suspected asbestos-containing materials, active roof leaks, moldy sheathing, damaged wiring, knob-and-tube circuits, or inaccessible bypasses around combustion equipment. Those conditions need diagnosis before more insulation goes in.
Wiring boundary: Do not bury unsafe wiring conditions under insulation. Knob-and-tube wiring, overheated splices, open junction boxes, abandoned conductors, and uncertain recessed-light ratings all need electrician review before air sealing or insulating over them. Recessed fixtures must be treated according to their listing and required insulation clearance.
What does insulation and air sealing cost, and what rebates apply?
Costs vary by house size, access, region, materials, and whether diagnostics or contractor-led safety work are needed. Low-cost spot sealing is very different from a full attic upgrade or whole-home project, so compare bids by scope: what leaks get sealed, what insulation gets added, and what testing is included. The useful comparison is not just price; it is whether the proposal reaches the highest-payoff leakage sites before adding insulation.
Cost scopes that make sense for homeowners
Think in three buckets. First is spot sealing: hatch weatherstripping, a few penetrations, outlet gaskets, or a small rim-joist section. Second is an attic-focused upgrade: air sealing the attic floor, improving ventilation details, then adding loose-fill or batts. Third is whole-home work: diagnostics, attic and foundation air sealing, duct sealing, and insulation across several assemblies.
Prices swing widely, so the useful comparison is the work sequence, not a national average. A bid that skips attic-floor air sealing, leaves duct boots open, or ignores rim-joist leakage can underperform even if the insulation depth looks impressive on paper.
Rebates, tax credits, and utility incentives
Programs often reward combined work rather than insulation alone. Focus on Energy offers a DIY attic insulation and air sealing rebate, and its posted requirements include combined air sealing plus insulation, minimum attic area, and a post-upgrade attic insulation level of at least R-42 for that path.[5] Federal tax incentives for qualifying envelope improvements may also apply, but eligibility, caps, and product requirements should be verified against current IRS and ENERGY STAR guidance before purchase.[9]
That example shows how program rules shape the project. A homeowner who only adds insulation, or who cannot document the air sealing step, may miss the incentive even if the attic looks improved.
Eligibility checklist homeowners can use
- Check whether the program requires an audit, blower door test, or contractor participation.
- Confirm the eligible assembly: attic, wall, basement, crawlspace, or duct sealing.
- Verify minimum area or performance thresholds.
- Keep itemized invoices, product labels, photos, and before-and-after scope notes.
- Confirm whether air sealing and insulation must be done together.
- Ask whether measured leakage reduction changes rebate value.
Frequently asked questions
What is insulation and air sealing?
Air sealing closes gaps, seams, and penetrations that let air move through the enclosure. Insulation slows heat flow through roofs, walls, floors, and foundations. They work together, but they are not the same job: one controls airflow, the other controls thermal resistance.[1][3]
Can you insulate without air sealing first?
Yes, but it is often a poor sequence in attics, rim joists, and other bypass-heavy areas. Installing insulation over open leaks can hide access points, reduce the benefit of added R-value, and leave moisture and draft problems in place after the upgrade. ENERGY STAR’s attic sequence is to seal first, then insulate.[2]
How much insulation do you need in an attic for your climate?
Attic needs depend on climate zone, local code, and existing insulation depth. DOE’s recommendations for existing homes commonly put attic levels in the R-38 to R-60 range depending on climate and insulation location, but utility programs can set their own thresholds, such as Focus on Energy’s R-42 minimum for its listed DIY attic rebate path.[3][5] Use the attic assembly, ventilation setup, and product label depth chart to set the final number.
What R-value do you need for walls, attic, and basement?
There is no one-size-fits-all answer. Attics often need the highest R-values, walls are limited by framing depth unless exterior insulation is added, and basements depend on wall type and moisture control. Local code, climate zone, and assembly details should set the target, using DOE guidance and the locally adopted IECC/IRC tables where applicable.[3][8]
How to seal and insulate ductwork?
Seal duct joints, seams, boots, and plenums first with mastic or another approved product, then insulate ducts that run outside conditioned space. Ducts in attics, garages, crawlspaces, and unconditioned basements deserve priority because leakage there wastes delivered heating and cooling. ENERGY STAR and DOE both recommend sealing first, then insulating.[6][7]
Are there insulation and air sealing rebates or tax credits?
Often, yes, but eligibility is program-specific. Many programs require both air sealing and insulation together, plus documentation such as invoices, product details, and sometimes testing or contractor participation. Check area minimums, R-value thresholds, and whether the work must be done in a listed assembly. For current examples, review Focus on Energy’s posted rebate rules and current federal guidance for home energy credits.[5][9]
Sources
- U.S. Department of Energy — Air Sealing Your Home
- ENERGY STAR — Attic Air Sealing Project
- U.S. Department of Energy — Insulation
- International Residential Code — Chimneys and Fireplaces
- Focus on Energy — DIY Attic Insulation and Air Sealing
- ENERGY STAR — Duct Sealing
- U.S. Department of Energy — Ducts
- International Energy Conservation Code — Residential Energy Efficiency
- ENERGY STAR — Federal Tax Credits for Insulation and Air Sealing
Sponsored / affiliate links. As an Amazon Associate I earn from qualifying purchases. I may earn additional commission from eligible campaigns.