What Caulk Works Best in Freezing Temperatures?
For freezing conditions, use a cold-weather acrylic latex caulk rated for at least about 35°F for paintable interior or exterior trim, or use a 100% silicone or polyurethane sealant when the joint moves or stays wet; check the tube’s minimum application temperature, not just the air temperature. Poor adhesion leaves openings, lets drafts return, and can peel or crack before winter ends. Use the product that matches cold surfaces, moving joints, and paintable repairs.
This guide is part of our Winter Weatherproofing: How to Draft-Proof Your Home series.
What freezing temperatures change


Air temperature and surface temperature are not the same. A wall or trim board can stay colder than the air after a clear night, and that colder surface can slow wetting, weaken bond formation, and make the bead skin over unevenly. If the surface is at or below the label’s minimum, the product can fail even when the thermometer in the air looks acceptable.
When temperatures drop after application, the sealant may skin over first and then stop curing below the skin. That can leave a soft core, poor edge adhesion, or a bead that cracks when the joint moves. Overnight freeze risk matters most on exterior work, because a warm afternoon can turn into a hard freeze before full cure.
Why cold substrates reduce adhesion
Cold, dusty, or frosted surfaces do not let the sealant wet the joint walls well. Wetting matters because the bond starts at the interface, not in the center of the bead. If the caulk cannot grab both sides before the surface cools further, the edge may lift, especially on painted wood, masonry, and vinyl trim.
What happens when temperatures fall after application
Cold air slows the chemical reaction that forms the cured bead. Humidity also matters: some products cure with moisture, so dry winter air can slow them further, while very damp surfaces can cause a bad bond. If the temperature drops below freezing before the sealant sets, the bead may crack, lose adhesion, or fail to cure through.
Best caulk types for winter sealing
The best winter caulk depends on movement, water exposure, and whether the repair must be painted. For flexible exterior joints, silicone usually wins. For paintable exterior repairs, polyurethane is often the stronger choice. For trim and small interior gaps, cold-weather acrylic latex is often the most practical option if the label allows the site temperature.
Silicone for flexible, weather-exposed joints
100% silicone is commonly reported to stay flexible over a broad temperature range and to resist water well. That makes it a strong fit for exterior joints that see rain, freeze-thaw cycles, or repeated movement, such as around siding details or some metal trim. The tradeoff is paintability: most standard silicone cannot be painted cleanly or reliably.
Polyurethane for strong bond and paintable exterior repairs
Polyurethane caulk bonds strongly to many common building materials and accepts paint better than silicone. It works well on exterior repairs where movement and weather both matter, including wood trim and some masonry joints. Cure time is usually slower in cold weather, so overnight freeze risk and label limits matter more with this type.
Latex acrylic for easier cleanup and trim work
Latex acrylic caulk is easier to clean up, and most versions paint well after cure. It is useful for interior trim and some exterior touchups when the label allows the temperature and the joint is not highly exposed to water or large movement. Its weak point is low-temperature performance, especially on cold-soaked surfaces.
Low-temperature formulas and where they fit
Cold-weather caulk usually means a formula that can be applied at a lower label temperature than standard versions and can tolerate some freeze exposure during curing. That does not make it universal. Use it when the joint is dry, the movement is modest, and the manufacturer lists a minimum application temperature that matches the job site.
Winter caulk decision table
This table matches common winter sealing jobs to the caulk type that fits the site conditions best. The key questions are whether the joint moves, whether the repair must be painted, and whether the surface can stay dry and above the product’s minimum application temperature long enough to cure.
| Winter sealing scenario | Best caulk type | Minimum application temperature | Paintable? | Flexibility | Cure risk in cold | Must be bone-dry? |
|---|---|---|---|---|---|---|
| Window trim | Cold-weather acrylic latex or paintable polyurethane | About 35°F or the tube label, whichever is higher | Yes | Moderate | Medium; overnight freeze can slow cure | Yes |
| Door casing | Cold-weather acrylic latex for paintable gaps; polyurethane for larger movement | About 35°F or label minimum | Yes | Moderate to high | Medium | Yes |
| Siding gaps | 100% silicone or exterior polyurethane | Check label; many products need at least 40°F surface temperature | Usually no for silicone; often yes for polyurethane | High | Medium to high if freeze hits before set | Yes |
| Masonry joints | Polyurethane or exterior-grade silicone | Check label; substrate temperature matters most | Polyurethane usually yes; silicone usually no | High | High on damp, cold stone or brick | Yes |
| Interior cold spots | Cold-weather acrylic latex | About 35°F for the joint area | Yes | Low to moderate | Low if the room stays above freezing | Usually yes |
Say your window trim is 38°F by an infrared reading, but the wood face still feels icy from an overnight freeze. The tube may say 35°F minimum, yet the colder substrate can still cause weak edge adhesion. In that case, warming the room side, waiting for sun, or postponing the repair can matter more than the air reading.
Can you caulk below freezing?
Sometimes, but only if the label allows it and the joint surfaces stay within the listed minimum application temperature. Below-freezing air does not automatically rule out caulking, but below-freezing substrate temperature often does. If the tube says 35°F minimum and the surface is 30°F, the safer call is to wait.
Manufacturer label limits
Most manufacturers list a minimum application temperature on the tube or data sheet. That is the number to trust, because it reflects how the product flows, wets the joint, and begins curing. Do not assume a cold-weather formula can be used at any subfreezing temperature just because it says “winter” on the package.
When overnight freeze risk matters
If the forecast calls for a hard freeze before the bead reaches at least a firm skin, the risk goes up. A joint that looks fine at dusk can fail by morning if the sealant never got enough time or warmth to grab the edges. That matters most on exterior trim and siding where movement is common.
When to wait for warmer conditions
Wait if the joint is below the label minimum, if frost or condensation keeps returning, or if the repair needs paint the same day. Also wait if the gap is large and moves a lot. Those jobs need a stable bond, and winter cold works against that at every step.
How to prep cold surfaces
Good prep matters more in winter than in mild weather. Remove frost, ice, and condensation first, because sealant does not bond to a wet film. Then strip loose old caulk, clean dust and chalky residue, and make sure the joint is dry enough for the new bead to contact both sides.
- Scrape out loose or failed caulk from the joint.
- Brush or wipe away dirt, dust, and chalky residue.
- Remove frost, ice, and visible condensation.
- Let the surface dry fully before application.
- Warm the tube to near room temperature if allowed by the label.
- Load the tube into a caulk gun and trim the nozzle for the joint width.
- Apply a steady bead and tool it immediately.
Warm the tube and caulk gun without overheating
Cold cartridges flow poorly and can cause a broken bead. Warming the standard 10 oz tube in a warm room or inside a jacket pocket for a short time can improve flow control and bead consistency. Keep it warm, not hot. Do not overheat the product, because that can change viscosity and make tooling harder.
How winter cure time changes
Sealant cure time has two parts: skin-over time and full cure time. Skin-over is when the surface stops feeling tacky, while full cure is when the bead reaches its intended strength through the whole joint. Cold temperatures slow both, and low humidity can slow them further, especially for moisture-cure products.
Skin-over time in cold air
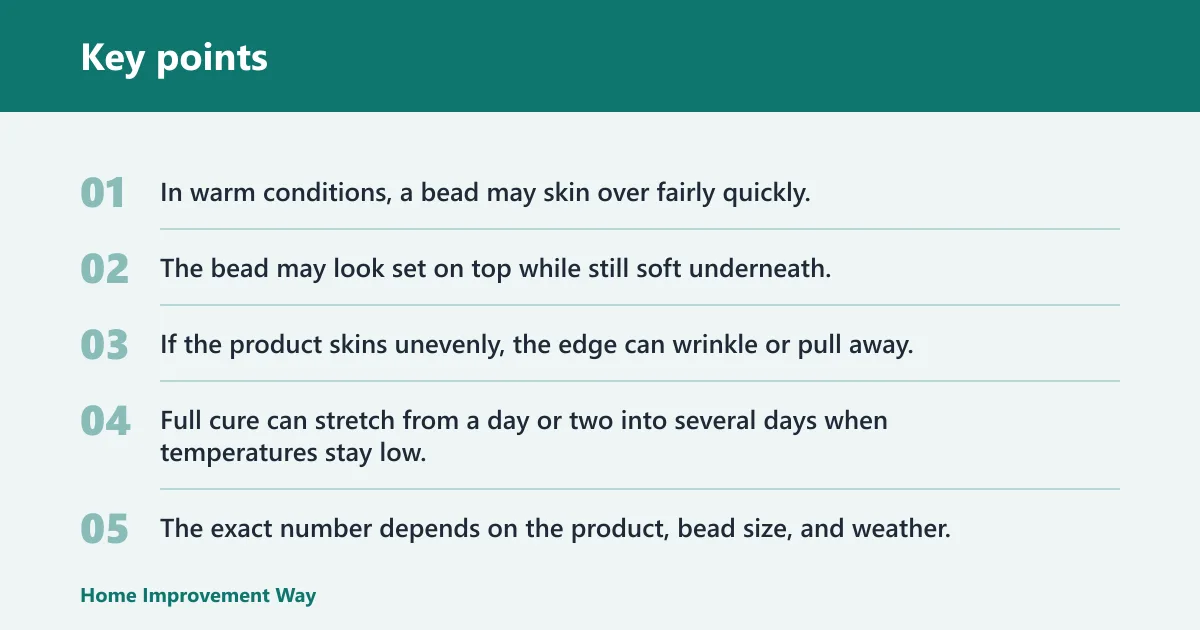
In warm conditions, a bead may skin over fairly quickly. In cold weather, that can take much longer. The bead may look set on top while still soft underneath, so do not touch up or paint too early. If the product skins unevenly, the edge can wrinkle or pull away.
Full cure time in low temperatures
Full cure can stretch from a day or two into several days when temperatures stay low. The exact number depends on the product, bead size, and weather. A thicker bead takes longer than a thin one, and a cold joint can stay vulnerable even after it looks dry.
How humidity changes cure speed
Some sealants need moisture in the air to cure well, while very dry winter air slows them. Others are less dependent on humidity but still lose speed in the cold. That is why a dry, warmish afternoon often beats a dry, freezing morning, even when the air feels manageable.
When paint is safe to apply
Paint only after the bead has cured enough for the coating to stick without cracking or wrinkling. The tube may list a paint window, and winter conditions can extend it. If the surface stays cold overnight, wait longer than the warm-weather estimate, especially with latex acrylic or polyurethane that still feels soft.
Suppose a homeowner wants to seal a 1/8-inch gap at a door casing on a 28°F morning. The room side is warm, but the trim still feels cold to the touch. In that case, a paintable cold-weather acrylic latex may work only if the label allows the temperature and the joint can stay dry; otherwise, waiting for a warmer afternoon is the safer move.
When should you wait to caulk?
Wait when the joint is frozen, damp, or coated with frost. Wait when the gap is moving too much for the chosen product. Wait when the material must stay above the label minimum for curing and the forecast will not cooperate. A quick repair is not worth a failed bead that opens again in a week.
Frozen or damp joints
Do not caulk over frost, ice, or visible moisture. The sealant may look attached at first, but the bond can fail as the ice melts or the damp surface shifts. That is one of the most common winter failure points on exterior trim and masonry.
Large moving gaps
Big gaps need more than a cold-weather bead. If the joint is wide, opening, or tied to swollen wood or active movement, the caulk may crack no matter how good the product is. Fix the underlying issue first, then seal the joint after the material stabilizes.
Materials that cannot stay above freezing
Some jobs cool off too fast to cure well, such as shaded exterior joints on a windy day. If the surface is likely to drop below freezing before the sealant sets, wait for a warmer window. That advice applies even to products labeled for cold weather.
Jobs that need immediate paint
If the repair must be painted the same day, winter can create trouble. Paintable products still need cure time, and cold slows that down. A label may say paint in hours, but cold air and cold substrate can stretch that to much longer.
Frequently asked questions
What caulk works best in freezing temperatures?
For freeze-prone exterior joints, 100% silicone or polyurethane usually performs best because both handle movement and weather well. If the repair must be painted, choose a cold-weather acrylic latex or a paintable polyurethane, but only if the label’s minimum application temperature matches the job site.
Can you apply caulk when it’s below freezing outside?
Sometimes, but only if the sealant label allows it and the surface temperature is within range. Below-freezing air is less important than a frozen substrate. If the surface is icy, frosty, or below the product’s minimum, wait for warmer conditions.
What is the coldest temperature you can caulk in?
The coldest safe temperature is the one on the tube, not a single universal number. Many cold-weather products list a minimum around 35°F to 40°F for application, but some differ. The surface temperature matters most, and below-freezing surfaces often create cure and adhesion problems.
Should I use silicone or acrylic caulk in winter?
Use silicone for exterior joints that move or stay wet. Use acrylic latex for paintable trim and smaller interior gaps when the label supports the temperature. Acrylic is easier to clean up, but it has limited low-temperature performance, so do not count on it for cold, weather-exposed joints.
Does caulk need the temperature to stay above freezing to cure?
It does not always need to stay above freezing the entire time, but cure slows sharply as temperatures drop. If the bead freezes before it skins or before enough cure has started, adhesion can fail. For exterior winter work, a stable temperature above the label minimum is far safer.
How long does cold-weather caulk take to cure?
Cold-weather caulk usually skins over more slowly and can take much longer to fully cure than it would in mild weather. Exact times depend on the product, bead size, temperature, and humidity. Check the label, then add extra time if the joint stays cold or the air is very dry.
Sponsored / affiliate links. As an Amazon Associate I earn from qualifying purchases. I may earn additional commission from eligible campaigns.