How to Insulate an Attic Door: Best Fixes by Access Type
Insulate an attic door by matching the fix to the access type: use a gasketed, insulated cover for ceiling hatches, an insulated stair tent or box for pull-down stairs, and weather-stripping plus rigid foam on knee-wall doors; seal gaps before adding insulation. DOE/Energy Saver and EPA ENERGY STAR both emphasize air sealing first because uncontrolled leaks can move warm, moist air into the attic and undermine insulation performance. This guide shows which method fits each access point and the failure points that make DIY covers leak.
What you’ll need



Materials
- Rigid foam board
- Fiberglass batt insulation
- Weather-stripping
- Caulk
- Silicone sealant
- Non-expanding spray foam
- Tape measure
- Utility knife
- Straightedge
- Handheld staple gun with 3/8″ or 1/2″ staples
- Fasteners for the cover or trim
Answer
Start with the opening type, then decide whether you need weather-stripping alone, a DIY insulated cover, or a purpose-built attic access cover. DOE’s attic guidance and Building America recommendations both point to the same sequence: seal the air path first, then match the insulation level to the rest of the attic. The right fix depends on opening size, gap size, and how often the access needs to move. As a practical target, make the cover as thick as the opening allows without stopping it from latching, and build up the insulation only until it closes cleanly. For example, a shallow hatch usually works best with a rigid foam core plus a thin layer of batt insulation where it does not get crushed.
Steps
- Measure the opening, the gap around it, and the insulation depth above the hatch or stair frame.
- Choose the method by access type: hatch, pull-down stairs, knee wall door, or ceiling trap door.
- Seal the frame first with weather-stripping, caulk, or silicone where the gap is small and continuous.
- Build or fit an insulated cover that stays slightly smaller than the rough opening so it can seat fully.
- Match the cover’s R-value to the surrounding attic insulation as closely as practical, following DOE/Energy Saver and manufacturer guidance for the foam or batt product used.
- Check that the cover does not block attic ventilation or prevent the door from opening and closing safely.
Attic access types and the best fix
Hatch and ceiling trap door openings usually do best with a sealed cover or an insulated panel that sits tight to the frame. Pull-down stairs need a larger insulated enclosure because the cover must clear moving parts. Knee wall doors often need less work if the door already has a gasket and some insulation. In practical terms, small openings are the ones that can usually be handled with a simple gasketed panel, while larger openings often need a box-style enclosure or a manufactured cover so the moving parts still have room.
For a ceiling hatch with small edge leakage, a gasketed panel is usually enough. For pull-down stairs with a warped frame, a larger cover box with careful perimeter sealing is the safer choice. Energy Saver guidance favors the same approach: stop air movement at the opening before adding more insulation.
Attic cover decision matrix
Use this table to pick the method before you buy materials. The best choice depends on opening size, gap size, how often you use the access, and whether the door needs to move freely after the cover is added.
| Access type | Typical opening size | Gap size | Access frequency | Material stack | Best sealing method |
|---|---|---|---|---|---|
| Ceiling hatch | Small to medium | Up to 1/4 inch at the frame | Occasional | Rigid foam board or fiberglass batt on a cover | Weather-stripping plus silicone caulk at the frame |
| Pull-down stairs | Large | Often more than 1/4 inch at corners | Frequent | Insulated cover box with foam and sealed seams | Caulk for small gaps, non-expanding foam for larger gaps |
| Knee wall door | Small to medium | Usually modest if framed well | Occasional to frequent | Existing insulation or added foam board | Weather-stripping at the perimeter, gasket if missing |
| Ceiling trap door | Small | Usually small unless the frame is warped | Rare | Rigid foam board with batt insulation | Continuous seal to the framing and tight corner treatment |
Failure modes to check first
- Fiberglass that has been compressed flat and no longer matches the intended R-value
- Corners that look insulated but still leak air because the seal stops short
- Warped frames that leave one side open even after new weather-stripping
- Oversized gaps that are too wide for weather-stripping alone
- Cover boxes that block the stairs or prevent the door from latching
How do you insulate an attic hatch?
Answer: use weather-stripping
Use weather-stripping at the frame, then add a rigid foam or fiberglass-covered panel that sits tight to the opening. For a hatch, the goal is a continuous air seal first and insulation second. DOE/Energy Saver recommends sealing the attic access opening as part of whole-attic air sealing, because a loose panel can leak even when it looks insulated.
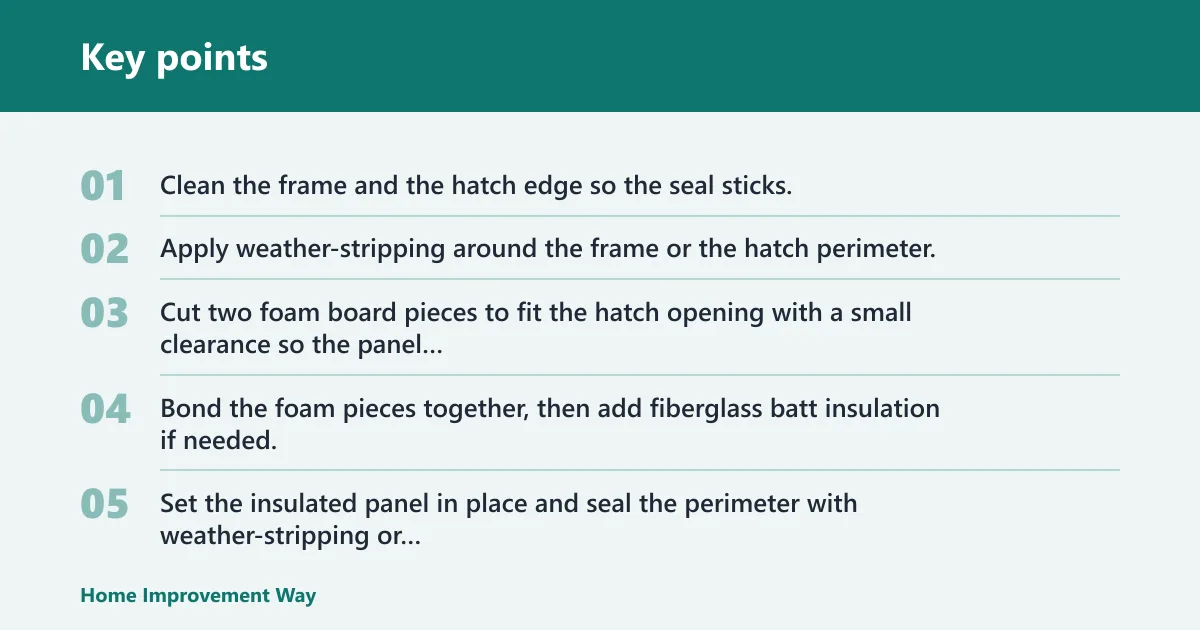
Steps: clean the frame
- Clean the frame and the hatch edge so the seal sticks.
- Apply weather-stripping around the frame or the hatch perimeter.
- Cut two foam board pieces to fit the hatch opening with a small clearance so the panel can seat fully.
- Bond the foam pieces together, then add fiberglass batt insulation if needed.
- Set the insulated panel in place and seal the perimeter with weather-stripping or compressible gasket material where the panel meets the frame.
- Recheck the latch so the hatch still closes without pushing the panel out of position.
Rigid foam or fiberglass?
Rigid foam is the better choice when the hatch needs a thinner, more stable cover with a cleaner air seal. Fiberglass batt insulation is simpler and can work on a cover, but it should not be over-compressed. Manufacturer guidance for rigid foam and fiberglass batt products generally stresses preserving thickness and avoiding compression, since crushed insulation performs below its labeled value.
A common mistake is stuffing batt insulation into a tight hatch and forcing the door shut. That often leaves the corners open. A better approach is a thin foam board core with batt insulation attached only where it still has loft.
Failure points
The most common weak spots are the perimeter seal, the corners, and the latch edge. If any one of those areas leaks, the hatch can still pull air even when the center is insulated. Building America guidance on attic bypasses treats these edges as part of the air barrier, not just the insulation layer.
How do you seal pull-down stairs?
Answer: pull-down stairs need more
Pull-down stairs need more than a simple hatch seal because the opening is larger and the moving parts need clearance. Use a larger insulated cover box or stair tent style enclosure, then seal the frame with caulk and foam where the gaps call for it. ENERGY STAR and DOE both note that bigger attic accesses should be sealed and insulated without interfering with safe movement.
Steps: check the frame
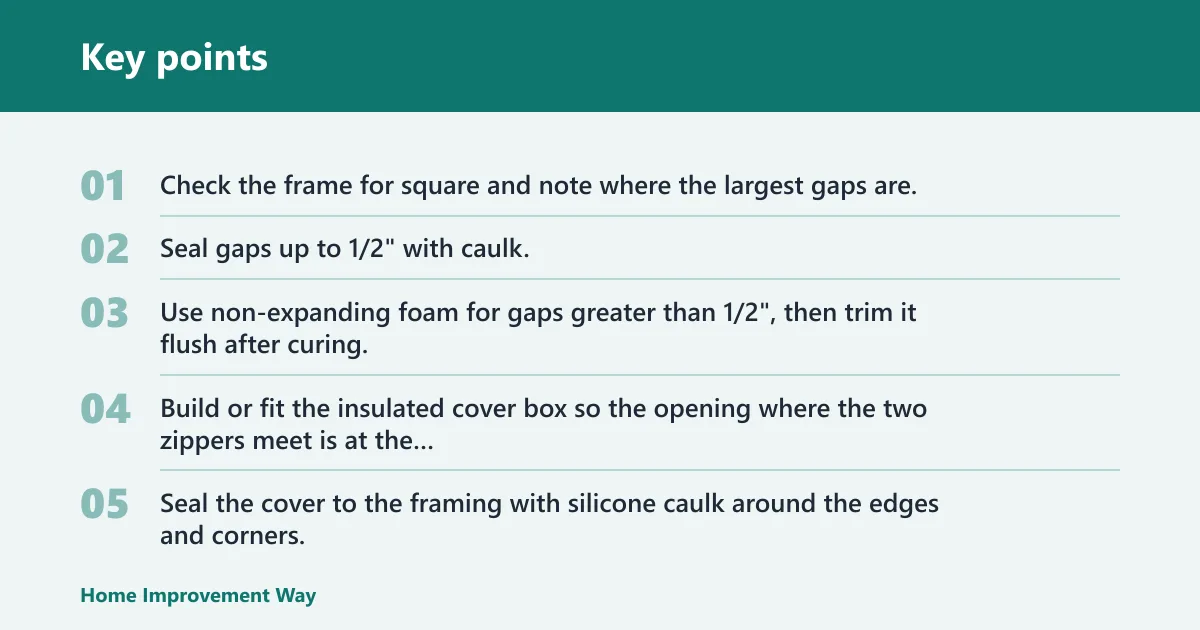
- Check the frame for square and note where the largest gaps are.
- Seal gaps up to 1/2″ with caulk.
- Use non-expanding foam for gaps greater than 1/2″, then trim it flush after curing.
- Build or fit the insulated cover box so the opening where the two zippers meet is at the top of the attic stairs.
- Seal the cover to the framing with silicone caulk around the edges and corners.
- Confirm the stairs open, extend, and fold without scraping the cover.
When a manufactured cover makes more sense
If the opening is large, the frame is uneven, or the stairs are used often, a purpose-built attic access cover is usually the cleaner option. Some products are designed to be installed quickly, but published installation guidance varies by brand. For example, installation instructions from cover manufacturers typically direct the installer to place the unit into the rough opening, fasten it to framing, and seal the perimeter so the assembly acts as one air barrier.
For product-specific details, follow the manufacturer’s instructions for fastener spacing, gasket placement, and any foam or sealant callouts. That reduces guesswork and helps avoid a cover that binds, leaks, or blocks the stair path.
Failure points: common failures include zipper
Common failures include zipper or closure areas that sit too low, a cover box that is too tight around the stair frame, and corners left unsealed after installation. The best-performing stair covers are the ones that preserve clearance while keeping the perimeter continuous.
How do you insulate a knee wall door?
Answer: knee wall doors are often
Knee wall doors are often easier to fix than attic hatches because they may already have insulation and weather-stripping. If those are missing, add them. If the door is under-insulated, use foam board or fiberglass batt insulation without creating a bulky panel that keeps the door from closing flat.
Steps: open the door and inspect
- Open the door and inspect the perimeter for missing gasket material.
- Replace worn weather-stripping or add it to the stop where the door closes.
- Attach rigid foam board to the back of the door if extra insulation is needed.
- Add fiberglass batt insulation only where the door can still close without compression.
- Seal any visible frame gaps with caulk or silicone sealant.
Watch the attic ventilation
Do not block soffit, ridge, or other planned attic ventilation with the new cover or added insulation. The opening itself needs to be sealed, but the attic still needs its designed airflow path. Keep the insulation on the door or cover, not in the vent path, and follow the attic ventilation layout already built into the roof system.
Failure points: knee wall doors fail most
Knee wall doors fail most often at the perimeter stop, especially when the door frame is out of square or the existing gasket is missing. If the added insulation is too thick, the door may bow before it seals. The fix is a flatter build-up, not more compression.
Common mistakes
Most problems come from treating the opening like a thin lid instead of a leak-prone assembly. A good hatch can still underperform if the corners leak, the frame is warped, or the insulation is over-compressed. Pull-down stairs are especially easy to seal badly because they need both clearance and an airtight edge.
- Using weather-stripping alone on gaps that are too wide or uneven
- Compressing fiberglass batt insulation until it loses loft
- Leaving corners unsealed because the center looks tight
- Installing a cover box that interferes with safe stair movement
- Ignoring ventilation paths near the opening
If that didn’t work, try this next
- Remove the cover and inspect the frame for gaps, warp, and loose fasteners.
- Add continuous caulk at corners and edges where the seal breaks.
- Upgrade from weather-stripping alone to a rigid foam cover or a manufactured attic access cover.
- For pull-down stairs, add non-expanding foam only where the gap stays too wide for caulk.
- Recheck opening and closing clearance before reinstalling the final seal.
Think in layers. The first layer is the air seal. The second layer is insulation thickness and R-value. The third layer is fit. If any one of those fails, the cover can still leak. DOE, ENERGY STAR, and Building America all point to that same order of operations.
Frequently asked questions
What is the best way to insulate an attic access door?
The best method is a sealed cover matched to the access type. Use weather-stripping and a rigid foam panel for a simple hatch, a larger insulated enclosure for pull-down stairs, and gasketed insulation for a knee wall door. The cover’s R-value should be close to the surrounding attic insulation, using guidance from DOE/Energy Saver and the insulation manufacturer.
Should I use fiberglass or rigid foam on an attic door?
Rigid foam is usually the better base because it seals and insulates in a thinner package. Fiberglass batt insulation can work on a cover, but it should stay uncompressed. If the door is shallow or closes tightly, rigid foam is the safer starting point. Manufacturer literature for both materials emphasizes fit and retained thickness.
How do I stop heat loss through an attic access panel?
Seal the perimeter first, then insulate the panel itself. Use silicone caulk at continuous joints, weather-stripping at the frame, and a foam board or batt layer that fits without crushing. If the gap is large, add a manufactured cover or a box-style enclosure. DOE and ENERGY STAR both stress that air sealing is the first line of defense.
Can I build an insulated cover for an attic door?
Yes. Cut rigid foam board slightly smaller than the opening, attach insulation if needed, and seal the edges to the framing with caulk. For larger openings, such as pull-down stairs, build a cover box that still leaves enough room for safe access and latch movement. Follow the product instructions if you use a manufactured cover kit.
How do I insulate an attic ladder door?
Treat it like a pull-down stair opening. Seal gaps with caulk where possible, use non-expanding foam for larger gaps, and fit an insulated cover or stair tent that closes without binding. The opening needs to stay usable, so the best fix is the one that seals the air path without crowding the ladder hardware.
What materials do I need to insulate an attic hatch?
Gather weather-stripping, rigid foam board, fiberglass batt insulation, caulk, silicone sealant, and a tape measure. A utility knife, straightedge, and handheld staple gun with 3/8″ or 1/2″ staples help shape and secure the cover. Match the insulation thickness to the surrounding attic layer where possible, using the R-value guidance for the chosen product.
Sources
DOE/Energy Saver “Attic Insulation” and “Air Sealing Your Home” pages; EPA ENERGY STAR attic sealing guidance; U.S. DOE Building America Solution Center guidance on attic bypasses and attic access sealing; manufacturer installation instructions for rigid foam board, fiberglass batt insulation, attic access covers, and attic stair enclosures.
Sponsored / affiliate links. As an Amazon Associate I earn from qualifying purchases. I may earn additional commission from eligible campaigns.