How to Tell If You Have Enough Attic Insulation
Your attic usually has enough insulation when the total layer meets the R-value target for your climate, covers the floor evenly, and leaves no bare patches. Many cold-climate homes need about R-49 to R-60. Too little, damaged, or uneven insulation drives heat loss, ice dams, and higher winter bills. This guide shows you how to check depth, coverage, and condition, and how to tell when air sealing or repairs should come before adding more insulation.
This guide is part of our Winter Weatherproofing: How to Draft-Proof Your Home series.
What you’ll need


- Tape measure
- Flashlight
- Gloves
- Dust mask
- Knee protection
- Notepad or phone notes app
- Your climate zone target, or the attic R-value goal you want to meet
How do you check attic insulation?
Check attic insulation in four passes: measure depth, inspect coverage, look for damage, and compare the result with your climate target. If you can see ceiling joists, the layer is likely too shallow. Then decide whether you need air sealing, a top-up, or replacement first.
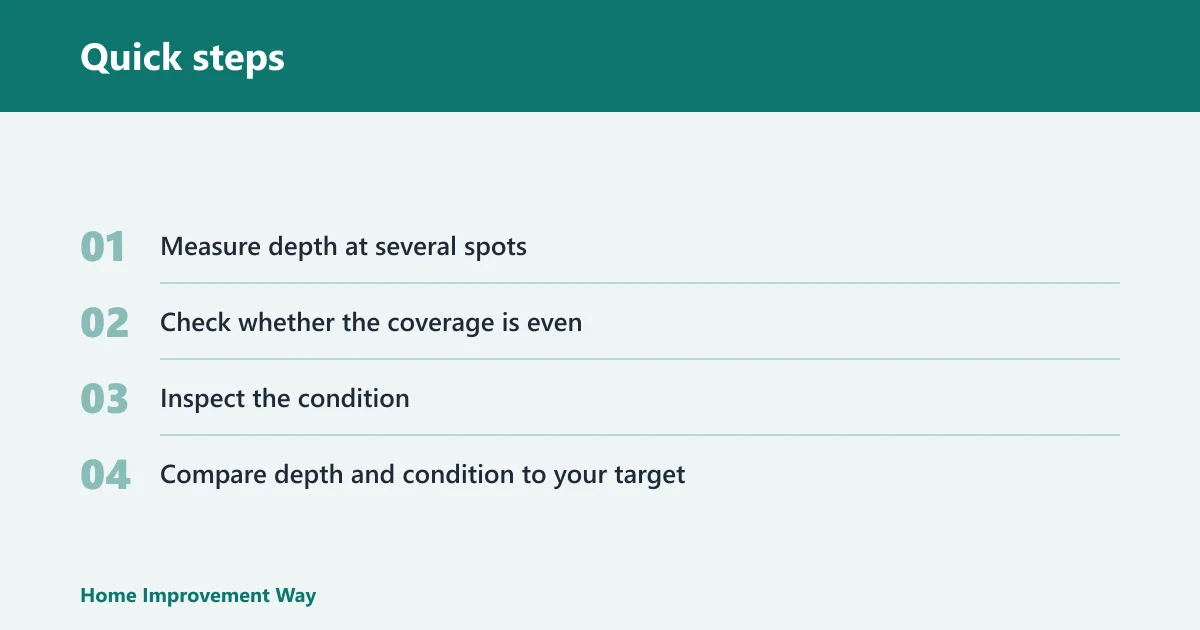
- Measure depth at several spots. Put the tape measure on the attic floor and check near the center, near the eaves, and around the hatch. Depth changes from place to place can hide a weak spot even when one area looks thick.
- Check whether the coverage is even. A properly insulated attic should have a thick, consistent blanket across the whole attic floor. Bare spots, thin edges, and exposed joists mean the attic is underfilled in more than one place.
- Inspect the condition. Look for compression, dirt, wet spots, mold, matted fibers, and wind-washed edges near the roofline. Wet, dirty, or compressed insulation performs poorly and may need replacement rather than a simple top-up.
- Compare depth and condition to your target. If the attic is clean, dry, and even but still short of the goal, add more insulation. If it is uneven or damaged, fix the problem first so the added material can do its job.
Picture a 1,200-square-foot attic with blown insulation that measures 15 inches in the center but only 4 to 5 inches near the eaves. That attic does not pass on depth alone. The thin edge zone still needs correction because the low spots cut the overall performance.
How much insulation should you have?
You should judge attic insulation by R-value, not inches alone. R-value means resistance to heat flow, and higher numbers mean better performance. Climate zone matters because attic targets vary by region. The U.S. Department of Energy and ENERGY STAR attic recommendations generally range from about R-30 in warmer zones to R-60 in colder zones, so a depth that works in one region may fall short in another. ENERGY STAR’s attic guidance and the DOE’s Insulation and Adding Insulation to Your Home pages are good references for zone-based targets and retrofit priorities.
For a rough homeowner check, many cold-climate attics aim for around R-49 to R-60. A top-up of about R-30 is commonly suggested in hot or mixed climates when you are adding insulation to an existing layer. If the attic has been stripped bare, an R-60 replacement option may make more sense than patching thin remnants.
Climate zone attic targets
If you know your climate zone, you can verify the goal before measuring depth. These ranges are a practical homeowner shorthand based on DOE/ENERGY STAR attic guidance, which generally calls for higher attic R-values in colder zones and lower targets in warmer ones.
| Climate zone | Common attic target range | Quick homeowner check |
|---|---|---|
| Hot / warm zones | About R-30 to R-49 | If you can see joists or the layer is thin around the hatch or eaves, it likely needs more insulation |
| Mixed zones | About R-49 | Look for an even blanket, not just a thick center section |
| Cold zones | About R-49 to R-60 | Thin edges, settled areas, or exposed framing usually mean the attic is short of target |
Common insulation types and rough depths
Different materials reach the same R-value at different thicknesses. That is why a tape measure is a starting point, not the whole answer. Use the material type to translate inches into a useful check. Manufacturer coverage charts are the best way to confirm bag yield and installed depth. For example, Owens Corning’s blown-in fiberglass product information and Greenfiber’s homeowner coverage resources show how coverage changes with installed thickness and desired R-value.
| Insulation type | Typical R-value per inch | Rough inches for R-38 / R-49 / R-60 | Call a pro when… |
|---|---|---|---|
| Blown fiberglass | About R-2.2 to R-2.7 per inch | About 14-17 in. / 18-22 in. / 22-27 in. | The surface is wind-washed, patchy, or thin near the eaves |
| Loose-fill cellulose | About R-3.2 to R-3.8 per inch | About 10-12 in. / 13-16 in. / 16-19 in. | The layer is dirty, matted, pest-damaged, or badly settled |
| Fiberglass batts | About R-3.0 to R-3.7 per inch | About 10-13 in. / 13-16 in. / 16-20 in. | Batts are compressed, cut poorly, or leave gaps at framing and obstructions |
Suppose the attic has cellulose over most of the floor, but the area around the hatch is only half as deep as the rest. In that case, the attic may be close on paper and still underperform in practice because the uncovered or thin section acts like a heat leak.
Should you add more insulation or fix air leaks first?
Air sealing should happen before adding insulation. Gaps around attic hatches, recessed lights, bath fans, plumbing stacks, wiring penetrations, and top plates let warm air escape into the attic. The DOE recommends sealing these bypasses before insulating so the new layer is not used to hide an ongoing air leak. If you bury those leaks under more insulation, the heat loss can continue and moisture can build where warm, humid air condenses on the ceiling. For attics, that order matters as much as the R-value target.
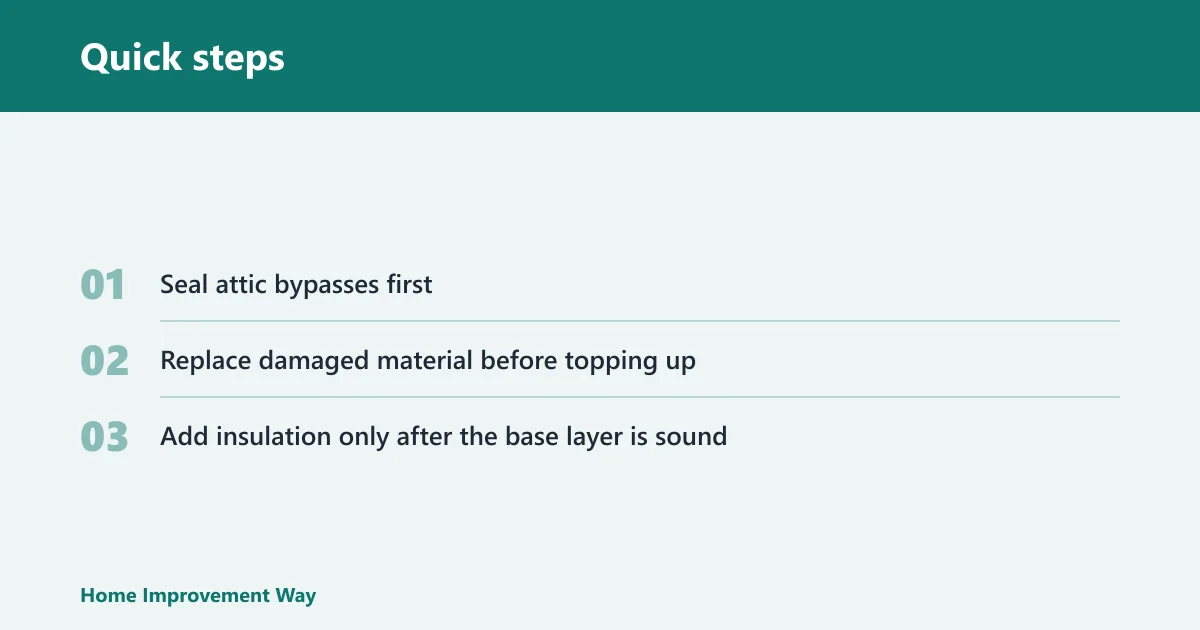
- Seal attic bypasses first. Use caulk, foam, or approved covers around penetrations, the attic hatch, and recessed fixtures before adding fill.
- Replace damaged material before topping up. Remove wet, moldy, pest-contaminated, or badly matted insulation. New material on top will not restore lost performance. If insulation is wet, dirty, moldy, or heavily contaminated by pests, removal is usually better than covering it.
- Add insulation only after the base layer is sound. For blown products, keep the final layer deep and even, with no bare spots or thin lanes. For batts, keep each piece flat and fully covering the joist bay.
Failure cases: when topping up is not enough
Some attic problems need repair, not just more insulation. Wind washing at the eaves can thin out loose-fill near soffits, making the edge of the attic much colder than the center. That usually means the attic needs baffles to keep ventilation paths open and to stop moving air from stripping heat out of the insulation. If soffit vents are blocked, insulation can also slide into the airflow path and reduce ventilation.
At the hatch, use an insulated cover or weatherstripping so the opening does not become a weak point in the blanket. Around the rest of the attic, keep insulation from covering recessed lights, bath fans, and other components unless they are rated for contact and properly protected. If the insulation is wet, dirty, moldy, pest-damaged, or compressed beyond recovery, remove or replace it before adding new material. Covering damaged insulation only locks the problem in place.
Attic insulation decision table
Use this table to move from what you see to the next action. It is more useful than a simple yes-or-no depth check, especially in mixed attics with different materials and uneven coverage.
| What you observe | What it likely means | Next step |
|---|---|---|
| Visible attic floor joists | The insulation is too shallow in that area | Measure depth and add insulation after sealing leaks |
| Uneven depth across the attic | Some areas may meet target while others do not | Level out thin areas before judging the attic as a whole |
| Compressed batts | Lower R-value than the label suggests | Fluff or replace the batts if they no longer fit the bay correctly |
| Wet insulation | Performance loss and possible roof or condensation trouble | Find the moisture source and replace damaged material |
| Ice dams | Heat is escaping through the attic and warming the roof edge | Check air sealing, then inspect attic depth and coverage |
| Large upstairs temperature differences | Possible under-insulation, air leaks, or both | Check the attic hatch, penetrations, and thin zones first |
Common mistakes
The biggest mistake is using a single glance to decide the whole attic’s condition. That misses settled insulation at the edges, compressed material near storage paths, and thin spots around framing. The second mistake is adding more insulation before sealing major air leaks. The third is leaving moisture-damaged insulation in place because it still looks present.
- Depth without coverage. A measured average can hide bare strips and weak corners.
- Top-up without repair. Additions do little if the attic hatch, recessed lights, or penetrations are leaking air.
- Ignoring signs of damage. Wet, matted, dirty, or pest-damaged insulation usually needs removal or replacement.
Say your upstairs bedroom is 5 degrees warmer in summer and 5 degrees colder in winter than the rooms below. That pattern can point to under-insulation, air leakage, or both. If the attic also shows exposed joists or uneven depth, the next step is not more insulation alone; it is sealing the attic bypasses and then rechecking coverage.
Frequently asked questions
How should insulation look in attic?
It should look like a continuous blanket over the entire attic floor, with no visible joists in the main field and no bare lanes around the edges. The surface should be even, dry, and unbroken. Thin spots, sagging batts, and washed-out edges near the eaves mean the attic needs attention.
Does attic insulation need to be faced?
Not always. Faced batts are used in some assemblies, but attic floors often rely on unfaced insulation so the layers can be installed in a continuous blanket. In the attic, the main concern is fit, coverage, and fire-code-safe installation around fixtures and other penetrations.
Is attic insulation worth it?
It is usually worth checking because attic problems often show up as cold rooms, inconsistent temperatures, ice dams, or an overactive HVAC system. If your attic is under target, patchy, or damaged, correcting it can address the source rather than chasing room-by-room symptoms.
Should you insulate your attic?
Yes, if the attic insulation is below your climate target, uneven, or in poor condition. Start with air sealing, then add insulation only where the existing layer is dry and sound. If the attic is already at target and fully covered, focus on maintenance and ventilation checks instead of adding more.
Sponsored / affiliate links. As an Amazon Associate I earn from qualifying purchases. I may earn additional commission from eligible campaigns.