How to Winterize Your Home on a Budget
The lowest-cost winterization wins are usually sealing air leaks, insulating exposed pipes, servicing the heating system, and protecting the most exposed windows and doors first. Skip them, and you risk higher heating bills, frozen pipes, drafts, and water damage. This guide ranks budget fixes by payoff and gives separate winterization plans for owner-occupied, vacant, and vacation homes.
What you’ll need


- Weatherstripping for doors and windows, in adhesive or cut-to-fit form
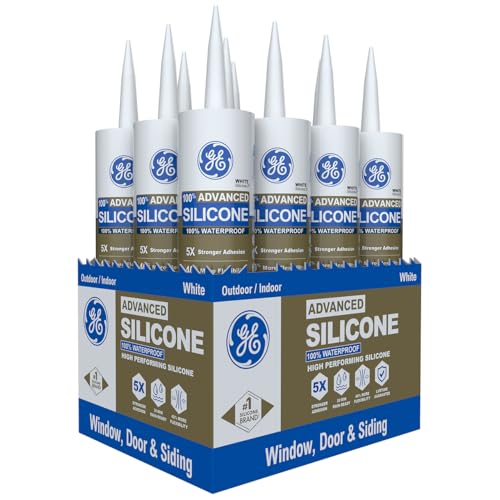
- Caulk for stationary cracks and gaps
- Window insulation film for interior windows
- Draft stopper or a rolled towel for exterior doors
- HVAC or furnace filter sized for your system
- Vacuum, broom, and a flashlight
- Utility knife, scissors, and a caulk gun if needed
- Gloves and a ladder only if you can use them safely
Budget winterization priority table
| Fix | Typical DIY cost range | Typical material quantity assumption | Comfort payoff | Energy-savings payoff | Damage-prevention payoff | Expected benefit |
|---|---|---|---|---|---|---|
| Weatherstripping around doors and windows | $5 to $15 | 1 to 3 doors or 2 to 4 windows; enough tape or strips for the main leak points | High | High | Medium | Comfort and energy savings from less draft and air leakage |
| Draft stopper at an exterior door | $4 to $24, or a rolled towel | 1 stopper for the coldest exterior door or threshold | High | Low | Low | Comfort from less under-door air leakage |
| Window insulation film | About $10 to $20 per kit | 1 kit for 1 to 5 interior windows, depending on size | Medium | Medium | Low | Energy savings and draft reduction on the coldest windows |
| HVAC or furnace filter replacement | Usually low cost, depending on size and rating | 1 filter sized to the system; replace as needed before heavy winter use | Medium | High | Medium | Efficiency and airflow before heavy winter use; ENERGY STAR emphasizes keeping airflow unobstructed and changing filters regularly |
| Caulk at stationary cracks and gaps | Low cost for a tube and basic tools | 1 to 2 tubes for trim seams, siding gaps, or fixed joints | Medium | Medium | High | Damage prevention and draft control at fixed joints; DOE Energy Saver recommends caulking and sealing to reduce unwanted heat loss |
| Ceiling fan reverse switch | No material cost | 1 switch setting in each main living area | Medium | Low | Low | Comfort by redistributing warm air down from the ceiling |
| Gutter cleaning before snowfall | Low DIY cost; pro service costs more | 1 full cleanout of gutters and downspouts before the first hard freeze | Low | Low | High | Damage prevention by reducing ice dams and drainage backups |
| Attic insulation top-up | Higher than sealing materials | Enough material to bring the attic closer to recommended depth after air sealing the leaks | High | High | Medium | Large heat-loss reduction because warm air rises; DOE Energy Saver says air sealing comes first, then insulation |
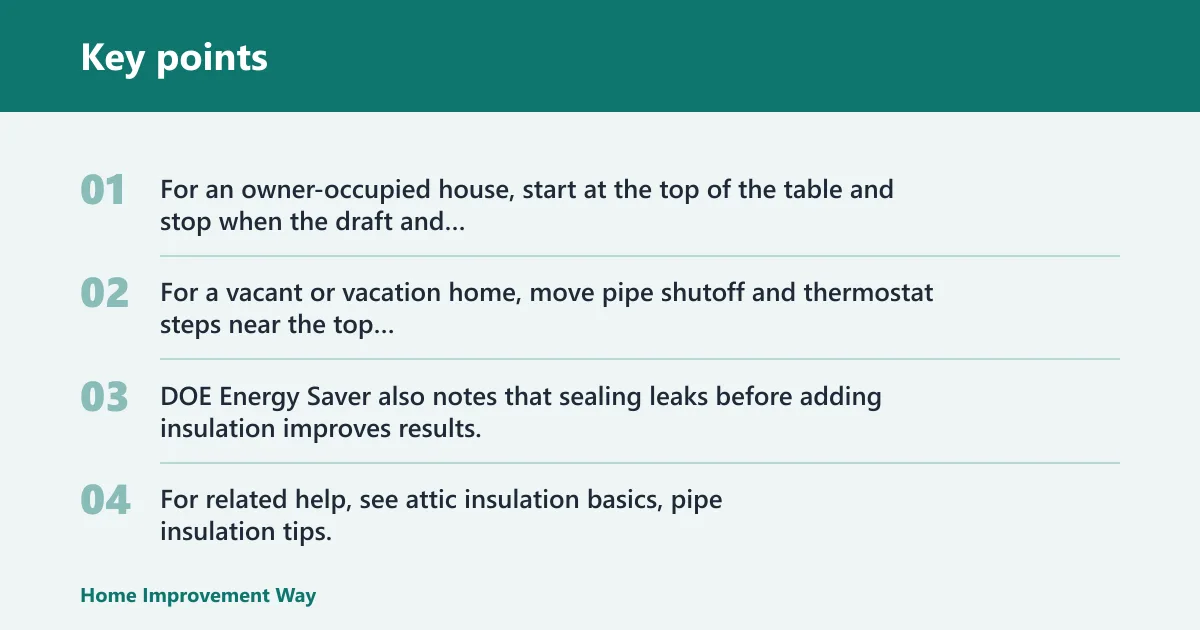
For an owner-occupied house, start at the top of the table and stop when the draft and pipe risks are under control. For a vacant or vacation home, move pipe shutoff and thermostat steps near the top because freeze prevention matters more than comfort. DOE Energy Saver also notes that sealing leaks before adding insulation improves results, so the cheapest comfort fix is often the best first spend. For related help, see attic insulation basics, pipe insulation tips, and furnace filter replacement.
What should you seal first?
Seal the biggest air leaks first: exterior doors, window trim, thresholds, and any gap where you feel moving air. Weatherstripping is the first move for movable parts, while caulk belongs on stationary cracks and gaps. DOE Energy Saver recommends air sealing as a priority because it cuts draftiness and helps insulation work better.
- Close doors and feel for drafts along the latch side, top edge, and threshold.
- Apply adhesive or cut-to-fit weatherstripping where the door or window opens and closes against a frame.
- Use caulk on fixed joints, such as trim seams and small exterior cracks that do not need to move.
- Add a draft stopper at the bottom of the worst exterior door; a rolled towel works with no tools.
- If one room stays cold, cover the interior side of that window with insulation film before buying larger materials.
Suppose a south-facing bedroom has one drafty window and a loose front door sweep. Start with the door sweep and weatherstripping before touching the whole house. That fixes the cheapest comfort loss first.
When to choose weatherstripping versus caulk
Use weatherstripping for any joint that opens and closes, including doors and operable windows. Use caulk for joints that should stay fixed. Cold weather limits some exterior caulk products, so check the label for minimum application temperature before you start outside.
How do you winterize the heating path?
Start with the HVAC or furnace filter, then use the ceiling fan reverse switch, then decide whether attic insulation belongs on the list. A clean filter helps maintain airflow, and ENERGY STAR guidance stresses that a system works best when filters are checked and replaced regularly. Ceiling fans should run clockwise at low speed in winter to push warm air back down.
- Replace the HVAC or furnace filter if it is near the end of its service life; many homes need one every 30 to 90 days, or 1 to 3 months.
- Set ceiling fans to clockwise at low speed so they redistribute warm air instead of stirring up a draft.
- Check attic insulation before winter; if the level is low, add more where heat loss is strongest because warm air rises.
- Inspect attic vents and clear blockages if you do not see light through them.
A common first-timer mistake is buying insulation before replacing a clogged filter. If the furnace cannot move air well, the cheap fix gets skipped while the system still works harder than it should. If you are sorting out a noisy or neglected system, a carbon monoxide detector check is also part of safe winter prep around fuel-burning equipment.
How much does attic insulation matter?
It belongs on the list when the attic is clearly underinsulated or you can see bypass paths around attic access points, pipes, or fixtures. This is not the first budget move for every home, but it often beats cosmetic fixes because the roof loses heat quickly. The same source recommends air sealing first, then insulation, because both work together to slow heat loss.
Protect the roof and drainage
Clean gutters before snowfall and check the roof for obvious leak points. Clean gutters help prevent dangerous icicles, ice dams, and drainage backups. Roof and gutter work is still part of winterizing, but it usually comes after the cheap interior air-sealing steps unless ice dams have already been a problem. For a closer look at warning signs, see roof leak signs and gutter cleaning.
- Clear leaves, sticks, and roof debris from gutters and downspouts before the first hard freeze.
- Look for loose shingles, lifted flashing, and stains near ceilings or attic framing.
- Check the attic for signs of poor venting or moisture before snow builds up.
- If you see repeated ice buildup or are unsure about roof access, hire a pro or use gutter attachments from the ground.
For outdoor shrubs or evergreens near the house, loose twine loops can help support the tops under snow. Remove burlap wraps after the heavy-snow threat passes.
How do you winterize a vacant or vacation home?

Vacant homes need freeze prevention first. Set the thermostat to a safe temperature, shut off the water if the home will sit empty, and drain vulnerable lines when possible. A vacation home needs the same pipe protection, plus a plan for checks between visits and a return-to-use step before occupancy. Insurance and extension guidance commonly stress keeping heat on, draining plumbing, and documenting shutoff steps for empty properties.
Mini checklist for vacant homes
- It is commonly recommended to turn off the main water supply if the home will be empty for an extended stretch.
- Drain pipes, outdoor spigots, and any exposed hose connections if the home will be empty for an extended stretch.
- Set the thermostat high enough to reduce freeze risk, even if no one is there.
- Install fresh furnace or HVAC filters before the heating season.
- Confirm smoke and carbon monoxide detectors are working before the system runs more often.
Mini checklist for vacation homes
- Keep the water system protected even if the home is only used on weekends.
- Seal the most exposed doors and windows before leaving for the season.
- Check the thermostat and heating system settings before every departure.
- Inspect for small leaks under sinks, near the water heater, and around the crawl space or basement.
- Leave a shutoff plan written down for anyone who may enter the home later.
How much does it cost to winterize a vacant house? The answer depends on whether you are paying only for DIY materials or adding shutoff and drain-down work. A tight owner budget may stay in the low tens of dollars for seals and a filter, while a vacant property budget can move higher once pipe protection and more complete drainage are added. Check your insurer, local extension office, or utility winterization guidance for the temperature and shutoff practices that fit your climate.
Common mistakes
- Skipping attic bypasses and basement rim joists. Air leaks there can erase the benefit of window sealing.
- Using caulk on moving parts. Caulk is for stationary joints, not doors or windows that open.
- Waiting on filters until the furnace is already running hard. Replace them before heavy winter use.
- Cleaning gutters after snowfall. That is late for ice-dam prevention.
- Putting comfort upgrades ahead of pipe protection in a vacant home.
If money is extremely tight, start with no-cost steps first: close curtains at night, reverse ceiling fans, move furniture away from registers, and use a towel draft stopper. Then buy the cheapest materials that stop the largest leaks. If the home has an attached garage or utility room, check the door seals there too because cold air often sneaks in around service spaces first.
Frequently asked questions
How much does it cost to winterize a house?
A basic DIY pass can stay fairly low-cost if you focus on weatherstripping, draft stoppers, and a filter change. Once you add window film, caulk, gutter cleaning, and possible attic insulation, the total rises. The right budget is scenario-based: owner-occupied homes usually need less than vacant or vacation homes.
How do I keep my house warm in winter without spending money?
Use the ceiling fan reverse switch, close curtains at night, block drafts with rolled towels, keep interior doors closed to warmer rooms, and move rugs over cold floors if you already own them. Also, set vents and registers so furniture is not blocking airflow.
How much does it cost to winterize a vacant house?
Vacant-home winterizing often costs more than a normal occupied house because the steps include water shutoff, drain-down work, and extra checks for freeze risk. If the home will sit empty for weeks, budget for plumbing protection first, then add cheap air-sealing and filter changes.
Should I seal windows and doors before winter?
Weatherstripping around doors and windows is commonly used as one of the lowest-cost ways to cut drafts and air leaks. Use caulk on fixed cracks, and use window insulation film on the coldest windows when you need a faster, low-cost indoor fix.
What should I do before the first freeze?
Before the first freeze, make sure the furnace filter is fresh, exterior hose bibs are disconnected, gutters are clear, and the most exposed doors and windows are sealed. In colder climates, confirm pipe insulation is intact and that someone knows where the main water shutoff is if the home is vacant.
What thermostat settings should I use for an empty house?
For vacant or vacation homes, the thermostat should stay high enough to reduce freeze risk, especially during cold snaps. Keep the home heated rather than letting it go unprotected, and use a written shutoff plan if you will drain plumbing or leave for an extended period. A local insurer, utility, or extension office can help set a safe minimum for your climate.
What order should I shut down the water system?
When you need a drain-down, start with the main water shutoff, then open faucets to relieve pressure, then drain low points and exposed lines, including outdoor spigots. After that, address the water heater only according to its manual or a qualified service plan, because different tank and tankless systems have different drainage steps.
Sponsored / affiliate links. As an Amazon Associate I earn from qualifying purchases. I may earn additional commission from eligible campaigns.