How to Prepare Your House for a Winter Storm
Start with heat, water pipes, and backup power. Then move room by room in this order: kitchen, bathrooms, basement or crawlspace, garage and laundry, living areas, attic and exterior, and finally outage mode. In each space, check the highest-risk items first, because frozen pipes can burst, rooms can drop below safe temperatures, and outages can turn a short storm into a costly repair job.
What you’ll need


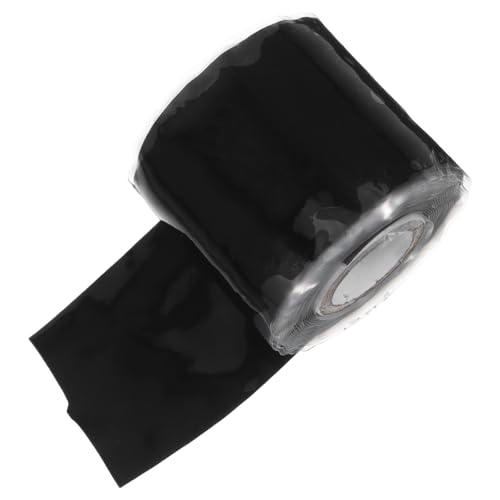
- Pipe sleeves, foam pipe wrap, heat tape, or heat cable
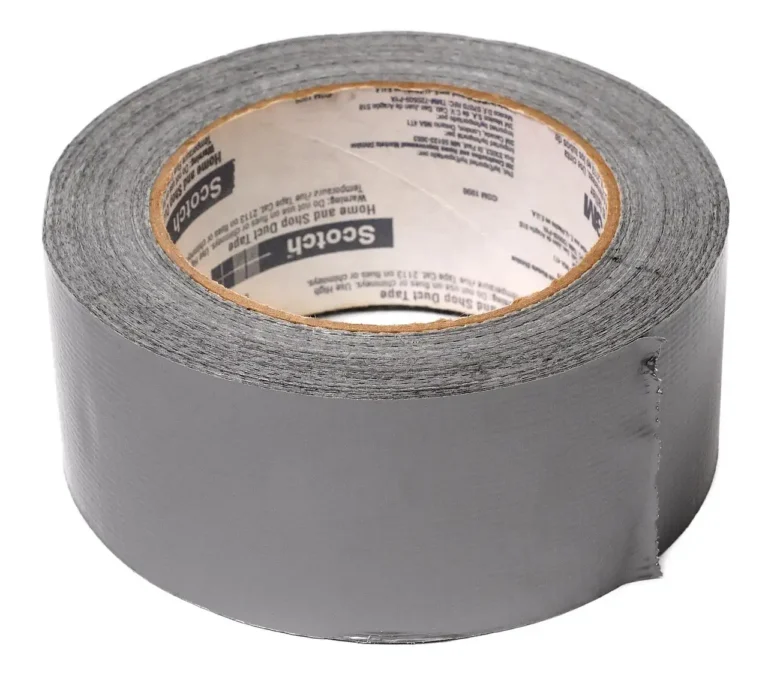
- Caulk, weatherstripping, plastic film, and tape
- Flashlights and extra batteries
- Portable chargers
- Battery-powered or hand-cranked radio
- Manual can opener
- Non-perishable food
- Drinking and cooking water
- Pet food, baby formula, and diapers if needed
- First aid kit
- Blankets and warm clothing
- Dry-chemical fire extinguisher
- Smoke and carbon monoxide detectors with fresh batteries
- Wrench or shutoff tool for the main water valve if your home uses one
Winter storm checklist
| Task | Risk prevented | Time required | When to do it |
|---|---|---|---|
| Insulate water lines on exterior walls | Frozen or burst pipes in cold, unheated spaces | 20 to 60 minutes per exposed run | 48 hours before |
| Drip faucets and open sink cabinet doors | Standing water freezing in the line | 5 to 10 minutes | During outage |
| Caulk and weather-strip doors and windows | Drafts and heat loss | 30 to 90 minutes | 48 hours before |
| Cover windows with plastic from the inside | Cold air infiltration through glass | 20 to 45 minutes per room | 24 hours before |
| Service the furnace and test alarms | Heat failure, smoke, and carbon monoxide risk | Scheduled service plus 10 minutes for tests | 48 hours before |
| Stage outage supplies and food | Loss of light, communication, and safe food access | 15 to 30 minutes | 24 hours before |
| Place generator outside and away from openings | Carbon monoxide buildup indoors | 10 minutes | During outage |
| Check for hidden leaks, ice dams, and thaw failures | Water damage after temperatures rise | 20 to 40 minutes | After storm |
If you only have 60 minutes
- Insulate any exposed pipes on exterior walls first, especially in basements, crawlspaces, garages, and under sinks.
- Drip faucets connected to those lines and open cabinet doors under sinks so warmer room air can reach the pipes.
- Set out flashlights, extra batteries, a radio, portable chargers, and a manual can opener.
- Fill containers with drinking and cooking water, and move pet food, baby formula, and diapers where you can reach them fast.
- Close obvious gaps around doors and windows, then test the furnace and both alarm types.
What to do first before a winter storm
Start with the rooms and systems most likely to fail first: exterior-wall plumbing, unsealed openings, the furnace, and anything that can create a carbon monoxide hazard. Snow, ice, and blizzard conditions change the urgency, but the order stays mostly the same. Pipes and heat come before convenience items.
Kitchen
Check the kitchen first if it sits on an exterior wall, because the sink, dishwasher, and refrigerator water line are common freeze points. Open the sink cabinet doors, inspect the supply lines, and add insulation to any pipe runs you can see. What can wait: deep cleaning, reorganizing cabinets, and other non-urgent chores.
What changes by storm type
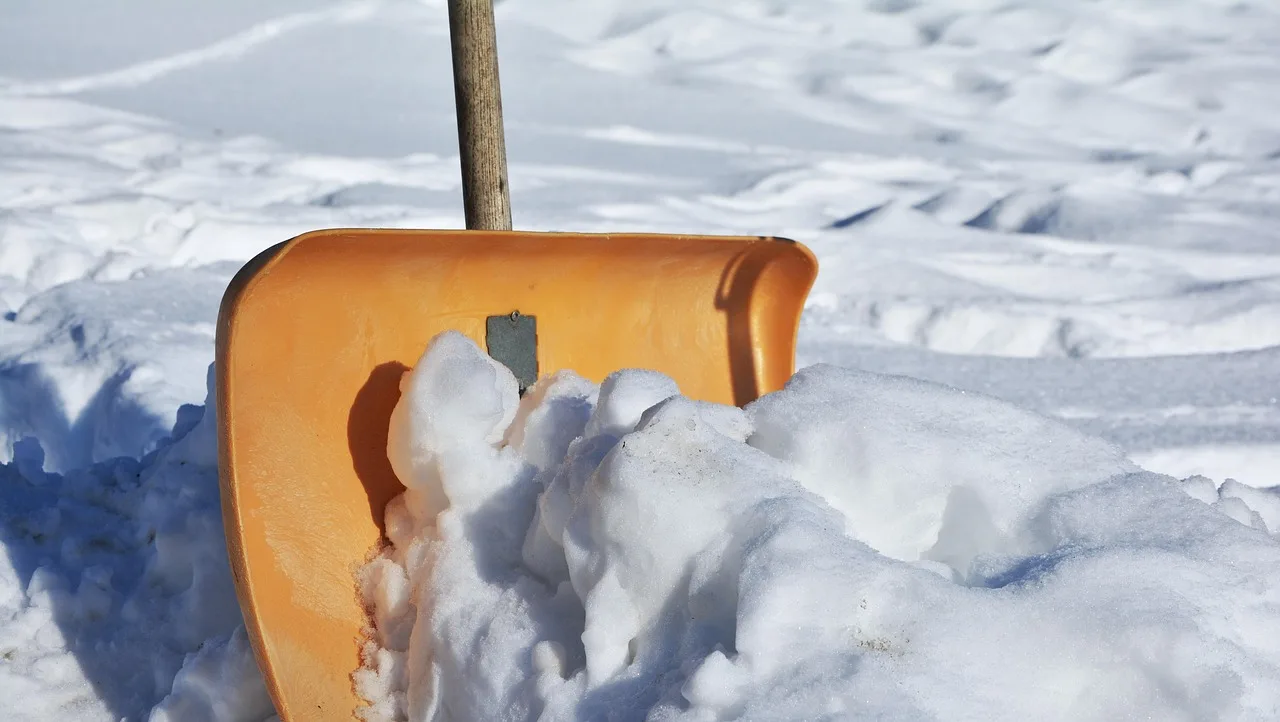
For a snowstorm, the main issue is access: shovel paths, keep vents clear, and watch roof load where snow piles deep. For an ice storm, weight on lines, limbs, and gutters matters more, so trim loose branches only if it is safe and bring in anything that can fall. In a blizzard, travel may stop, so finish indoor prep before winds rise. For a prolonged outage, fuel-burning heat safety and water conservation move to the front.
Bathrooms
Move to bathrooms next, especially those on outside walls or over unheated spaces. Check the toilet supply line, the sink traps, and any pipes inside vanity cabinets. What can wait: spare linens and cosmetic storage, unless they block access to the plumbing.
Where to spend time first
Put the first hour into plumbing and heat loss, not decorative or low-risk jobs. A small gap around a basement window matters less than a pipe in an unheated wall cavity. Say your laundry room shares a wall with the garage and a supply line runs there; that line deserves insulation before you seal a second-floor window you rarely open.
Basement or crawlspace
After the kitchen and bathrooms, inspect the basement or crawlspace, because exposed main runs and branch lines are usually concentrated there. Look for drafts, bare pipes, and any section that passes near foundation vents or rim joists. What can wait: stored items that are not blocking access to the plumbing, electrical panel, or furnace.
Garage and laundry
Next, check the garage and laundry area, since these spaces often combine cold air with water lines. A washer supply, utility sink, or garage wall line can freeze quickly if the space is unheated. What can wait: paint cans, tools, and seasonal storage, unless they are leaning against pipes or vents.
Living areas
Then move through the main living spaces. Focus on drafty doors, windows, and any room that gets noticeably colder than the rest of the house. What can wait: furniture rearranging and comfort fixes that do not change the room temperature or protect plumbing.
Attic and exterior
After the interior rooms, check the attic and then the exterior. In the attic, look for insulation gaps and signs of moisture. Outside, clear vents, secure loose items, and inspect the roofline for heavy snow buildup or ice dam signs after the storm. What can wait: cosmetic repairs, unless they are covering damage.
How do you protect pipes before freezing?
Protect the pipes on exterior walls first. Freeze risk rises in unheated areas such as basements, crawlspaces, garages, and cabinets along outside walls, so start there with insulation, drip flow, and airflow. The goal is to keep moving water and warmer room air around the vulnerable lines.
Focus on the highest-risk lines
Use pipe sleeves, foam wrap, heat tape, or heat cable on exposed water lines that run along exterior walls. The CDC says to insulate water lines that run along exterior walls. If you can only cover one zone, choose the coldest section closest to outside air or a drafty wall. (CDC)
- Wrap exposed pipe runs with sleeves or foam, and secure seams tightly.
- For stubborn cold spots, add heat tape or heat cable only as directed by the manufacturer.
- Open sink cabinet doors so warm room air can reach the plumbing below.
- When temperatures drop hard, drip faucets served by those lines.
Outdoor plumbing comes next
Disconnect garden hoses, drain them, and store them indoors. Cover outdoor faucets with insulated covers, then shut off and drain sprinkler systems if possible. A hose left attached can trap water in the line and increase freeze damage at the sillcock or spigot.
A common first-timer mistake is to insulate one exposed pipe and ignore the run inside an unheated garage wall. That hidden section can still freeze, then split after the thaw starts.
When to shut off the main water supply
If the house will be empty and you cannot keep the heat on, shut off the main water supply before you leave. If someone will stay home and the furnace can run, keep water on and protect the most vulnerable lines instead. If you are unsure where the main valve is, find it before the storm starts.
How do you seal heat loss points?
Seal doors and windows early, because drafts can drag heated air out of the house faster than people expect. The CDC recommends caulking and weather-stripping doors and windows, and it also recommends covering windows with plastic from the inside. Higher-impact upgrades like thermal or storm windows help most in rooms that feel cold first.
Work from the outside walls inward
Start with the leakiest openings on outer walls, then move room by room. A gap under a back door can matter more than a small crack in a rarely used room, because that doorway bleeds heat every time air pressure changes. Use weatherstripping where the door meets the frame, then caulk stationary gaps.
- Run caulk along fixed cracks around window trim and door casing.
- Add weatherstripping where moving parts meet.
- Apply interior plastic film to windows with the worst drafts.
- Close storm windows, or add thermal windows where available.
Do not stop at the easy rooms
Check the rooms above garages, the basement, and any room with a bare north-facing window. Those spaces lose heat fast and often hold plumbing too. If one room feels much colder than the rest, treat it as a leak path, not just a comfort issue.
How do you prepare heating and backup heat?
Have the furnace serviced before winter by a qualified technician, then check vents and confirm the system runs normally. Fuel-burning equipment must vent outside. Test smoke and carbon monoxide alarms now, not after the first outage, and keep a battery-operated carbon monoxide detector near any fuel-burning heat source.
Fuel-burning equipment needs extra care
Have a chimney or flue inspected each year for a fireplace, wood stove, or kerosene heater. Keep a smoke detector and a battery-operated carbon monoxide detector nearby, and keep a dry-chemical fire extinguisher within reach. Never run fuel-burning equipment that does not vent outside. For safer use basics, follow guidance from the CPSC and the CPSC space heater safety guidance for proper clearance and ventilation.
Suppose a basement wood stove is the backup heat source and the power fails overnight. The stove still needs proper venting, detectors, and clear space around it, otherwise the backup can create the next emergency.
Check operation before the storm, not during it
Turn the heat up ahead of expected power outages if your utility is likely to interrupt service. Let the house start from a warmer baseline. If the furnace cycles oddly, smells unusual, or fails to start cleanly, stop and get it checked before cold weather arrives.
Garage, laundry, and utility room
In the garage and laundry area, confirm that the furnace area stays clear and that no stored items block vents, combustion air openings, or access panels. This is also the right place to check washer hoses and utility sinks for exposed lines. What can wait: tidying shelves and storage bins that are not near heat or plumbing.
What should you have ready for an outage?
Set aside outage supplies before the sky turns bad. Flashlights, extra batteries, portable chargers, a battery-powered or hand-cranked radio, and a manual can opener cover the basics. Add several days of food, water, blankets, warm clothing, and pet supplies so you can stay put if roads close. Ready.gov recommends at least a 3-day supply of food and water for emergencies, and the American Red Cross advises planning for pets as part of that kit. (ready.gov, redcross.org)
Build the food and water supply
Keep non-perishable food for at least 3 to 4 days. Have enough water for drinking and cooking, and keep extra on hand for pets. Ready.gov recommends at least 1 gallon of water per person per day for several days, plus shelf-stable foods that do not require cooking or refrigeration. Use a reputable emergency supply source rather than a general lifestyle site for these recommendations.
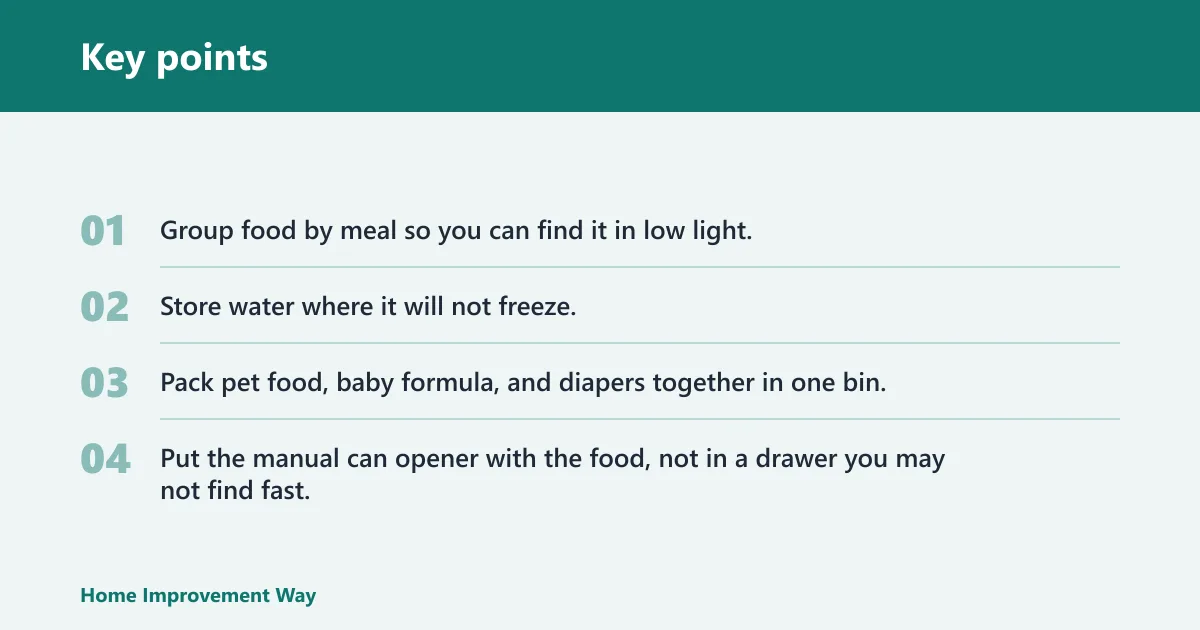
- Group food by meal so you can find it in low light.
- Store water where it will not freeze.
- Pack pet food, baby formula, and diapers together in one bin.
- Put the manual can opener with the food, not in a drawer you may not find fast.
Pets and family essentials
Keep pets indoors during the storm and keep leashes, carriers, litter, bowls, and extra food in the same grab-and-go area as the rest of the emergency kit. For babies and young children, include formula, diapers, wipes, and any required medications. For adults, add prescription medicines, glasses, chargers, cash, and copies of essential documents.
Plan for safe generator use
Place generators outside and away from openings before use. Keep them far from doors, windows, and vents so exhaust cannot enter the house. Use the radio to track outage updates instead of opening doors repeatedly to check conditions. For carbon monoxide and generator safety, follow CPSC generator guidance.
During the outage
Keep the house as stable as possible until power returns. If the temperature inside starts falling fast, protect plumbing before comfort items. Open cabinet doors under sinks on exterior walls so warmer room air can reach the pipes. If the forecast or indoor temperature suggests a freeze risk, drip faucets tied to vulnerable lines, especially those on exterior walls or over unheated spaces. Do not drip faucets if the plumbing is already frozen, if the pipe is leaking, or if the main water supply is shut off and you are intentionally conserving water; in those cases, focus on warming the space safely and getting the line checked. If the home will be empty or you cannot keep heat on, shut off the main water valve before leaving.
What should you do after the storm?
Check the house as temperatures rise, because thaw-time failures often appear after the worst weather is over. Look for hidden leaks, ceiling stains, damp cabinet bottoms, and weak pressure at faucets. Also inspect for roof load issues, ice dam signs, and branch damage before you assume the house is fine.
Inspect the damage in a strict order
Start with the attic, ceilings, and exterior walls. Ice dams can push meltwater under shingles and into the house, so look for wet insulation, stained drywall, or drips near outer walls. Then check pipes that were exposed to cold; a split line may not leak until it thaws.
- Walk the exterior and remove obvious branch hazards if it is safe.
- Check the roofline for heavy snow buildup and ice dams.
- Open cabinets under sinks and inspect for moisture.
- Run each faucet and watch for pressure changes or slow leaks.
What to do if pipes froze
Do not force a frozen pipe. Warm the area slowly, then check joints and bends for cracks once water starts moving again. If pressure returns and a leak appears, shut off the water and call for repair. The first sign may be a damp wall, not a stream of water.
Common mistakes
Do not rely on ovens or ranges for heat. Do not wait until pipes are already cold to protect them. Do not forget hidden areas like exterior-wall plumbing and unheated rooms. Do not leave tree branches, roof snow load, or ice dam signs uninspected after the storm.
- Using candles as a main light source instead of flashlights.
- Leaving hoses attached to outdoor faucets.
- Skipping the detector check near fuel-burning equipment.
- Sealing windows but ignoring door gaps at the frame and threshold.
- Running a generator too close to the house.
Frequently asked questions
How do I keep pipes from freezing in a winter storm?
Insulate water lines on exterior walls, especially in basements, crawlspaces, garages, and under sinks. Open cabinet doors, drip the faucets connected to those lines, and keep heat moving in those rooms. If the house will be empty and heat cannot stay on, shut off the main water supply.
Should I drip faucets before a winter storm?
Yes, drip faucets tied to vulnerable lines when temperatures fall hard. Focus on faucets on exterior walls and in basements, because moving water is less likely to freeze. Keep cabinet doors open underneath so warmer indoor air can reach the pipes.
How do I prepare for a power outage during a winter storm?
Set flashlights, extra batteries, portable chargers, and a battery-powered or hand-cranked radio where you can reach them fast. Stock 3 to 4 days of food and water, plus warm blankets and clothing. If you use a generator, place it outside and away from openings.
Sponsored / affiliate links. As an Amazon Associate I earn from qualifying purchases. I may earn additional commission from eligible campaigns.