Can You Use Caulk in Cold Weather?
Yes, but only if the air, surface, and tube meet the product’s minimum application temperature, often 40°F to 50°F, and the joint is dry, thawed, and free of old failing caulk. Cold application can lead to poor adhesion, slow curing, cracking, and leaks that waste time and caulk. This guide covers temperature limits, the right caulk type, and winter prep steps that help the seal hold.
This guide is part of our Winter Weatherproofing: How to Draft-Proof Your Home series.
Cold weather caulk application guide


Yes, some caulk works in cold weather, but many products do not. Many types of caulk should not be applied below 40°F, and the ideal temperature range for most caulk is between 40 degrees and upwards of 100 degrees. Match the product to the temperature and the surface condition.
There is a difference between can be applied and will cure correctly. Cold slows skin-over, adhesion, and full cure, so a bead that looks fine at the gun may still fail later if the surface is frosty, damp, or exposed to weather too soon.
Winter decision table
| Outdoor temperature band | Surface condition | Recommended caulk type | Go / no-go verdict | Temporary fix vs permanent repair |
|---|---|---|---|---|
| 20°F and below | Dry, thawed, clean substrate | 100% silicone rated for subfreezing use; some specialized products claim application as low as minus 20 degrees | Go only if the tube label allows it and the joint is fixed | Best for a planned permanent seal on a stable joint. Avoid using it as a cure for moving parts. |
| 20°F and below | Frosty, icy, or visibly wet | None | No-go | Use a temporary weather barrier if needed, then return for a permanent repair when the surface is dry and thawed. |
| Around 32°F | Dry, thawed, clean substrate | Low-temperature silicone or a specialty blend rated for cold weather | Go with caution | Good for a permanent repair if rain, snow, or freezing nights are not immediate. Leave extra cure time. |
| Around 32°F | Damp but not wet | None for a permanent seal | No-go for final sealing | Use only as a short-term stopgap if the gap is letting air or water through, then redo it dry. |
| Around 40°F | Dry, clean, and frost-free | Acrylic-latex, standard silicone, or hybrid labeled for cold weather | Go | Best time for a permanent repair, especially for fixed window and door joints. |
| Around 40°F | Frost-free but shaded and cold to the touch | 100% silicone or a cold-weather formula | Go, if the label supports the temperature | Works better as a permanent seal than a quick patch, but cure time will still be slower than in mild weather. |
| Above 40°F | Dry, clean, and free of old failing caulk | Most exterior caulk types, chosen by substrate and paint needs | Go | Best conditions for a permanent repair, with the broadest product choice. |
Use this table as a decision rule, not a guess. If the product label and the weather disagree, follow the label. If the joint is wet, frosty, or still moving, wait.
Temporary fix versus permanent repair
A temporary fix is for stopping air or water intrusion long enough to get through a cold spell. A permanent repair should wait for a dry, thawed, and stable surface, especially on exterior joints that take weather, sun, and movement.
Say your window trim has a 1/8-inch gap and the forecast shows one clear afternoon at 35°F before a hard freeze. A cold-rated silicone may be suitable for that fixed joint. If the same gap is damp from melted frost, wait and repair it later.
What kind of caulk works best in winter?
For winter exterior sealing, 100% silicone is often the safest choice because it stays flexible and waterproof. Some specialized products can be applied as low as 20°F, and some silicone caulks can be applied in temperatures as low as minus 20 degrees. Acrylic-latex and hybrid formulas can work too, but only when the label allows cold-weather use.
100% silicone caulk
100% silicone is commonly recommended for windows and doors because it handles movement and sheds water well. Most standard silicone caulk temperature ranges from 40°F to 80°F, but some products are made for lower temperatures. That makes silicone a strong winter option for fixed exterior joints.
Acrylic-latex caulk
Acrylic-latex caulk is often lower-cost and useful for general-purpose sealing. One cold-weather guide lists it as suitable for 35°F to 40°F, which makes it a possible choice near the edge of workable winter conditions. Check whether the formula is paintable if the repair will be finished after sealing.
Low-temperature blends and hybrids
Hybrid and specialty cold-weather products fill the gap between standard caulk and extreme-cold silicone. They are worth considering when the job is outdoors, the temperature is near freezing, and the label specifically lists a low application temperature. Do not assume every hybrid is winter-ready.
When polyurethane makes sense
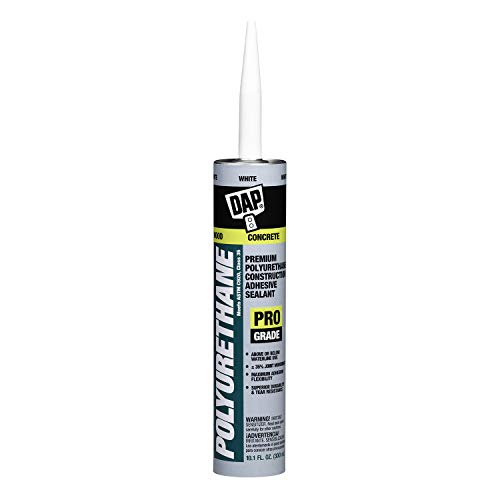
Polyurethane can make sense for exterior gaps that need strong adhesion and long-term weather resistance, especially on compatible substrates. It is less forgiving than silicone on some joints, so follow the label closely. For winter work, only use a polyurethane product that explicitly allows the temperature you have.
Can you use silicone caulk in cold weather?
Yes, silicone is often the winter pick because it stays flexible and waterproof, and some versions are approved for subfreezing application. It is a good fit for fixed exterior joints around windows and doors, especially when the gap will see moisture or temperature swings. It is less useful where paintability matters.
Where silicone performs well
Silicone works well on clean, dry, fixed joints that need water resistance and movement tolerance. That includes many window and door perimeter seals, small exterior cracks, and weatherproofing around trim where flexibility matters more than paintability.
Where silicone is a poor fit
Silicone is a poor fit for wet surfaces, frosty substrates, and moving joints that need repeated tool-free flex without a stable bond line. It can also be a bad choice where the finish must be painted later unless the label says otherwise.
A common first-timer mistake is to pick silicone for every gap, then apply it over cold vinyl that still carries frost. The bead may look smooth at first, but the frost blocks adhesion and the joint can open again after the next thaw.
How do you prep surfaces before winter caulking?
Prep matters more in cold weather than many homeowners expect. Remove frost, ice, dirt, and old caulk, and start only when the surface is dry. If possible, warm the substrate first and keep the caulk tube warm before use so the material flows and tools more cleanly.
Remove frost, ice, dirt, and old caulk
Cold surfaces should be free from frost before caulking. Scrape out loose or failing caulk, brush away dirt, and clear any ice or slush. A bead laid over contamination may not bond, even if the product itself is rated for cold weather.
Dry the surface first
Cold weather caulking should be done on a dry day. Do not apply to wet or damp surfaces if you want a permanent seal. Moisture can trap under the bead, weaken adhesion, and delay curing long enough for a leak to return.
Warm the substrate when possible
If the area is too cold to the touch, warm the substrate with a hair dryer or heat gun before caulking. Use care and keep the heat moving. The goal is to remove chill and surface moisture, not to overheat the trim, masonry, or siding.
Warm the caulk tube before use
Caulk tubes should be kept warm for better application in cold conditions. Store the tube indoors before the job or keep it in a warm pocket for a short time before loading the gun. A warmer tube flows better and is easier to tool into a tight, even bead.
- Check the label for the lowest application temperature.
- Pick a dry day and work during the warmest time of day.
- Clean the joint, then remove frost, dirt, and old caulk.
- Dry the surface fully before applying sealant.
- Warm the substrate lightly if needed.
- Keep the tube warm until you start.
- Apply a small section, tool it, and move on.
- Protect the bead from rain, snow, and disturbance until cured.
Can you caulk windows and doors outside in cold weather?
Yes, exterior windows and doors are common winter weatherproofing targets, but only fixed joints are good candidates. Dry weather matters, the warmest part of the day helps, and interior sealing is often easier when the gap can be reached from inside without exposing the bead to freezing air or precipitation.
Best joints to seal in winter
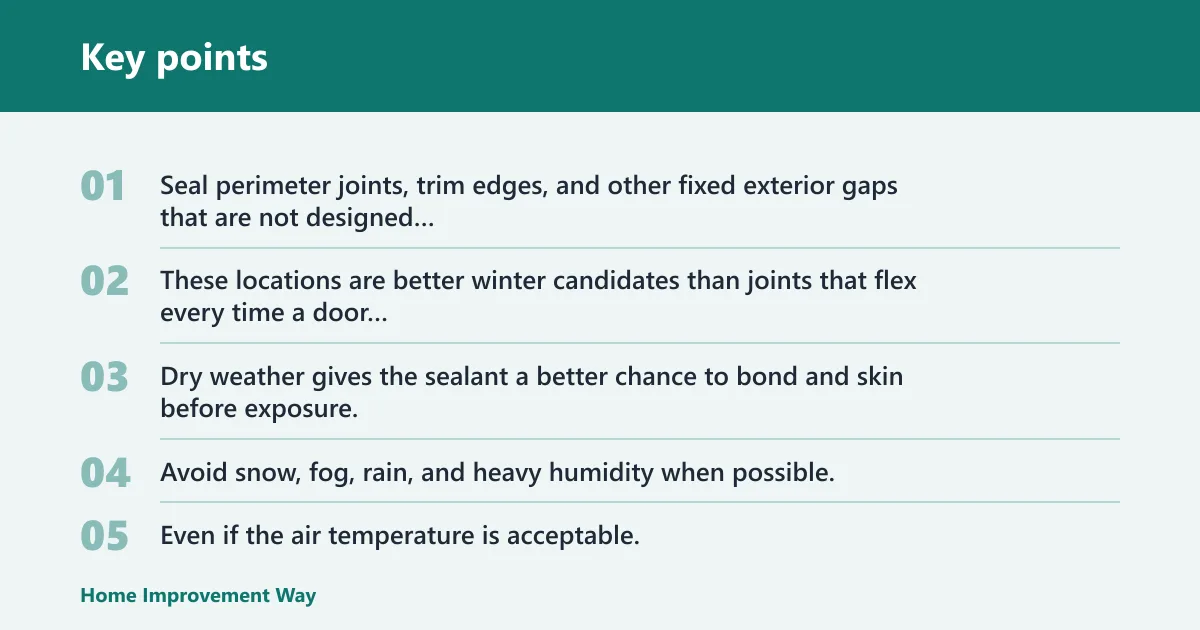
Seal perimeter joints, trim edges, and other fixed exterior gaps that are not designed to move much. These locations are better winter candidates than joints that flex every time a door closes or a frame expands and contracts heavily.
Why dry weather matters
Dry weather gives the sealant a better chance to bond and skin before exposure. Avoid snow, fog, rain, and heavy humidity when possible. Even if the air temperature is acceptable, moisture on the joint can still ruin the repair.
Why the warmest part of the day helps
Applying caulk at the warmest time of day improves results. The surface is more likely to be thawed, the tube flows better, and the bead has more time to set before evening temperatures drop.
Suppose a door threshold leaks air and the afternoon warms from 28°F to 40°F. Waiting for the warmer window and sealing only the dry, stable edge gives the bead a better chance than rushing it at sunrise when the threshold is still frosty.
Interior sealing as an easier option
If the gap can be sealed from inside, that is often easier in winter. Interior application reduces exposure to snow, wind, and freezing nights, and it can give you a warmer, drier work area while still improving the exterior weather barrier.
Will caulk cure if it freezes?
Maybe, but freezing during the cure period can interrupt bonding and leave the bead weak, brittle, or slow to set. Cold weather caulking should be protected from rain, snow, and large temperature swings, and you should allow extra curing time of 24 to 48 hours before stressing the joint.
What cold does to adhesion
Cold slows the chemistry and the physical set of the bead. That can mean poor adhesion, slower skin formation, and a longer wait before the seal is watertight. If the bead freezes before it starts curing properly, the finished joint may shrink, crack, or detach.
How long curing can take?
There is no single cure time for every product, but cold extends it. Follow the tube directions and then add time if the weather is near freezing. A bead that would be ready sooner in mild weather may need extra time before rain, washing, or hard use.
How to protect the bead after application
Keep the repaired joint dry and undisturbed. Do not wash it, paint it, or expose it to precipitation before the product has had time to cure. If the forecast turns bad, wait rather than cover a fresh bead that still needs air and time.
Picture an exterior window joint sealed late in the afternoon at 34°F, then hit by freezing drizzle that night. Even a good product can struggle in that sequence if it has not had enough cure time. The bead may need removal and replacement later if adhesion fails.
Frequently asked questions
Can you use caulk in freezing temperatures?
Sometimes, but only with a product rated for that temperature and only on a dry, frost-free surface. Many standard caulk products should not be applied below 40°F, so freezing conditions rule out most common formulas. Check the label first, then plan for extra cure time.
What temperature is too cold to caulk?
For many types of caulk, below 40°F is too cold. Some products are rated lower, including specialty silicone and low-temperature blends. If you are near or below freezing, read the label carefully and avoid standard formulas that are not built for winter use.
Can you caulk outside in cold weather?
Yes, if the weather is dry and the product is rated for the temperature. Exterior work is best during the warmest part of the day, and fixed joints are better candidates than moving ones. Avoid snow, fog, rain, and damp substrates.
Sponsored / affiliate links. As an Amazon Associate I earn from qualifying purchases. I may earn additional commission from eligible campaigns.