Ceiling Fans: Selection, Installation, and Repair Guide
Choose a ceiling fan by room size first: 29–36 inches for rooms up to 75 square feet, 42–48 inches for 76–144, and 52 inches or more above that, then verify a fan-rated box and proper ceiling clearance. Get it wrong and you get weak airflow, wobble, code issues, or a failed install that can crack drywall or damage the ceiling finish. This guide covers sizing, mount types, wiring checks, install cost, and tests that separate fixable faults from a fan that should be replaced.
How do I choose the right ceiling fan for my room?
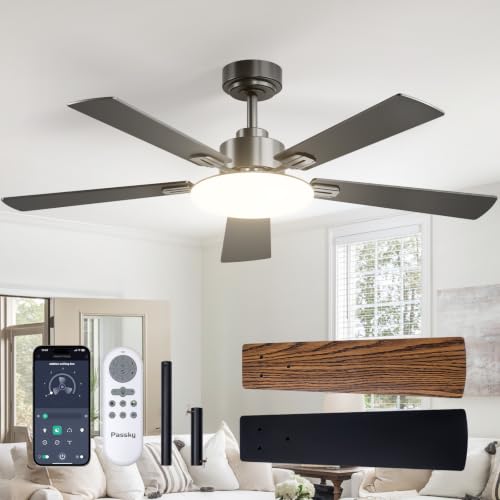


Pick the fan by room square footage, then narrow the field by mounted blade height, actual airflow, motor type, controls, and whether the room needs a dry, damp, or wet rating. I always check fit, ceiling height, and wiring first, because style and finish do not help if the fan hangs too high, moves too little air, or will not work with the existing switch leg.
Match blade span to room square footage
Start with the room footprint, not the existing fixture. For small rooms up to about 75 square feet, a 29 to 36 inch fan is often suitable. For medium-sized rooms in roughly the 76 to 144 square foot range, a 42 to 48 inch fan is often a reasonable choice. For larger rooms, a ceiling fan around 52 inches or more is often used.
That gets the fan into the right size class. It does not guarantee good air movement, because mounting height, blade design, and motor output still matter.
Use CFM and airflow per watt to compare real performance
Ignore blade count as a shortcut. I have seen five-blade fans that moved less air than a good three-blade model because the motor was weaker or the blade pitch was poorly chosen.
Compare the published CFM rating across speed settings, then check airflow per watt if energy use matters. In bedrooms and nurseries, low-speed performance matters more than top-speed claims. In kitchens, basements, and workshops, medium and high speeds usually matter more because heat, moisture, and stale air build up faster.
Choose by room use
- Bedroom: Prioritize low noise, stable low-speed airflow, and dimmable lighting if the fan includes a light.
- Nursery: Quiet motor, gentle low speed, simple controls that cannot be triggered by a flaky app or lost remote.
- Kitchen: Easy-clean blade finish, good medium-speed airflow, and a light kit that does not trap grease.
- Basement: Damp rating if the space gets humid, plus control hardware that tolerates seasonal moisture swings.
- Garage workshop: Strong task airflow, simple wall control with gloves on, and a fixture that is easy to clean.
Decide whether one fan is enough for a large room
One centered fan can leave dead zones in a long room, an L-shaped room, or a room broken up by beams. If seating or work areas sit far from the fan, two smaller fans often cover better than one oversized unit.
High ceilings also change the result. A fan that looks big from the floor can still underperform if the blades sit too far above the occupied zone.
What ceiling height and mounting style does my fan need?
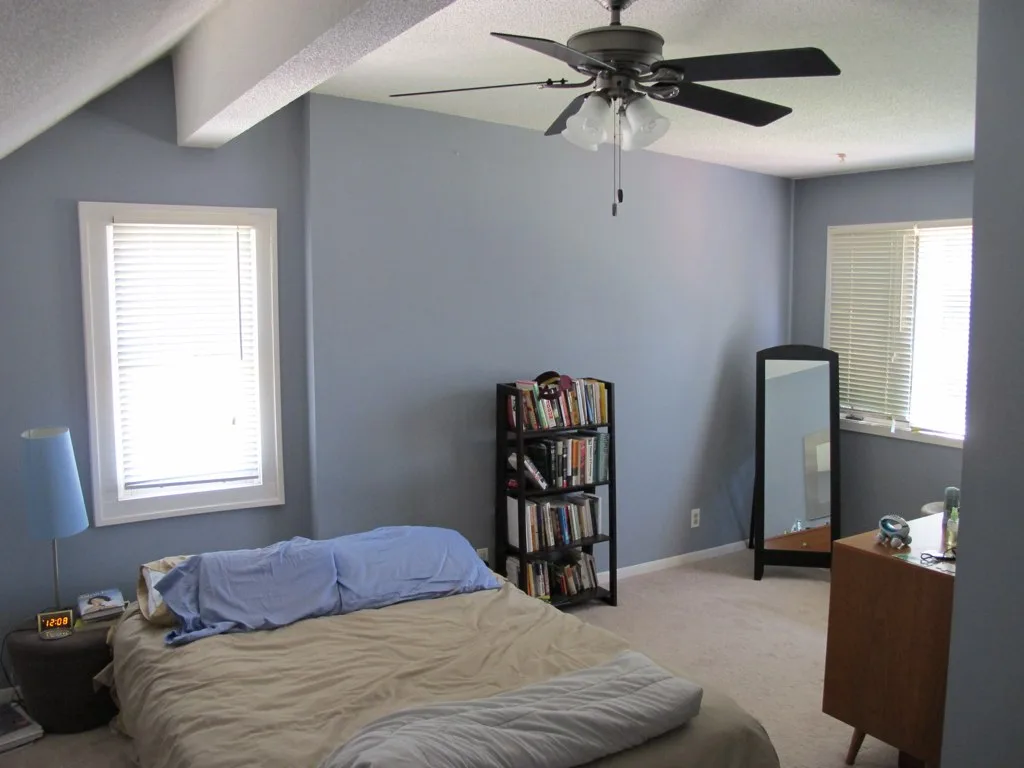
A ceiling fan needs safe blade clearance below and enough space above to avoid a cramped install or weak airflow. In rooms where the finished ceiling is near the minimum 8-foot code height, I start with flush-mount or hugger models and then verify the installed blade height from the floor. Standard 9-foot rooms often take a regular mount, and taller or sloped ceilings usually need a downrod or slope kit.
Minimum blade clearance and ideal installed height
Most standard habitable rooms are built around a code minimum ceiling height of 8 feet. In current new-home construction, 9-foot ceilings are common enough that many fan boxes, stock downrods, and builder-grade light layouts assume that height from the start.
Those facts matter because a fan has to fit inside that envelope with safe blade clearance. On many installs, the useful target is to keep the blades high enough for safety but low enough to move air where people live, sleep, and work.
Flush-mount vs standard mount vs downrod
Flush-mount, often called hugger style, is for rooms where every inch matters. It keeps the motor housing close to the ceiling, and on 8-foot ceilings I treat it as the first option unless the fan’s published blade height still lands too low.
Standard mount works well in many rooms with 9-foot ceilings. For higher ceilings, a downrod brings the fan back into the useful airflow zone instead of leaving it stranded overhead.
Flat ceilings can be raised to between 10 and 13 feet for a brighter, more spacious feel. In rooms like that, a short standard mount often leaves the blades too high, so downrod selection becomes part of fan sizing rather than an accessory decision.
How to handle sloped ceilings and angled mounting
Vaulted and angled ceilings need more than a longer rod. The mounting system has to let the fan hang plumb and clear the slope without the blade tips crowding the ceiling.
Check whether the fan includes a slope-compatible canopy or requires a separate kit. If the room has a dramatic pitch, verify that the fan model itself is approved for angled mounting before purchase.
Low-ceiling and high-ceiling fit mistakes to avoid
The most common low-ceiling mistake is buying a standard-mount fan because it matches the room finish, then finding out the blade height is unsafe. The common high-ceiling mistake is keeping the fan tight to the ceiling because the stock rod came in the box.
Both errors lead to bad outcomes: one creates a clearance problem, the other creates weak airflow.
Which fan specs matter before I buy?
Before buying, compare the fan as an appliance, not as decor. The motor type affects noise and efficiency, the control system has to match the wiring, the light kit has to be serviceable, and the location rating must match indoor humidity or direct weather exposure.
DC motor vs AC motor
DC motor fans are often quieter and more efficient than AC motor fans, and they may offer more speed settings. AC motor fans are simpler, easier to pair with basic wall switches, and often easier to troubleshoot with common replacement parts.
That does not make one universally better. DC models often depend on electronic control boards and dedicated remotes. When they fail, diagnosis can involve the receiver, control module, or paired handset. AC fans more often use familiar parts such as capacitors, pull switches, and wall controls.
Control options and wiring limits
Pull-chain control is the least picky about wiring. A single switched leg can run it without much drama.
Wall controls work best when the control is approved for that motor type. Remote-control fans are useful where only one switched hot is available, but the receiver becomes another failure point later. Smart control compatibility sounds attractive, yet I have run into clashes with existing wall dimmers, old switch loops, and proprietary remotes.
If a room has separate fan and light conductors from the switch box to the ceiling box, control options open up. If it has only a constant hot and neutral at the ceiling with one switch leg, choices tighten fast.
Light kit choices: integrated LED vs replaceable lamps or modules
Integrated lights keep the housing compact. They also tie future repairs to that module or driver. If the module fails and the maker stops supporting it, replacement can become harder than expected.
Fans that use replaceable bulbs are easier to keep going with ordinary parts. Check dimmability before buying. A fan light that hums on a wall dimmer is often a compatibility problem, not a bad motor.
Dry, damp, and wet ratings
Dry-rated fans belong indoors in normal rooms. Damp-rated fans can handle some moisture and are commonly used in places like basements and covered porches that are sheltered from direct water exposure. Wet-rated fans are for places where direct water exposure may occur.
Covered porch suitability depends on exposure, not just the roof overhead. If rain regularly blows in, move to a wet-rated fan.
Fan selection and install readiness checklist
How to use the checklist before purchase
This table is meant to stop bad buys early. Fill it out before ordering the fan, and again before opening the box on install day. If one field fails, the fan may still look good on paper but be wrong for the room, the ceiling, or the circuit.
Checklist table
| Room | Room size | Ceiling height | Slope | Box rating | Wiring type | Location rating | Control preference | Likely repair risks |
|---|---|---|---|---|---|---|---|---|
| Primary bedroom | About 140 sq. ft. | 9 feet | Flat drywall ceiling | Fan-rated box confirmed | Separate fan and light conductors | Dry-rated | Wall fan control plus dimmable light | Receiver conflicts if remote-only fan is chosen; hum from wrong dimmer |
| Covered porch | Long narrow seating area | 9 feet | Slight exterior pitch | Fan-rated exterior box confirmed | Single switched leg | Damp-rated minimum; wet-rated if wind-driven rain reaches fan | Pull chain or remote | Corrosion at blade irons, receiver moisture trouble, finish wear |
| Basement family room | Large open area | Low duct crossings and open zones | Flat in one bay, obstructions nearby | Fan-rated box and brace needed | Constant hot at ceiling, single wall switch | Damp-rated if humidity is persistent | Remote with memory or new wall control run | Intermittent receiver issues, weak airflow if mounted too high near ducts |
What a failed checklist result means
A failed box-rating field means stop and change the electrical support. A failed location-rating field means choose a different fan. A failed wiring field means either revise the control plan or run new wiring. A failed slope field means add the right kit or choose another model.
Can my ceiling and electrical box support a ceiling fan?
A ceiling fan should be installed with a fan-rated electrical box, secure mounting hardware, proper grounding, and support that can handle vibration over time. A standard light box may hold a fixture but still fail under the twisting loads of a fan, especially on high speed or after balancing drifts.
Why a fan-rated box is different from a light box
The difference is support and movement. A light fixture hangs. A fan hangs, spins, and transmits vibration into the box and framing.
If the existing box is plastic, shallow, loose, or labeled only for a light fixture, treat it as suspect until verified. The bracket in the fan carton should match a listed fan-rated box, not force a compromise with odd screws or slotted improvisations.
Bracing options for old-work and new-work installs
Old-work installs often use an expanding brace between joists with a fan-rated box attached. New-work installs may fasten directly to framing before the ceiling goes up.
A conventional ceiling is generally finished with drywall and painted over to create a flat finished surface, which makes old-work box upgrades common in existing rooms. In basements with drop ceilings, the situation changes. Drop ceilings are secondary grid structures that suspend tiles below the main ceiling, and drop ceiling tiles are typically 2 by 2 or 2 by 4 feet. The fan still needs support from the structure above, never from the grid alone.
Mounting bracket fit, grounding, and hardware checks
Use the bracket supplied or approved for that fan. Confirm the green or bare grounding conductor is present and attached correctly. Check that the canopy seats cleanly without pinching conductors and that the downrod ball or hanging hook is fully captured.
Wiring setups that limit fan and light control choices
Three common homeowner surprises show up here. A switched leg may power the whole fan from one wall switch with no separate light control. A constant hot at the ceiling may leave the fan controlled only by pull chains or a remote unless new switch wiring is run. Separate fan and light conductors give the most flexibility.
How is a ceiling fan installed safely and correctly?
Safe fan installation starts with power shutoff, voltage confirmation, and a stable ladder, then moves through box verification, bracket mounting, supported hanging, wiring, blade assembly, balancing, and final testing. The process is straightforward only when the ceiling box, wiring, and mounting method already match the fan.
Tools and safety steps
- Shut off the breaker, not only the wall switch.
- Verify power is off with a tester at the ceiling conductors.
- Use a ladder tall enough to avoid overreaching.
- Lay out blades, screws, canopy parts, and controls before lifting the motor.
- Confirm the box is fan-rated and tightly fastened.
- Support the fan body on the bracket hook or hanging feature while wiring.
Swap-in installation vs first-time installation
A direct replacement is the easier path when a fan-rated box, ground, and suitable switch leg already exist. First-time installs are different. They may need a new brace, a new box, new switching, and drywall or ceiling repair around the opening.
Hanging, wiring, blade assembly, and balancing
Mount the bracket first. Hang the motor body in its temporary support position. Make tight wire connections, tuck them cleanly, then secure the canopy before installing blades and light parts.
Blade assembly is where many wobble problems begin. Keep screws evenly snug, blades matched by position, and any blade-irons installed exactly as labeled. Balance only after confirming the box, bracket, and blade hardware are tight.
Post-install tests
Run the fan through every speed. Check direction change, light operation, dimming behavior, remote response, and whether the housing stays steady. A slight startup sway can be normal. Persistent wobble, ticking, or speed hunting is not.
How much does it cost to install or replace a ceiling fan?
A basic fan swap usually costs far less than a first-time install, but price climbs when the job needs a fan-rated box, new brace, added wall control wiring, high-ceiling access, or outdoor-rated hardware. The cheapest-looking fan job often turns expensive when the box or controls are wrong.
Typical labor for a direct replacement
For a simple replacement at a sound fan-rated box, labor often lands in the low hundreds in many markets. That assumes normal ceiling height, easy ladder access, and no rewiring surprises.
Added cost drivers
Costs rise when the old box is only light-rated, when the ceiling opening needs repair, or when separate fan and light control is requested but the cable does not support it. Very high ceilings and steep slopes also add time.
Outdoor locations can cost more because hardware, caulking details, corrosion-resistant parts, and troubleshooting take longer.
Context for ceiling access and specialty ceilings
If the ceiling itself is being changed, fan planning should happen first. Professional installation of a dropped ceiling costs approximately $9 to $13 per square foot. A vaulted ceiling in a 20-by-20-foot room may run from $18,000 to $25,000 to install. Those are ceiling-project numbers, not fan-install numbers, but they show why it is cheaper to plan fan support and wiring before the finish ceiling is closed.
When DIY saves money and when it does not
DIY saves the most on a straightforward swap. It saves far less when the job needs box replacement, control rewiring, exterior rating decisions, or diagnosis of old house wiring that does not match the switch layout.
Why is my ceiling fan wobbling, humming, or making noise?
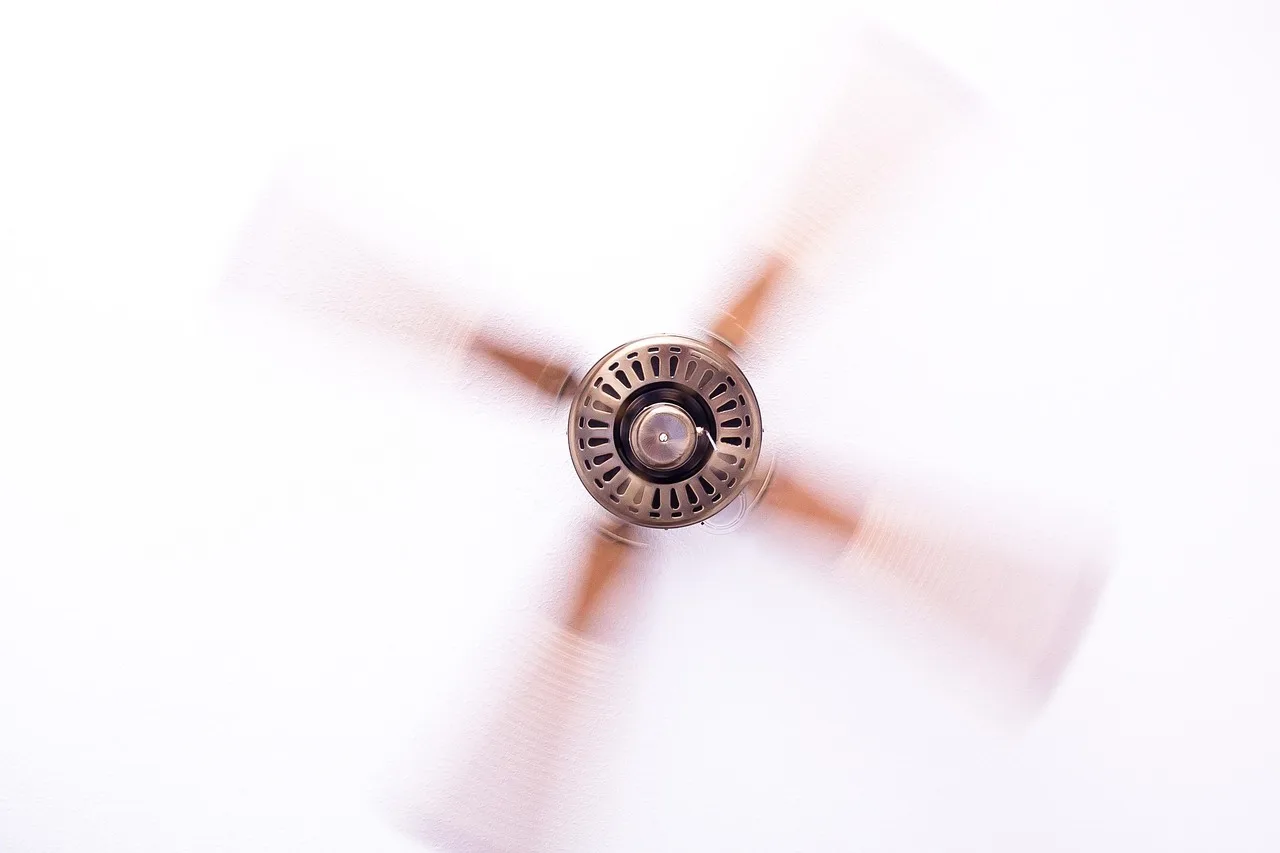
Most fan noise and wobble come from loose mounting hardware, blade imbalance, mismatched controls, worn capacitors, or housing contact inside the canopy or light kit. The right fix depends on the symptom pattern, because a wobble problem is diagnosed very differently from a low electrical hum.
Loose hardware, blade mismatch, and balance problems
Start with the basics. Loose blade screws, loose blade irons, a slack downrod set screw, or a bracket that never seated flat can all create wobble.
If the fan wobbles at one speed more than others, look closely at blade alignment and balance. If the whole box area moves, stop using the fan until the box and bracket are checked.
Humming, clicking, and ticking
Humming often points to a control mismatch, especially a dimmer or speed control not approved for that fan. It can also point to capacitor trouble in AC fans.
Clicking and ticking usually come from blade contact, loose light-kit parts, wire nuts touching the canopy, or a blade iron slightly rubbing. A rhythmic scrape can mean the motor shaft or housing has a deeper issue.
When noise points to a mounting or box problem
If the sound comes from above the canopy, or if the fan visibly shifts at the ceiling, think structure first. A poor box, weak brace, or loose bracket can sound like a bad motor when the real problem is the support.
How do I fix a ceiling fan that stopped working?
Begin with the power path: breaker, wall switch, pull chain, remote battery, and receiver settings. If power is present, move to the common failure parts such as the receiver, capacitor, reverse switch, pull switch, or light module before condemning the whole fan as dead.
Start with the simple checks
Make sure the breaker is on and the wall switch is actually feeding the ceiling box. Confirm the pull chain is not set to off. If the fan uses a remote, check battery condition and dip-switch or pairing status if applicable.
If the light works but the fan does not, the problem is usually downstream of the incoming power. If neither works, move back toward the switch, receiver, and supply conductors.
Test common failure parts
A failed remote receiver can block both fan and light commands even when line power is present. A bad capacitor often causes weak starting, one-speed operation, or a motor that hums without turning. A reverse switch can fail between positions and interrupt operation.
Pull switches wear out. So do integrated light modules and socket assemblies.
Replacement parts usually worth trying first
- Capacitor: common on AC fans with speed or startup trouble.
- Remote receiver: common on remote-only fans with dead controls.
- Blades or blade irons: worth replacing if one is warped or damaged.
- Pull switch: inexpensive and often the reason a fan seems dead.
- Light module: a common fix when the fan runs but the light fails.
When repair is no longer economical
Replacement becomes the better choice when the motor is overheating, the housing or mounting points are damaged, proprietary electronic parts are unavailable, or the fan has multiple faults at once. A basic wobble or receiver problem is usually worth chasing. A noisy motor plus failed light module plus corroded outdoor hardware usually is not.
Frequently asked questions
Should I buy a ceiling fan with a light or without one?
Buy a lighted fan when the room actually needs overhead light from that location and the control plan supports it. Choose a fan without a light when separate task or recessed lighting already covers the room, because simpler fans usually have fewer parts to fail later.
Is a DC motor ceiling fan better than an AC motor?
DC is often better for quiet operation, efficiency, and extra speed choices, while AC is often easier to wire with simple controls and easier to repair with common parts. The better choice depends on whether the priority is low noise and features or simpler long-term service.
Can I install a ceiling fan in a basement or covered porch?
Yes, if the fan has the right location rating and the box is fan-rated and properly supported. Many basements need at least a damp-rated fan if humidity is persistent, and covered porches may need wet-rated hardware when wind-driven rain can reach the fan body.
What tools and safety steps are needed to install a ceiling fan?
At minimum, use a stable ladder, screwdrivers, wire strippers, pliers, a voltage tester, and the fan’s mounting hardware. Shut off the breaker, verify the circuit is dead at the ceiling conductors, confirm the box is fan-rated, and support the motor body while making wire connections.
Can you install a ceiling fan on a low ceiling?
Yes, but the fan has to be chosen for low-clearance use and mounted so blade height stays safe. That usually means a flush-mount or hugger model rather than a standard downrod fan, plus a hard check that the installed blade position clears the occupied space below.
What ceiling height do I need for a ceiling fan?
A room can accept a fan only when the final blade height leaves safe clearance below and enough room above for proper mounting. Since most standard rooms start at an 8-foot code minimum, low-ceiling rooms need especially careful model and mounting selection.
Sponsored / affiliate links. As an Amazon Associate I earn from qualifying purchases. I may earn additional commission from eligible campaigns.
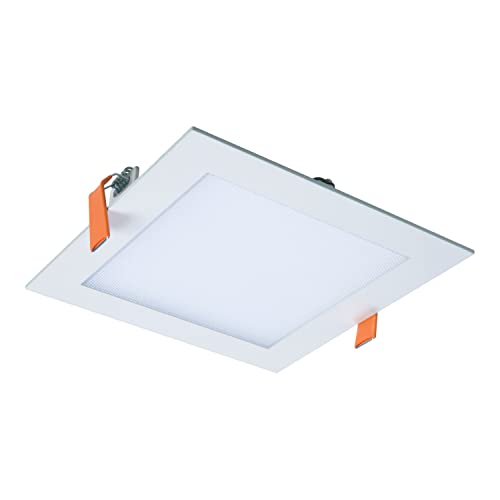 HALO HLB 6 in Square Canless Ultra-Thin LED Recessed Lighting Wafer Light, 900 Lumens, 5 Selectable Color Temperatures 2700K-5000K, Wet Rated, Energy Star Certified for Ceiling and Shower
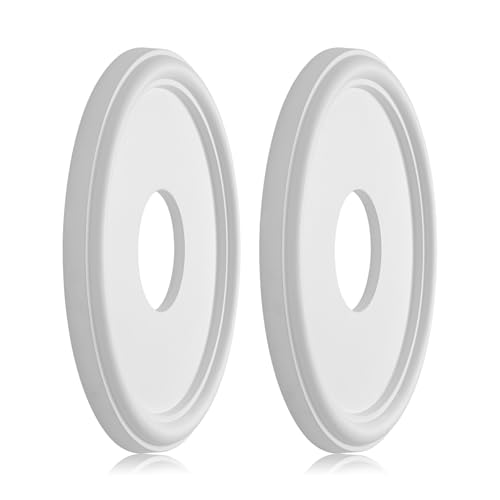 EIFHYT Molded PU Ceiling Medallion for Light Fixtures and Ceiling Fans, 13.1"OD x 4"ID x 1"P (Fits Canopies up to 10.25") White