Ceiling Fan Remote, Wiring, Wobble and Noise Problems: Hunter, Hampton Bay, Harbor Breeze and More
Use a 2-step split: if the fan works from the wall switch but not the remote, common suspects are the battery, pairing, dip settings, or receiver; if it fails on both, check the wiring, capacitor, switchgear, or motor. Pick the wrong branch and you can order the wrong receiver or capacitor, while ignored wobble can damage the bracket or ceiling box. This fault tree sorts Hunter, Hampton Bay, Harbor Breeze, and universal-remote remote, wiring, wobble, clicking, humming, and one-speed symptoms into fast checks before you order parts.
Start with safety and the fast first checks


Turn the breaker off before opening anything
Shut the fan circuit off at the service panel before you remove the canopy, open the switch housing, or touch the light kit wiring compartment. Lock the breaker if your panel accepts a lockout, or leave a note so nobody turns it back on while you are working. Hunter advises switching power off at the breaker before inspecting wiring. Follow the product manual, stay within the fan’s listed wiring method, and if any step conflicts with the manual, use the manual.
What to check before you remove the canopy
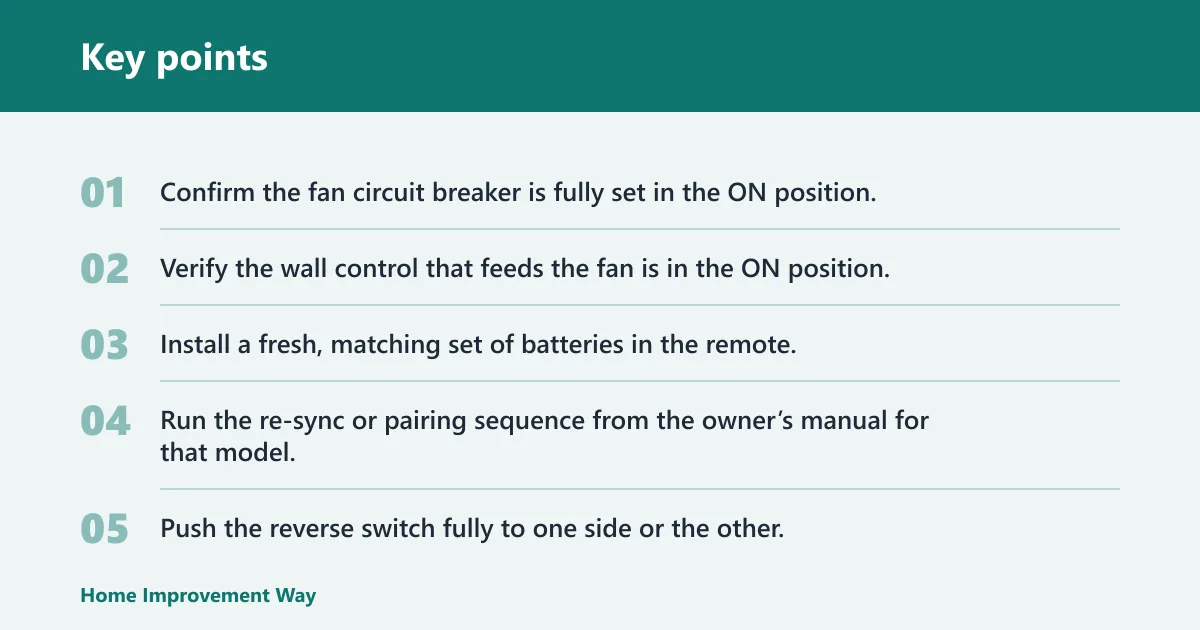
- Confirm the fan circuit breaker is fully set in the ON position, then switch that breaker OFF before disassembly.
- Verify the wall control that feeds the fan is in the ON position, and if there are separate fan and light switches, make sure the fan switch is the one energized.
- Install a fresh, matching set of batteries in the remote, observing the polarity marks inside the battery tray.
- Run the re-sync or pairing sequence from the owner’s manual for that model.
- Push the reverse switch fully to one side or the other; a midpoint position can stop operation.
- If the fan has a pull chain, click it through each speed position. It should click cleanly.
- If there is a light kit, confirm bulbs are seated correctly and any light kit plug is fully connected.
Why the wall switch, reverse switch, and pull chain come before parts replacement
These checks separate simple control faults from failed parts. Hunter lists remote batteries and wiring connections among the first checks when a fan will not turn on, and it also notes that remote trouble can involve batteries, pairing, the receiver, and fan power. The reverse switch and pull chain matter because either one can interrupt the speed circuit and look like a bad receiver or motor.
Suppose the light works from the wall switch, the motor hums, and the fan will only run after a blade push. That pattern points away from a dead supply and toward the speed circuit, often the capacitor, reverse switch position, or pull chain internals.
Why is my ceiling fan remote not working?
If the fan works from the wall switch but ignores the remote, start with batteries, pairing, and any dip-switch or code settings listed in the manual. If the wall switch must be on for the remote to work, a bad receiver can look like a dead fan even when the motor and wiring are still good.
Remote checks that actually separate causes
Hunter says remote problem checks include batteries, pairing, receiver, and fan power. That order matters. A receiver in the canopy needs line power from the ceiling and a valid signal from the handheld remote. If the wall switch is off, many remote systems look dead because the receiver has no power.
- Battery issue: No light response, no fan response, no pairing confirmation.
- Pairing or code issue: Fan has power, but remote controls nothing after battery replacement.
- Receiver issue: Wall power is present, pairing steps fail, and manual bypass testing later proves the motor circuit can run.
- Power feed issue: Remote cannot work because the receiver never gets supply power.
Brand-aware reset and pairing notes
Hunter: Follow the owner’s manual for pairing or reset steps for the exact model. Hunter’s own troubleshooting points to batteries, pairing, receiver, and fan power first, so do not jump straight to a motor diagnosis.
Hampton Bay: Check the model manual for code, learn, or pairing steps before opening the canopy. Some models use a separate handheld remote and receiver; others route light and fan control through a combined control kit.
Harbor Breeze: Confirm the remote code or learn procedure in the manual and check whether the wall switch must stay on continuously for remote control. If settings changed after battery replacement, a code mismatch can disable control.
Universal remote-receiver fans: Never assume one universal receiver will replace another. Match the voltage, control type, downlight compatibility, and connector layout or wiring scheme listed for the fan.
A common mistake is replacing the handheld remote because the fan stopped on a single speed. If the wall switch still powers the receiver but the speed output has failed inside the receiver or capacitor circuit, a new remote changes nothing.
How to troubleshoot a Hunter ceiling fan remote
If a Hunter remote only works at close range, controls one speed, or stops responding entirely, the likely culprit is usually the batteries, the receiver, or a lost pairing—not the fan motor itself. The supporting guide breaks down each symptom so you can narrow the problem quickly and avoid replacing the wrong part.
It also explains when to check the wall control, power supply, reverse switch, and wiring, plus when a receiver replacement is the sensible fix. For a step-by-step way to match the symptom to the cause, see Hunter remote troubleshooting.
How to reset a Minka-Aire remote control
If your Minka-Aire fan still has power but the remote stopped responding, the fix is often a reset and re-pair. The supporting guide walks you through the basic sequence: cut power briefly, restore it, then match the remote and receiver codes so they communicate again. It also explains what to check first, like batteries, dip-switch settings, and whether the receiver is actually the part causing the failure.
This matters because a lost pairing can look like a bad motor or dead fan, when the real issue is just a code mismatch. See the Minka-Aire remote reset guide for the exact steps and the clues that help you avoid replacing parts you do not need.
How to Match a Hunter Remote and Receiver Code
If a Hunter ceiling fan remote has stopped responding after a battery change or seems to control the wrong fan, the fix is usually to match the remote and receiver code, not “change the frequency” in the radio sense. The supporting guide walks through how to find the DIP switches or learn-mode setting, when to shut off power at the breaker, and how to re-pair the parts safely. It also explains which symptoms point to a bad receiver instead of a simple code mismatch, so you can avoid replacing the wrong part. See the Hunter remote frequency guide for the step-by-step process.
How to Pair a Hampton Bay Remote the Right Way
If your Hampton Bay fan remote stopped responding, the fix usually comes down to matching the remote to the receiver and using the correct pairing method for that exact model. This guide explains how to check for DIP switches, when to use the learn button, and how to reset power before pairing so you do not end up with a fan that will not respond or a light that stays on.
It also helps you separate a simple programming issue from a failed remote or receiver. For a step-by-step breakdown, see Hampton Bay remote programming.
How do I know if the receiver or wiring is bad?
The clean split is this: the receiver is usually in the canopy and takes the remote signal, then switches power to the fan speed and light circuits; house wiring delivers power to that receiver. If a model-specific hardwire bypass makes the fan run, the receiver or its control path is suspect. If bypass changes nothing, look harder at wiring, capacitor, switchgear, or motor.
Where the receiver is and what it does
On many remote-controlled fans, the receiver sits in the canopy above the downrod ball or beside the mounting bracket. It takes incoming power from the house wiring, reads the remote signal, and sends controlled output to the fan motor and light. When it fails, it can mimic motor trouble because the motor never gets the right speed feed.
Replacement must match the fan’s listed voltage and the connector type or wiring scheme. A box that looks the same is not enough. The wrong receiver can disable light control, speed control, direction control, or all of them.
Safe isolation logic
With the breaker off and the manual in hand, inspect for loose wirenuts, loose plugs, heat-darkened insulation, or disconnected wire-set plugs. Hunter notes that a fan with power but no spinning may involve the internal wiring, capacitor, or receiver. That is why the canopy inspection comes before you order parts.
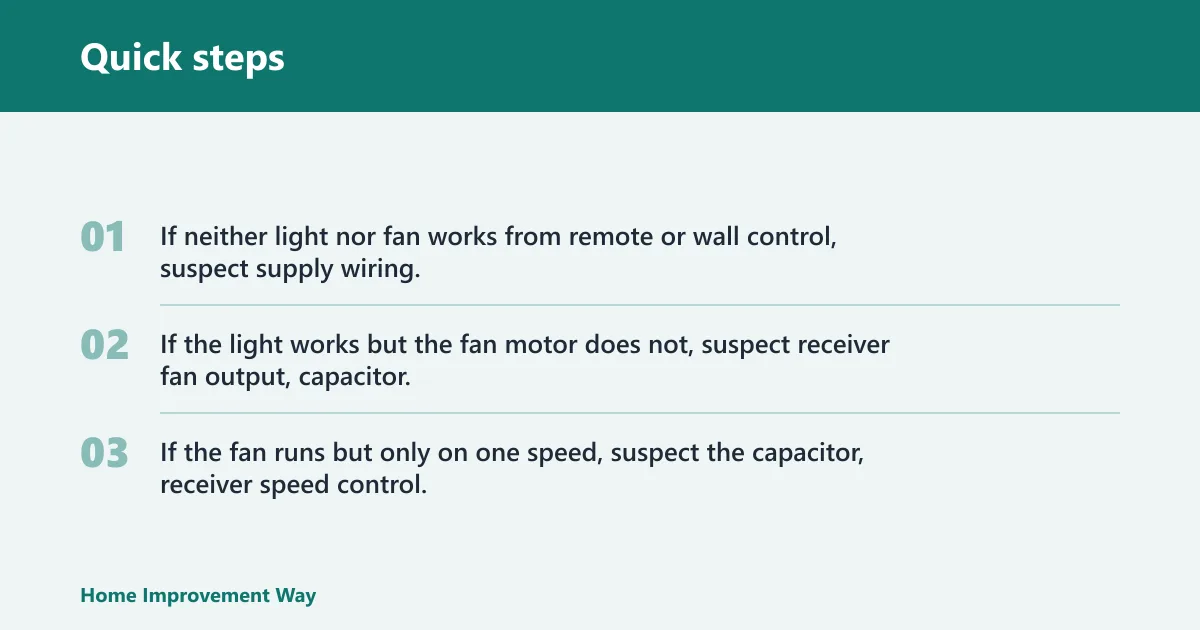
- If neither light nor fan works from remote or wall control, suspect supply wiring, wall switch, breaker, or a fully failed receiver.
- If the light works but the fan motor does not, suspect receiver fan output, capacitor, reverse switch, pull chain, or motor circuit.
- If the fan runs but only on one speed, suspect the capacitor, receiver speed control, or pull chain switch.
What a hardwire bypass result does and does not prove
A hardwire bypass is a model-specific diagnostic that must follow the manufacturer’s wiring diagram and manual. The goal is to remove the receiver from the path temporarily and connect the fan motor and light according to the approved bypass method for that fan. Do not improvise wiring.
If bypass restores normal fan operation, the receiver or remote control path is a leading fault. If bypass still leaves a hum, no start, or one-speed operation, the fault is farther downstream, often the capacitor, reverse switch, pull chain, internal wiring, or motor. If bypass restores the light but not the fan, that split points away from house supply and toward the motor-speed circuit.
What should you check when the fan has power but will not spin?
If power reaches the fan but the blades do not turn, check the reverse switch position, pull chain operation, capacitor symptoms, and receiver output before calling the motor bad. Hunter notes that a fan with power but no spinning may involve the internal wiring, capacitor, or receiver, so a dead stop does not automatically mean motor failure.
Capacitor symptoms that fit this fault
The ceiling fan capacitor is measured in microfarads (µF) and also carries a voltage rating. It is often hidden in the switch housing rather than the canopy. A weak or failed capacitor can cause humming, slow starts, one-speed operation, or a fan that may need a push to get going.
Replace it only with an exact or close electrical match where the manufacturer allows that match. Confirm the µF values and voltage rating printed on the old part and in the parts list for the model. If those do not match, stop and verify the correct part number.
Reverse switch and pull chain checks
The reverse switch is the small slide switch on the motor housing. It must be fully left or fully right. Hunter notes that direction problems can involve the direction switch, remote settings, receiver, or internal wiring. A switch stuck between positions can leave the fan dead or erratic.
For chain-operated speed selection, the pull chain should click through positions. If it spins freely, skips a position, or never changes speed, the switch may have failed internally. That fault can mimic a bad capacitor because the motor never gets the intended speed tap.
When the motor becomes the likely fault
If a correct bypass test rules out the receiver, the capacitor matches and tests as expected for the model, the reverse switch is fully engaged, and the pull chain or wire set checks out, then motor trouble moves up the list. Grinding noises, overheating smell, or repeated tripping after control parts are ruled out push the diagnosis toward motor wear instead of control failure.
Say your fan light comes on every time, the remote pairs, and the motor only hums on every speed setting, even after the receiver is bypassed per the wiring diagram. That changed variable points away from the receiver and toward the capacitor or motor circuit.
How do you fix a ceiling fan that wobbles?
Fix wobble in order: tighten blade screws and mounting hardware evenly, inspect blade irons and blade alignment, then use a blade balancing kit to confirm and reduce blade imbalance. Hunter says wobble often comes from loose blade screws, bracket issues, or blade balance, and it recommends using a blade balancing kit.
Tighten the hardware that actually causes wobble
Start with blade screws, blade irons, and the mounting bracket. Tighten them evenly instead of fully tightening one blade at a time. Loose blade screws can also cause clicking, so this step addresses both movement and noise.
Check the canopy screws and the ball-and-socket seating at the mounting bracket. If the fan is not seated correctly at the hanger, balancing weights will not correct the movement.
Check blade alignment before using balancing weights
Look for a bent blade iron, warped blade, or one blade sitting at a visibly different pitch. A balancing kit is for fine correction after hardware and alignment are confirmed. It is also a useful diagnostic tool: if clip placement changes the wobble noticeably, blade imbalance is likely; if it does not, look back to mounting or blade iron issues.
When wobble points to mounting trouble, not blade balance
If wobble stays the same no matter which blade gets the clip weight, inspect the bracket and hanging system again. Hunter points to bracket issues as a wobble source, and that matters because many people replace blades when the real fault is above the canopy.
Why is the fan clicking, humming, or buzzing?
Match the sound to the part before replacing anything. Clicking usually comes from loose blade screws, switch housing parts, or light kit hardware; humming or buzzing often points to an incompatible wall dimmer, receiver trouble, or a weak capacitor; grinding is more serious and often means motor bearing wear, where repair is less attractive.
Clicking: fasteners, light kit parts, and housing movement
Clicking often shows up once per rotation. Check blade screws first, then light kit screws, globe retainers, and switch housing screws. A loose wire connector tapping the canopy can also click.
Hunter says wobble often comes from loose blade screws, bracket issues, or blade balance. The same loose screws can create a rhythmic click. Tighten evenly, then retest before moving deeper into the wiring path.
Humming or buzzing: dimmer, receiver, or capacitor
Hunter says a fan that hums, buzzes, or clicks may involve an incompatible dimmer switch. A standard light dimmer on a fan circuit can cause humming, erratic speed control, or receiver trouble if the fan is not designed for that control.
To isolate the dimmer, compare operation with the approved wall control setup in the manual. If the sound disappears when the fan is on the correct control method, the dimmer was the problem. If the hum remains after receiver bypass and proper wall control, the capacitor or motor circuit deserves the next look.
Rattle versus grind
Rattling usually comes from canopy trim, light kit parts, loose switch housing screws, or a downrod set screw. Grinding points lower in the motor assembly and is a stop sign for casual parts swapping. Once a fan grinds, replacement often makes more sense than chasing more control parts.
Hunter, Hampton Bay, Harbor Breeze, and universal fan differences
Where to look for the receiver and capacitor
Hunter: The receiver is commonly found in the canopy on remote models. The capacitor may be in the switch housing or another internal compartment, depending on the model. Hunter’s troubleshooting also ties power-but-no-spin complaints to the internal wiring, capacitor, or receiver.
Hampton Bay: The receiver is commonly in the canopy on remote-equipped versions. Capacitor placement varies by model and may require opening the switch housing rather than the canopy. Confirm with the parts diagram for the exact model number.
Harbor Breeze: Remote receivers are commonly in the canopy, while capacitors are often deeper in the switch housing. Some models use plug connectors between harness sections; others use direct wiring. Verify before ordering.
Universal remote-receiver fans: Layout varies by the base fan and the added control kit. The receiver may be easy to reach in the canopy, but the capacitor can still be hidden in the lower housing.
Connectorized versus hardwired replacement decisions
If the receiver or capacitor uses plug connectors, replacement risk is lower because the connection path is easier to match. If the fan uses direct wiring, there is more room for wiring errors, and the manual’s diagram matters even more. Replacement receivers must match voltage, control type, and connector layout or wiring scheme.
How to verify the right replacement part
Use the fan’s model number, the parts list, and the existing part markings. For a receiver, match the listed fan/light control setup and wiring layout. For a capacitor, match the µF values and voltage rating shown on the part and in the model documentation. If the part listing is vague, it is safer to pause than to assume a universal substitute will fit.
Fan fault matrix
| Brand or fan type | Symptom | Probable part | Quick check | Hardwire bypass result | Replacement decision |
|---|---|---|---|---|---|
| Hunter | Remote dead, wall switch on, fan and light both unresponsive | Remote battery, pairing, receiver, fan power | Fresh batteries; pairing steps; inspect canopy connections with breaker off | If bypass restores fan and light, receiver path is bad | Replace receiver only with the listed match for voltage and wiring layout |
| Hunter | Power present, motor hums, blades do not spin | Capacitor, wiring harness, receiver | Check reverse switch fully engaged; inspect harness and switch housing | If bypass changes nothing, receiver is less likely | Confirm capacitor markings and parts list; replace capacitor only with approved match |
| Hampton Bay | Light works, fan only one speed | Capacitor, receiver speed output, pull chain switch | Cycle pull chain; re-pair remote; inspect switch housing for capacitor location | If bypass still gives one speed, receiver is not the main fault | Replace capacitor or pull chain after matching the model parts list |
| Hampton Bay | Clicking once per rotation with visible wobble | Blade screws, blade iron, bracket issue | Tighten blade screws evenly; inspect blade alignment | Bypass test not relevant to mechanical click | Use a blade balancing kit after hardware and alignment checks |
| Harbor Breeze | Remote works for light, fan will not start | Receiver fan output, capacitor, reverse switch | Check reverse switch position; inspect capacitor in switch housing if applicable | If bypass restores fan, receiver is likely at fault | Replace receiver only with the correct compatible unit for that model |
| Harbor Breeze | Buzzing after dimmer installation | Incompatible wall dimmer, receiver stress, capacitor issue | Return to the listed wall control method for the fan | If proper control stops noise, bypass is unnecessary | Remove the incompatible dimmer; replace receiver only if control remains erratic |
| Universal remote-receiver fan | No remote response after receiver swap | Mismatched receiver, wrong connector layout, code mismatch | Compare wiring diagram, learn steps, and connector path to the old part | If direct wiring per manual runs the fan, replacement receiver is mismatched or failed | Use the exact control type and wiring scheme listed for the fan |
| Universal remote-receiver fan | Rattle in canopy, speeds normal | Loose canopy hardware or receiver movement | With breaker off, inspect canopy screws and receiver mounting position | Bypass test usually unnecessary | Secure hardware before replacing any electrical part |
When repair makes sense and when replacement is smarter
Low-risk parts that are usually worth trying
Remote handsets, receivers, capacitors, pull chain switches, blade screws, and balancing kits are the parts most often worth replacing if the diagnosis is clear. They are accessible, they fail in recognizable ways, and they do not require disturbing the whole fan mounting system.
Higher-risk faults that change the decision
Damaged house wiring, repeated receiver failures, signs of overheating, and grinding motor noise move the risk upward. If the fan has already had control parts replaced and still shows erratic behavior, the time spent inside the canopy and switch housing can outweigh the value of one more part swap.
A practical repair-versus-replace threshold
Repair makes sense when the symptom isolates cleanly to one low-risk part and the replacement part is clearly identified by model number. Replacement becomes the better call when parts are obsolete, the motor shows wear, or faults repeat across more than one subsystem, such as receiver trouble followed by capacitor-like speed problems and then bearing noise.
Picture a remote-equipped bedroom fan that starts humming after a dimmer change, then later runs on one speed only. The first fix is the wall control issue. If the noise remains after restoring the proper control method and bypass points away from the receiver, the capacitor is the better next part than a second remote kit.
Frequently asked questions
How do I know if my ceiling fan receiver is bad?
A bad receiver is likely when the fan has supply power, pairing steps fail, and a model-correct hardwire bypass restores normal fan or light operation. If bypass does nothing, the problem is more likely in the wiring, capacitor, reverse switch, pull chain, or motor circuit.
What should I check first if my ceiling fan won’t turn on?
Check the breaker, wall switch, remote batteries, model-specific re-sync steps, reverse switch position, and pull chain position before opening the fan. Only after those checks should you turn the breaker off and inspect canopy wiring, receiver connections, or switch housing parts.
Can a bad capacitor make a ceiling fan stop spinning?
Yes. A failed or weak capacitor can leave the motor humming, slow to start, stuck on one speed, or unable to start without a push. The replacement must match the existing capacitor’s µF markings and voltage rating, using the model parts list to confirm the correct part.
How do I tell if a dimmer switch is causing fan noise?
If humming or buzzing started after adding a standard light dimmer, return the fan to the control method listed in its manual and retest. Hunter says incompatible dimmer switches can cause hum, buzz, or click symptoms, so the wall control setup should be ruled out early.
How do I fix a fan that has power but the blades won’t spin?
With power confirmed and the breaker then turned off for inspection, check the reverse switch, pull chain, receiver path, and capacitor before blaming the motor. Hunter notes that power-but-no-spin symptoms can involve the wiring harness, capacitor, or receiver, so this is a control-circuit problem until proved otherwise.
Sponsored / affiliate links. As an Amazon Associate I earn from qualifying purchases. I may earn additional commission from eligible campaigns.