What Temperature Is Too Cold for Spray Foam Insulation?
Spray foam is too cold to install when either the ambient air or the substrate falls below the product label minimum. Common standard formulations often call for about 60°F or higher, but winter formulas may allow lower limits; always follow the product label. Cold conditions can cause poor rise, weak adhesion, shrinkage, and expensive removal or rework. Check the air, surface, and product minimums before winter spray foam work.
This guide is part of our Winter Weatherproofing: How to Draft-Proof Your Home series.
What counts as too cold?
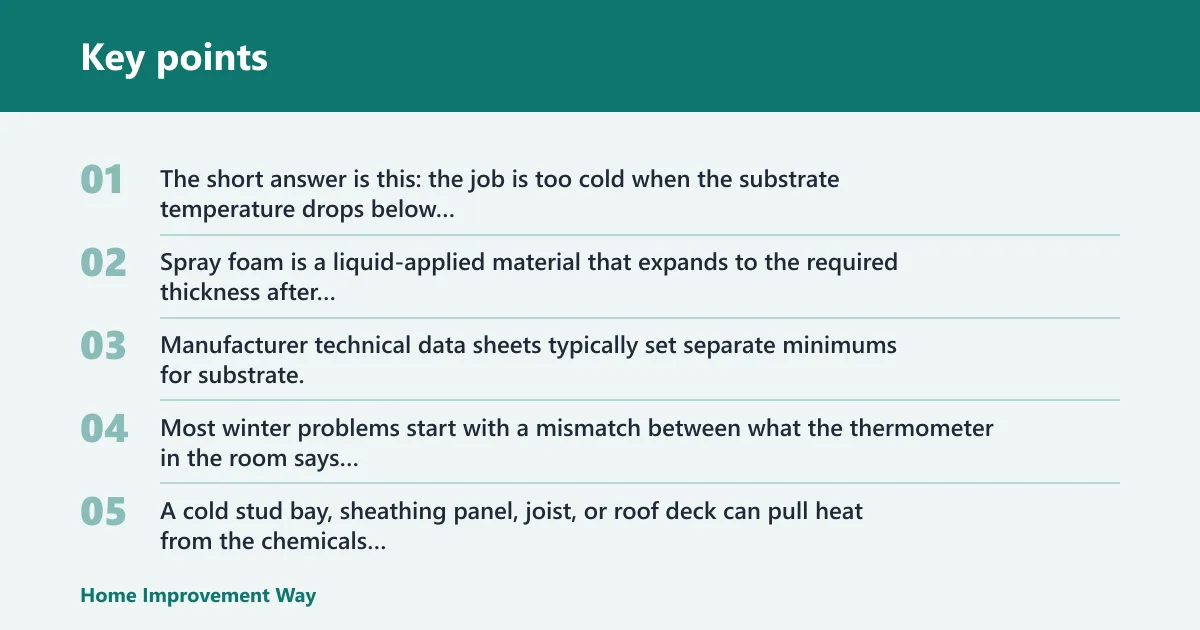


The short answer is this: the job is too cold when the substrate temperature drops below the manufacturer’s minimum, even if the room air feels manageable. Spray foam is a liquid-applied material that expands to the required thickness after spraying, and its cure depends on contact with the surface as well as the surrounding air. Manufacturer technical data sheets typically set separate minimums for substrate, ambient, and component temperatures, so the label—not a rule of thumb—sets the go/no-go threshold.
Most winter problems start with a mismatch between what the thermometer in the room says and what the foam actually touches. A cold stud bay, sheathing panel, joist, or roof deck can pull heat from the chemicals fast enough to weaken adhesion and slow the rise. Building-science guidance from sources such as the U.S. Department of Energy and Building Science Corporation also emphasizes that cold surfaces can sit near the dew point and collect condensation, which changes how insulation and air sealing perform.
Why substrate temperature matters more than outdoor air
Ambient air temperature matters, but it is not the final go/no-go number. The surface temperature of framing, sheathing, masonry, or subfloor is usually the controlling limit because that is where the foam bonds. Cold surfaces raise the risk of pull-away, uneven lift, and incomplete cure. Air leakage also matters because moving air can strip heat from assemblies and carry moisture into cold cavities; code and building-science guidance on air barriers and vapor control consistently treats uncontrolled leakage as a major moisture and energy risk.
In practical terms, an air heater can warm a room without fully warming the wood or sheathing behind it. That is why winter work needs a surface check, not just a space check. If the assembly is drafty, the surface may lag far behind the room air and may not stay warm enough long enough for dependable foam bonding.
What minimums usually come from the product data sheet
Product data sheets commonly list a minimum substrate temperature, a minimum ambient temperature, and a material temperature range for storage and spraying. Those numbers vary by system. A common field rule is that many systems call for about 60°F on the surface and in the air, but winter formulations can be rated lower; the product label controls the job. This is also where manufacturer guidance matters most: the same brand may have different limits for different foam chemistries and seasons.
If the label says the foam must be conditioned to a certain drum temperature, that requirement matters too. Cold drums can change viscosity and mix quality, which can affect spray pattern and final cell structure. Manufacturer TDS guidance commonly ties proper proportioning and spray quality to keeping both A-side and B-side components within their stated temperature range before and during application.
How cold affects adhesion, lift, and cure
When foam is sprayed onto a cold surface, it may not wet out properly before expansion starts. That can leave weak bond lines, thin spots, or voids at the edges of cavities. Cold also slows chemical reaction, so cure takes longer and the crew may need to delay trimming, inspection, or drywall. If the surface is also damp or near the dew point, the risk rises further because the bond line can be compromised before the foam fully sets.
| Condition | Risk | Action |
|---|---|---|
| Substrate temperature below the product minimum | Poor adhesion, pull-away, weak lift, possible rework | Postpone or heat the surface until it reaches the label minimum |
| Ambient temperature below the product minimum | Slower reaction, inconsistent spray quality, cold work area | Preheat the space and verify the temperature near the work zone |
| Material drum temperature below the label range | Thick material, uneven mix, poor pattern and cure | Condition drums in a heated area before spraying |
| Surface moisture or condensation present | Bond failure, trapped moisture, reduced performance | Dry the surface completely and stop if condensation returns |
Can spray foam be installed in winter?
Yes, spray foam can be installed in winter if the building and the product are conditioned to the manufacturer’s requirements. Winter work is common in new construction and retrofit projects, but the crew needs warm surfaces, warmed material, and dry cavities before spraying begins. SPFA-style installation guidance generally puts the emphasis on surface condition, material conditioning, and moisture control rather than the calendar date.
That matters because spray foam helps with air sealing in walls, roofs, crawl spaces, and attics, and the installation order often sits late in the schedule. Proper sequencing is especially important when the assembly is still open to exterior air or when other trades have left gaps that allow the shell to draft.
When preheating the space makes sense
Preheating makes sense when the structure is enclosed, the framing is dry, and the temperature can be held long enough to warm the substrate, not only the air. This is especially useful in tight spaces like framed walls or enclosed roof decks where heat can be retained. The key is to heat long enough for the wood, sheathing, or masonry to catch up; surfaces can lag the room air by hours, not minutes, after the thermostat says the space is warm.
Preheating also helps reduce wind loss around open bays and cold air infiltration through unsealed openings. That can matter for winter comfort and for keeping the work zone stable while the crew sprays. In a drafty shell, the heater may chase losses without ever bringing the actual substrate into range.
When to pause the job
Pause the job if the surface is still cold after heating, if condensation forms on framing or sheathing, or if the material cannot be kept within the label range. Wet or cold substrates are a common cause of installation failure, especially in crawl spaces and exterior wall cavities. SPFA/industry guidance on prep and moisture control points the same way: spray foam should go onto clean, dry, sound surfaces.
Suppose a basement wall reads 58°F in the air, but the concrete and rim joist stay damp and feel cool to the touch after heating. That job is not ready, even if the room thermometer looks acceptable. Concrete and masonry can hold cold longer than air, so the substrate check is the one that matters.
Why new construction needs tighter scheduling
New construction gives more control, but it also creates more trade coordination pressure. Framing must be complete, electrical and plumbing rough-ins must be done, and the space must be ready for insulation before drywall closes it in.
Cold-season scheduling is easier when the insulation crew knows when the building will be enclosed, heated, and inspected. A delay in one trade can push foam work into colder conditions and raise the chance of rework. A shell that is still open to wind can also keep cavity temperatures unstable even if a temporary heater is running.
Open-cell vs. closed-cell in cold weather
Closed-cell spray foam usually has the edge in cold, moisture-prone spaces because it forms a rigid layer and is far less vapor permeable than open-cell foam. In common industry guidance, closed-cell foam is often used where air sealing plus moisture resistance are priorities, while open-cell foam is chosen where greater vapor openness is acceptable.
That difference matters in winter because cold surfaces often sit near condensation conditions. Closed-cell foam, with approximately R-6 per inch long-term thermal resistance, is often chosen where moisture control and higher R-value per inch are priorities. Open-cell spray foam is typically around R-3.5 to R-3.9 per inch, depending on the formulation and source.
Why closed-cell handles moisture better
Closed-cell foam’s rigid structure makes it better suited to areas where water resistance matters, such as crawl spaces, roof assemblies, and some exterior wall applications. It can serve as an air barrier, and some product systems also qualify as vapor retarders depending on thickness and code conditions.
That airtight layer can reduce air leakage, and building-science and code guidance consistently treat air leakage as a major driver of energy loss and moisture transport. In winter, fewer leaks also mean less draft movement and less moisture carried into cold cavities. For related assembly guidance, see rim joist insulation and crawl space encapsulation.
Where open-cell still makes sense
Open-cell spray foam can still work well in interior wall cavities, sound-damping assemblies, and other dry spaces where vapor openness is acceptable. It expands after spraying, seals gaps, and can still improve comfort and air sealing when installed under the right conditions.
For a warm, dry interior partition, open-cell may be a good fit. For a below-grade crawl space or a damp roof deck, closed-cell is often the safer winter choice. If you are comparing assemblies, a broader discussion of performance tradeoffs is covered in closed-cell vs open-cell spray foam.
How thickness and coverage affect performance
Thickness matters in cold weather because thin applications cool faster and may not build evenly. Closed-cell foam reaches its target performance in fewer inches than open-cell, so it can be useful where space is tight, such as around rim joists or along roof lines.
Coverage also has to match the cavity depth and the product’s pass thickness limits. Too much foam in one pass can trap heat and create poor quality, while too little may leave gaps that weaken the air seal. Attic work in particular benefits from careful air sealing before insulation, which is why it helps to review attic air sealing when planning winter envelope work.
What happens if foam is too cold?
Foam applied below its minimum temperature can sometimes fail in several ways at once, including poor adhesion, pull-away, uneven expansion, and slower or incomplete cure. The most common problems are poor adhesion, pull-away from framing or sheathing, uneven expansion, and a slower or incomplete cure that holds up follow-on work. Those are not just cosmetic defects; they can leave hidden gaps in walls, roofs, crawl spaces, and attics that reduce air sealing and thermal performance.
Poor adhesion and pull-away
Cold surfaces can prevent the foam from sticking fully during expansion. When that happens, the cured foam can pull away from studs, rafters, or sheathing edges, leaving visible separations at the perimeter or in the middle of the cavity.
A common first-timer mistake is to trust the room heater and skip the surface check. The wall looks warm enough, but the sheathing is still too cold for dependable bonding.
Shrinkage and uneven expansion
Cold spraying can create an uneven rise, with dense spots next to soft spots or thin areas. That can reduce the foam’s ability to make a continuous air barrier and may leave low spots that need touch-up work.
In some cases, a cavity that looked full right after spraying settles or shrinks as it cures. That is a sign the product did not install in the right temperature window.
Slow cure and delayed follow-on work
Low temperatures slow cure, so trimming, inspection, and drywall may need to wait longer. If the foam remains soft or tacky, the schedule should pause rather than forcing the next trade to work over an undercured surface.
This delay can ripple through the project. A small temperature miss in the morning can hold up drywall, finish carpentry, or air sealing checks by the end of the day.
How to prepare a cold jobsite
A cold jobsite needs more than a space heater. The cavity, the surfaces, and the material all need to be ready before the first pass goes on. That is the best way to protect adhesion and cure.
Warm the cavity, not just the air
Heat should reach the framing, sheathing, and any other substrate that the foam will touch. In attic, wall, or roof work, that may mean running heat long enough to warm the assembly, not just the room air near the floor.
Wind and heat loss matter too. Open cavities, missing exterior closures, and drafty access points can keep surfaces cold even when a heater is running. Code and building-science guidance on air leakage supports the practical rule: if the shell is leaky, the assembly can stay cold and damp longer than expected.
Store and condition materials correctly
Material drums should be stored and conditioned according to the product label. Cold foam components can spray poorly, mix unevenly, or rise inconsistently if they are brought in from an unheated truck or shed without time to warm up.
If the equipment or drums sit in a cold vehicle overnight, they may need to be moved into a heated work area well before installation starts. The same applies to proportioners, hoses, and gun components that can lose temperature during a long cold soak.
Check framing, sheathing, and other surfaces for moisture
Surface moisture is a stop sign. Check for condensation on sheathing, damp framing in crawl spaces, or frost on roof decks and stop if the surface is not dry. Moisture can block adhesion and can also affect how the foam cures. SPFA and industry prep guidance consistently treat dry, clean, sound substrates as a prerequisite for spray foam application.
Winter air can fool a quick visual check. A dry-looking board can still have condensation from a warm, humid interior meeting a cold exterior surface. Building science guidance on dew point explains why a surface can look acceptable and still be too wet for reliable foam bonding.
Practical field rule section: how to know the assembly is ready
To measure substrate temperature correctly, point the thermometer or IR device at the exact surface the foam will touch, not at the air in the room. If using an infrared thermometer, give it a clear line of sight to clean wood, sheathing, or masonry; avoid shiny metal, dusty surfaces, or readings taken across a draft. For the most reliable check, compare several points in the bay, especially near corners, roof edges, rim joists, and other cold spots.
Also remember that assemblies can lag behind room air after heating. A structure that was cold overnight may need sustained heat before the framing and sheathing rise into the acceptable range. In many projects, the surface may still be several degrees cooler than the air even after the room feels warm, which is why a quick thermostat reading is not enough.
Simple homeowner checklist before the crew sprays:
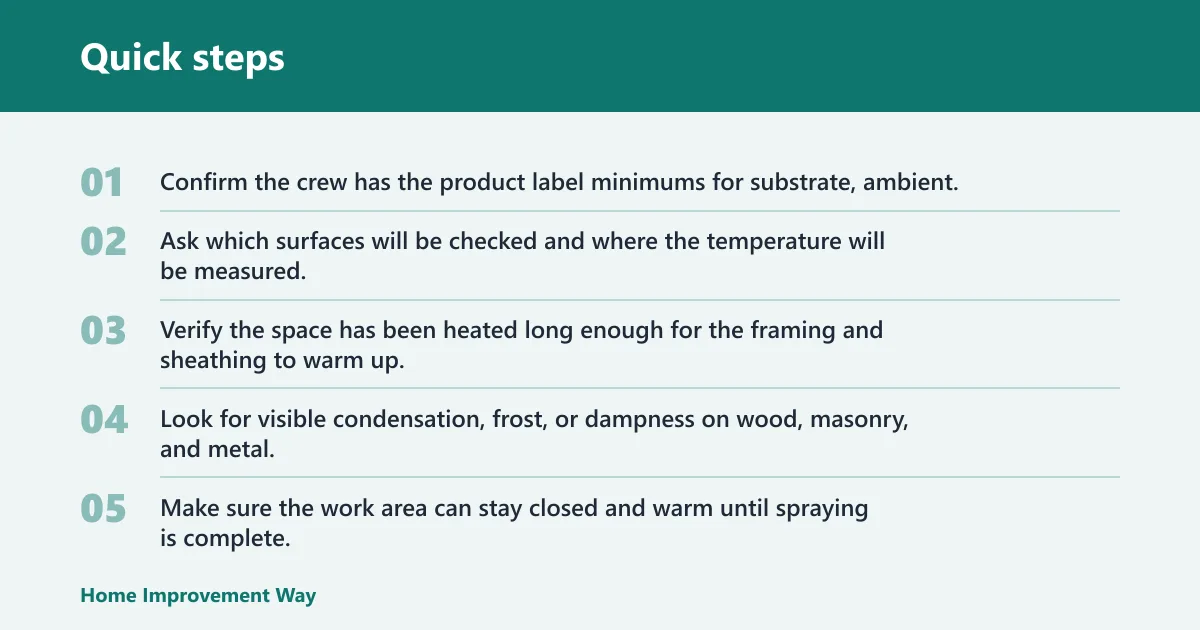
- Confirm the crew has the product label minimums for substrate, ambient, and component temperatures.
- Ask which surfaces will be checked and where the temperature will be measured.
- Verify the space has been heated long enough for the framing and sheathing to warm up.
- Look for visible condensation, frost, or dampness on wood, masonry, and metal.
- Make sure the work area can stay closed and warm until spraying is complete.
- Ask what will happen if the measured surface temperature drops before spraying starts.
- Measure ambient air temperature in the work zone.
- Measure substrate temperature on framing, sheathing, or other contact surfaces.
- Verify the drum temperature and equipment setup meet the label range.
- Inspect for moisture, frost, or condensation on every surface to be sprayed.
- Heat the space or postpone the job if any condition is below the product minimum.
Should you delay the job?
Delay the job when the structure cannot reach and hold the required substrate temperature, when moisture remains on the surfaces, or when the material cannot be conditioned properly. Waiting is often cheaper than removing failed foam later.
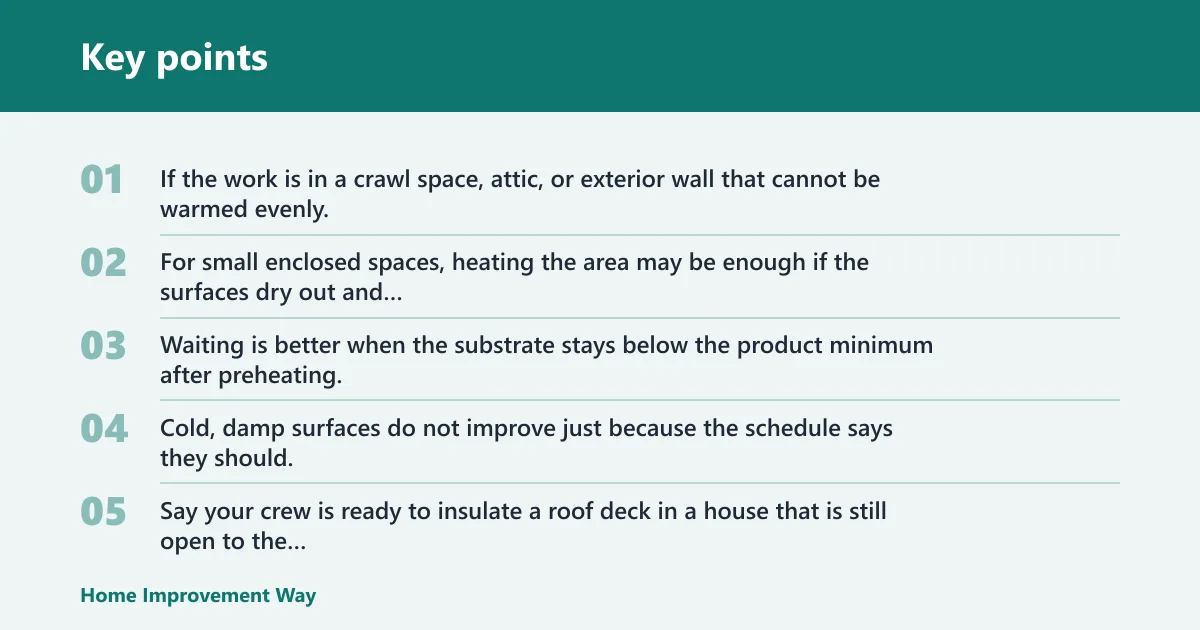
If the work is in a crawl space, attic, or exterior wall that cannot be warmed evenly, postponing may be the better call. For small enclosed spaces, heating the area may be enough if the surfaces dry out and stay in range.
What temperature too cold matrix
| Substrate temperature | Ambient temperature | Drum/component temperature | Visible condensation/frost | Enclosed vs. drafty shell | Likely failure mode | Exact action |
|---|---|---|---|---|---|---|
| At or above label minimum | At or above label minimum | At label range | None | Enclosed, reasonably tight shell | Low risk if label and thickness limits are followed | Proceed |
| 1°F to 5°F below label minimum | At or above label minimum | At label range | None | Enclosed shell | Slow rise, weak bond line, possible pull-away | Preheat for 2 to 4 hours, then remeasure substrate before spraying |
| More than 5°F below label minimum | Any | At label range | None | Any | Likely adhesion failure and cure problems | Postpone |
| At or above label minimum | 1°F to 5°F below label minimum | At label range | None | Enclosed shell | Slower reaction, cold spray pattern, inconsistent build | Preheat for 2 to 4 hours and verify ambient at the work zone |
| At or above label minimum | More than 5°F below label minimum | At label range | None | Drafty shell | Heat loss keeps the substrate unstable; uneven cure likely | Postpone until the shell can be stabilized |
| At or above label minimum | At or above label minimum | Below label range | None | Any | Thick material, poor mix, poor pattern, off-ratio risk | Condition drums and lines, then recheck before proceeding |
| At or above label minimum | At or above label minimum | At label range | Visible condensation or frost present | Any | Bond failure, moisture entrapment, hidden defects | Postpone until surfaces are dry and stable |
| At or above label minimum after heating | At or above label minimum | At label range | No, but shell is drafty | Drafty shell | Surface temperature will drop quickly during spraying | Preheat for 2 to 4 hours, seal obvious air leaks, then verify again |
When waiting is the better call
Waiting is better when the substrate stays below the product minimum after preheating, when condensation keeps returning, or when the project is too exposed to wind and heat loss. Cold, damp surfaces do not improve just because the schedule says they should.
Say your crew is ready to insulate a roof deck in a house that is still open to the weather at the ridge. If the deck stays cold and damp overnight, the job should wait rather than risk a poor bond that will be hidden behind drywall.
When heating the site is enough
Heating is enough when the building shell is mostly closed, the material can be conditioned in advance, and the substrate can be brought up to the label minimum and held there. That is the best path for many retrofit jobs and some winter new-builds.
For spray foam in walls, roofs, crawl spaces, and attics, the goal is a stable work zone, not a warm reading for a few minutes.
How to coordinate with drywall and other trades
Spray foam should be timed so the building is ready before drywall starts. That means the framing, electrical, and plumbing work should be complete first, and the foam crew should have enough room to verify cure before the next trade arrives.
Good coordination prevents rushed spraying in cold conditions. It also keeps the envelope closed in time for the air sealing and draft reduction benefits that make spray foam useful in the first place. If you are weighing the return on a project, see spray foam cost/value.
Frequently asked questions
What temperature is too cold for spray foam insulation?
Spray foam is too cold to install when the substrate or ambient air falls below the product label minimum. Many systems want about 60°F or higher, but winter formulas may allow lower limits, and the surface temperature is the number that usually decides the job. Cold surfaces can cause poor bond, weak rise, and cure problems.
What happens if spray foam is applied when it’s too cold?
Cold application can cause poor adhesion, pull-away from the framing, uneven expansion, shrinkage, and a slower cure. That can leave hidden gaps that weaken air sealing and force rework. In severe cases, the failed foam may need to be removed and replaced.
Is closed-cell spray foam better than open-cell in cold weather?
Closed-cell usually performs better in cold or moisture-prone areas because it is more moisture resistant, forms a rigid layer, and is less vapor permeable. Open-cell still has a place in dry interior cavities, but it is more vapor permeable and less moisture resistant.
Do I need to warm the jobsite before spraying foam?
Yes, but warm the surfaces and the material, not only the air. The cavity, framing, sheathing, and drums should all meet the product requirements. A space that feels warm can still have cold wood or condensation that causes bond failure.
How long should spray foam cure in cold temperatures?
Cold temperatures slow cure, so the wait time can be longer than in mild weather. The exact time depends on the product and the site conditions, so the label should guide trimming and follow-on work. If the foam remains soft or tacky, do not rush the next trade.
Sponsored / affiliate links. As an Amazon Associate I earn from qualifying purchases. I may earn additional commission from eligible campaigns.