How to Seal Recessed Lights Before Attic Insulation
Seal recessed lights by checking the fixture rating first: IC-rated cans can usually be air-sealed and insulated over only if the housing and trim are approved for contact; non-IC fixtures need a 3-inch clearance or a conversion plan. If you get that wrong, you can trap heat, shorten lamp life, and lose energy through a hidden attic bypass. This guide gives the exact decision sequence for DIY sealing, attic type, and when a professional retrofit is the safer call.
Assess recessed light rating and attic condition
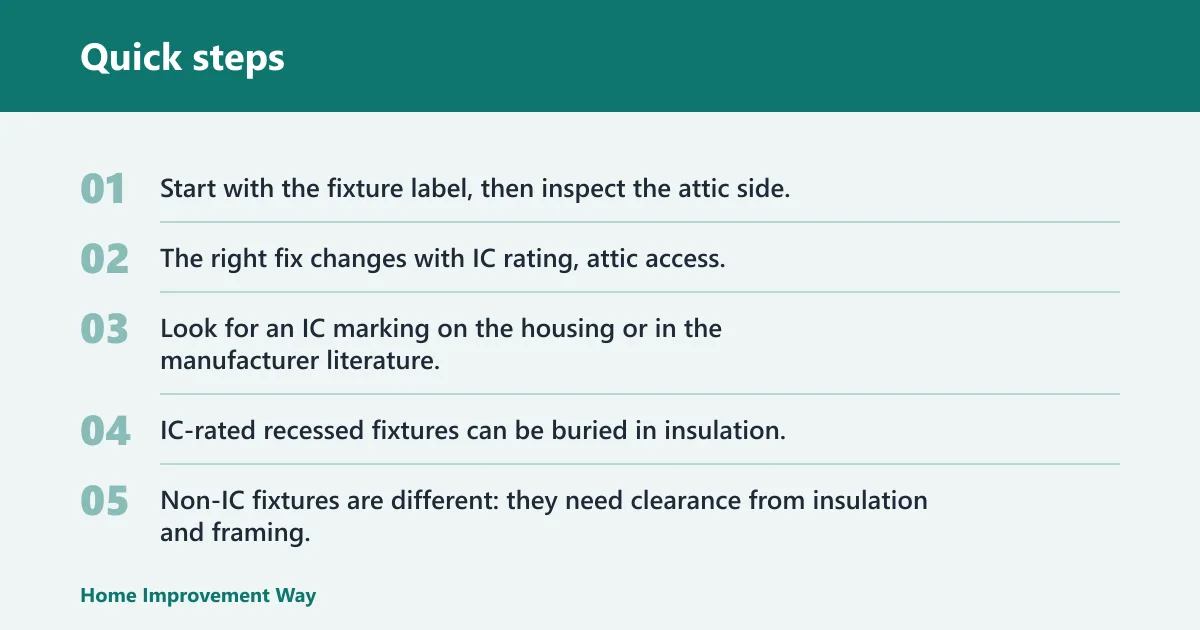


Start with the fixture label, then inspect the attic side, then decide between a simple air-seal and a retrofit enclosure. That order matters. The right fix changes with IC rating, attic access, and whether the space is open and unfinished or finished and tight.
Identify the fixture rating first
Look for an IC marking on the housing or in the manufacturer literature. IC-rated recessed fixtures can be buried in insulation. Non-IC fixtures are different: they need clearance from insulation and framing, and homes renovated before the mid-1990s frequently have them.
Check the attic side for damage and clearance
From the attic, check the housing, junction box, wiring entry, and the trim edge for gaps or heat damage. A useful inspection checks fixture type, safe clearance needs, visible gaps, and insulation depth. Recessed lights and other ceiling penetrations can create attic air leaks, so the light is usually one part of a larger leakage path.
Decide whether this is a DIY seal or a pro retrofit
If the fixture is IC-rated and in good condition, the attic-side fix is often a DIY air-seal followed by insulation. If the fixture is non-IC, damaged, unverified, wet, or showing heat stress, stop and bring in an electrician or insulation pro. Adding more insulation alone will not fix every problem.
What you’ll need
- Flashlight or headlamp
- Dust mask, gloves, and eye protection
- Screwdriver or nut driver for cover plates and access panels
- Caulk or sealant approved for ceiling air sealing
- Gasket material for trim or access-panel edges, if the fixture assembly allows it
- Sheet material or a listed retrofit enclosure only if it is approved for that specific fixture type
- Loose-fill cellulose for open, unfinished attics
- Spray foam insulation for finished or semi-finished attics, if the product is approved for the application
- Weatherstripping or sealant for the attic hatch
Which recessed-light fix matches this attic?
| Fixture branch | Required checks | Allowed sealing method | Clearance rule | Insulation to use | Stop and call a pro when |
|---|---|---|---|---|---|
| IC fixture | Verify the IC stamp or manufacturer literature; check for damage, loose wiring, and gaps at the trim and wiring entry | Air-seal the ceiling plane around the opening; seal nearby penetrations; then insulate | Can generally be in contact with insulation if the housing and trim are approved for it | Blown-in cellulose in open unfinished attics; spray foam in finished or semi-finished attics if approved | The housing is damaged, the listing is unclear, or moisture or hot spots are present |
| Non-IC fixture | Confirm the fixture is non-IC; check how much space is available around the can and whether a listed enclosure exists for that exact model | Use an attic-side airtight retrofit box or a gasket kit plus a blown-cellulose assembly only when approved for that fixture type | Keep insulation and framing at least 3 inches away from the fixture unless the listing says otherwise | Blown-in cellulose around the approved enclosure; do not bury the can itself | You cannot verify the model, the fixture is overheated, or no approved enclosure exists |
| Unknown fixture | Find the label or manufacturer literature before touching insulation | Air-seal nearby ceiling leaks only; leave the light itself alone until the rating is confirmed | Assume non-IC clearance until proven IC-rated | Hold insulation back from the can until the fixture is identified | The fixture cannot be identified, is inaccessible, or shows damage, rust, or scorch marks |
How do I seal recessed lights before attic insulation?
Seal the ceiling plane first, then add insulation. That means sealing the light opening where the housing meets the drywall, sealing the wiring entry and nearby ceiling penetrations, and checking the attic hatch before you add fill. This order limits hidden air leaks and keeps the insulation from covering a problem you still need to reach.
- Turn off power to the circuit and verify the fixture is cool.
- Confirm the fixture rating from the housing label or manufacturer literature.
- Seal accessible gaps around the can, trim edge, and wiring entry with a product approved for ceiling air sealing.
- Seal nearby bypasses in the same ceiling plane, including plumbing penetrations, wiring holes, chases, and bath fan boots.
- Seal the attic access hatch or pull-down stair opening before the insulation goes in.
- Add insulation only after the air barrier is continuous.
In an open, unfinished attic with IC-rated fixtures, seal the ceiling plane first, then add blown-in cellulose so it can flow around the recessed housing and other irregular obstacles. In a finished or semi-finished attic, spray foam may fit better because it handles recessed lighting differently and can reach tight sections.
Can you seal recessed ceiling lights from the attic?
Yes, in many cases the attic side is the right place to seal the light opening, especially when you are fixing air leaks before insulation. Attic-side work is not the same as putting a cover over the trim. The goal is to close the ceiling-plane leak without creating a heat trap or violating the fixture listing.
Seal the ceiling plane around the opening
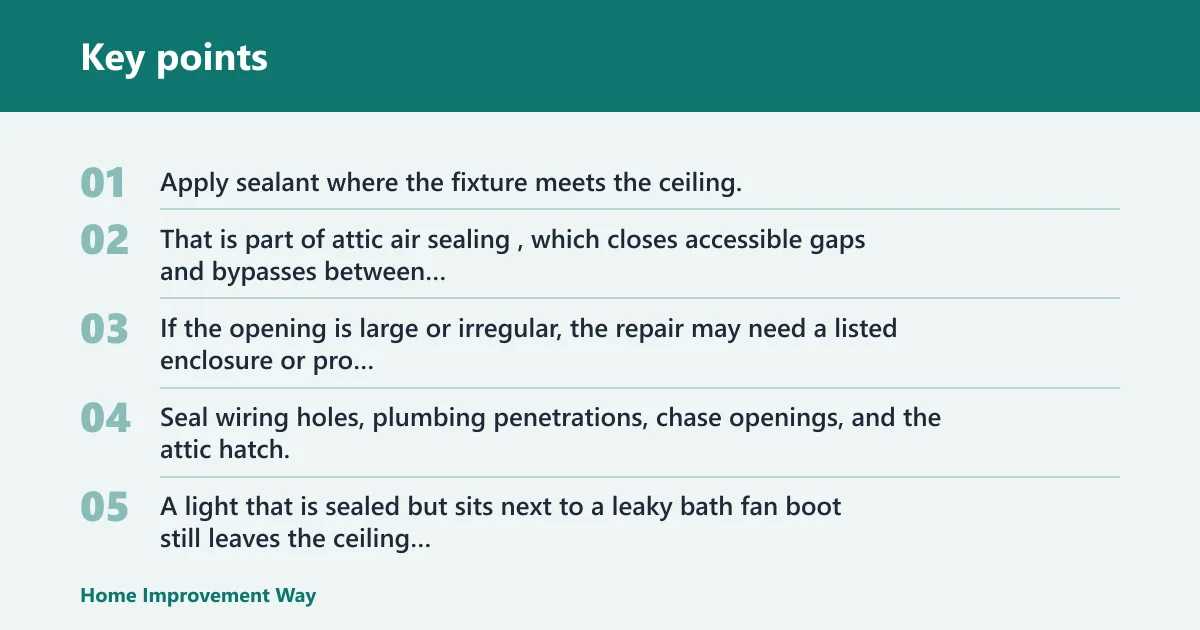
Apply sealant where the fixture meets the ceiling, and close the edge gaps that connect the room to the attic. That is part of attic air sealing, which closes accessible gaps and bypasses between conditioned rooms and the attic before insulation. If the opening is large or irregular, the repair may need a listed enclosure or pro retrofit instead of a simple bead of sealant.
Close nearby wiring and penetration leaks
Do not stop at the can. Seal wiring holes, plumbing penetrations, chase openings, and the attic hatch, because nearby leaks can keep dumping air into the attic even after the light itself is addressed. A light that is sealed but sits next to a leaky bath fan boot still leaves the ceiling plane incomplete.
Add insulation after the air seal is complete
For open, unfinished attics, blown-in cellulose is a common fit because it settles around irregular obstacles better than batts. A common benchmark in Climate Zone 4-5 is R-49 to R-60, but that target is climate-dependent, so treat it as a reference, not a blanket rule.
How do I air seal recessed lighting without creating a fire hazard?
Use the fixture listing as the boundary. IC-rated fixtures can generally be buried in insulation if the housing and trim are approved for contact. Non-IC fixtures need clearance, and the safer path is a listed shield or retrofit enclosure made for that exact fixture type, not a generic cover that may not be approved.
Keep insulation away from non-IC cans
For non-IC fixtures, keep at least 3 inches of clearance from insulation and framing. That figure is a safety reference, not a substitute for the fixture listing or local code. Many older fixtures are not field-convertible, so do not assume an aftermarket part makes every can safe to bury.
Use only approved enclosure methods
An airtight retrofit box is an attic-side enclosure for some non-IC fixtures, often used with a gasket kit or sealed assembly and blown cellulose around it. That works only when the enclosure is listed for the specific fixture type. A trim-only seal on a non-IC can can trap heat and create the wrong installation condition.
Stop if the fixture is hot, wet, or unknown
Unknown labeling, scorch marks, rust, moisture, brittle wiring, or signs of overheating are stop points. Call an electrician or insulation pro. If the fixture cannot be verified, leave it exposed until it is identified and the correct clearance or retrofit path is chosen.
Should you seal the attic access and other bypasses too?
Yes. The attic hatch, pull-down stair opening, and other ceiling penetrations are part of the same air barrier as the recessed lights. If you insulate the attic but leave the hatch leaky, conditioned air can still escape at a bypass that is often larger than a single can light opening.
Seal the attic hatch or pull-down stair opening
Weatherstrip and insulate the attic access so it closes tightly. This is one of the first bypasses to fix because it is easy to reach and often leaks heavily. If the hatch sits near the insulation line, make sure the cover remains serviceable after the insulation is added.
Check plumbing, wiring, chases, and bath fan boots
After the lights, inspect the rest of the ceiling plane. The goal is continuity, not isolated patches. A light sealed well but surrounded by open pipe holes or duct chases still leaves the attic air barrier incomplete.
Air seal before the insulation goes
Air sealing should happen before adding more insulation. That sequence matters because insulation does not stop air movement by itself. It slows heat flow. If the ceiling plane still leaks, the attic can keep pulling conditioned air through the same openings.
Common mistakes
- Using a generic cover on the wrong fixture. Many covers are commonly approved only for specific fixture types. Check the listing before installing anything over a can.
- Skipping the fixture label check. If you do not know whether the housing is IC or non-IC, treat it as unknown and hold insulation back.
- Adding insulation before the air seal is done. That traps access to gaps you still need to close and can hide the real leak path.
- Ignoring moisture, heat, or wiring problems. Rust, scorch marks, and brittle conductors are stop signs, not things to cover over.
- Using the wrong insulation for the attic type. Blown-in cellulose is a better fit for open unfinished attics; spray foam is often the better route in finished or semi-finished attics.
If that didn’t work, try this next: If the light still feels hot, the label cannot be read, or the attic clearance is tight, stop the DIY plan and move to a professional evaluation. A pro can verify whether the fixture is field-convertible, replace the housing if needed, or build an approved enclosure without guessing.
Prevention: Before the insulation truck arrives, confirm the attic hatch is sealed, the ceiling plane is air-sealed, and every recessed fixture has a clear rating path. That keeps the work from being buried under new insulation and reduces the chance of a missed bypass.
Frequently asked questions
Do recessed lights need to be IC-rated before insulation touches them?
Yes, if you want insulation to touch the fixture, the housing should be IC-rated and approved for that contact. Non-IC fixtures need clearance from insulation and framing. Always verify the label or manufacturer literature instead of guessing from the trim style or age of the home.
What is the best cover for recessed lights in attic insulation?
There is no universal best cover. The right choice depends on the exact fixture listing. For some non-IC fixtures, a listed airtight retrofit box or gasket kit plus blown cellulose may work. For many other cans, a generic cover is not a safe substitute for the approved method.
Should I seal the attic access before adding insulation?
Yes. Seal the attic hatch or pull-down stair opening before the insulation goes in, or do it as part of the same air-sealing stage. The hatch is part of the ceiling plane, and leaving it leaky can undo the benefit of sealing the recessed lights.
Can insulation go around can lights in the attic?
It can around IC-rated fixtures that are approved for contact. Non-IC fixtures need clearance, so insulation should stay back unless a specific listed enclosure or retrofit method is approved for that fixture. Treat unknown cans as non-IC until the rating is confirmed.
What do I do if my recessed lights are not IC-rated?
Keep insulation away from the housing, maintain the 3-inch clearance reference, and use only a listed shield or retrofit enclosure made for that specific fixture type. If the fixture is old, damaged, or unverified, stop and call an electrician or insulation pro before insulating.
Should I air seal first or insulate first around can lights?
Air seal first. Close the ceiling-plane leaks around the can, then seal the attic hatch and other bypasses, and only then add insulation. If you insulate first, the gaps are harder to reach and the leak path can remain open under the new fill.
Sponsored / affiliate links. As an Amazon Associate I earn from qualifying purchases. I may earn additional commission from eligible campaigns.