How to Drain Your House Plumbing for Winter
Drain your house plumbing for winter by shutting off the main water, opening every fixture, draining the water heater, and blowing out low-point branches until only air comes through. Skip a step, and water left in a pipe can freeze, split the pipe, and flood the house when thawing starts. This guide covers the full sequence, the low points people miss, and the checks that keep a vacant system dry.
Gravity drainage limits


Gravity can drain a plumbing system, but it does not always clear every branch, low point, or fixture body. In real houses, water often stays in dead legs, traps, and valve pockets.
Where gravity works well
Gravity usually clears long horizontal runs after the supply is isolated and the faucets are opened. It also works better where pipes slope steadily toward a drain point or basement utility area. A basement home often drains more cleanly than a slab house, since more low points may be reachable.
Where water gets trapped
Water often remains in toilet bowls, sink traps, shower traps, hose bibs, anti-scald valves, and short branch stubs. A slab foundation can hold hidden low points inside the floor, and crawlspace plumbing can trap water in dips between supports. Those spots are why gravity alone is often not enough.
When to plan a blowout instead
Use compressed air when the layout leaves residual water after gravity drainage, when you have multiple low branches, or when a vacant house needs a higher margin against freezing. Use the manufacturer’s instructions for any fixture or valve you blow out, and follow a regulator-limited approach rather than full compressor output.
Shut off the main water first
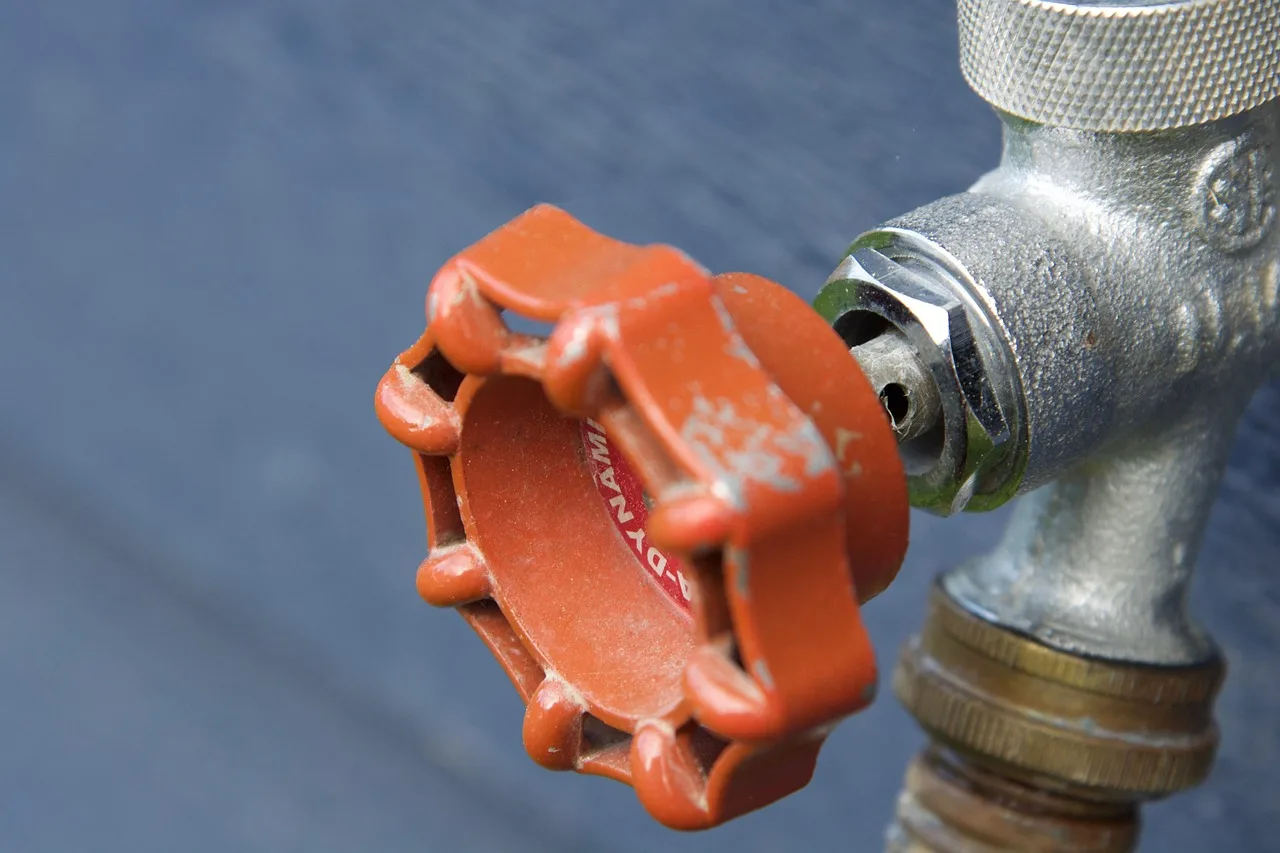
Close the main shut-off valve before winterizing so the plumbing is isolated from the supply. Then open a faucet to relieve pressure and confirm the line is no longer refilling. If the main valve is left open, a small leak or partial refill can undo the drain-down.
Stop refilling from the supply
The main shut-off valve prevents new water from entering the house plumbing. After you close it, open one lower faucet and one upper faucet to let pressure escape. That makes the next draining step safer and easier, especially if the house has a basement manifold or a long trunk line.
Relieve pressure at a faucet
Open faucets one at a time, and use both the cold and hot sides where the fixture has a mixer. This bleeds water and air from the line without forcing pressure through every branch at once. Keep the fixtures open until the system stops pushing a steady stream.
Turn off and drain the water heater
Turn off the water heater before draining the system, and do not empty it with compressed air unless the manufacturer allows that method. An electric water heater can burn out its heating elements if run dry. Drain the tank through its drain valve, and leave it empty for winter if the home will stay vacant.
Shut off power or fuel safely
For an electric heater, switch off the breaker first. For gas, follow the appliance manual for the shutdown sequence and pilot or control settings. Do not let the tank heat while it is empty or partly drained. That is where element damage or overheating becomes a real risk.
Drain the tank through the drain valve
Attach a hose to the drain valve, route it to a safe discharge point, and open the valve after the water supply is closed. If sediment slows the flow, let the tank settle and drain again. Do not treat the tank like a pipe branch. It is its own vessel and needs its own drain path.
Leave the tank empty for winter
Once the tank is drained, leave the heater isolated and empty. If your model has a drain plug or a low-point service valve, make sure it is closed again after draining so debris does not enter. Keep the tank off until the system is brought back into service in spring.
Plumbing drain checklist
This checklist gives a practical sequence for a typical single-family home with a basement, crawlspace, or slab. It also shows where a portable pancake-style air compressor helps, and where gravity alone may leave water behind. Use the pass/fail column as a real check, not a guess.
| Step | What to do | Pass/fail check |
|---|---|---|
| Main shut-off valve | Close the main shut-off valve and confirm no supply water enters the house side. | Pass if opening a faucet does not restore flow from the supply. |
| Water heater | Turn off power or fuel, then drain the tank through its drain valve. | Pass if the tank stops discharging water and stays empty. |
| Upper faucets | Open hot and cold sides one at a time to vent air and water. | Pass if each side changes from water to air only. |
| Lower faucets | Open remaining sinks, tubs, and utility faucets one at a time. | Pass if flow drops to sputter, then stops. |
| Toilets | Flush each toilet to drop the float valve, then remove remaining bowl water and purge the feed line. | Pass if the tank refills with air only and the bowl has no standing water left for freezing risk. |
| Shower valves | Run hot and cold sides, then clear the shower branch and valve body. | Pass if no water comes from the shower head after purge. |
| Hose bibs | Open exterior hose bibs after indoor lines are cleared. | Pass if the bib drains and does not trap a hard slug of water. |
| Traps | Drain sink and shower traps as much as possible, then add antifreeze where needed. | Pass if the trap is protected, even though air alone may not empty it. |
| Main supply line | Open the main supply line last and clear its residual water before shutting everything down. | Pass if the line no longer sends water when briefly opened and closed. |
Tools and fittings you need
Have a hose for the water heater drain valve, a bucket, towels, a flashlight, and a portable air compressor if you plan to blow out branches. You also need hose adapters or blowout fittings that match your fixtures and lines; check the manufacturer’s listing for your model when the connection style is not obvious. If you use compressed air, install a regulator and a pressure gauge at the delivery point so the line can be started at a conservative setting and raised only as needed within the rated limit.
Fixture-by-fixture drain order
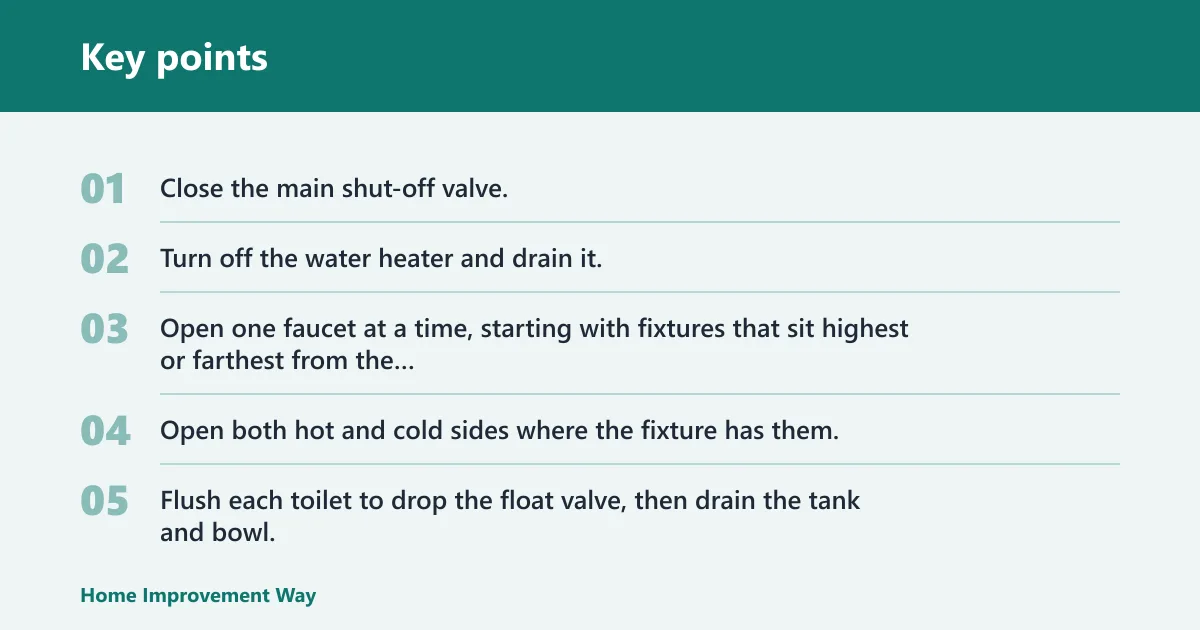
- Close the main shut-off valve.
- Turn off the water heater and drain it.
- Open one faucet at a time, starting with fixtures that sit highest or farthest from the main line.
- Open both hot and cold sides where the fixture has them.
- Flush each toilet to drop the float valve, then drain the tank and bowl.
- Open shower valves and tub spouts.
- Open hose bibs and any exterior utility spigots.
- Protect traps and any low points that still hold water.
How to use the pass/fail checks
Do not rely on a time delay or a drip count. A fixture passes only when the line has clearly shifted from water to air, or when the remaining water is contained and protected by antifreeze. If a line still spits water after a purge, treat it as failed and revisit that branch.
Do you need compressed air?
Compressed air helps when gravity leaves water in branches, low spots, or valve bodies. It is not mandatory in every house, but it is often the next step when a more complete drain-down is desired before freezing weather. Set pressure according to the plumbing and fixture limits in the manual, and move from fixture to fixture one at a time. Use the lowest pressure that clears the branch, and keep the regulator lower than the maximum rating for the fixture or piping system being purged.
When air helps most
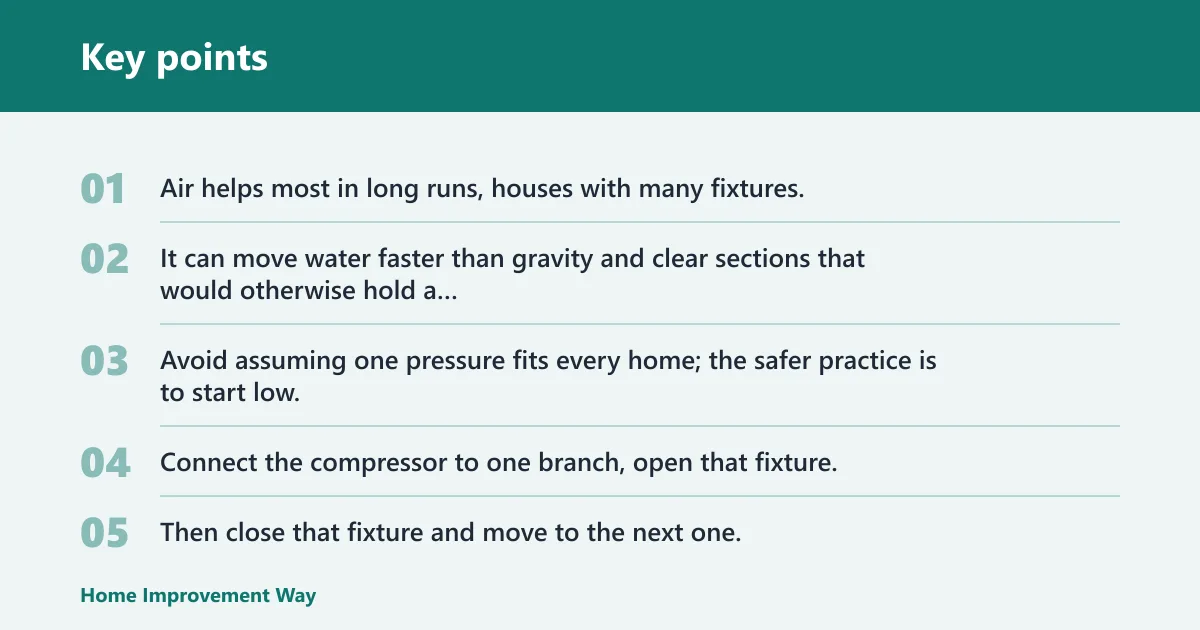
Air helps most in long runs, houses with many fixtures, and homes that will stay empty all winter. It can move water faster than gravity and clear sections that would otherwise hold a puddle. Avoid assuming one pressure fits every home; the safer practice is to start low, use a regulator, and stay within the pressure rating published for the fixture or piping system.
How to move from fixture to fixture
Connect the compressor to one branch, open that fixture, and let air push water out until the discharge changes to air. Then close that fixture and move to the next one. The point is to work sequentially, not blast the whole house at once. That reduces the chance of forcing water into a wrong branch or into a sensitive valve body.
| Pipe material / fixture context | Safe starting pressure | When not to use air | Required regulator behavior |
|---|---|---|---|
| General house branches with plastic or copper supply piping | Start low and only increase to the minimum needed to move water; use the fixture or system rating as the ceiling. | Do not use air on any line, valve, or appliance if the manufacturer does not permit blowout or if the system has unknown ratings. | Set the regulator before opening the branch; never allow the compressor’s full tank pressure to hit the plumbing directly. |
| Toilets, faucets, shower valves, and mixing valves | Use the lowest practical pressure and brief bursts only. | Do not force air through delicate cartridges, anti-scald/mixing assemblies, or fixtures with unclear service instructions. | Increase only enough to clear residual water; stop immediately when the discharge becomes mostly air. |
| Unknown fixture or older valve body | Use the manufacturer’s published limit if available; otherwise treat as a no-air candidate. | Do not guess at pressure for an unlisted fixture, brittle piping, or a component with an unknown maximum rating. | Hold the regulator at the lowest setting that allows flow, and reassess before increasing. |
When to stop blowing out
Stop when a fixture sends mostly air with only a brief spit of water, or when the remaining water is only in a trap that needs antifreeze protection. Do not keep increasing pressure to chase every last drop. That can stress fittings, seals, and valves without improving the result.
How to clear toilets, traps, and low points
Toilets, traps, and other low points need extra attention because air does not empty them fully. Flush each toilet to drop the float valve and open the valve, then remove the remaining standing water. Sink and shower drain branches also need air blowout, but they still need antifreeze afterward because the trap itself usually keeps some water. Use only plumbing-safe antifreeze in traps and drain openings, not automotive antifreeze.
Toilet flush and drain sequence
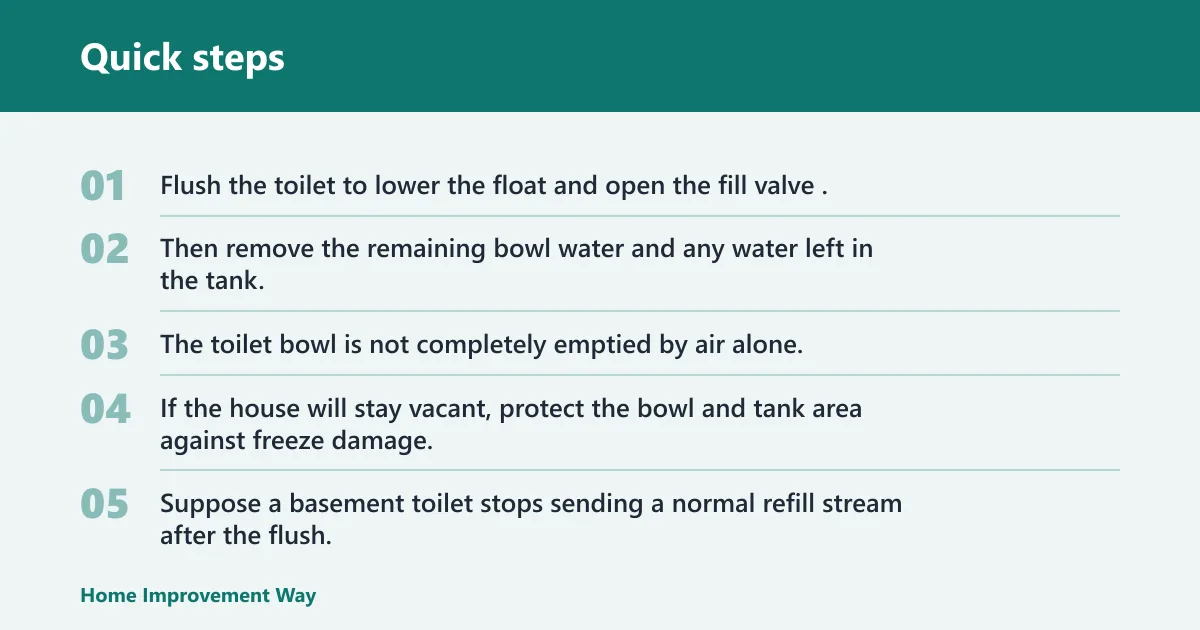
Flush the toilet to lower the float and open the fill valve. Then remove the remaining bowl water and any water left in the tank. The toilet bowl is not completely emptied by air alone, so do not treat a brief purge as enough. If the house will stay vacant, protect the bowl and tank area against freeze damage.
Suppose a basement toilet stops sending a normal refill stream after the flush, but a small amount of water still sits in the bowl. That is not a pass. The line may be clear, yet the bowl still holds freeze-prone water and needs attention before winter.
Sink and shower trap protection
Drain traps as much as possible, then use antifreeze where air cannot fully empty them. Air alone usually will not clear every trap fully, and that is normal. The goal is to remove as much water as possible, then protect what remains with a product rated for plumbing traps. Add enough plumbing-safe antifreeze to displace the remaining water in the trap or fixture opening according to the product label.
A common first-timer mistake is assuming a gurgling sink trap is empty because the branch sounded dry. It usually is not. The trap bend can still hold water even after the line above it has gone to air, so the trap needs its own protection step.
Dead legs, low spots, and anti-scald valves
Dead legs and hidden low spots can hold water after the main purge. Anti-scald valves can also trap water in internal passages that do not drain by gravity. If a branch keeps spitting water after multiple purges, disconnecting the line may be needed to avoid backflow or hidden pockets that stay full. Homes with slab foundations, crawlspaces, or loops under cabinets should be checked for low spots that are not obvious at the fixture.
Main supply line and final verification
Make the main supply line the last section to open after fixtures are cleared. That line can still hold residual water, and it may need disconnecting if backflow keeps it from draining cleanly. Your final check is simple: every fixture should be isolated, drained, or protected, and no section should be able to refill from the supply.
How to tell the line is empty enough
Open the main supply line briefly only after the house branches are drained. If it sends out water, let it clear, then close it again. If it keeps refilling or does not drain cleanly, stop and inspect the setup. The line should not be able to restore water to the house after the final close.
Vacant house vs seasonal occupied house
A vacant house often needs the most complete drain-down before freezing weather, since no one is there to catch a thaw leak. A seasonal house that will be checked often may still use the same sequence, but it sometimes gets a higher margin of inspection rather than a different plumbing step. In both cases, trapped water is the enemy.
Frequently asked questions
How do you drain your home’s water pipes for winter?
Shut off the main water, turn off and drain the water heater, open faucets one at a time, and use compressed air where the layout leaves water behind. Then empty toilets, protect traps, and verify the main supply line is not refilling the system. The order matters as much as the steps themselves.
How do you winterize house plumbing?
Winterizing house plumbing means isolating the supply, removing as much water as possible, and protecting what cannot be fully drained. That usually includes the main shut-off valve, the water heater, fixtures, toilets, traps, hose bibs, and the main supply line. A vacant house needs the most complete version of that sequence.
Do I need compressed air to drain plumbing?
Not always. Gravity may clear a simple layout, but compressed air helps when water stays in low spots, dead legs, and fixture bodies. Use it when the layout or the vacancy period makes a more complete drain-down worth the extra setup. Follow the manual for pressure limits and fixture compatibility, and use a regulator rather than straight compressor output.
What should I do with the water heater before draining plumbing?
Turn it off first, then drain it through the tank drain valve. Do not let an electric water heater run dry, because the heating elements can burn out if dry. Leave the tank empty for winter unless the manufacturer gives a different shutdown procedure for your model.
How do I empty toilets and drain traps for winter?
Flush each toilet to drop the float valve, then remove the standing water that air alone will not clear. For sink and shower traps, drain them as much as possible and then add antifreeze, because the trap bend usually keeps some water. Air helps, but it does not finish the job by itself. Use only a plumbing-safe or RV-style antifreeze that is labeled for drain and trap use.
How much air pressure do you use to blow out plumbing?
Use the pressure allowed by the plumbing and fixture limits in the manual. Start with the regulator set low enough to move water without stressing the system, and do not exceed the lowest listed rating for the fixture or branch being purged. A pancake-style compressor is commonly used for this kind of work, but the compressor must be regulated to the system, not the other way around.
Sponsored / affiliate links. As an Amazon Associate I earn from qualifying purchases. I may earn additional commission from eligible campaigns.