Drywall Repair
By Home Improvement Way Editorial Team
Experience note: This guide is based on our in-house project notes from patching nail holes, anchor blowouts, doorknob impacts, torn paper, plumbing access cuts, and leak-damaged ceilings in lived-in homes. I still use the same field check on every repair: identify the failure, confirm the board is dry and sound, then choose the smallest repair that will stay flat after primer and paint.
Drywall repair starts with damage size and cause: fill small dents and holes, patch modest holes, and call a pro for ceiling cracks, water damage, mold, or matched texture. I have seen bad repairs flash through paint, crack back open, or cover leaks that keep rotting framing and drive the final bill higher. This guide lays out the repair paths I actually use, the material stack for each one, realistic DIY costs, and the point where hiring out usually saves money.
How this guide is sourced: Repair methods below are cross-checked against manufacturer and industry guidance, including USG Sheetrock repair and finishing literature, CertainTeed drywall repair guidance, the EPA’s moisture and mold recommendations, and common contractor service standards for cut-out replacement, ceiling leak response, and texture matching.
How do I know which drywall repair method to use?


Pick the repair by reading the wall first, not by grabbing a random patch kit. Damage type, opening size, location, texture, and moisture status tell you if the fix is spackle, taped compound work, a mesh patch, a cut-out replacement, or a full panel swap. If you need a step-by-step companion after diagnosing the wall, see our internal guides on drywall patching, wall texture matching, water damage repair, and ceiling crack repair.
Identify the damage before choosing the fix
Start by naming the failure. Most drywall problems fall into one of these groups: nail holes, dents and dings, torn paper, hairline cracks, seam cracks, anchor blowouts, doorknob holes, corner damage, ceiling damage, and water-damaged drywall.
That first sort matters because each problem fails differently. Torn paper can bubble under mud. Seam cracks reopen if you only fill them. Corner bead damage often needs metal or vinyl reinforcement, not a cosmetic fill. That approach aligns with USG Sheetrock finishing guidance: damaged seams need tape-and-compound repair, while broken board or loose bead usually needs removal and replacement of the failed section.
Sort the repair by size
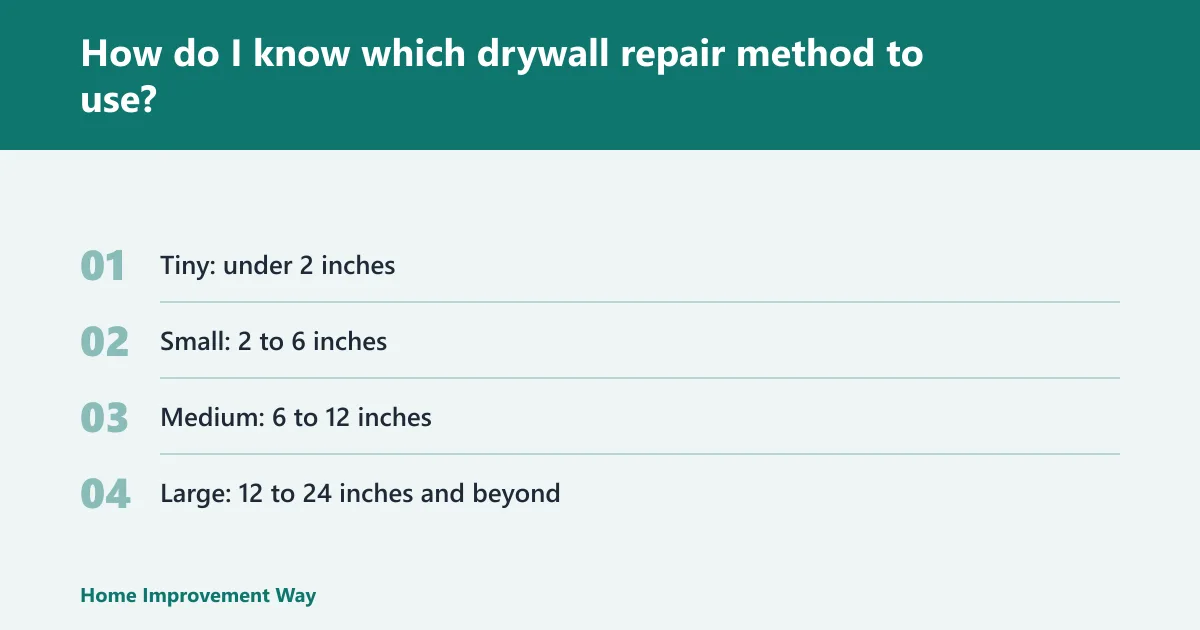
Use size buckets for planning:
- Tiny: under 2 inches
- Small: 2 to 6 inches
- Medium: 6 to 12 inches
- Large: 12 to 24 inches and beyond
Tiny damage is usually fill-and-finish work. Small holes often take a drywall patch kit, especially when they are fairly small. Medium and large openings usually need a cut-out patch, backing, screws, tape, and multiple coats of joint compound. That tracks with both USG and CertainTeed repair instructions, which move from filler and patch products into board replacement once edges are crushed or the opening is too large to bridge cleanly.
Check location and finish risk
A hole in a flat wall field is the easiest repair. Damage at a seam, outside corner, ceiling, or near an electrical box is less forgiving. Electrical work hole damage often leaves rough oversized cutouts, and corner hits can crush bead legs under the paint.
Texture raises the finish risk. Smooth walls show ridges, flashing, and paint sheen shifts. Orange peel and knockdown can hide some perimeter flaws, but a mismatched spray pattern still leaves a visible patch. Popcorn is often the hardest blend of all. In practice, my threshold for calling a pro gets lower when the patch is on a ceiling, in strong side light, or inside a repeated texture field that will not forgive pattern drift.
📊 The cost calculator lists small hole repair at $75–$150. Source: Homecalc.
Drywall repair decision matrix
How to read the matrix
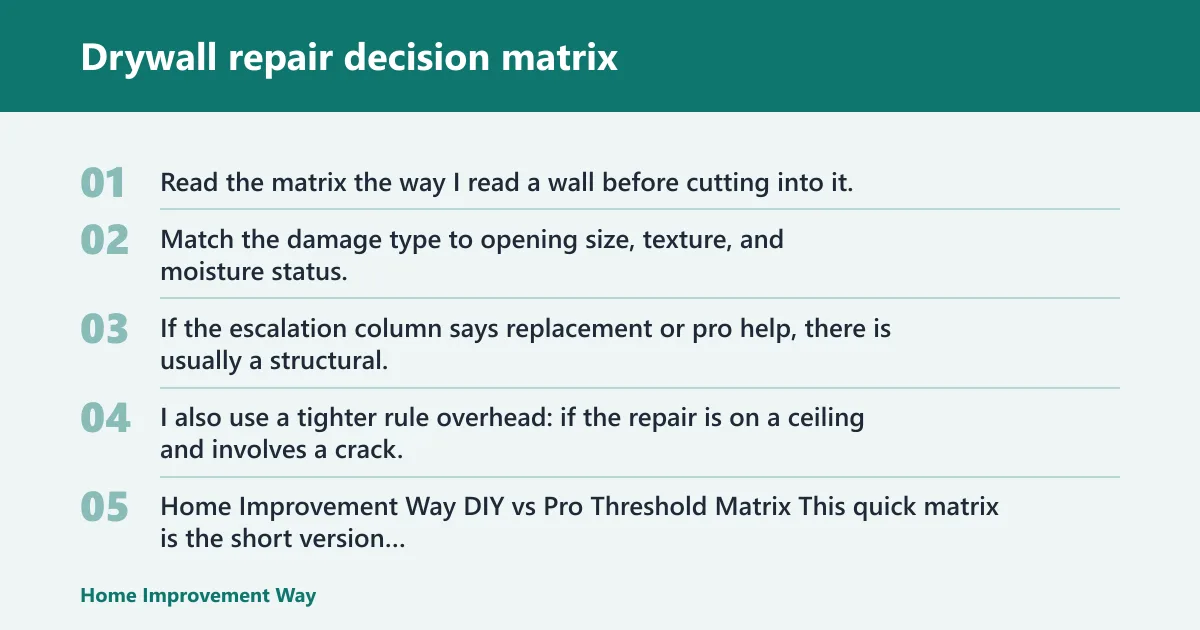
Read the matrix the way I read a wall before cutting into it. Match the damage type to opening size, texture, and moisture status, then follow the listed repair path and material stack. If the escalation column says replacement or pro help, there is usually a structural, moisture, or finish-quality reason behind it. I also use a tighter rule overhead: if the repair is on a ceiling and involves a crack, stain, sag, active leak history, or a texture that must disappear completely, I stop and reassess before treating it as a normal wall patch.
Home Improvement Way DIY vs Pro Threshold Matrix
This quick matrix is the short version I would hand to a homeowner before they buy materials. It adds explicit DIY versus pro thresholds for ceilings, water damage, and texture mismatch.
| Condition | DIY threshold | Pro threshold | Escalation rule I use |
|---|---|---|---|
| Flat wall, dry cosmetic damage | Under 4 inches, sound board, no texture matching issue | Over 4 inches in high-visibility smooth walls or repeated failed patch | DIY if the wall is dry, stable, and not in harsh side light |
| Wall crack | Short hairline in wall field that has not returned | Recurring crack, seam crack, or crack with framing movement signs | Any recurring line gets taped, not just filled |
| Ceiling crack or hole | Tiny cosmetic blemish only, with no stain, sag, or movement | Any active crack, any stain, any softness, any sag, or any repair over 2 inches | Ceilings escalate faster than walls because failed repairs can drop material and hide leaks |
| Water damage | Stain-only, board is fully dry, firm, and leak source is already fixed | Softness, swelling, odor, repeat leak history, visible growth, or wet insulation | If moisture cause is not confirmed and stopped, do not patch |
| Texture mismatch risk | Light orange peel in low-visibility area | Smooth wall, knockdown focal wall, popcorn ceiling, or any broad pattern field | If you cannot tolerate a visible blend zone, hire out sooner |
| Corner bead damage | Minor dent with bead still tight and straight | Loose, bent, rusting, or split bead | Once bead shape is lost, filler alone is temporary |
| Damage type | Size | Texture | Moisture status | Recommended repair method | Material list | Escalation threshold |
|---|---|---|---|---|---|---|
| Nail holes, pin dents | Tiny under 2 inches | Smooth or light texture | Dry | Fill, let dry, sand lightly, prime, touch up paint | Spackle, putty knife, sanding sponge, primer, paint | If repeated in clusters from movement, inspect framing and fasteners |
| Dents, dings, shallow gouges | Tiny under 2 inches | Any | Dry | Skim with lightweight or all-purpose joint compound, feather past damage | Joint compound, broad knife, sanding sponge, primer, paint | If paper face is broken, seal torn paper before mudding |
| Anchor blowout, towel-bar damage | Small 2 to 6 inches | Smooth, orange peel, knockdown | Dry | Patch kit under 4 inches or cut neat opening and install backing patch | Drywall patch kit or drywall piece, backer, screws, joint compound, primer, paint | If loose gypsum keeps crumbling, cut back to sound board |
| Doorknob hole | Small to medium | Any | Dry | Cut square, add backing, screw in patch, tape seams, feather wide | Drywall patch, wood backers, screws, tape, joint compound, texture material, paint | If near corner or stud bay damage extends wider, replace larger section |
| Hairline crack in wall field | Tiny length, narrow width | Smooth | Dry | Open slightly, fill if stable, or tape-and-feather if crack returns | Paper tape or mesh tape, joint compound, sanding sponge, primer, paint | If recurring, treat as movement crack and use taped repair |
| Cracked tape joint | Variable | Smooth or textured | Dry | Remove loose tape, retape joint, apply multiple compound coats | Drywall tape, all-purpose joint compound, broad knives, primer, paint | If framing movement is active, simple filling will fail |
| Torn drywall paper | Tiny to medium | Any | Dry | Trim fuzz, seal paper, skim in thin coats, sand, prime | Sealer, joint compound, knife, sanding sponge, primer, paint | If large area is delaminated, cut out and patch |
| Corner bead dent or split | Localized or long run | Smooth or textured | Dry | Refill minor dents; replace damaged bead sections when bent or loose | Corner bead, fasteners, joint compound, knives, texture material, paint | If bead is detached or rusting, replacement beats filler |
| Electrical box cutout mistake | Small to medium | Any | Dry | Patch around box with backing or oversized cover-approved cut repair | Drywall patch, backers, screws, tape, joint compound, primer, paint | If box support or code clearance is in question, involve electrician |
| Ceiling stain or sag | Any | Smooth, knockdown, popcorn | Wet or previously wet | Stop leak, inspect softness, replace weakened board, then refinish | Replacement drywall, screws, tape, joint compound, stain-blocking primer, texture material, paint | If leak source is unknown, mold is suspected, or sagging is broad, hire out |
| Water-damaged wall drywall | Small to large | Any | Wet, stained, or soft | Source control first, dry cavity, inspect insulation and mold risk, patch or replace | Moisture meter if available, replacement board, tape, joint compound, primer, paint | Soft board, repeated leaks, odor, or visible growth point to replacement and inspection |
Project examples from our notes: one towel-bar blowout on a light orange-peel wall disappeared after a 3-inch backing patch, two compound coats, and a wider-than-expected texture blend; a ceiling stain under an AC line set looked cosmetic at first, but the board was soft enough to flex under fingertip pressure, so I cut it out instead of sealing over it; a smooth-wall doorknob patch looked fine before primer and obvious after primer, which is why I now feather smooth repairs much wider than the damaged area.
Can drywall be repaired, or does it need replacement?
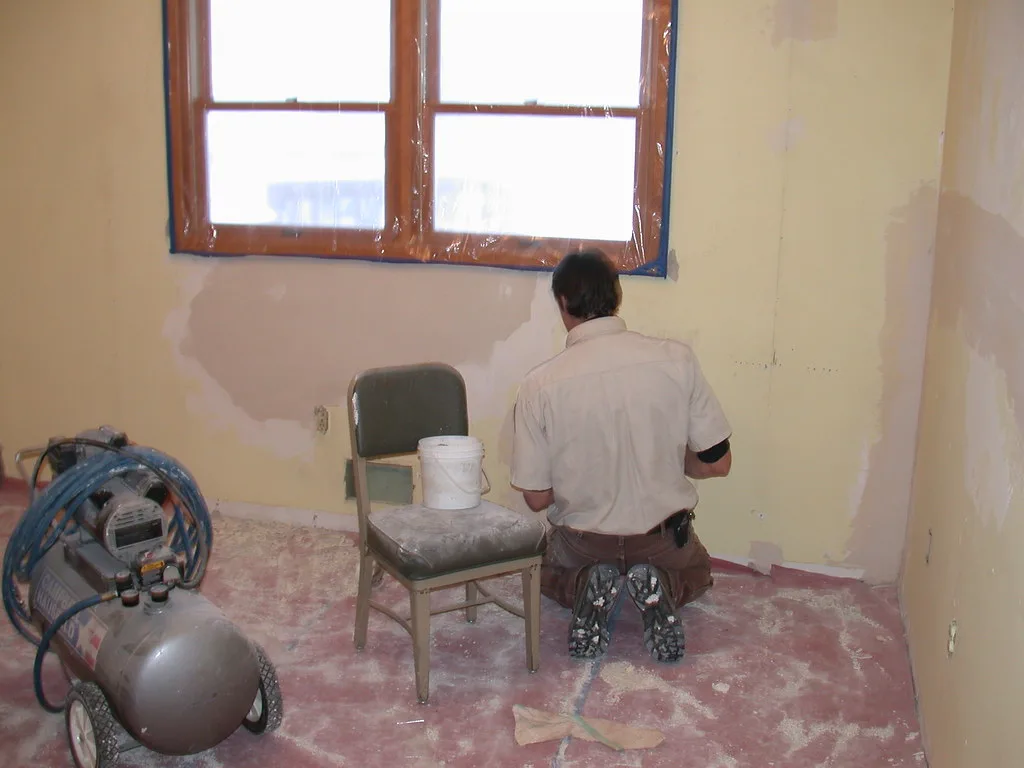
Yes, many drywall problems can be repaired, but damaged gypsum, soft board, mold risk, failed old patches, and leak-related ceiling damage often make replacement the better call. Cosmetic damage stays repairable. Structural weakness, moisture history, and broad cracking can change the decision fast.
Repairs that stay cosmetic
Nail holes, picture-hanger holes, shallow dents, dings, and minor anchor damage usually stay in the repair column. So do many small holes and peeled paint areas, as long as the paper face and gypsum core are still sound.
Spackle works best for very small dents and nail holes. It dries faster than joint compound in many cases and is often a good fit for paint-ready touch-ups. It is a poor choice for larger patches where feathering and seam strength matter. That distinction is consistent with consumer and manufacturer guidance from This Old House, USG, and CertainTeed, which separate small cosmetic filling from taped joint and board replacement work.
When a cut-out patch is the smarter fix
Once the gypsum is crushed, missing, or fractured, filling alone rarely holds up. Medium-size holes, broken edges, oversized fastener holes, and failed patch-kit repairs often need a clean cut-out and a new drywall piece fastened to backing.
I see this a lot with towel-bar anchor damage, rough doorknob impacts, and electrical work hole damage. Instead of relying on a vague service claim, the practical rule is simple: if the edges are crushed or crumbly, cut back to sound board and rebuild the opening so the patch has something solid to bear against.
When replacement beats repair
Replace drywall when it is soft, sagging, mold-prone, repeatedly wet, or cracked across a wide area. Water damage drywall restoration is a separate scope from cosmetic patching. EPA moisture and mold guidance supports removing water-damaged porous materials that cannot be dried promptly or have visible growth, and that is the standard I follow before I even think about compound and paint.
Ceiling sections deserve extra caution. A ceiling repair can hide a roof leak, plumbing issue, or AC leak. If the source is unknown, the board is softened, or the texture must match across a broad field, I treat that as a pro threshold rather than a casual patch job.
What materials should I use for each drywall repair?
Use spackle for tiny holes and paint touch-ups, joint compound for seam work and larger feathered repairs, tape for cracks and joints, and patch kits mainly for small holes under 4 inches. Matching the product to the defect prevents shrinkage, bubbling, weak seams, and visible edges.
Spackle versus joint compound
Spackle: best for nail holes, tiny dents, and very shallow defects. It often dries faster than joint compound. It sands easily, but it is not ideal for larger repairs because it does not bridge seams well and can leave a weak patch perimeter.
Joint compound: used for taping, filling, and feathering. All-purpose compound is a reliable choice for embedding tape and building coats. Lightweight compound sands easier and is useful for finish coats. Larger repairs need multiple coats, and each coat must be dry before sanding. USG’s published finishing system also distinguishes bedding, fill, and finish coats for taped joints, which is why I avoid one-coat expectations on anything more than tiny cosmetic damage.
Drywall tape choices
Drywall tape bridges seams and cracks. Paper tape is strong on flat seams and inside corners when embedded well in compound. Mesh tape is handy on some patches and crack repairs, but poor embedding can leave a weak or proud seam.
Bubbling happens when tape is starved of mud in spots or trapped over ridges and dust. Cracked tape joints are common failure points, and USG and CertainTeed both recommend removing failed or loose tape rather than burying it under more filler.
Patch kits, backing, and finish materials
A drywall patch kit is best for small holes. Most kits include mesh or patch material and are paired with joint compound or spackle. They still need sanding and paint touch-up. They fail when the wall is crushed, the hole is too large, or the repair sits in a high-visibility smooth wall.
For cut-and-patch work, plan for drywall pieces, backers, screws, tape, joint compound, sanding tools, primer, paint, and texture materials if needed. Corner bead damage adds bead stock and fastening supplies. If you are blending into texture, keep a test board or scrap nearby so you can dial in spray distance and pattern before you hit the wall.
Multi-coat finish sequence
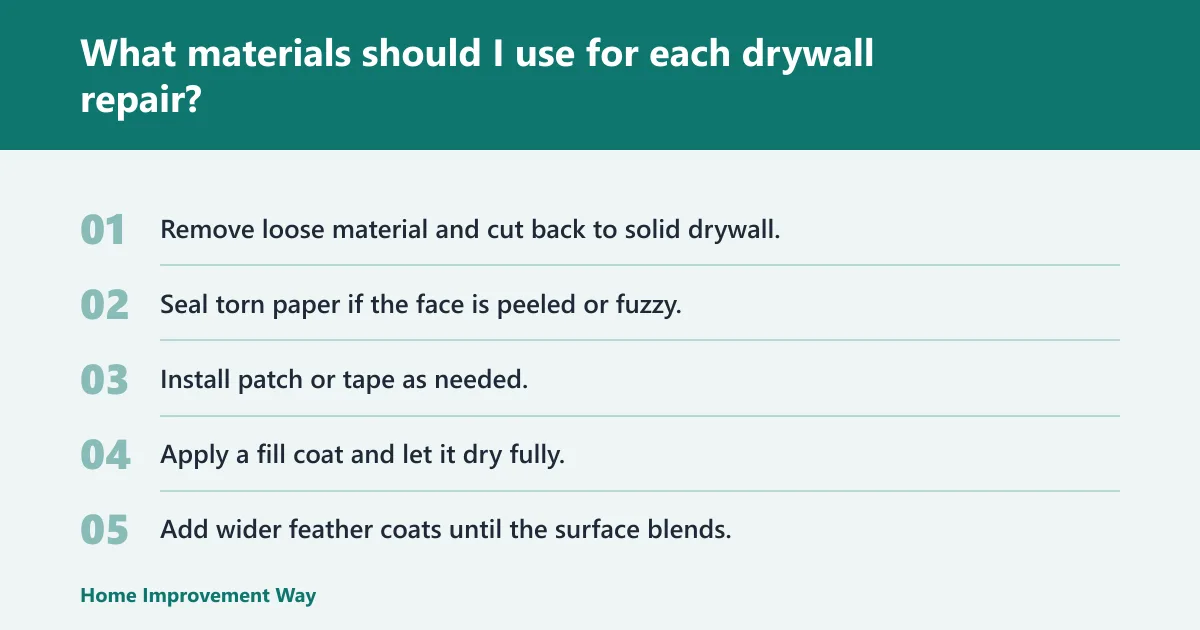
- Remove loose material and cut back to solid drywall.
- Seal torn paper if the face is peeled or fuzzy.
- Install patch or tape as needed.
- Apply a fill coat and let it dry fully.
- Add wider feather coats until the surface blends.
- Sand lightly and inspect with side light.
- Prime the repair.
- Match texture if needed, then repaint.
How do I fix small drywall damage without creating a visible patch?
For small drywall damage, keep the repair wider and thinner than the defect itself. Tiny holes need spackle, shallow dents need a skim coat, torn paper needs sealing before mud, and small blowouts need a stable patch. The visible patch usually comes from poor feathering, skipped primer, or bad texture blending.
Nail holes, dents, and dings under 2 inches
Scrape away loose paint first. Fill nail holes with spackle. For shallow dents, a light skim of joint compound often finishes flatter than a blob of spackle. Sand only after the filler is dry.
Then inspect under side light. A repair that looks fine head-on can still show a ring or ridge once paint hits it. On smooth walls, I often skim a little wider than feels necessary because primer will expose every lazy edge.
Anchor blowouts and holes up to about 4 inches
Towel-bar anchor damage and oversized fastener holes often break the paper and crush the gypsum around the opening. If the hole is fairly small and the surrounding board is sound, a drywall patch kit can work well.
For ragged damage, cut the opening to a clean shape first. I get a flatter finish that way. A neat patch is easier to hide than a lumpy one. Prime before paint, or the patch can flash through the finish. If the wall is smooth and gets direct window light, I am much quicker to skip the kit and do a real cut-out patch.
Torn drywall paper and peeled face paper
Torn paper is where many DIY repairs go wrong. If mud goes straight over fuzzy paper, moisture can swell the face and create bubbles or raised edges. Trim loose fibers, seal the paper, then skim in thin coats.
This step matters on old wallpaper removal damage, rough paint scraping, and failed anchor removals. Zinsser and similar primer-sealer systems are commonly used in the field for this step because they lock down torn paper before compound goes on.
How do I repair medium and large holes in drywall?
Medium and large drywall holes need structure first and finish second. Once the opening gets into a medium-size range, patch kits can become less dependable, and a cut-out repair with backing, screws, tape, and several compound coats often gives a flatter, stronger result with less chance of cracking later.
When a patch kit works and when it does not
A kit is usually a good match for small holes under 4 inches. It is less convincing on a mid-size hole in a smooth, well-lit wall, where the patch face can sit proud and show through paint.
If the wall around the hole is crushed, skip the kit. Cut back to sound drywall and patch with real board. That is the same breakpoint most manufacturer instructions imply: once the patch depends on damaged edges, the repair is only as good as the broken perimeter.
Cut-and-patch repairs for 6 to 12 inch openings
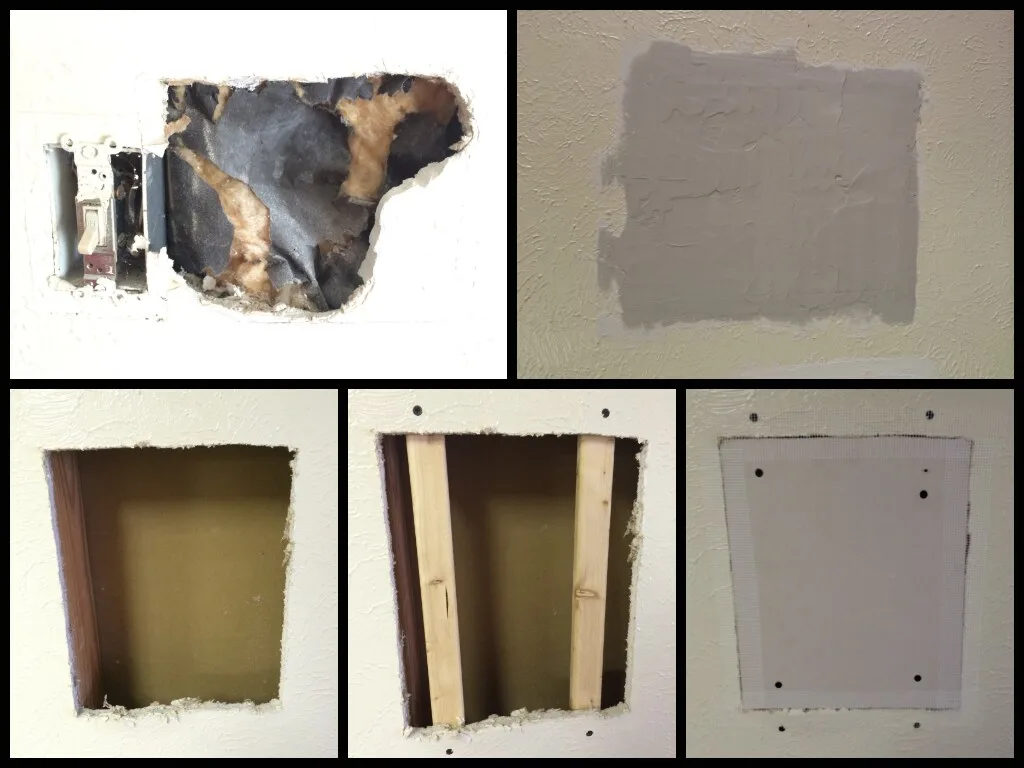
Square the opening. Add backing behind the edges. Screw a drywall patch to the backing, then tape the seams and feather the compound wider with each coat. This is the usual path for medium wall damage from impacts, plumbing access, and box cutout mistakes.
Give each coat time to dry. Sanding damp compound tears the surface and drags ridges into the finish. If you want a cleaner walkthrough of that process, our drywall patching guide goes deeper on backing, screws, and seam layout.
Backing and fastening for 12 to 24 inch repairs
Larger repairs need better support. Backers or attachment at framing keep the patch from flexing. Flex is what turns a fresh repair into a hairline crack months later.
Feather farther than feels necessary. On large smooth-wall repairs, the perimeter often stays visible because the patch was built thick instead of broad. On textured walls, plan for a bigger blend zone and repaint beyond the patch field if the sheen match is touchy.
How do I repair cracks, nail pops, and damaged corners?
Cracks, nail pops, and corner damage need cause-based repairs. Stable hairline cracks may take filler, but seam cracks usually need tape. Nail pops need re-fastening with screws, not more mud alone. Outside corner damage often needs bead reinforcement or replacement before any finish coat goes on.
Hairline and seam cracks
A short hairline crack in the wall field can sometimes be opened slightly and filled. Seam cracks are different. They follow taped joints, and a fill-only repair often reopens because the joint still moves.
Retaping is the safer path on cracked seams and recurring cracks. Paper tape is often preferred on flat seams when embedded cleanly. USG repair literature makes the same distinction, and in my experience it is the difference between a repair that lasts one season and one that stays closed.
Recurring cracks and movement
If a crack returns in the same line, there may be framing movement, seasonal shift, or fastener issues behind it. More filler will not fix movement. I have seen homeowners patch the same seam for years before finally retaping and re-fastening it.
For recurring ceiling cracks, I tighten the escalation rule even more: if the crack follows a seam, keeps returning, or sits under an attic or roof area with temperature swings, I would rather inspect framing and fastening conditions before I promise a cosmetic-only fix.
What causes nail pops in drywall?
Nail pops are commonly caused by framing movement or shrinkage, which loosens the original fastener and pushes the finished spot proud of the wall. The repair is to set the pop, add screws into solid framing nearby, cover the area with compound, sand, prime, and repaint.
Do not simply tap the pop back and cover it. Re-fastening is what keeps the spot from returning quickly. That is also the common contractor remedy because the original attachment has already proved unreliable.
Corner bead dents, splits, and replacement
Outside corners take abuse. Small dents can be filled if the corner bead is still tight and straight. Bent, split, rusting, or loose bead usually needs reinforcement or replacement.
That means more than a dab of mud. The new surface must be feathered on both sides, then retextured if the wall is not smooth. If the corner sits in a focal area, I often tell homeowners this is one of the easiest places to make a repair structurally sound but still visibly imperfect.
How do I repair drywall after water damage or a ceiling leak?
Stop the water first, then decide whether the drywall is dry and sound enough to save. Stains alone do not guarantee a cosmetic repair. Softness, sagging, odor, repeated wetting, and mold risk often push the job from patching into panel replacement, drying work, and stain-blocking repainting.
Source control comes first
Do not mud over a stain and call it done. Check for active leaks from plumbing, roof penetrations, windows, or AC systems. That is not just a contractor preference; it follows EPA moisture-control guidance and basic restoration practice.
Ceilings deserve a close look for sagging and softened gypsum. Wet board loses strength fast overhead. If I can press the area and feel movement, or the tape line has started to telegraph, I stop planning a cosmetic fix and move toward replacement.
Drying, mold risk, and replacement decisions
If the drywall is dry, firm, and lightly stained, sealing and refinishing may be enough. If it is soft, crumbly, swollen, or repeatedly wet, replacement is the safer route. Cavities may also need insulation checks and mold inspection or remediation.
Water-damaged drywall often costs more than cosmetic damage because the scope expands beyond the surface. EPA guidance is especially useful here: porous materials that stay wet or show microbial growth may need removal, not just drying and paint.
Why ceiling repair costs more
Ceiling repair is harder than wall repair because all work is overhead, texture is easy to spot, and leak history must be resolved. The sourced cost calculator says ceiling repairs cost 20-30% more.
Dust control matters too. Overhead sanding drops everywhere, and unsupported cut-outs can break wider than planned. If the ceiling texture is popcorn or old knockdown, I also budget extra time for matching because that blend is where callbacks happen.
How do I match texture after drywall repair?
Texture matching works when the repair is blended beyond the patch edge and the new pattern matches the surrounding wall in size, spacing, and paint sheen. Smooth walls show flashing and ridges. Orange peel, knockdown, and popcorn hide some patch lines, but poor blend zones still print through.
Smooth walls
Smooth finishes are brutal on rushed work. Feather-edge ridges, sanding scratches, and unprimed compound can flash under paint. The fix is wide feathering, careful sanding, primer, and paint that matches both color and sheen.
Many “bad paint” complaints are really flatness problems. On smooth repairs, I almost always inspect after primer because that is when the truth shows up.
Orange peel and knockdown
Pattern size matters. So does spray distance and, for knockdown, timing before flattening the droplets. If the new pattern is tighter, coarser, or more uniform than the old field, the patch reads immediately.
Texture matching can add labor and cost. The sourced calculator lists texture matching at $50–$200. If you are weighing whether to try it yourself, our wall texture matching guide is the closest sibling topic to this repair workflow.
Popcorn ceilings
Popcorn is hard to blend invisibly in a small island. Patch edges often leave a halo. In some rooms, broader ceiling work makes more sense than one isolated patch, especially if the ceiling has aged, yellowed, or been painted before.
That is one reason I use a stricter pro threshold for popcorn ceilings than for orange peel walls. Even when the patch is structurally correct, the eye catches the blend. If the ceiling dates to an age where asbestos could be a concern, testing comes before scraping or cutting.
How much does drywall repair cost, and when should I hire a pro?
Drywall repair cost depends on size, texture, location, paint scope, and moisture history. Small cosmetic patches sit at the low end. Ceilings, texture work, corner bead repairs, leak-related replacement, and mold-related checks move the bill upward fast. Hire out when finish quality or hidden damage risk outweighs the savings.
Typical cost buckets by repair type
The sourced cost calculator lists small hole repair at $75–$150, medium hole repair at $100–$250, and large section repair at $200–$500. It also says most contractors charge a $100–$200 minimum service call.
Those figures make more sense when tied to scope:
- Cosmetic patching: nail holes, dents, tiny dings, minor touch-up work
- Cut-out repairs: broken gypsum, anchor blowouts, doorknob holes, electrical openings
- Ceiling repairs: added overhead labor and leak investigation
- Texture repairs: pattern matching and repainting
- Leak-related replacement: source tracing, drying, mold checks, insulation review, stain blocking, repaint scope
When DIY makes sense
DIY is a sensible path for tiny and some small dry repairs in low-visibility areas: nail holes, shallow dents, stable torn-paper spots, and clean holes that fit a patch kit. I would include many under-4-inch wall patches here, provided the board is dry, the texture is forgiving, and you are willing to prime and repaint the area properly.
When to hire a pro
Hire a pro for ceiling cracks, recurring seam cracks, large openings, outside corner rebuilds, smooth-wall repairs in harsh side light, leak-related damage, mold concerns, or texture-sensitive ceilings. A bad drywall repair often costs twice: once to patch it, then again to cut it out and do it right. If your project is really a moisture problem or a finish-matching problem, our related pages on water damage repair and ceiling crack repair are usually better next reads than another generic patch tutorial.
Frequently asked questions
How do I fix my drywall?
Fix drywall by matching the method to the damage: spackle for nail holes, joint compound for dents and skim work, a patch kit for small holes under 4 inches, and a cut-out patch for larger broken areas. If the wall is wet, soft, cracked at seams, or on a ceiling, inspect deeper first.
Can drywall be repaired?
Yes, drywall can be repaired when the board is dry and structurally sound. Cosmetic damage, small holes, dents, and many cracks are repairable. Replacement is the better option when gypsum is crushed, paper is badly delaminated, leaks are active, mold is suspected, or ceiling drywall has softened.
What size hole can I patch with a kit?
A drywall patch kit is usually best for small holes under 4 inches, especially when the surrounding wall is flat and solid. Holes up to 6 inches may still be patchable, but once the area is crushed, ragged, or highly visible, a cut-out patch usually leaves a cleaner finish.
How do I repair drywall after water damage?
Start by stopping the leak and checking whether the drywall is dry, firm, and stain-only, or soft and weakened. Dry, sound board may be sealed and refinished. Soft, sagging, or repeatedly wet drywall often needs replacement, cavity drying, insulation checks, and possible mold inspection before any finish work.
How do I match texture after drywall repair?
Match texture by first getting the patch flat, then blending the texture beyond the repair edge. Smooth walls need careful feathering, sanding, primer, and sheen-matched paint. Orange peel, knockdown, and popcorn require pattern matching in size and spread. Many visible patches come from perimeter mismatch, not the center.
How do I repair cracks, dents, and torn paper without making them worse?
Do not treat all three the same. Dents need thin skims, cracks often need tape, and torn paper must be sealed before mudding to prevent bubbling. Let compound dry fully between coats, sand lightly, inspect with side light, then prime before paint so the repair does not flash through.
Sources
- USG Sheetrock brand literature and repair/finishing guidance for joint treatment, tape embedding, patching, and finish coats.
- CertainTeed drywall repair guidance for patch selection, cut-out repairs, and finishing sequence.
- U.S. Environmental Protection Agency guidance on moisture control and mold remediation in buildings.
- Industry-standard restoration practice for water-damaged porous materials and leak response.
- This Old House and similar established consumer home-improvement references for homeowner-safe repair planning and tool/material distinctions.
- Homecalc for directional cost ranges cited in this article.
Sponsored / affiliate links. As an Amazon Associate I earn from qualifying purchases. I may earn additional commission from eligible campaigns.
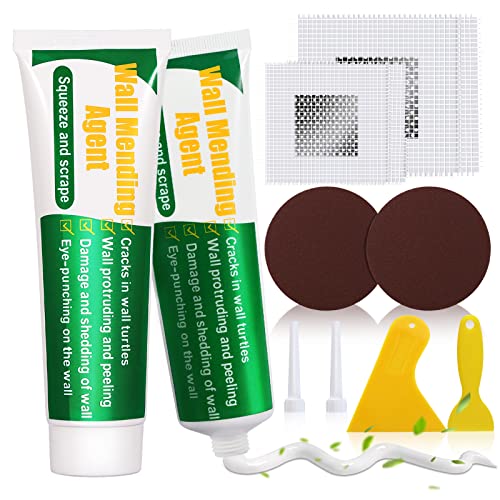 Drywall Repair Kit, 2 Pack Spackle Wall Repair Patch Kit with Scraper, Wall Mending Agent Large Hole Drywall Patch, Easy to Fill Holes in Home Wall and Quick Repair Crack, Plaster Wall Repair
 Drywall Repair Kit, Wall Mending Agent, Wall Patch Repair Kit with Scraper, Simple Filling of Wall Holes&Efficient Crack Repair