How to Repair Drywall Cracks Around Door Frames
Repair drywall cracks around door frames by first checking for door or framing movement: hairline cracks can get flexible paintable caulk, wider recurring cracks need tape and joint compound, and cracks that reopen after repair warrant a framing check before patching. If you skip the cause, the crack usually returns, trim gaps can widen, and the patch can fail. This guide shows how to diagnose movement, choose caulk, tape, or compound, and repair the crack so it can flex with seasonal changes.
What you’ll need


- Paintable caulk for hairline cracks at trim-to-wall joints
- Premixed joint compound or powder-based joint compound for wider damage
- Drywall mesh tape for cracks that have opened or keep returning
- Primer, preferably latex primer, before paint
- Drywall texture spray if the wall already has texture
- Putty knife or taping knife
- Drywall sander or sandpaper
- Stud finder for locating framing near the opening
- Dust brush, vacuum, or tack cloth for cleanup
- Paint that matches the wall finish
Why door-frame cracks keep coming back
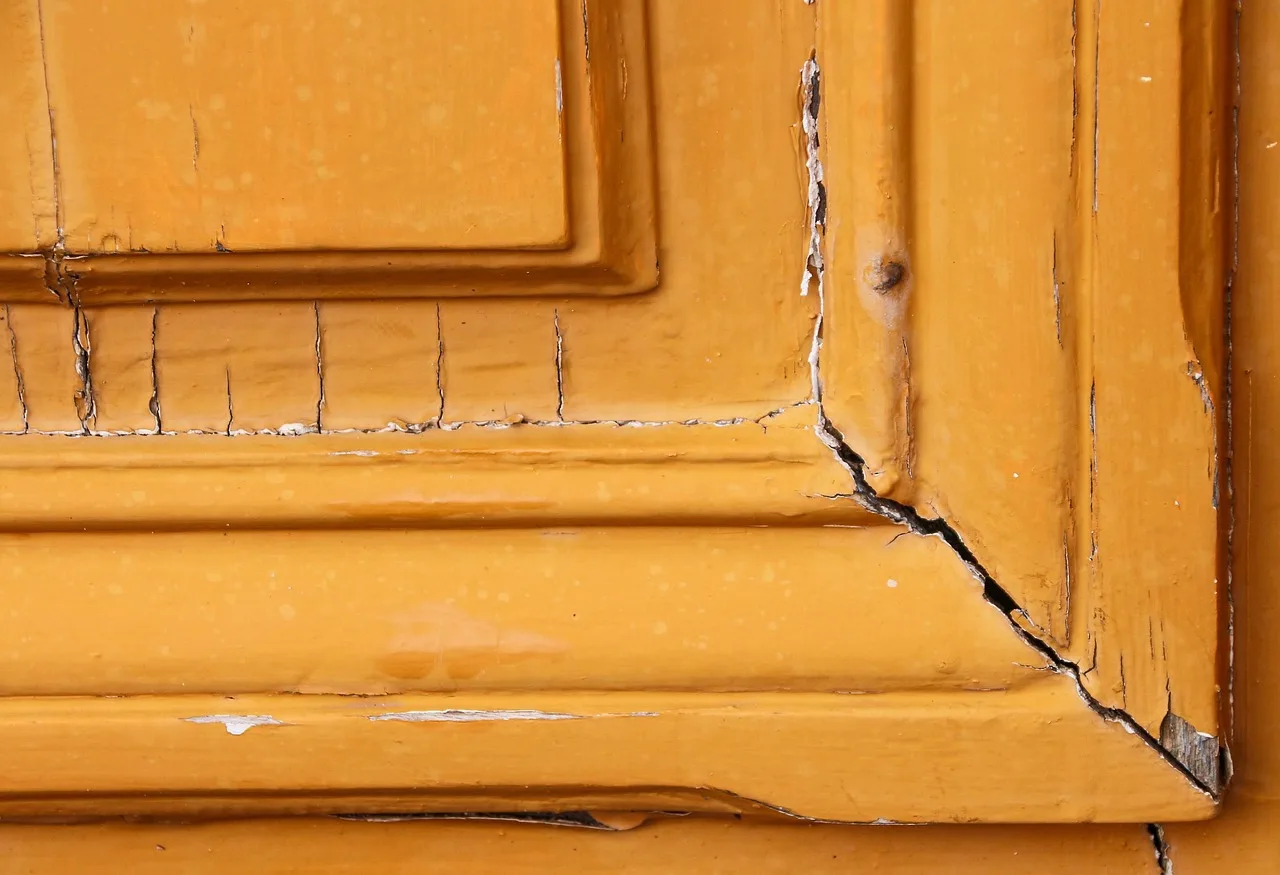
Repair decisions around a door frame depend on whether the crack is at the trim-to-wall joint, a drywall seam, or a corner bead. Those locations fail for different reasons, and the best repair changes with the joint. A flexible joint needs flexible caulk; a drywall seam or corner crack usually needs compound and reinforcement; a crack that keeps reopening can signal movement that goes beyond cosmetics.
Cracks near doors return more often because the casing joint and the drywall edge move differently. Seasonal expansion, settling, and door slamming can open the same line again, especially where trim meets wall surface or where a seam ends near an opening. If the crack keeps widening, appears diagonal, or comes back after seasonal cycles, treat it as movement first and patching second.
The fastest clue is location. A crack at the casing joint often follows the trim line. A crack at a drywall seam may run straight and reopen after paint. A corner near the opening can split from stress where two planes meet.
Suppose a 10-inch crack appears beside the casing and widens when the door closes hard. That points to movement, not a simple cosmetic flaw. If the line stays put while the door moves, the repair can usually stay on the surface. If the door starts sticking, the crack widens diagonally, or the same repair reopens after a few seasonal changes, check the framing, trim attachment, or foundation movement before doing another cosmetic patch.
Should you caulk or use compound?
Use paintable caulk for hairline cracks at trim-to-wall joints that move. Use joint compound for wider cracks or damaged drywall that needs filling. Use mesh tape when a crack has opened or keeps returning and needs reinforcement. Do not treat every door-frame crack the same.
For paintable caulk, choose a latex or siliconized acrylic product that says it can be painted after curing. DAP and Sashco both make paintable caulks for moving joints; pure silicone is not paintable and is a poor choice where you need paint adhesion. On a trim-to-wall joint, caulk beats mud because the joint is supposed to flex. On a drywall seam or corner bead, mud and reinforcement usually last longer.
On flat seams, paper tape is often stronger and less prone to bubbling than mesh tape because it creates a thinner, more rigid seam when embedded in compound. Mesh tape is useful for a quick reinforcement or when a crack has already opened, but it is not always the best choice for a flat seam that needs the strongest finish. USG/Sheetrock joint compound systems are designed around this kind of tape-and-compound buildout.
Match the repair to the joint
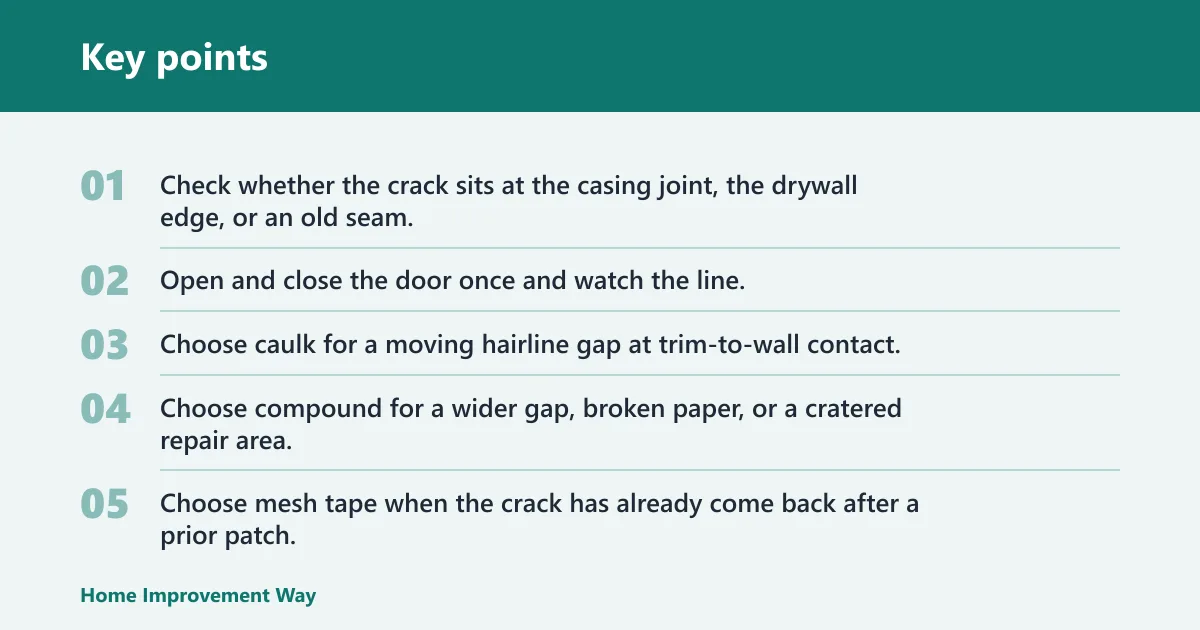
- Check whether the crack sits at the casing joint, the drywall edge, or an old seam.
- Open and close the door once and watch the line.
- Choose caulk for a moving hairline gap at trim-to-wall contact.
- Choose compound for a wider gap, broken paper, or a cratered repair area.
- Choose mesh tape when the crack has already come back after a prior patch.
Scrape loose paint, loose texture, and weak filler with a stiff putty knife before you add anything new. USG Sheetrock guidance for drywall repair materials emphasizes getting down to sound surfaces so compound can bond properly. If the joint is crusty or chalky, remove that material before patching instead of trying to bury it.
Clean dust so the new material bonds correctly. Vacuum the groove, then wipe it with a dry cloth. Check the door frame and nearby wall for movement before filling; a crack that opens when the door moves usually needs a flexible fix, not a rigid one. If the opening is active, do not tape over the trim joint itself, because taped joints need a stable substrate.
Prep steps
- Score along the crack with a stiff putty knife.
- Scrape away any loose paint or chalky texture.
- Vacuum the dust from the channel and the casing joint.
- Press on the adjacent wall and trim to check for flex.
Fill hairline trim joints with paintable caulk and tool it smooth. DAP and Sashco both recommend paintable acrylic or siliconized acrylic caulks for gaps that need flexibility and finish work; these products are meant to move with the joint and then accept paint. For wider damage, apply joint compound in thin coats and let each coat dry fully before the next one.
Drywall mesh tape belongs on cracks that have opened or keep returning, especially on seams or repaired openings. It supports the repair, but it should not overlap corners or joints where the wall needs to move. On flat seams, paper tape is often the better choice for durability, while mesh tape is more forgiving for spot reinforcement and faster repairs. That’s why the repair method should follow the joint type, not just the crack width.
Zinsser and KILZ both note that primer helps create a uniform surface for topcoats and improves the way patched areas accept paint. Prime after the repair cures so the patch and surrounding wall absorb finish evenly. If the wall already has texture, match that texture before priming and painting so the repair does not stand out.
Repair sequence
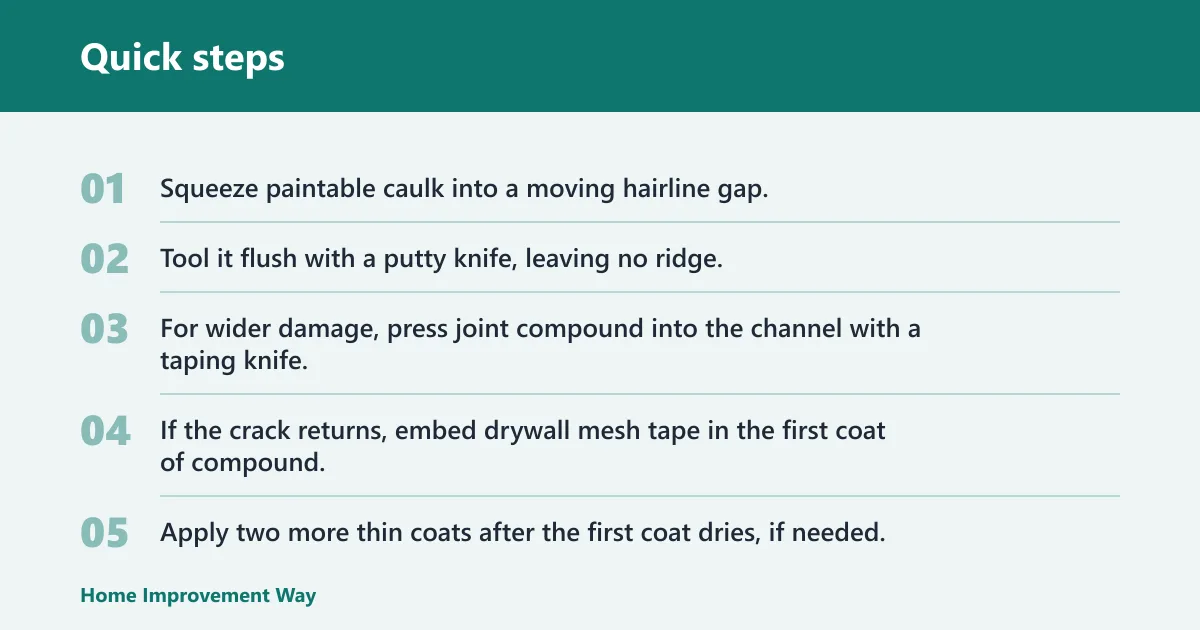
- Squeeze paintable caulk into a moving hairline gap.
- Tool it flush with a putty knife, leaving no ridge.
- For wider damage, press joint compound into the channel with a taping knife.
- If the crack returns, embed drywall mesh tape in the first coat of compound.
- Apply two more thin coats after the first coat dries, if needed, to build the surface back up.
How do you stop it from cracking again?
Match the repair method to movement, not just crack width. A flexible joint needs flexible caulk; a damaged seam needs compound and reinforcement. Use a wider knife for flatter final coats so the repair is less likely to show through paint, and prime before paint so sheen and porosity stay even.
Primer matters because patched drywall and old paint absorb and reflect differently. Zinsser and KILZ both specify primer as the bridge between patched compound and finish paint. If the wall is textured, the repair must match the existing finish or the patch will show. For that reason, texture matching matters as much as the filler itself.
Picture a crack beside a textured hallway door casing. If you leave the new patch smooth while the rest of the wall has orange peel, the repair will still read through the paint. Texture spray can help, but only when it matches the surrounding finish. See also how to match orange-peel texture for blending the finish without leaving a flat spot behind.
If that didn’t work, try this next
- Widen the repair area slightly and skim the edges flatter with a wider taping knife.
- Let each coat dry completely before the next one.
- Sand the repair with fine sandpaper until the edge disappears by touch.
- Prime the patch and about 1 to 2 inches beyond it.
- Apply texture spray only if the wall already has texture, then repaint to match.
Door-frame crack triage table
| Crack width | Location | Moves when the door opens or closes? | Best repair method | Is tape needed? | When to escalate |
|---|---|---|---|---|---|
| Hairline | Trim-to-wall casing joint | Yes | Paintable caulk, tooled smooth | No | If the gap widens or returns after paint, inspect trim fit or framing |
| Hairline to 1/16 in. | Drywall edge near the opening | No | Joint compound in thin coats | Maybe, if the crack has opened before | If the line reopens, check for nail pop or seam movement |
| 1/16 in. to 1/8 in. | Repaired seam or repeated crack line | Often | Joint compound with drywall mesh tape | Yes | If the door frame flexes, inspect the casing and nearby framing |
| Wider than 1/8 in. | Corner or edge near the door opening | Maybe | Patch, tape, and multiple thin coats | Yes | If the crack keeps opening, use a stud finder and check for trim or framing movement |
| Any width with crushed drywall or loose trim | Casing joint or frame edge | Yes | Repair trim first, then patch drywall | Only after the movement source is corrected | Escalate to trim or framing inspection |
Common mistakes
Using rigid filler where the joint needs flexibility is the fastest way to get a repeat crack. Skipping primer can leave a dull or shiny patch that still shows after paint. Sanding too aggressively can expose more damage and widen the repair area.
Ignoring texture mismatch is another common miss. Zinsser and KILZ both make clear that primer evens out absorption, but primer cannot hide a texture mismatch. If the wall has orange peel or other texture, you need to recreate that pattern before painting. Paint alone will not hide a smooth patch.
A common first-timer mistake is filling a door-casing crack without checking whether the trim shifts when the door closes. That repair can look fine for a week, then split along the same line. Another mistake is taping over an active trim joint that should be able to move; that traps stress in the finish and often pushes the crack back through.
Frequently asked questions
What causes cracks around door frames
Movement at the casing joint, seasonal expansion, settling, and door slamming can all reopen the same line. Cracks also show up where a drywall seam ends near the opening or where a corner takes stress. If the gap changes when the door moves, the cause is likely movement-related.
Should I caulk or mud cracks around a door frame?
Use caulk at trim-to-wall joints that flex. Use joint compound, often called mud, for wider cracks or damaged drywall that needs filling. If the line has opened more than once, reinforce it with mesh tape under compound. Rigid filler on a moving joint usually cracks again.
When does a door-frame drywall crack mean structural movement?
If the crack widens when you open or close the door, reappears after repair, or comes with loose casing, it deserves more than another surface patch. FEMA guidance on structural distress points to sticking doors, widening diagonal cracks, and repeated reopening after seasonal cycles as signs that movement may go beyond cosmetic repair.
Can I repair a crack around a door frame without repainting the whole wall?
Sometimes, yes. A small, well-matched repair can blend with a spot finish after primer and texture matching. But a full-wall repaint is often the most consistent finish if the wall has noticeable sheen differences, texture, or aging paint. Spot paint is riskier on smooth, light-reflective walls.
Related repairs
If the crack is part of a broader drywall problem, it may help to read how to fix nail pops, how to repair corner bead cracks, and when drywall cracks indicate foundation or framing issues. Those issues can overlap with door-frame cracking, especially when movement keeps returning after a patch.
Sponsored / affiliate links. As an Amazon Associate I earn from qualifying purchases. I may earn additional commission from eligible campaigns.