How to Patch Drywall After Removing Wall Anchors
Twist or pull the anchor out first; if the hole is smaller than about 1/2 inch and the paper is intact, fill it with spackle, but use a setting-type patch or a drywall repair patch when the paper is torn or the hole is larger. Bad removal can leave raised paper, crumbly gypsum, or a repair line that shows through paint. This guide shows how to remove common wall anchors and match the smallest repair to the hole size, paper condition, and anchor type.
What to check before you start


Identify the anchor type first, then inspect the hole edge. A clean pinhole needs a different repair than torn paper, a widened opening, or loose drywall face layers. Check the area around the hole for softness, bulging, or cracking before you decide whether a simple fill will hold.
Anchor type and wall condition
Plastic expansion anchors, plastic screw anchors, steel hollow wall anchors, and toggle bolts do not behave the same way during removal. Plastic types often release cleanly with pliers or a screwdriver. Metal anchors may need a drill only if backing them out would chew up the drywall further. Toggle bolts may leave a larger opening because the hardware sits behind the wall.
Wear protective goggles, and make sure pipes and wiring are clear before drilling or cutting near anchors. HomeServe recommends a pipe and wiring detector before anchor removal, and that matters most when the anchor sits near a sink, outlet, switch, or plumbing line.
What the hole tells you
A shallow crater with intact paper usually needs only filler. Torn paper, loose edges, or a widened mouth call for more than filler because the repair can shrink or break away. If the face layer is broken or the hole edge is soft, use a patch system or a cut-and-plug repair instead of trying to bury the damage with compound alone.
What you’ll need
- Needle-nose pliers for gripping some plastic anchor collars
- Screwdriver that fits the anchor mouth without chewing the drywall
- Drill for stubborn metal anchor collars, used with caution
- Utility knife for trimming ragged drywall edges
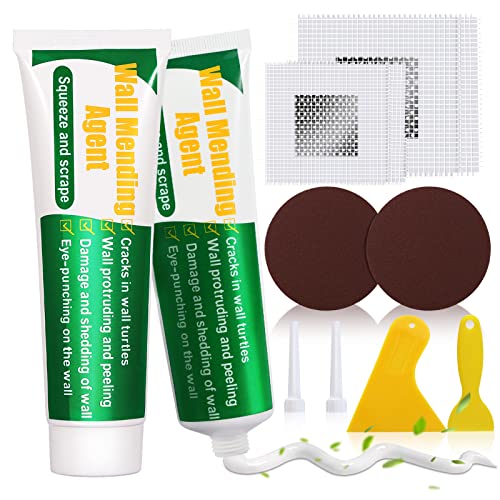
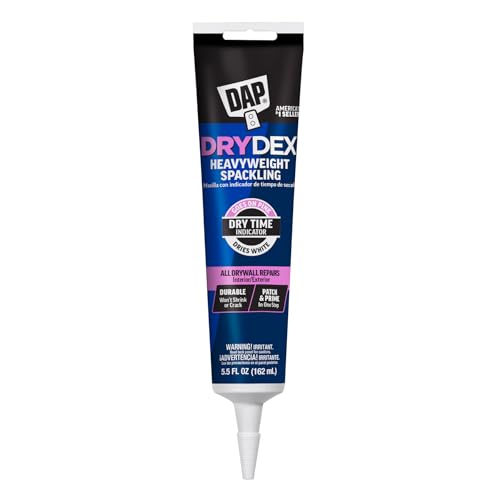
- Spackling compound for small anchor holes
- Joint compound for wider repairs and feathering
- Self-adhesive patch for small-to-medium holes
- Mesh patch or drywall repair patch for larger holes
- Protective goggles
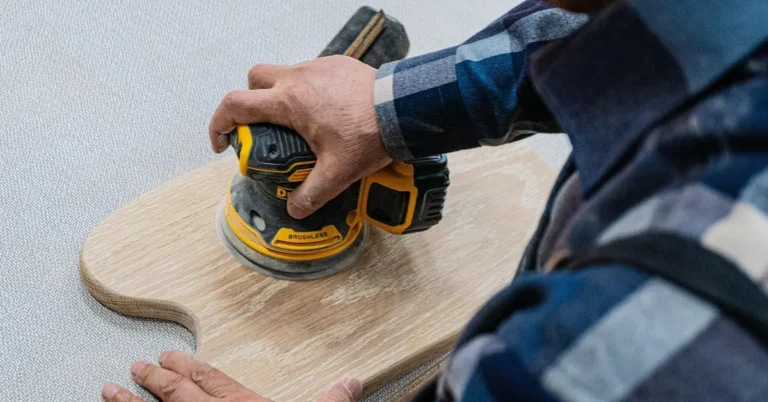
- Sandpaper or sanding sponge
- Putty knife
How do you remove the anchor?
Remove the anchor in the least damaging way that keeps the hole small and stable. Pull plastic anchors with pliers when the collar will grip cleanly, back out threaded types with a screwdriver when the threads still catch, and push or drill stubborn metal anchors only when the alternative is a larger broken edge.
- Put on goggles and check the wall area for wiring or plumbing.
- Grip a plastic anchor collar with needle-nose pliers and pull slowly and evenly if it starts to move.
- Back out a screw-type anchor counterclockwise with a screwdriver whose tip is slightly wider than the anchor mouth.
- Use a drill on a metal anchor collar only if hand removal will damage the wall more.
- Push a stubborn anchor into the wall cavity if it will not come out cleanly and the surrounding paper is still sound.
The same source lists three removal methods: pull with pliers, back it out, or let it fall behind the wall. That last option is often the smallest repair when a metal anchor has already loosened the opening and refuses to come free without tearing more paper.
Say your plastic expansion anchor spins but the collar is still intact. A screwdriver may back it out cleanly in a few turns, which leaves a smaller hole than prying at it with pliers. If the collar has already split, pushing it into the cavity is usually safer than widening the drywall face.
Which repair method fits the hole?
Match the repair to the hole, not the anchor. Small clean holes usually need only spackle. Widened holes or soft edges need reinforcement. Torn paper or broken face layers need a larger repair because filler over loose drywall will crack or show through paint.
Small, clean holes
Use fill only when the opening is small, the paper is intact, and the edge feels firm. Spackling compound is the best fit here because it sands easily and can be feathered thin for a paint-ready finish.
Widened or soft-edged holes
Use fill plus a self-adhesive patch when the hole is larger than a pinhole but the face paper is still holding. If the opening has spread but the wall still feels stable, a patch gives the compound something to bridge instead of sinking into the cavity.
Torn paper or broken face layers
Use cut-and-plug repair when the paper face is torn, the edge is loose, or the opening has broken through into crumbly gypsum. This gives you solid material at the edge again. Joint compound usually works better than spackle for this kind of repair because it builds more body and feathers wider.
| Anchor type and hole condition | Likely failure signs | Repair method and finish steps before priming |
|---|---|---|
| Plastic expansion anchor; collar comes out cleanly; hole stays round and tight | No torn paper; only a shallow crater | Pull out, fill with spackling compound, sand flush, and feather about 1 to 2 inches beyond the hole. |
| Plastic screw anchor; threads still catch but opening is slightly widened | Loose edges; slight widening at the mouth | Back out, then fill plus mesh patch if the surface feels soft; use joint compound and sand after drying |
| Steel hollow wall anchor; metal collar will not unscrew cleanly | Raised paper; metal edge chewing the opening | Push in or drill carefully, then fill plus mesh patch or a drywall repair patch; trim loose paper first |
| Toggle bolt; anchor leaves a larger cavity behind the wall | Bigger opening; broken face layer; visible cavity edge | Remove hardware if possible, then cut-and-plug repair with joint compound, feathered wider before primer |
| Any anchor; paper face ripped back several inches | Torn paper; hollow-feeling edge; patch telegraphs through paint | Cut and clean the edge, then use a patch system or cut-and-plug repair before priming |
How do you patch the hole?
Patch the hole only after the edge is stable. Trim ragged drywall, fill in thin layers, and sand between coats only after the compound has dried fully. If the repair shrinks below the wall plane, add another pass rather than trying to bury the dip in one heavy coat.
- Trim loose paper and ragged gypsum with a utility knife until the edge feels solid.
- Press spackling compound into small holes, or apply joint compound over mesh or a self-adhesive patch.
- Apply the first coat slightly proud of the wall so it can be sanded flush later.
- Let the compound dry fully before sanding.
- Sand lightly, then feather the repair wider than the hole so the edge disappears under paint.
- Add a second coat if the repair shrinks or the patch outline still shows.
A practical rule of thumb is about 1/16 inch per coat for filler, then recheck after drying. If the surface still sits low, add another thin pass rather than loading on a thick mound. Homedit notes that some patch compounds dry within four hours, but drying time still depends on thickness, temperature, and humidity.
Suppose a toggle bolt leaves about a 1-inch opening with clean paper but a shallow dip around the edge. A self-adhesive patch can bridge the hole, then joint compound can feather the area wider. If the paper tears back another inch during sanding, stop and switch to a larger patch before priming.
Common mistakes
Using filler on a loose cavity edge is the fastest way to get a crack or a visible ring after paint. Skipping cleanup leaves ragged paper under the patch. Sanding too soon pulls fresh compound out of the hole, and priming before the repair dries can trap shrinkage that shows later.
- Filler on loose edges: Trim or patch the edge first.
- Over-sanding: Sand only after the compound is dry, and keep the pressure light.
- One heavy coat: Use thin layers so shrinkage stays manageable.
- Priming too early: Wait until the repair is fully dry and flat.
- Ignoring nearby wall damage: If the drywall feels soft beyond the hole, move up to a larger repair.
If that didn’t work, try this next
If the anchor pulled out but the hole still opens wider when you press near it, stop treating it as a simple fill. Move to a patch system before the repair fails under paint. A loose cavity edge means the surrounding paper has lost strength and needs reinforcement.
- Clean the edge with a utility knife to remove soft paper.
- Cover the opening with a self-adhesive patch or mesh patch.
- Apply joint compound in thin coats, feathering wider each time.
- Sand lightly after each dry coat, then prime only when the patch line disappears.
If a metal anchor or toggle bolt left a broken face layer, do not keep building up filler over the damaged zone. Cut back to firm drywall and use a larger repair. HomeServe warns to avoid hidden utilities while removing anchors, so any deeper cutting should stay careful and deliberate.
How do you remove drywall anchors from wall?
Use the least damaging removal method first. Use pliers for some plastic anchors, back threaded anchors out with a screwdriver, and push or drill stubborn metal hardware only when the wall will suffer less that way. The goal is a smaller repair, not just getting the anchor out.
How do you patch anchor holes in drywall?
For small, clean holes, fill with spackling compound, sand flush, and prime. For widened or torn holes, clean the edge first, then use a self-adhesive patch or mesh patch with joint compound. Let each coat dry before sanding so the repair stays flat instead of shrinking below the surface.
How do you fix a stripped drywall anchor?
If a screw keeps spinning in the anchor, remove the screw and inspect the hole. Back out the anchor if it still grips; if not, push it into the cavity and repair the opening with filler or a patch based on the paper condition. A stripped anchor usually means the wall needs repair, not another screw.
How do you get anchors out of drywall?
Pull, back out, or let the anchor fall behind the wall, depending on what damages the hole least. Plastic expansion anchors often come out with needle-nose pliers. Screw-type anchors can back out counterclockwise with the right screwdriver. Metal anchors sometimes need a drill only as a last step.
How do you fix loose drywall anchor?
A loose anchor hole usually needs more than another anchor. Remove the hardware, check whether the paper is intact, and decide between fill only, fill plus patch, or cut-and-plug repair. If the wall around the opening feels soft, reinforce it before repainting or the new anchor may fail again.
Sponsored / affiliate links. As an Amazon Associate I earn from qualifying purchases. I may earn additional commission from eligible campaigns.