How to Install Machine Screws in Pre-Drilled Holes
Use a machine screw in a matching tapped hole or with a nut. A clearance hole alone will not hold threads. Bad thread match, cross-threading, or over-tightening can strip the hole, snap the screw, or leave the joint loose. This guide shows how to identify the hole type, match thread size and pitch, and tighten machine screws without damage, using sizing and fit guidance consistent with major fastener and tooling references such as ASM/ASME thread standards, Grainger, McMaster-Carr, and Hanson/Greenlee-style tap-drill charts.
What machine screws need to start cleanly


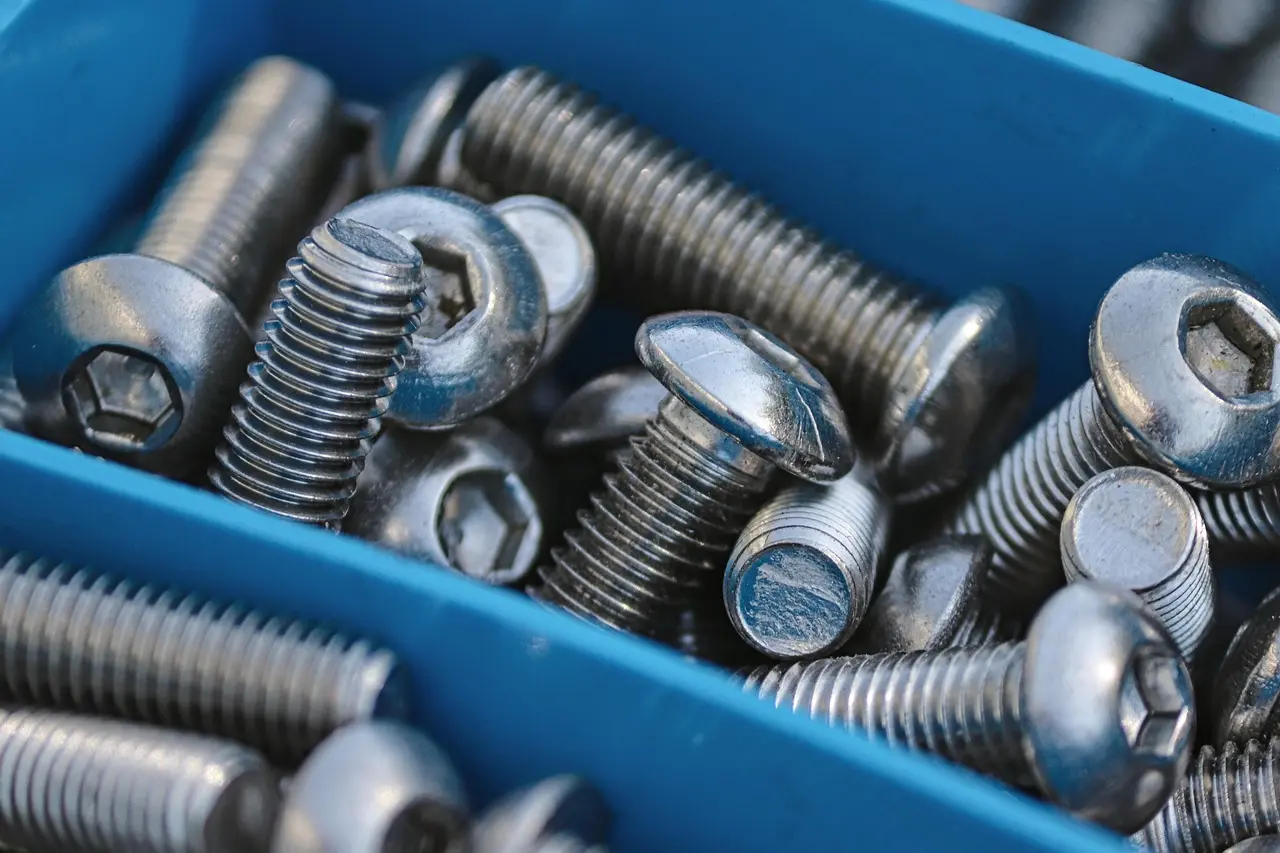
Machine screws have a uniform diameter and are meant for nuts or threaded holes. They come in imperial and metric sizes, such as #4-40 and M6x1.0, and the screw must match the hole’s diameter and pitch. If the hole is already threaded, the fit should start by hand without force, which is the normal starting condition described in standard thread-fit practice from ASME/ANSI thread data and major fastener charts.
Thread pitch, diameter, and hole match
Diameter tells you the screw size. Thread pitch tells you how closely the threads are spaced, and it must match the hole. Imperial pitch is measured in threads per inch, while metric pitch is measured in millimeters. A screw that is close in size but wrong in pitch may feel tight at the start and then bind or cut the threads wrong. That is why fastener makers and tooling suppliers publish separate charts for tap-drill size, clearance size, and thread designation rather than one-size-fits-all drill numbers.
Common machine screw head styles include flat head, pan head, round head, and socket head, and Phillips drive is also common. Flat head screws sit flush with the surface, and socket head screws use an Allen wrench. Common materials include steel, stainless steel, brass, aluminum, and titanium.
When a pre-drilled hole is ready
A pre-drilled hole is ready only if it is already threaded for the screw or sized to fit a nut on the back side. A clearance hole by itself is not enough for a machine screw to hold. In furniture and metal work, that threaded hole may be factory-tapped or created by the user with a tap. For drilling and tapping workflow, the hole is evaluated by function first: tap hole, clearance hole, or pilot hole.
Signs the hole is too tight, too loose, or damaged
A hole is too tight if the screw will not start with finger pressure. A hole is too loose if the screw wobbles or threads engage only partway. Damaged threads often feel gritty, catch in one spot, or let the screw spin without tightening. Burrs, paint, and debris can create the same symptoms.
If a #8 screw enters about two turns and then stops hard, a common cause is a pitch mismatch, a burr, or an undersized tap. That is often a pitch mismatch, a burr at the entrance, or a hole that was tapped undersize for the fastener being used. Forcing the driver at that point usually makes the damage worse. Tap-drill charts from major tooling makers and fastener suppliers are used specifically to avoid that mismatch.
Which hole type do you have?
Start by identifying the hole condition, because the right action changes fast. A pre-tapped hole takes the screw directly. A clearance hole needs a nut on the back side. An untapped metal hole needs a tap before the screw goes in. Plastic and furniture panels need extra caution so the material does not crack or crush.
Pre-tapped hole
If the hole is already threaded to the correct diameter and pitch, the main job is clean alignment. Remove burrs, blow out dust, and start the screw by hand. If the screw only fits with force, stop and check the pitch before tightening.
Clearance hole with nut
A clearance hole lets the screw pass through a panel and engage a nut on the other side. The hole does not provide thread grip. Use this setup when the joint is designed for through-bolting, when the back side is accessible, or when the receiving part is too soft to hold threads well.
Untapped metal hole
An untapped metal hole needs a tap that matches the screw size and thread pitch. The pilot hole must suit the tap, not the finished screw, because the tap cuts the internal threads. Lubrication helps the tap cut cleanly in metal and lowers the chance of torn threads. Tooling charts from drill manufacturers and threading references such as McMaster-Carr and Grainger are built around this pilot-hole-to-tap relationship.
Plastic hole or furniture panel
Plastic and furniture panels are more sensitive to cracking, splitting, and pull-through. Use the correct pilot hole size for the substrate, avoid heavy driver force, and stop as soon as the screw seats firmly. For furniture panels, a threaded insert or factory insert often gives a better result than biting directly into the panel. If the material is soft, the goal is retention without crushing the panel fibers or cracking the boss.
Machine screw hole decision table
| Hole condition | Required tool | Lubrication needed? | Main failure risk | Correct tightening cue |
|---|---|---|---|---|
| Pre-tapped hole | Matching screwdriver, hex key, or socket for the head | Usually no; light oil only if the material or screw maker calls for it | Cross-threading at the start | It should start by hand and turn smoothly for the first few threads |
| Clearance hole with nut | Driver or wrench for the screw, plus a wrench for the nut | No, unless the joint is metal and the hardware is binding | Loose joint from no thread engagement in the panel | Tighten until the nut seats and the parts draw together without crushing the panel |
| Untapped metal hole needing a tap | Correct tap, tap wrench, and deburring tool | Yes, use cutting fluid or light tapping fluid suited to the metal | Damaged internal threads or a crooked tap | The tap should cut straight and the screw should thread in by hand afterward |
| Plastic hole | Correct drill bit for the pilot hole, then the proper driver | Usually no; lubricant can attack some plastics | Cracking, splitting, or thread pull-out | Stop when the head seats and the joint is snug, not squeezed flat |
| Oversized or stripped hole | Thread insert kit, larger fastener plan, or nut-and-bolt setup | Only if re-tapping metal; follow the insert or repair method | Spin-out and poor holding power | Do not keep tightening a screw that will not bite; repair the hole first |
Compact sizing table for #8 and #10 machine screws
For common hardware work, the most useful numbers are the tap-drill size for a threaded hole and the clearance-hole size for a through-bolt joint. The table below gives practical examples based on standard fastener charts from manufacturers and tool suppliers. “Close fit” is the tighter clearance used when you want less play; “free fit” gives more assembly room.
| Size | Common thread options | Tap-drill size for threaded hole | Close clearance hole | Free clearance hole | Notes |
|---|---|---|---|---|---|
| #8 machine screw | 32 TPI coarse; 36 TPI fine | 9/64 in. for #8-32; #29 drill for #8-36 (common chart value) | Clearance sizes commonly around 9/64 in. to 5/32 in. depending on fit class | Typically 5/32 in. for freer clearance | Use the pitch that matches the tapped hole; a #8-32 screw will not properly start in a #8-36 thread |
| #10 machine screw | 24 TPI coarse; 32 TPI fine | #25 drill for #10-24; #21 drill for #10-32 | Clearance sizes commonly around 3/16 in. for close fit | Typically 13/64 in. to 7/32 in. for freer clearance | #10-24 and #10-32 are not interchangeable; pitch must match the threaded hole |
| M4 machine screw | M4 x 0.7 standard coarse | 3.3 mm | 4.5 mm close clearance | 5.0 mm free clearance | Metric charts from fastener makers commonly use 4.5 mm and 5.0 mm clearance examples for M4 |
| M5 machine screw | M5 x 0.8 standard coarse | 4.2 mm | 5.5 mm close clearance | 6.0 mm free clearance | Metric clearance values vary by fit class; these are common assembly examples |
| M6 machine screw | M6 x 1.0 standard coarse | 5.0 mm | 6.6 mm close clearance | 7.0 mm free clearance | Use the drill chart that matches the tap and the desired fit, not the nominal screw size |
How do you install a machine screw without cross-threading?
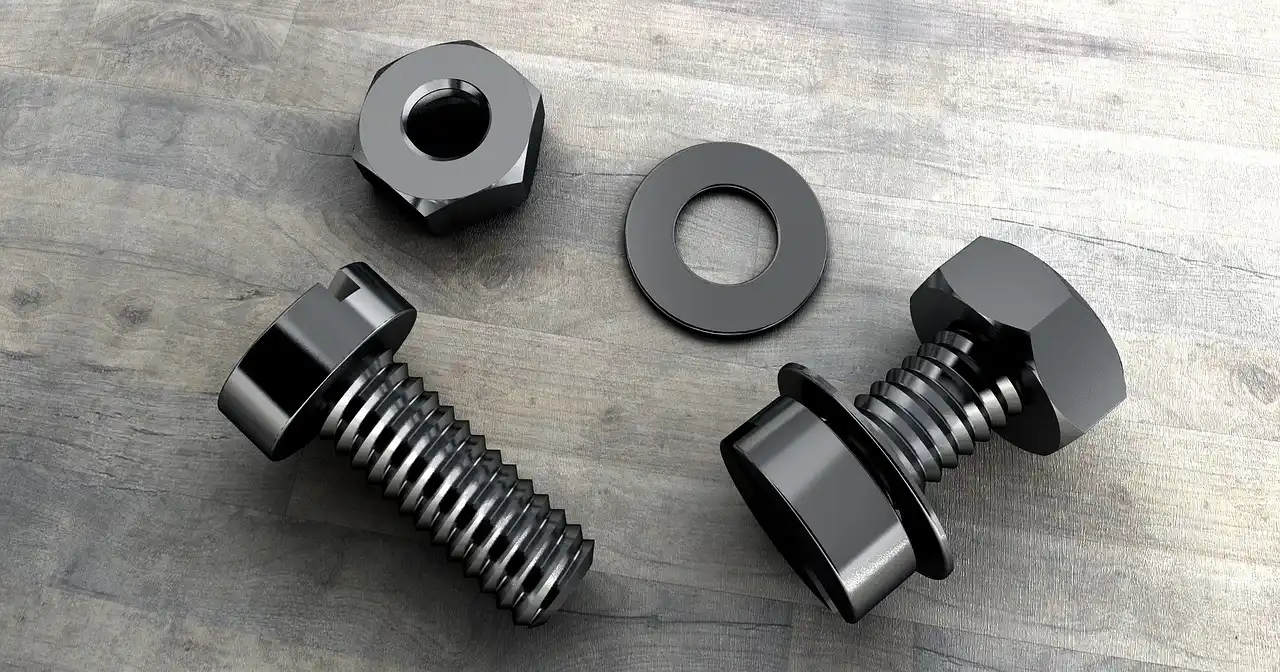
Cross-threading starts when the screw enters at an angle or with the wrong pitch. The best prevention is clean alignment, hand-starting, and controlled tightening. If the screw does not thread easily for the first turns, stop. A driver can hide resistance that should be fixed before the threads are damaged.
Inspect and clean the hole
Check for burrs, chips, old thread locker, rust, paint, or dust. Wipe the screw and the hole opening clean. If the hole is metal and untapped, use the right tap before the screw goes in. If the screw is meant to thread into plastic or wood furniture, make sure the pilot hole is the correct size for that material. For a wood-facing application, the fastener choice matters too: a machine screw is not the same as a wood screw, and the wrong thread form can split material or fail to hold.
A common first-timer mistake is driving a machine screw into a hole that feels close enough. The first thread grabs crooked, then the rest of the screw follows that bad path. Once that happens, the screw may tighten poorly or strip the hole.
Start the screw by hand
Place the screw squarely in the hole and turn it by hand for the first few threads. A machine screw should start smoothly without force for the first few threads. If it rocks, leans, or stops immediately, back it out and check the hole condition again. Only after the screw starts cleanly should you switch to a tool.
Use the right driver or wrench
Match the driver to the head type. Flat head screws need a countersunk seat when flush mounting is desired. Phillips heads need full bit engagement. Socket head screws use an Allen wrench. A torque wrench is useful when the joint has a stated torque limit or when the material is easy to strip.
Torque specifications vary by material and size. If no spec is available, tighten only until the joint is secure and the head is fully seated. Avoid using an impact driver on small machine screws unless the fastener and joint are designed for it. For thread-locking compound, follow the hardware maker’s direction because major manufacturers such as Loctite specify the product by strength and use case, not as a substitute for correct fit.
Stop before the screw bottoms out
Bottoming out happens when the screw reaches the end of the threaded depth before the joint is tight. The screw may feel firm, but the parts are not clamped together. Stop if resistance rises sharply before the head seats, and check whether the hole is too shallow or the screw is too long.
What should you do for metal, plastic, or furniture panels?
Material changes the prep. Metal can be tapped cleanly, plastic can crack, and furniture panels can split or strip if the pilot hole is wrong. Use the least aggressive method that still gives full thread engagement. If the joint depends on a panel that is too soft to hold threads, use a threaded insert or a nut on the back side.
Metal holes and when to tap them
Metal holes that are not already threaded need a tap that matches the screw size and thread pitch. The pilot hole must be matched to the tap size, not guessed from the screw diameter alone. Use cutting fluid, keep the tap straight, and back it out periodically to clear chips.
Plastic holes and crack prevention
Plastic often needs a slightly larger pilot hole than metal or hardwood would. That reduces splitting and lowers insertion force. Do not over-tighten, because the threads can strip or the boss can crack after the head appears seated. If the part is thin or brittle, a washer may spread load more safely.
Furniture panels and embedded threaded inserts
Many furniture panels use embedded threaded inserts or factory-threaded hardware rather than raw panel material. That approach gives a more reliable thread than forcing a screw directly into particleboard or MDF. If the insert spins or the panel hole is crushed, repair the insert or switch to a through-bolt and nut arrangement.
How do you choose size, lubrication, and thread locker?
Choose the screw size by matching diameter and pitch to the hole. Use lubrication only when the material and fastener call for it, and use thread-locking compound only when loosening from vibration is a concern. Neither product can fix the wrong thread fit, and neither can make an undersized or mis-pitched hole act like the correct one.
Imperial vs. metric sizing
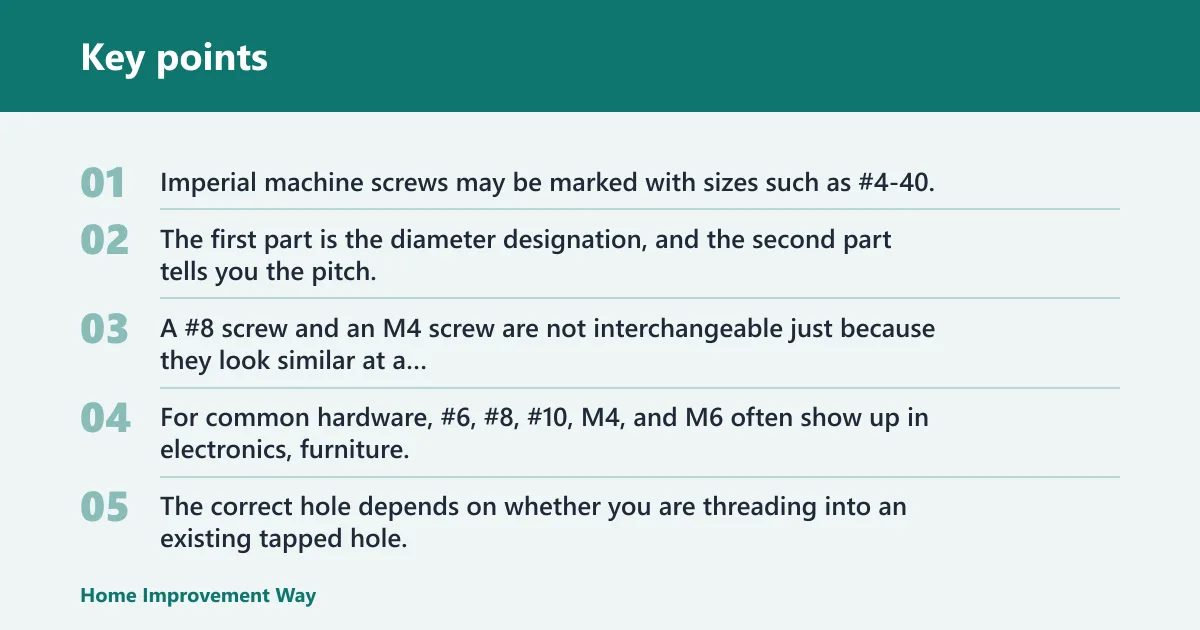
Imperial machine screws may be marked with sizes such as #4-40. Metric machine screws may be marked M6x1.0. The first part is the diameter designation, and the second part tells you the pitch. A #8 screw and an M4 screw are not interchangeable just because they look similar at a glance.
For common hardware, #6, #8, #10, M4, and M6 often show up in electronics, furniture, and light machinery. The correct hole depends on whether you are threading into an existing tapped hole, a nut, an insert, or a tapped metal panel. Do not use a single drill size rule for every screw in that family. Use a tap-drill chart or clearance chart from the fastener maker or tool supplier, because the drill size changes with the thread series and the fit goal.
When lubrication helps
Lubrication helps when tapping metal, when a screw enters metal threads that feel dry or rough, and when the hardware maker recommends it. It can reduce galling on stainless steel and make controlled tightening easier. Do not use lubricant as a fix for the wrong pitch or a damaged hole. On stainless fasteners in particular, manufacturers and tooling references commonly warn about galling and recommend suitable anti-seize or lubricant when the application allows it.
When thread locker helps
Thread-locking compound helps prevent loosening in vibration-prone assemblies. It is useful on machine screws in machinery, automotive parts, and other joints that may work loose over time. It is not a substitute for correct thread fit, and it should not be used to compensate for stripped threads. Manufacturer guidance from Loctite and similar brands treats thread locker as a locking aid after proper fit, not a repair for damaged threads.
How much tightening is enough?
Tight enough means the head is seated, the parts are clamped, and the screw does not back out during normal use. For small machine screws, resistance can rise quickly near full seating. Stop there. If a torque wrench is available and the application has a specified value, follow that value instead of guessing. When a published torque value exists, it should come from the equipment or fastener specification rather than a general rule of thumb.
Short head-type selection guide
| Head type | Best use case | Common driver | Countersink needed? | Common stripping risk |
|---|---|---|---|---|
| Flat head | Flush surfaces, covers, and finished panels | Phillips, slotted, or Torx depending on the screw | Yes, when flush mounting is required | Higher if the bit does not sit fully in the recess |
| Pan head | General assembly where a low-profile head is acceptable | Phillips, slotted, or hex/combination drive | No | Moderate if the recess is shallow or worn |
| Socket head | Higher clamp force in compact mechanical joints | Hex key or Allen wrench | No | Lower if the hex key fully seats; higher if the recess rounds out |
| Round head | Decorative or light-duty fastening where a protruding head is acceptable | Phillips or slotted, depending on the screw | No | Moderate, especially with a worn driver |
Frequently asked questions
How do I use a drill for screws?
Use a drill to make the pilot hole or, in some cases, to drive a screw only after it has started by hand. For machine screws, the drill is usually for hole prep, not for forcing the fastener in. Match the bit to the pilot hole or tap step, and keep the hole straight.
How do I drill pilot holes for screws?
Mark the center, choose the bit size for the substrate and fastener plan, and drill straight to the needed depth. For machine screws in metal, the pilot hole may be for a tap. For plastic or furniture panels, the pilot hole should guide the screw without overstressing the material.
What size hole do I need for a #8 machine screw?
There is no single hole size for every #8 machine screw. The right size depends on whether the screw will enter a tapped metal hole, pass through a clearance hole, or bite into a pilot hole in another material. Match the hole condition, pitch, and substrate before drilling. For common examples, #8-32 often uses a #29 drill for tapping, while clearance holes are chosen by fit class, not by the thread size alone.
What size hole do I need for a #10 machine screw?
A #10 machine screw also has more than one possible hole size, depending on the job. If the hole is to be tapped, size it for the tap. If the screw passes through a panel and into a nut, size it as a clearance hole. For common examples, #10-24 often uses a #25 drill and #10-32 often uses a #21 drill for tapping, while clearance holes are selected by fit class.
Can I use machine screws in wood?
Yes, but only in the right setup. Machine screws are best in threaded holes, inserts, or through-bolt joints with nuts. Bare wood is usually not the best match because the screw threads are not meant for direct bite the way wood screws are. Threaded inserts are the safer choice for repeated assembly.
What is the difference between machine screws and bolts?
Machine screws are typically used with tapped holes or nuts and are often smaller and more uniform in application. Bolts are usually associated with a nut on the back side and through-holes. In practice, both can clamp parts, but the thread engagement method is different and should guide the hardware choice.
How do I avoid stripping machine screw threads?
Use the correct diameter and pitch, start by hand, keep the screw square, and stop when resistance rises sharply. Use a torque wrench when the job calls for controlled tightening. If the hole is already damaged, repair it before trying again. Thread locker will not rescue stripped threads.
Do machine screws need pre-threaded holes?
Usually yes, unless the screw is going through a clearance hole and into a nut, or it is a self-tapping machine screw designed to cut its own threads. For standard machine screws, the hole must already be threaded or must be tapped first. A plain drilled hole alone is not enough. Self-tapping and self-drilling fasteners are a different category from standard machine screws and should be matched to the material and the pilot-hole recommendation for that fastener type.
When should I use thread locker on machine screws?
Use thread-locking compound when vibration may loosen the joint and the screw is already properly fitted. It is common in equipment and moving assemblies. Do not use it to cover a loose, oversized, or mismatched hole. The thread fit must be correct before the compound goes on.
Sources
- ASME/ANSI Unified Inch Screw Thread standards and thread-fit conventions
- ISO metric thread and fit references used in general fastener sizing charts
- McMaster-Carr fastener charts for tap-drill and clearance-hole examples
- Grainger tap-drill charts for imperial and metric threads
- Hanson/Greenlee-style tap drill reference charts used by tooling manufacturers
- Loctite threadlocker product guidance for vibration resistance and proper use
- Fastener manufacturer clearance-hole charts and thread engagement charts
Sponsored / affiliate links. As an Amazon Associate I earn from qualifying purchases. I may earn additional commission from eligible campaigns.