How To Drill Self-Drilling Screws Into Metal (Right Way)
Working with metal can feel a bit tricky sometimes, especially when you need things to hold together just right. You’ve got these neat little screws, called self-drilling screws, that are supposed to make your life easier. They look like they can just power their way through metal.
But then you try, and it’s not quite working. The screw spins, or it doesn’t bite, or maybe you even damage the metal. It’s frustrating when a tool that promises simplicity turns into a puzzle.
This guide will show you exactly how to use these screws so they work perfectly for you, every single time.
Drilling self-drilling screws into metal correctly means choosing the right screw for the job, using the correct drill bit and speed, and applying steady, firm pressure. It’s about preparation and technique, not brute force. This ensures a strong, clean connection without damaging the materials.
What Are Self-Drilling Screws?
Self-drilling screws are a clever invention. They have a special tip. This tip acts like a drill bit.
It drills its own hole as you turn the screw. Then, the threads of the screw grab onto the metal. This means you don’t need to drill a pilot hole first.
It saves you a step and a lot of time.
These screws are often called “tek screws.” They come in many sizes and shapes. The tip can look different depending on what kind of metal it’s for. Thicker metal needs a stronger, sharper tip.
Thinner metal might use a blunter tip. The threads can also vary. Some have deep threads.
Others have fine threads.
The main idea is efficiency. They combine two steps into one. This makes them great for many projects.
Think about attaching metal sheeting to a frame. Or building metal furniture. Or even in automotive repair.
Why Using Them Can Be Tricky
Even though they seem simple, there are a few reasons why self-drilling screws don’t always work as expected. The most common problem is that people try to use them like regular screws. They just stick them in a drill and crank away.
But metal is tough. It needs the right approach.
One big issue is speed. If your drill spins too fast, the screw’s tip can overheat. This makes it dull.
It won’t drill properly anymore. The screw just spins and spins. This is super annoying.
It can also strip the threads. This means the screw won’t hold tight.
Another problem is pressure. You need enough pressure to make the tip cut into the metal. But too much pressure can break the screw.
Or it can bend the metal. Finding that sweet spot is key. It’s a delicate balance.
The type of screw matters a lot too. Using a screw meant for thin sheet metal on thick steel won’t work. The tip won’t be strong enough.
It will just get damaged. You need to match the screw to the metal you are working with. This is where many DIYers run into trouble.
They grab whatever screw is handy.
My Own “Oops” Moment
I remember one time, I was building a simple outdoor storage shelf. It had a metal frame. I had a box of what I thought were self-drilling screws.
I was eager to get it done. The sun was starting to set. I grabbed my cordless drill, set it to high speed, and started driving them in.
At first, it seemed okay. The screw went in a little. Then it just started spinning.
I pushed harder. Still spinning. I pulled it out.
The tip of the screw looked weirdly melted. It was all gummy. And the hole in the metal was just a mess.
I was so annoyed. I had ruined the connection.
I checked the screws. They were for thin plastic, not metal. Oops.
Then I looked at my drill settings. It was on high speed. That was another mistake.
I felt a bit foolish, standing there with a half-built shelf and a bunch of useless screws. It took me a good hour to find the right screws and adjust my technique. I learned a lot that evening about patience and reading the packaging.
That experience really taught me that even simple tools need a little respect. It’s not just about having the right tool. It’s about knowing how to use it properly.
Especially when working with tougher materials like metal.
Choosing the Right Screw: The First Big Step
Before you even think about drilling, you need the right screw. This is where many people get it wrong. They grab a screw that looks about right.
But there are specific types for different jobs. This is really important for success.
First, consider the metal thickness. Are you joining two thin pieces of sheet metal? Or are you attaching something to a thick steel beam?
For thin metal (like 24-gauge or thinner), you need screws with a fine point. These are often called “sheet metal screws.” They have a sharp, needle-like tip.
For thicker metal (like 18-gauge or thicker), you need screws with a stronger tip. These tips are more like a small drill bit. They are designed to cut through more material.
They are often called “self-drilling screws” or “tek screws.” Make sure the screw’s tip length is long enough to drill through both pieces of metal and still have enough thread to bite into the bottom piece.
Second, look at the thread type. Fine threads are good for harder metals. Coarse threads are better for softer metals.
Or for materials that have a bit of give, like some plastics. For metal-to-metal connections, fine threads are usually the way to go.
Third, think about the head style. The head is what you drive the screw with. Common types include hex heads, which you use with a socket wrench or drill attachment.
Phillips heads are also common. Pan heads and flat heads are other options. Make sure you have the right driver bit for your drill.
Screw Types at a Glance
For Thin Sheet Metal (up to 24 ga):
- Sharp, needle-like tip.
- Often called “sheet metal screws.”
- Designed for quick entry.
For Thicker Metal (18 ga and up):
- Drill-bit like tip.
- Stronger point for cutting.
- Look for “tek screw” or “self-drilling screw” designation.
Thread Types:
- Fine Threads: Best for harder metals.
- Coarse Threads: Better for softer metals or plastics.
The Right Tools Make All the Difference
Having the right tools is just as crucial as picking the right screw. You need a reliable drill. And you need the right attachments for it.
Don’t skimp here. A cheap drill might not have the power or control you need.
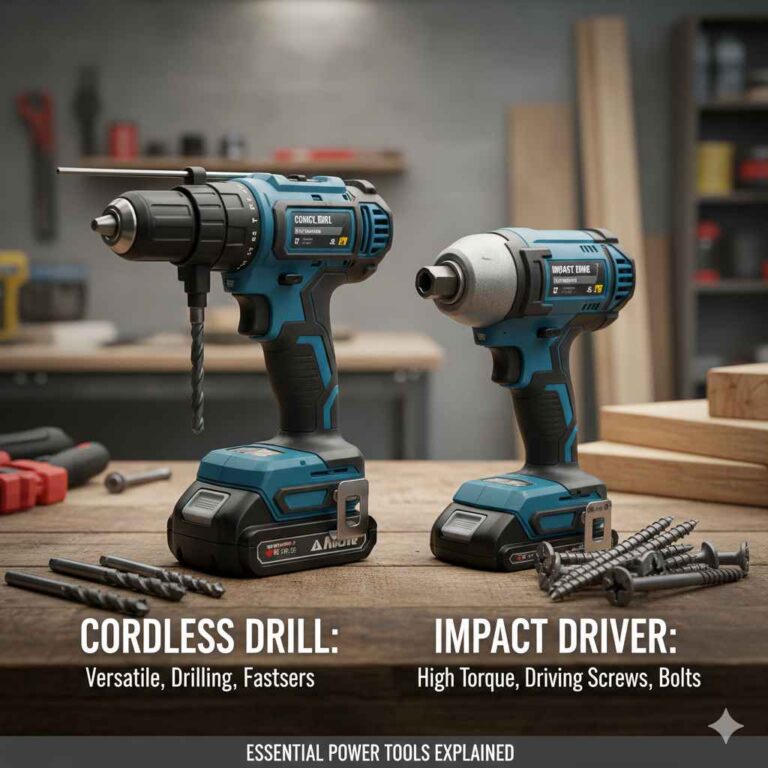
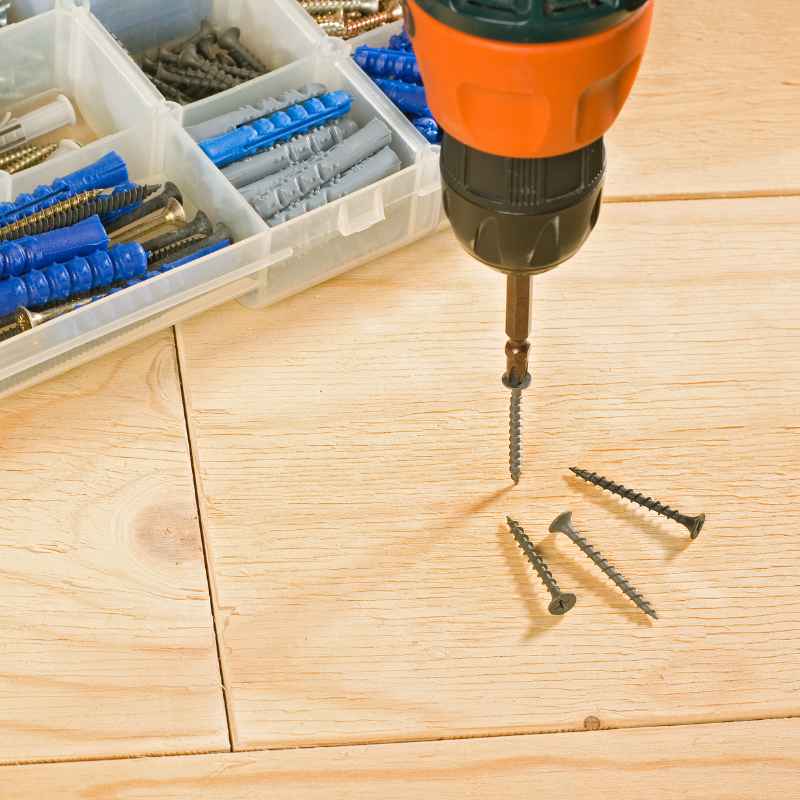
Your Drill: A cordless drill is usually best. You want one with variable speed control. And a clutch.
The clutch is super important. It stops the drill when the screw is tight. This prevents over-tightening.
You also need decent torque. This means power to push the screw.
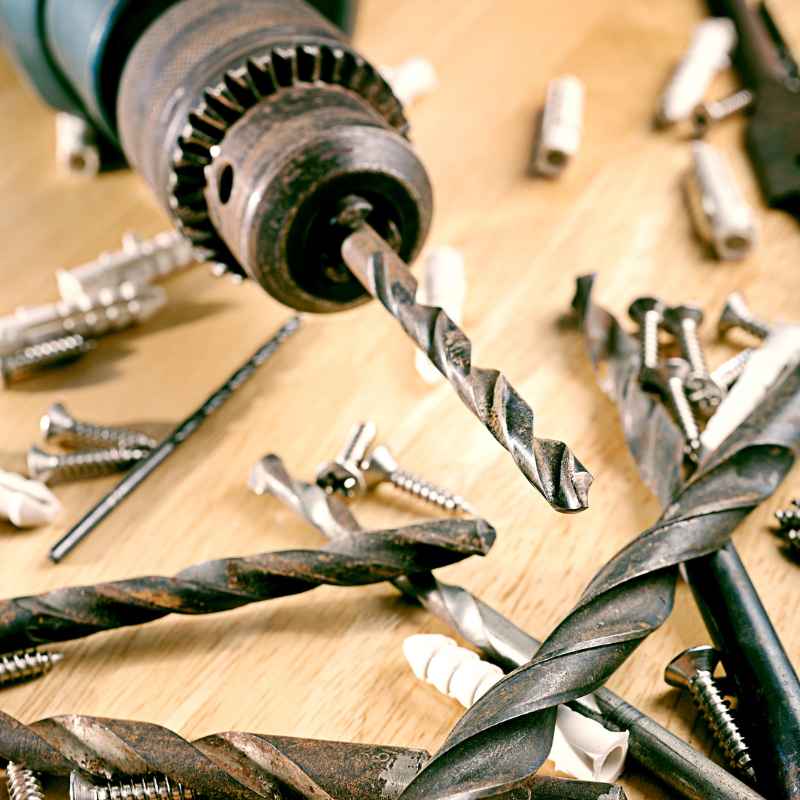
Drill Bits: For self-drilling screws, you often don’t need a separate drill bit. The screw is the drill bit! However, if you are using screws that require a pilot hole, or if you’re dealing with very hard metal and want to make it easier, you might need a pilot drill bit.
The size of this bit should be the “shank diameter” of the screw, minus the thread size. There are charts online for this. But for true self-drilling screws, the screw itself does the drilling.
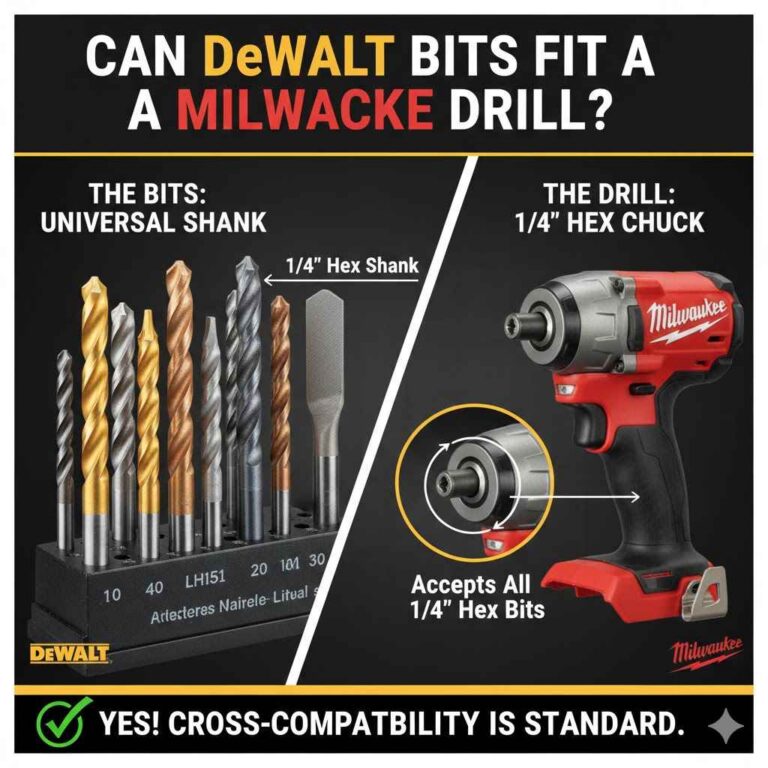
Driver Bits: You need the correct driver bit for the screw head. A hex head screw needs a hex socket bit. A Phillips head needs a Phillips bit.
Make sure the bit fits snugly. A loose bit will strip the screw head. This is another common frustration.
Many drills come with a set of bits.
Measuring Tools: A tape measure is essential. You need to know where the screws need to go. A ruler or caliper can help confirm metal thickness.
And sometimes, a center punch is helpful. It makes a small dent to guide the screw tip. This is especially useful on smooth metal surfaces.
Drilling Speed and Pressure: The Dance
This is where the magic happens. And where many people go wrong. The speed of your drill and the pressure you apply are like a delicate dance.
You need to find the rhythm.
Speed: Lower is Better. Most people try to drill too fast. For metal, you generally want a slow to medium speed. Think of it like this: the screw’s tip is cutting metal.
If it goes too fast, it grinds. It heats up. It gets dull.
If it’s too slow, it might not cut at all.
A good starting point is between 200 and 500 RPM (revolutions per minute). Some drills have a dial for this. If yours doesn’t, just use the trigger gently.
You want a consistent, controlled spin, not a blur.
Pressure: Steady and Firm. You need enough pressure to make the screw’s tip engage with the metal. Without pressure, it will just spin. But too much pressure can break the screw.
Or strip the head. Or even damage your drill.
Apply steady, even pressure. Push the drill straight into the screw. Let the screw do the work.
Don’t force it. If it feels like you’re fighting it, stop. Re-assess your speed, screw type, or pressure.
It should feel like a controlled push, not a struggle.
The Clutch is Your Friend. If your drill has a clutch, set it correctly. You want it to slip just as the screw head becomes flush with the metal surface. This prevents over-driving.
Over-driving can strip the threads in the metal. It can also crack the metal around the screw.
Start with a lower clutch setting. Drive a screw. If it stops too soon, increase the setting.
If it drives too far, decrease the setting. Find the sweet spot. This might take a few tries on a scrap piece of metal.
Drill Speed & Pressure Cheat Sheet
Drill Speed:
- General Rule: Slow to medium speed.
- RPM Range: Aim for 200 – 500 RPM.
- How to Control: Use drill’s speed dial or gentle trigger control. Avoid high speeds.
Drill Pressure:
- General Rule: Steady and firm, not forceful.
- What to Aim For: Let the screw’s tip do the cutting.
- Signs of Too Much Pressure: Screw bending, screw head stripping, drill struggling.
Drill Clutch:
- Purpose: Stops drill when screw is tight, prevents over-driving.
- How to Set: Start low, increase until screw is flush.
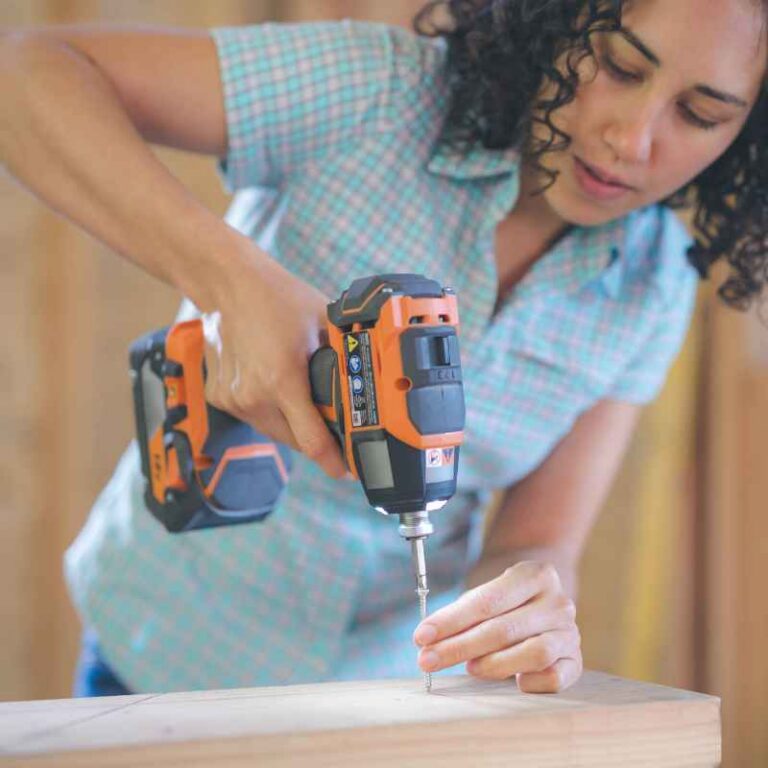
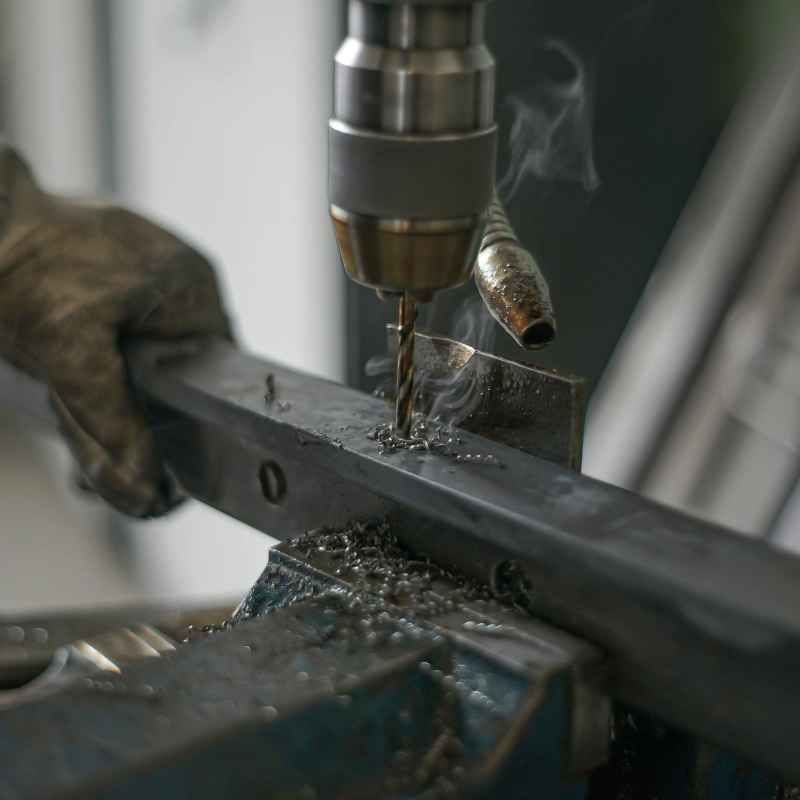
The Actual Drilling Process: Step-by-Step
Okay, you’ve got the right screw, the right tools, and you understand speed and pressure. Now, let’s put it all together.
Step 1: Mark Your Spot. Decide exactly where you want the screw. Use a pencil or marker. If you’re working on a slick metal surface, a center punch can make a tiny dimple.
This helps the screw tip stay put as it starts.
Step 2: Position the Screw. Place the tip of the self-drilling screw right on your mark. Hold it straight. Make sure it’s perpendicular to the metal surface.
It should not be angled at all.
Step 3: Engage the Drill. Place your driver bit onto the screw head. Get your drill ready. Start with the drill trigger pulled back just a little.
You want to feel the screw tip just start to bite into the metal. You might hear a tiny scraping sound. This is good.
Step 4: Apply Steady Pressure. Once the screw has started, begin to apply steady, firm pressure. Keep the drill straight. Slowly increase your trigger pressure to increase the drill speed.
Watch and feel. The screw should start to spin and drill its hole.
Step 5: Listen and Feel. As the screw goes in, pay attention. If it sounds like it’s struggling, you might need a bit more pressure. If it’s spinning too easily, it might not be biting.
If it sounds like it’s grinding or getting too hot, slow down the drill speed. If you have a clutch, it will eventually click or stop. This means the screw is set.
Step 6: Check the Connection. Once the screw is in, give it a gentle tug. It should feel solid. The head should be flush with the metal surface.
If it’s wobbly, it might not have gone in deep enough, or the threads might have stripped. If the head is sunk too deep or has cracked the metal, you might have over-driven it.
Step 7: Repeat. For the next screw, you might adjust your clutch setting or pressure slightly. Each piece of metal can be a little different. Learn from each screw you drive.
Quick Start Guide for Driving Screws
1. Mark: Pinpoint your screw location.
2. Position: Place screw tip perfectly straight.
3. Engage: Start drill slowly to make screw bite.
4. Drive: Apply steady pressure, controlled speed.
5. Monitor: Listen and feel for resistance or slipping.
6. Finish: Let clutch stop drill; check for tightness.
Common Problems and How to Solve Them
Even with the best intentions, things can go wrong. Here are some common issues you might face and how to fix them.
The Screw Just Spins
This is a common one. It means the screw isn’t biting into the metal. Check Screw Type: Are you using the right screw for the metal thickness?
A screw for thin metal won’t work on thick metal. Check Drill Speed: Are you going too fast? Slow down.
Apply More Pressure: You might not be pushing hard enough. Check the Hole: If you’ve tried before, the hole might be stripped. You might need a slightly larger screw or a different type.
The Screw Head Strips
This happens when the driver bit slips out of the screw head. Use the Right Bit: Make sure your driver bit fits perfectly. Apply More Downward Pressure: Keep the drill straight and push firmly.
Slow Down Drill Speed: Too much speed can cause the bit to jump. Clutch Setting: If the clutch is too high, it might let the screw over-drive and strip.
The Screw Snaps or Breaks
This usually means too much force or the wrong screw. Check Metal Thickness: Is the screw strong enough for this metal? Reduce Drilling Speed: High speeds can cause heat, weakening the screw.
Apply Less Force: Let the screw’s tip do the cutting. Don’t force it if it binds. Ensure Straightness: If the screw goes in at an angle, it can bind and break.
Metal is Damaged (Cracked or Bent)
This often happens from over-driving the screw. Adjust Clutch: Set your drill’s clutch to stop the screw when it’s flush. Use the Right Screw Size: Too large a screw can stress the metal.
* Don’t Overtighten: Once the screw head is flush, stop. Do not try to make it tighter.
Troubleshooting Table
| Problem | Possible Causes | Solutions |
| Screw Spins | Wrong screw, wrong speed, not enough pressure. | Use correct screw, slow drill, increase pressure. |
| Head Strips | Wrong bit, poor pressure, high speed. | Use correct bit, firm pressure, moderate speed. |
| Screw Breaks | Wrong screw, too much force, high heat. | Use stronger screw, less force, slower speed. |
| Metal Damaged | Over-driving, wrong screw size. | Set drill clutch, use correct screw size. |
Real-World Contexts: Where They Shine
Self-drilling screws are incredibly useful in many situations. Understanding where they are best suited can help you use them more effectively.
Home Improvement Projects: Attaching metal trim around windows or doors. Building small metal garden structures. Securing metal shelving units.
Repairing metal furniture.
Automotive Work: While many auto repairs use special fasteners, self-drilling screws can be useful for some custom work or attaching accessories. For instance, adding a fender flare or securing a bracket. Always check if the specific application requires a specialized fastener.
Construction and Fabrication: This is where they are truly kings. Joining metal studs in framing. Attaching metal roofing or siding.
Building HVAC ductwork. Creating custom metal enclosures.
DIY Electronics and Hobbyist Projects: Building custom computer cases. Creating enclosures for electronics projects. Assembling model structures from sheet metal.
Important Note: These screws are generally not recommended for structural load-bearing applications where extreme safety is paramount. For those, engineered solutions with proper load ratings and installation methods are required. Always check engineering specifications if safety is a major concern.
The key is that they work best when joining pieces of metal that are not excessively thick. They are designed for speed and convenience in everyday tasks and lighter fabrication work. You won’t typically use them to build a bridge, but they’re perfect for your garage workbench.
What This Means for You: Normal vs. Concerning Signs
How do you know if you’re doing it right? Look for these signs.
Normal Signs of Success:
- The screw drives in smoothly with steady pressure.
- There is a slight, controlled drilling sound.
- The screw head sits flush with the metal surface.
- The connection feels solid and does not wiggle.
- You used the correct screw for the metal thickness.
Concerning Signs (When to Stop and Re-assess):
- The screw spins without biting, making a loud grinding noise.
- The screw head strips easily, and the driver bit slips.
- The screw bends or warps as it goes in.
- You hear cracking sounds in the metal.
- The screw goes in too easily with very little resistance.
- The screw tip looks melted or deformed after trying to drive it.
If you see any of the concerning signs, stop immediately. Back the screw out carefully. Inspect the screw and the metal.
You might need to switch to a different screw type, adjust your drill speed or pressure, or even use a pilot hole if the metal is particularly hard or thick.
Quick Check-Up
Looks Good: Smooth drive, flush head, solid feel.
Watch Out For: Spinning, stripping, snapping, cracking sounds, melted tips.
When to Consider a Pilot Hole (Even with Self-Drilling Screws)
While self-drilling screws are designed to eliminate the need for a pilot hole, there are times when drilling one can still be beneficial. It’s not always necessary, but it can help in certain situations.
Very Hard Metal: If you’re working with hardened steel or very thick gauge metal, the screw’s tip might struggle. A small pilot hole can help it get started. The pilot hole should be slightly smaller than the screw’s shank diameter.
Precision Placement: If you need the screw to be placed absolutely perfectly, a pilot hole can help guide the initial bite. This is especially true on very smooth or round surfaces where the screw tip might wander.
Preventing Sheet Metal Buckling: On very thin sheet metal, sometimes the process of the screw drilling can cause the metal to pucker or buckle around the hole. Drilling a small pilot hole first can sometimes create a cleaner entry and reduce this effect.
If the Screw Tip is Damaged: If you’ve tried driving a self-drilling screw and the tip is already dulled or damaged, it won’t drill effectively. In this case, it’s often better to drill a small pilot hole with a proper drill bit and then use a regular screw (or even a self-tapping screw if it’s thin metal).
Always follow the screw manufacturer’s recommendations if they are available. They often provide specific guidance for their products.
A Note on Lubrication
For some very tough metal applications, a tiny bit of lubricant can help. This isn’t usually needed for common DIY tasks. But if you’re working with very hard metal or driving many screws, a drop of cutting oil or even a bit of wax can reduce friction.
This helps the screw drive more easily. It can also reduce heat buildup. Apply it sparingly to the screw threads only.
Be careful not to get it on the metal where it might affect paint or bonding later.
Frequently Asked Questions
What’s the difference between a self-drilling screw and a self-tapping screw?
A self-drilling screw has a drill bit-like tip that drills its own hole. A self-tapping screw, on the other hand, needs a pilot hole drilled first. It then cuts its own threads into the material.
Can I use a self-drilling screw in wood?
While they might work in some very soft woods, it’s not ideal. Self-drilling screws are designed for metal. They can strip out wood easily.
For wood, you should use wood screws. They have threads specifically designed to grip wood fibers.
How do I know what size drill bit to use for a pilot hole if needed?
If you decide to drill a pilot hole for a self-drilling screw, the bit size is critical. It should be slightly smaller than the screw’s shank diameter (the solid part without threads). For example, if a screw has a 1/8 inch shank, you’d use a bit slightly smaller than that, perhaps a #30 drill bit.
What happens if the screw head breaks off?
If the head breaks off, you’ll need to remove the remaining screw shank. You might be able to grip it with pliers and twist it out. If it’s stuck, you may need to use a screw extractor.
Then, you’ll need to drill a new hole and try again, perhaps with a different screw type or technique.
Can I reuse self-drilling screws?
It’s generally not recommended. Driving a self-drilling screw into metal wears down its specialized tip. Reusing it may mean it won’t drill effectively.
The threads can also be slightly deformed. For best results, use new screws for each application.
What is the best drill speed for driving screws into aluminum?
Aluminum is a softer metal than steel. You can often use a slightly higher speed than for steel, but still avoid very high speeds. A moderate speed, around 500-800 RPM, with steady pressure is usually effective.
Always test on a scrap piece first.
Final Thoughts
Using self-drilling screws can save you a lot of time and effort. The key is understanding them. Pick the right screw for the job.
Use your drill with the correct speed and pressure. Pay attention to how the screw is going in. With a little practice, you’ll be driving them perfectly every time.
It’s about a bit of knowledge and a bit of patience. You’ve got this!