How To Drill An Acrylic Sheet Without Cracking It
Drilling into acrylic can seem tricky. You worry about cracks. But with the right steps, you can get clean holes.
This guide shows you how to do it safely.
What Is Acrylic and Why Is It Tricky to Drill?
Acrylic, also known as Plexiglass or Lucite, is a clear plastic. It looks like glass. But it’s lighter and stronger.
It’s great for many projects. Things like signs, displays, and furniture.
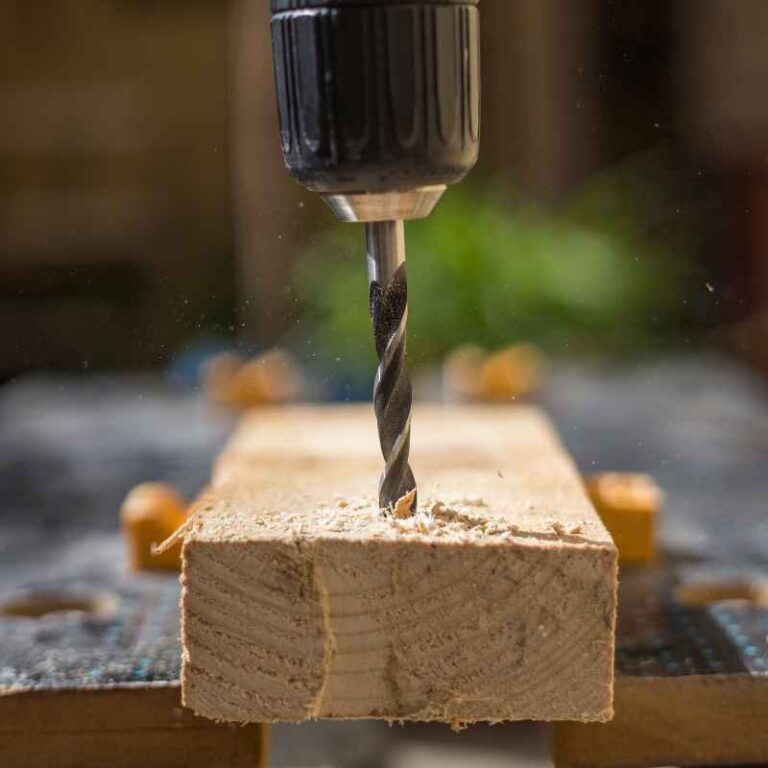
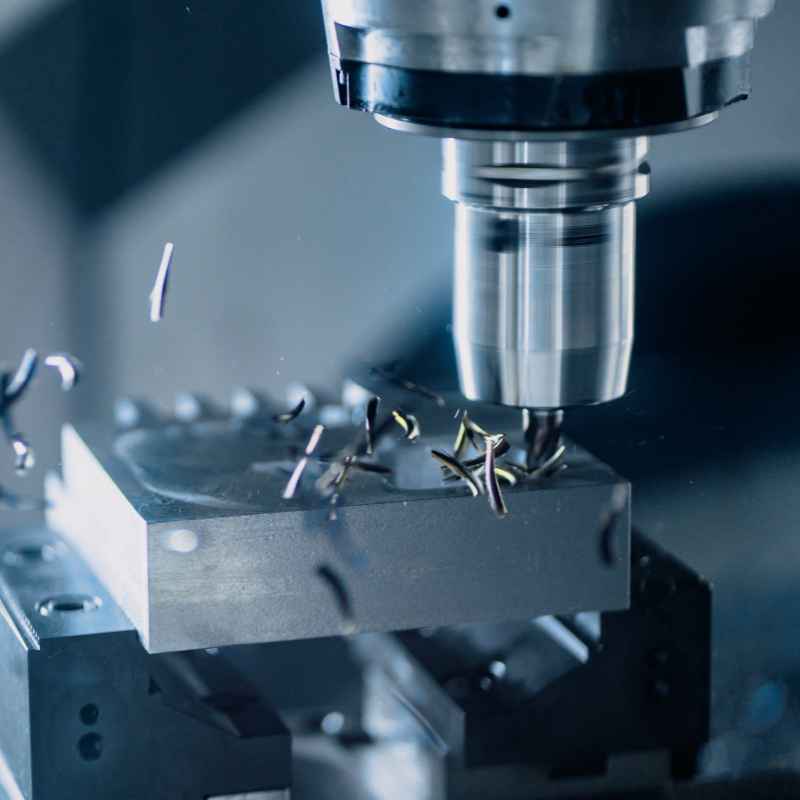
Drilling acrylic is different from drilling wood or metal. Acrylic heats up fast when you drill. This heat can make the plastic expand.
It can also make it brittle. If you go too fast or use the wrong tools, it can crack or shatter. That’s why you need special care.
It’s about being gentle and smart.
Understanding the Risks of Drilling Acrylic
When you drill acrylic, several things can go wrong. The most common problem is cracking. This happens if the drill bit is too sharp or too hot.
The acrylic can split along the hole. You might see small lines or big fractures. It depends on the force used.
Another issue is melting. The friction from the drill bit can melt the plastic. This makes a messy hole.
It can also gum up your drill bit. This makes the bit less effective. Sometimes, the melted plastic can re-harden.
It can make the hole smaller than you wanted. Or it can leave a rough edge.
Chipping is also a risk. Small pieces can break off around the hole. This makes the edges look rough.
It’s not a clean finish. This often happens when starting or finishing the hole. The material is weak there.
Finally, stress cracks can form. These might not appear right away. They can show up later.
This happens if the drilling process put stress on the acrylic. Maybe the bit wobbled. Or the acrylic wasn’t supported well.
These cracks can spread over time. They can ruin your piece.
Essential Tools and Materials for Safe Acrylic Drilling
To drill acrylic without trouble, you need the right gear. This isn’t the time for basic tools. You need things made for plastic or soft metals.
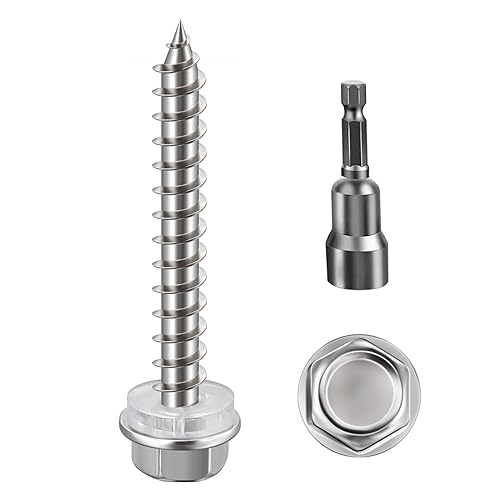
Drill bits are key. Don’t use standard wood bits. They have sharp points that grab the acrylic.
This causes cracks. Look for special plastic drill bits. They have a sharper angle.
They also have wider flutes. This helps clear out melted plastic. You can also use HSS (High-Speed Steel) bits.
But grind off the tip a bit. This makes it less aggressive. A bit ground to about 59-90 degrees works well.
It should cut, not push, the plastic.
You’ll need a variable-speed drill. This lets you control how fast the bit spins. Slow speeds are better for acrylic.
This reduces heat. It gives you more control. A drill press is even better.
It offers stability. It ensures a straight hole.
Masking tape is your friend. Put it over the area you’ll drill. This helps prevent scratches.
It also gives the bit a better grip. It stops it from wandering when you start.
A backing material is a must. Use a piece of scrap wood. Or dense cardboard.
Place this under the acrylic. This supports the material. It prevents blowout.
This is when the plastic breaks out the back. It supports the material as the bit exits.
Safety gear is non-negotiable. Wear safety glasses. Acrylic shards can fly.
Wear gloves too. They protect your hands. They also help you grip the acrylic better.
A clamp is also very useful. It holds the acrylic steady. It stops it from moving while you drill.
This is vital for accuracy and safety.
Finally, you might need cutting fluid or a mild lubricant. Something like soapy water. Or specialized plastic cutting fluid.
This helps keep the bit cool. It also helps clear out debris. Use it sparingly.
Preparing Your Acrylic Sheet for Drilling
Good prep work makes drilling much easier. It sets you up for success. First, clean your acrylic.
Make sure there’s no dust or grease. Use a soft cloth and mild soap. Then, dry it well.
Any dirt can get drilled into the hole. This looks bad. It can also weaken the plastic.
Next, mark your drill spot. Use a pencil or a fine-tip marker. Make sure the mark is clear.
But not too dark. You don’t want a permanent mark. Check your measurements twice.
Accuracy is important.
Apply masking tape over the marked area. Use painter’s tape or masking tape. Make sure it sticks well.
This tape protects the surface. It also helps the drill bit start cleanly. It stops the bit from slipping.
Place your backing material underneath the acrylic. This can be scrap wood or thick cardboard. It should be at least half an inch thick.
Line it up so the hole will go into the wood. This is crucial for preventing the back from chipping. You don’t want the plastic to break out.
It should be a clean exit.
Now, secure the acrylic. Use a clamp to hold it firmly to your work surface. Make sure it doesn’t move at all.
If the acrylic shifts, you can get a bad hole. Or worse, it could crack.
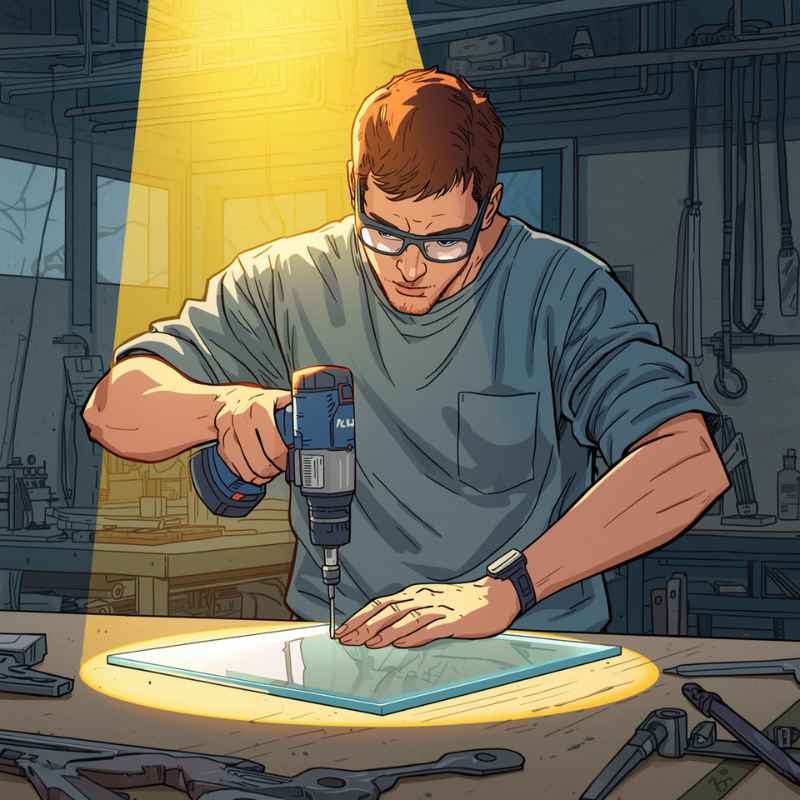
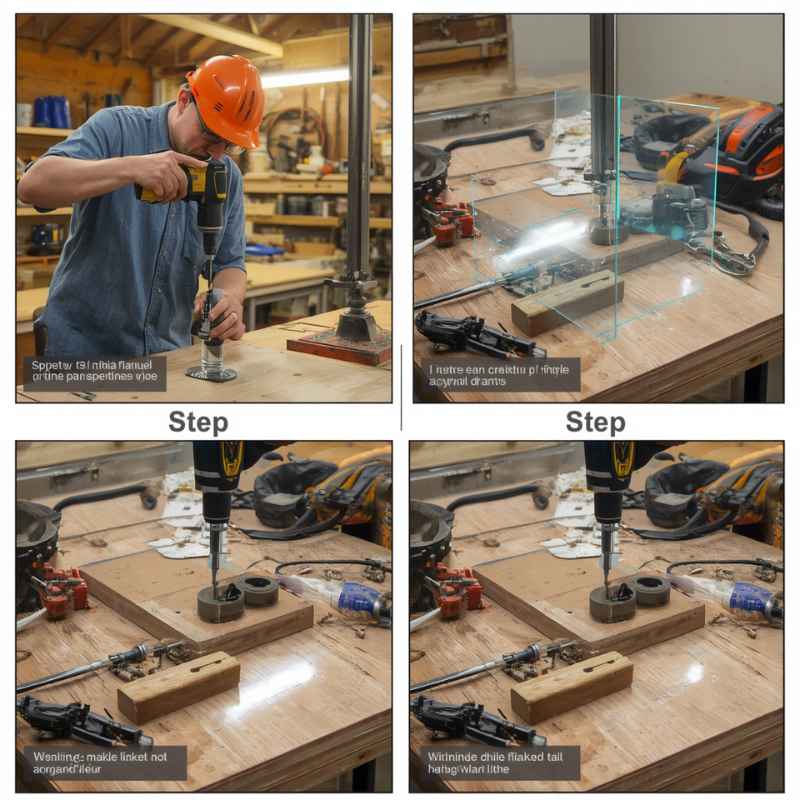
Step-by-Step Guide to Drilling Acrylic Safely
Let’s get drilling! Follow these steps carefully. They help ensure a smooth process.
Step 1: Set Up Your Drill
Choose your drill bit. A bit designed for plastic is best. If using a standard bit, grind the tip.
Make it less sharp. Set your drill to a slow speed. Use the lowest setting if possible.
If you have a drill press, set it up. Ensure it’s stable and aligned.
Step 2: Position the Drill Bit
Place the tip of the drill bit on your marked spot. Make sure it’s perfectly centered. The drill should be perpendicular to the acrylic surface.
Hold it straight up and down. Use a steady hand. A drill press makes this step much easier.
Step 3: Start Drilling Slowly
Begin drilling. Apply very light pressure. Let the drill bit do the work.
Start the drill at its lowest speed. Increase speed slightly as you go, but stay slow. About 100-300 RPM is often good.
If you hear a high-pitched squeal, you are going too fast. Or pressing too hard.
Step 4: Use Lubrication (Optional but Recommended)
As the bit starts to cut, you can use a little lubricant. A spray of soapy water is fine. Or a dab of plastic cutting fluid.
Apply it to the drill bit tip. This helps keep things cool. It also helps clear out chips.
Don’t flood the area. Just a little bit helps a lot.
Step 5: Drill Through the Material
Continue drilling. Maintain steady, light pressure. Let the drill bit cut.
Don’t force it. If you feel resistance, back the bit out a little. Clear out any plastic shavings.
Then continue drilling. Backing out helps prevent heat buildup. It also stops the bit from getting clogged.
Step 6: Ease Up as You Exit
As you get close to breaking through the other side, ease up on the pressure. Slow down the drill speed even more. Or even lift your finger off the trigger just before you punch through.
This prevents the acrylic from chipping or cracking as the bit exits. The backing material should be there. But this extra care makes a big difference.
You want a clean exit.
Step 7: Finish the Hole
Once the bit has gone all the way through, stop the drill. Do not pull the bit out while it’s still spinning. Let it stop completely.
Then, slowly pull the bit straight out of the hole. This leaves a clean opening. No stress on the acrylic.
Step 8: Clean Up
Remove the clamp and the backing material. Peel off the masking tape. You should have a nice, clean hole.
Use a soft cloth to wipe away any remaining dust or lubricant. If there are any rough edges, you can gently sand them. Use very fine-grit sandpaper.
Advanced Techniques and Tips for Specific Situations
Sometimes, standard drilling isn’t enough. You might need to drill large holes. Or drill very thin acrylic.
Here are some extra tips.
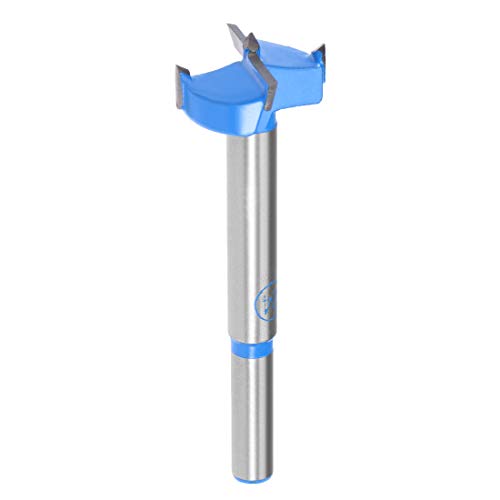
For Large Holes: Use a hole saw made for plastics. Or a fly cutter. Start with a small pilot hole.
Then gradually increase the size. Go slow. Clear out chips often.
For very large holes, consider laser cutting or CNC routing. These are precise methods.
For Thin Acrylic: This is especially prone to cracking. Use the slowest speed possible. Apply almost no pressure.
Let the bit just skim the surface. You might want to drill through a thicker piece of paper. Or a thin sheet of plastic.
This can help support the thin acrylic.
Drilling Near an Edge: This is tricky. The material is weaker there. Drill a pilot hole first.
Make it much smaller than your final hole. Then slowly enlarge it. Keep the drill speed very low.
And pressure minimal. If possible, avoid drilling too close to an edge.
Making Countersunk Holes: You can buy countersink bits for plastic. Or you can use a larger drill bit. Gently “melt” the top layer to create a recess.
Do this very slowly. With minimal pressure. Test on scrap first.
Using a Drill Press: If you have one, use it. It’s much more stable. Ensure the acrylic is clamped down.
Use the quill feed for controlled depth. A drill press provides consistent speed and angle. This is ideal for precision work.
Cooling the Bit: Some people use compressed air. This blows away chips and cools the bit. It’s effective but can be messy.
Always wear eye protection. If using a lubricant, ensure it’s suitable for acrylic. Some oils can cloud or damage the plastic.
What If You Make a Mistake?: Don’t panic. Small cracks might be filled with acrylic cement. Large cracks usually mean starting over.
Learn from the mistake. Adjust your technique for the next piece. It’s all part of the learning process.
Drilling Speed & Heat: The Critical Balance
The Problem: Friction creates heat. Heat makes acrylic expand and soften. Soft acrylic cracks easily under pressure.
A fast drill bit is a hot drill bit.
The Solution: Slow speeds are your best friend. Aim for the lowest RPM your drill offers. Think of it as gently persuading the plastic, not forcing it.
This minimal heat buildup is key to avoiding cracks. It also keeps the plastic from melting into a sticky mess.
How to Tell: If you hear a squealing sound, speed up your ears! That’s usually a sign of too much friction. If the plastic starts to look cloudy or gummy around the drill site, slow down immediately.
Patience here pays off in clean holes.
Common Mistakes to Avoid When Drilling Acrylic
Even with the best intentions, some mistakes happen. Knowing them can help you avoid them. This saves frustration and material.
Mistake 1: Using the Wrong Drill Bit. As mentioned, standard bits are bad. They grab. They create too much heat.
They cause cracks. Always use plastic bits or modified metal bits.
Mistake 2: Drilling Too Fast. This is probably the biggest mistake. High speeds create heat. Heat leads to melting and cracking.
Slow and steady wins the race here.
Mistake 3: Applying Too Much Pressure. You don’t need to push hard. Let the bit do the cutting. Excessive force stresses the acrylic.
It can cause it to splinter. Especially as the bit exits.
Mistake 4: Not Using a Backing Material. This leads to blowout. The acrylic breaks out messily on the back. Wood or cardboard provides support.
It gives the bit a clean exit path.
Mistake 5: Forgetting to Clamp the Material. If the acrylic moves even a little, your hole will be off. Or worse, the bit can snag. This can cause a catastrophic crack.
Stability is vital.
Mistake 6: Not Clearing Out Chips. Melted plastic and shavings can build up. This clogs the bit. It increases friction and heat.
It makes the hole messy. Back out the bit often to clear it.
Mistake 7: Stopping Drilling Mid-Hole Without Backing Out. If you stop and then restart, the bit can grab. It can cause stress. It’s better to let the bit stop spinning before you pull it out.
Then, if you need to restart, do so carefully.
Mistake 8: Forgetting Safety Gear. Flying plastic is dangerous. Always wear safety glasses. Gloves are also a good idea.
Protect yourself.
Myths vs. Reality: Drilling Acrylic
Myth: You need a super-powerful drill.
Reality: A standard drill with variable speed is fine. Power isn’t as important as control. Slow speed and light pressure matter more.
Myth: Any sharp bit will work.
Reality: No. Standard bits are too aggressive. They grab and crack the acrylic.
Use bits designed for plastic or modify metal bits.
Myth: You can drill acrylic like wood.
Reality: Absolutely not. Acrylic is sensitive to heat and pressure. It requires a completely different approach.
Myth: Once it cracks, it’s ruined.
Reality: Sometimes yes, but small cracks can be repaired. And learning from a cracked piece is valuable.
Real-World Scenarios and How They Apply
Let’s look at some places where you might drill acrylic. And how these tips fit in.
Scenario 1: Hanging a Picture Frame. You have a nice acrylic frame. You need to drill holes for mounting hardware. The acrylic might be 1/8 or 1/4 inch thick.
You’ll mark your spots carefully. Apply tape. Use a slow-speed drill with a plastic bit.
A small pilot hole first is smart. Ensure the frame is on a soft surface. Like a foam board.
Then drill. You want clean holes for the screws. No cracks.
Scenario 2: Building a Custom Computer Case. Many builders use acrylic panels. You might need to drill holes for fan mounts. Or cable management.
These holes might be larger. Or you might need many of them. A drill press is almost essential here.
It ensures all holes line up perfectly. And are clean. Using a hole saw designed for plastic would be ideal for fan mounts.
Slow speed is critical for large diameter bits.
Scenario 3: Creating a Small Acrylic Shelf. You want a small floating shelf. You need to drill holes for brackets. Or maybe you want to drill holes for decorative screws.
The shelf might be thin. This requires extra care. Slow speed.
Very light pressure. Perhaps drilling through paper to support the exit. You don’t want to see chips.
Or stress cracks from the bracket screws.
Scenario 4: Repairing or Modifying an Existing Acrylic Item. Let’s say you need to add a small hole to an acrylic bird feeder. Or a display stand. The material is already formed.
It might have stresses. You need to be extra cautious. Clean the area well.
Mark it precisely. Start with the slowest speed and lightest touch. Sometimes, you might need to use a hand drill for better control.
Scenario 5: Working with Thick Acrylic Sheets (e.g., 1/2 inch or more). For thicker sheets, heat becomes a bigger issue. You might need to drill multiple passes. Backing out more often.
Using a lubricant is highly recommended. A drill press is almost a must. For very thick material, consider using a router with a straight bit for a cleaner, more controlled cut.
Quick Scan: Acrylic Drilling Essentials
Tool: Variable-speed drill or drill press
Bit Type: Plastic drill bits or ground metal bits (59-90 degree point)
Speed: Slow (100-300 RPM)
Pressure: Light, let the bit cut
Prep: Clean surface, masking tape, backing material (wood/cardboard)
Support: Clamp the acrylic firmly
Lubrication: Soapy water or plastic cutting fluid (optional, but good)
Safety: Always wear safety glasses
What This Means for Your Projects
Knowing how to drill acrylic safely means you can tackle more projects. You can create custom displays. You can build unique furniture.
You can even make parts for your home or hobbies. It opens up possibilities.
When It’s Normal: It’s normal to feel a little hesitant at first. It’s normal to want to practice on scrap pieces. It’s normal for the first hole to be a bit imperfect.
The goal is clean, crack-free holes.
When to Worry: You should worry if the acrylic starts to smoke. Or if you hear loud cracking sounds. If the bit gets stuck and the acrylic starts to deform around it.
These are signs you need to stop. Reassess your technique. Check your tools.
Simple Checks: Before you drill your actual project piece, always test on a scrap piece of the same acrylic. Check your drill bit for sharpness. Ensure your drill speed control works.
Make sure your clamp is secure. These simple checks prevent big problems.
Understanding the material properties of acrylic is key. It’s not like wood or metal. It’s sensitive.
But with the right approach, it’s very workable. Your projects will look more professional. And last longer.
Quick Fixes and Tips for Smoother Drilling
Here are some quick tips to make your acrylic drilling experience even better.
- Pre-drill pilot holes: For any hole larger than 1/4 inch, drill a small pilot hole first. This guides the larger bit. It reduces stress.
- Drill halfway, then finish: For thicker acrylic, drill about halfway through. Then, remove the bit. Clear the shavings. Sometimes, flip the acrylic over. Drill from the other side to meet the first hole. This can create a cleaner exit.
- Use a steady hand or drill press: Wobbling the drill is a recipe for disaster. A drill press provides ultimate stability. If using a hand drill, try to brace your arm. Or use a drill guide.
- Clean your bits: A build-up of plastic on your drill bit reduces its effectiveness. Clean your bits after each use. A little solvent can help.
- Consider coolant: For repetitive drilling or larger holes, a dedicated plastic coolant can be a lifesaver. It keeps the bit and material cool. And lubricates the cut.
- Peel tape carefully: After drilling, peel the masking tape slowly. If it sticks, try a bit of Goo Gone. Or a hair dryer on low heat to soften the adhesive.
- Practice makes perfect: If you have a stack of scrap acrylic, use it. Drill holes of different sizes. At different speeds. Learn what works best for your tools and materials.
Frequently Asked Questions About Drilling Acrylic
What is the best drill bit for acrylic?
The best drill bit for acrylic is a bit specifically designed for plastics. These bits have a sharper point angle and wider flutes to clear material effectively. If you don’t have a plastic bit, you can use a standard HSS (High-Speed Steel) bit, but you’ll need to grind the tip down to a shallower angle (around 59-90 degrees) to prevent it from grabbing and cracking the material.
Can I use a regular drill for acrylic?
Yes, you can use a regular drill, but it must have a variable speed setting. The key is to use a slow speed. High speeds generate too much heat, which can melt or crack acrylic.
A drill press is even better because it offers more stability and control than a hand drill.
How fast should I drill acrylic?
You should drill acrylic at a slow speed. Typically, a speed between 100 and 300 RPM is recommended. If your drill doesn’t have a specific RPM gauge, start with the lowest speed setting and increase it slightly only if needed, listening for any squealing sounds which indicate it’s too fast.
Do I need to lubricate when drilling acrylic?
Lubrication is highly recommended, especially for larger holes or thicker acrylic. A light application of soapy water or a specialized plastic cutting fluid can help keep the drill bit cool, reduce friction, and clear away plastic shavings. Don’t use too much; a little goes a long way.
What happens if I drill too fast or press too hard?
Drilling too fast or applying too much pressure can cause several problems. The most common is cracking or shattering the acrylic. It can also lead to melting, where the plastic becomes gummy and sticks to the drill bit, resulting in a messy hole.
Stress cracks can also form, which may not be visible immediately but can weaken the material over time.
How do I prevent chipping when the drill bit exits the acrylic?
To prevent chipping on exit, reduce drill speed and pressure significantly as you approach the backside. You can also place a piece of scrap wood or thick cardboard beneath the acrylic to support it as the bit breaks through. Some experts also suggest drilling halfway, then flipping the piece and drilling from the other side to meet the first hole.
Can I repair a cracked acrylic sheet after drilling?
Small cracks might be repairable with specialized acrylic cement or epoxy. However, larger cracks or significant damage often mean the piece is unusable for its intended purpose. It’s always best to aim for a perfect drill on the first try by following proper techniques.
If a crack does occur, assess its size and location to see if a repair is feasible.
Conclusion
Drilling acrylic can be simple with the right approach. Remember to use the correct tools. Prepare your material well.
And always go slow. With a little practice, you’ll achieve clean, professional results every time. Happy drilling!