How To Sharpen Drill Bits With An Angle Grinder Safely
Sharpening drill bits with an angle grinder is possible for some types of bits and tasks, but it requires extreme caution, proper technique, and the right safety gear. It’s often not the ideal method for precision or for preserving the bit’s temper, and other sharpening tools are usually recommended for better results and safety.
Understanding Drill Bit Sharpening
Drill bits get dull from use. The cutting edges wear down. This makes them less effective.
Sharpening brings back those sharp edges. It makes drilling easier and faster. A sharp bit also uses less power.
It can prevent overheating. This protects both the bit and your drill.
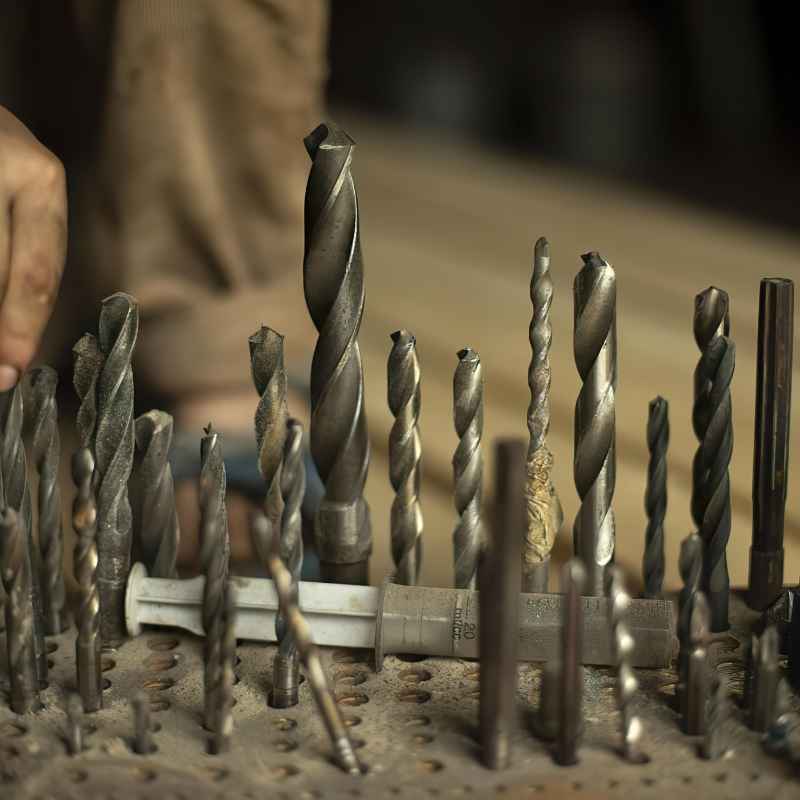
There are different ways to sharpen drill bits. Some methods are simple. Others need special tools.
The type of drill bit also matters. HSS (High-Speed Steel) bits are common. Cobalt bits are harder.
Carbide bits are very hard and brittle.
The goal of sharpening is to recreate the correct cutting angle. This angle helps the bit cut through material. It also needs to have clearance.
This is the space behind the cutting edge. It stops the bit from rubbing. Rubbing creates heat and slows down the work.
Angle grinders are powerful tools. They use a spinning abrasive disc. This disc can remove metal quickly.
This speed can be useful. But it also means mistakes happen fast.
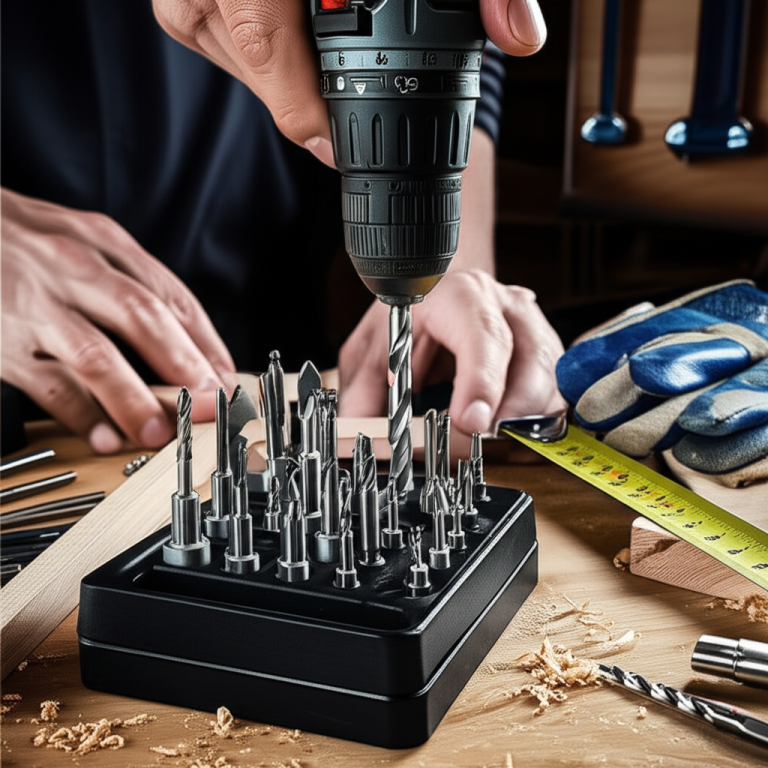
My Angle Grinder Sharpening Adventure
I remember the first time I faced a truly dull drill bit. It was a big one, maybe 1/2 inch. I was building a deck.
Every time I tried to drill a pilot hole, the bit just whined. It spun without going in. My frustration grew with each failed attempt.
I looked at my toolbox. I saw my angle grinder. It felt like a superhero waiting to save the day.
I thought, “This thing cuts metal. It can surely put an edge back on a drill bit.”
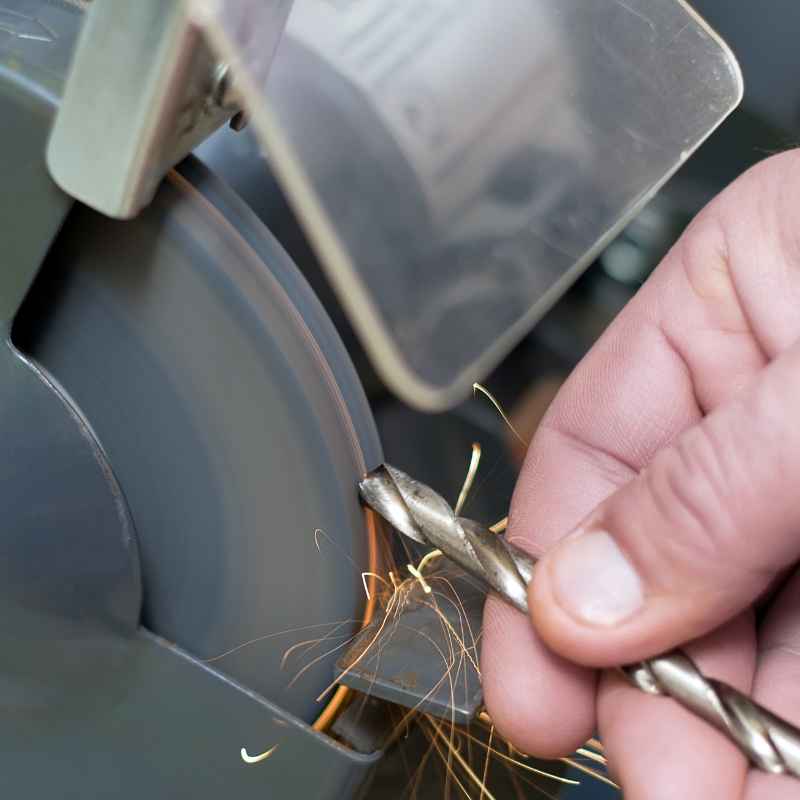
I grabbed a bit. I put on some gloves and safety glasses. I fired up the grinder.
The sparks flew. I touched the bit to the grinding wheel. It happened so fast.
I took it away. I looked at it. The edge was gone.
I had ground away too much. The bit was ruined. I felt a pang of regret.
That bit cost good money. I realized this wasn’t as simple as it looked. It took a few more tries with other bits, learning by making mistakes.
I learned that control was key. And that heat was the enemy of the drill bit.
Why Angle Grinders Can Be Tricky for Drill Bits
Angle grinders are great for cutting and grinding. They remove material fast. This is where the problem lies with drill bits.
Drill bits need very precise angles. They also need to be hardened correctly. This hardening is called tempering.
It makes the bit strong and prevents it from becoming soft when heated.
When you grind a drill bit with an angle grinder, heat builds up very quickly. This heat can easily reach the metal. It can soften the hardened steel.
This is called “drawing the temper.” Once the temper is drawn, the bit will dull even faster. It loses its hardness. You end up with a bit that’s worse than before.
Another issue is control. Angle grinders spin very fast. It’s hard to hold a small drill bit at the exact angle needed against the wheel.
Even a slight wobble can ruin the cutting edge. The edges need to be symmetrical. If one side is ground more than the other, the bit will not drill straight.
Also, not all drill bits are meant to be ground this way. Very small bits are difficult to handle. Bits with special coatings can also be damaged by the heat and grinding action.
Angle Grinder vs. Drill Bit Sharpening: What to Know
What an Angle Grinder Does Well:
- Removes metal fast.
- Good for rough shaping.
- Can cut through thick materials.
Why it’s Tricky for Drill Bits:
- Hard to control small angles.
- Generates a lot of heat.
- Can ruin the bit’s hardness (temper).
- Difficult to get a balanced edge.
When Might You Consider an Angle Grinder?
There are rare times when an angle grinder might be considered. This is usually not for precision work. It’s more for a quick fix.
Maybe you have a large, simple bit. It’s for drilling big holes in softer materials. And you absolutely need to get a job done right now.
You have no other options. In these cases, you might try to reshape the bit.
This would be for bits where the exact angle is not super critical. Think of large bits for wood. You might be trying to remove a burr.
Or you need to get a rough cutting edge back. You are not aiming for perfect sharpness. You just need it to cut a bit better than it was.
However, even in these situations, the risk of overheating and damaging the bit is very high. It’s often better to wait. Get the right tool.
Or buy a new bit. For most home or professional use, an angle grinder is not the best choice for sharpening drill bits.
Safer and Better Ways to Sharpen Drill Bits
There are tools made specifically for sharpening drill bits. These are much easier to use. They give better results.
And they are safer. Your drill bits will last longer. Your work will be smoother.
One common tool is a drill bit sharpener. These are small, handheld devices. You insert the drill bit.
Then you turn a crank or press a button. The sharpener has built-in grinding wheels. These are set at the correct angles.
They automatically sharpen the bit precisely.
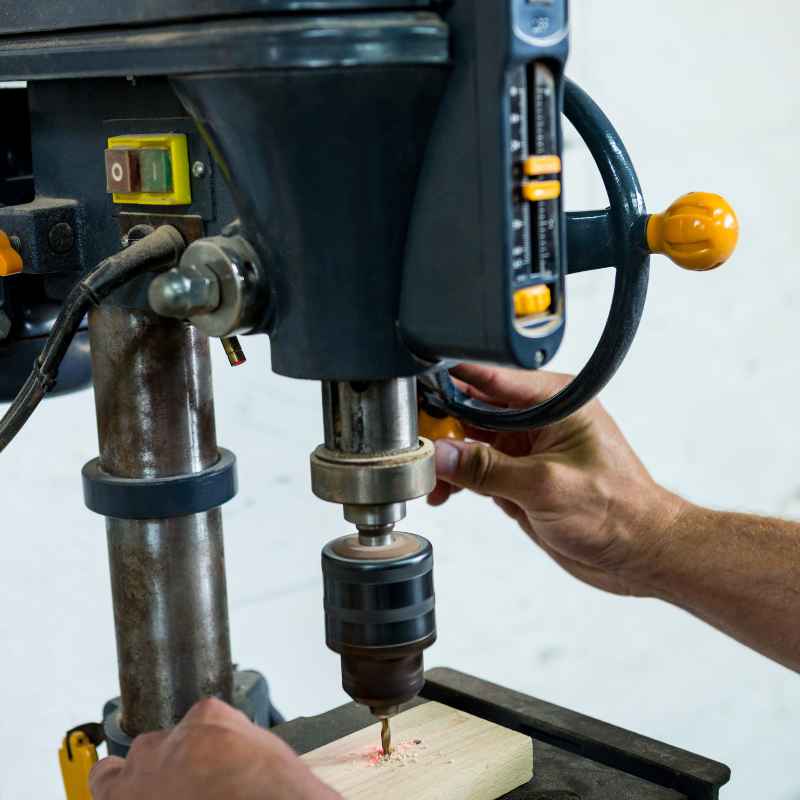
Another option is a bench grinder with a drill grinding jig. A bench grinder is a larger, stationary grinder. It has two grinding wheels.
The jig helps you hold the drill bit at the correct angle against the wheel. This requires a bit more practice than a handheld sharpener. But it can give excellent results.
For very small or delicate bits, a diamond sharpening stone can work. You hold the bit by hand. You carefully touch the edge to the stone.
This needs a steady hand. It’s good for touch-ups.
Top Alternatives to Angle Grinders for Sharpening
- Handheld Drill Bit Sharpeners: Easy to use, portable, good for most common bits.
- Bench Grinder with Jig: More versatile, requires practice, great for frequent sharpening.
- Diamond Sharpening Stones: Best for precision, small bits, requires skill.
- Sharpening Service: Professional sharpening for critical applications.
How to Attempt Sharpening with an Angle Grinder (With Extreme Caution)
If you absolutely must try this, you need to be extremely careful. This is not recommended for precision or for valuable bits. The main goal here is to reduce risk.
Risk to yourself and risk to the bit.
Safety First (Non-Negotiable):
- Eye Protection: Wear safety glasses or a full face shield. Always.
- Hand Protection: Thick leather gloves are a must.
- Hearing Protection: Angle grinders are loud.
- Protective Clothing: Wear long sleeves and sturdy pants. No loose clothing.
- Work Area: Clear the area of flammable materials. Sparks will fly.
- Secure the Grinder: Make sure the angle grinder is stable.
- Secure the Bit: You need a way to hold the bit firmly. A sturdy vise is essential.
The Process (If You Must Try):
- Choose the Right Disc: Use a fine-grit grinding wheel. Not a cutting disc.
- Set Up Your Station: Clamp the angle grinder securely. Place a sturdy vise within reach.
- Mount the Drill Bit: Clamp the drill bit shank in the vise. The cutting end should point towards the grinder wheel.
- Cooling is Key: Keep a bucket of water or a coolant spray nearby.
- Light Grinding: Touch the bit to the wheel for very short bursts. Think fractions of a second.
- Work Slowly: Grind one side of the cutting edge. Then move to the other.
- Check for Heat: Dip the bit in water after every brief grind. If it’s too hot to touch, it’s too hot for the bit.
- Angle Matters: Try to maintain the original cutting angle. This is the hardest part.
- Aim for Symmetry: Ensure both cutting edges are ground evenly.
- Test Carefully: After grinding, test the bit on scrap material.
This method is prone to error. It’s very easy to overheat the bit. You can also grind away too much material.
Or create an uneven edge. This will make the bit worse.
Quick Check for Overheating
Signs of a Drawn Temper:
- Color Change: The metal might turn blue or purple. This means it got too hot.
- Softness: The bit will feel softer. It will dull very quickly after sharpening.
- Poor Performance: It won’t cut well. It will slide or spin without biting.
Common Mistakes When Using an Angle Grinder on Bits
People often make the same mistakes when trying to sharpen drill bits with an angle grinder. These mistakes usually lead to a ruined bit and potential danger.
One big mistake is pressing too hard. The grinder is powerful. You don’t need much force.
Pressing hard removes metal too fast. It also creates more heat. This quickly overheats the bit.
Another common error is grinding for too long. Even a few seconds of continuous grinding can be too much. Short, controlled touches are vital.
You need to let the bit cool between touches.
Not keeping the bit cool is a major issue. If you don’t dip the bit in water regularly, the heat builds up. This draws the temper.
The bit becomes useless.
Failing to maintain the correct angle is also very common. The cutting edge of a drill bit has a specific angle. If you grind at the wrong angle, the bit won’t cut properly.
It might even make the hole larger than intended or off-center.
Finally, some people try to grind the “relief” angle. This is the small angle behind the cutting edge. It allows the bit to cut without rubbing.
Trying to do this precisely with an angle grinder is extremely difficult. It’s easy to remove too much or too little material here.
Mistake vs. Reality
Myth: Grinding faster means getting the job done quicker.
Reality: Grinding too fast overheats and ruins the bit. It also makes control impossible.
Myth: A few quick passes will sharpen the bit.
Reality: Each pass must be very short, with cooling in between, to preserve the temper.
Myth: Any angle is okay if the bit cuts.
Reality: An incorrect angle leads to poor performance, stress on the drill, and off-center holes.
When is a Drill Bit Too Far Gone?
Sometimes, a drill bit is just too worn out to sharpen. Trying to fix it might be more effort than it’s worth. Or it might be impossible to get a good edge back.
If the cutting edges are severely chipped or rounded off, it’s tough to reshape them. You’d have to remove a lot of metal. This increases the risk of overheating.
If the bit has clearly changed color from heat in the past, its temper is likely compromised. It might look sharp after grinding, but it will dull very quickly. It won’t perform well.
For very small drill bits, the tips are delicate. Trying to grind them can easily break the tip off or make them uncentered. These are often best replaced.
Also, if the bit is made of a very hard material like carbide, angle grinders are generally not suitable. Carbide can chip or shatter easily.
If a drill bit is very old, rusty, or damaged in other ways, it might be time to let it go. Buying a new bit is often more cost-effective than the time and risk involved in trying to save a severely damaged one.
Real-World Scenarios and Consequences
Imagine you’re working on a custom furniture piece. You need to drill precise holes for dowels. If your bits are not perfectly sharp and centered, the dowels won’t align.
This can ruin the entire project’s look. Using an angle grinder here would be a disaster. You’d likely end up with wobbly holes.
Now, think about drilling into a metal stud for a shelf. If the bit is dull, it will slip. It might dig in unevenly.
This can damage the stud. Or worse, the bit could break. A broken bit stuck in a stud is a real headache.
A sharp bit makes this task smooth and safe.
Consider drilling into concrete. This requires robust, sharp bits. If the bit is dull, the drill motor will strain.
It might overheat. You might not get through the concrete at all. Or the bit could overheat and become useless.
In professional settings, time is money. A dull bit means slower work. This eats into profits.
Using the right tools for sharpening means bits stay sharp. Work stays efficient. It also means fewer tool replacements.
What to Do with Dull Bits
- Assess the Bit: Is it just slightly dull, or severely damaged?
- Consider the Material: What are you drilling into? Precision needed?
- Check Your Tools: Do you have a proper sharpener?
- Weigh the Cost: Is replacing the bit cheaper than the time and risk of sharpening poorly?
- When in Doubt: Buy a new bit. It’s often the safest and most effective solution.
What This Means for You and Your Tools
Sharpening drill bits incorrectly, especially with a tool like an angle grinder, can have several negative outcomes. For you, it means wasted time and money. You might buy a new bit after ruining the old one.
You might also risk injury if you’re not careful with the grinder.
For your drill bits, the consequences are worse. Overheating can permanently soften them. They will dull much faster.
The cutting edges might become uneven. This makes drilling harder and less accurate. In the long run, dull bits stress your drill’s motor.
This can shorten the life of your power tool.
Using the right sharpening method preserves the bit’s hardness. It maintains its precise cutting angles. This means your bits perform better for longer.
Your drill will work more efficiently. Your projects will go more smoothly. It’s about taking care of your tools so they can take care of your work.
Quick Tips for Keeping Bits Sharp
Preventing a bit from becoming dull in the first place is key. Here are some simple habits:
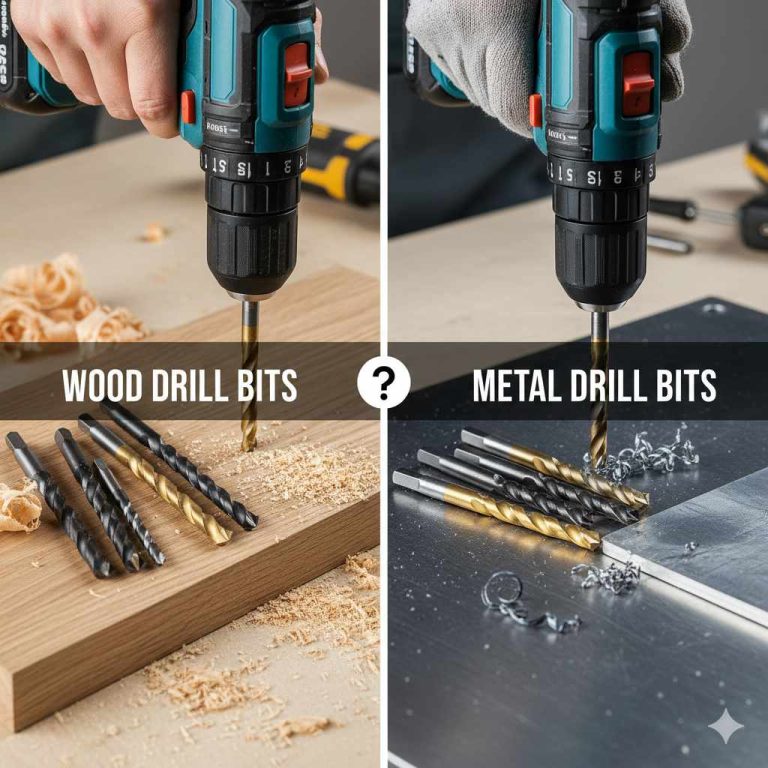
- Use the Right Bit for the Job: Don’t use a wood bit on metal. Or a metal bit on masonry.
- Drill at the Correct Speed: Too fast creates heat and dulls bits.
- Apply Steady Pressure: Don’t force the bit. Let it do the work.
- Keep Bits Cool: For metal drilling, use cutting fluid.
- Store Bits Properly: Avoid banging them around. Keep them in their case.
Frequently Asked Questions
Can I sharpen any drill bit with an angle grinder?
It is not recommended to sharpen most drill bits with an angle grinder. The risk of overheating and damaging the bit’s temper is very high. Specialized drill bit sharpeners or bench grinders with jigs are much safer and more effective.
What happens if I overheat my drill bit while sharpening?
Overheating a drill bit can draw its temper. This means the metal loses its hardness. The bit will become soft.
It will dull very quickly after sharpening and won’t cut effectively. It can become permanently less useful.
How do I know if my drill bit is too dull to sharpen?
If the cutting edges are badly chipped, rounded off, or if the bit has discolored from past overheating, it might be beyond effective sharpening. Trying to sharpen severely damaged bits often leads to more problems than solutions.
Are handheld drill bit sharpeners worth the money?
Yes, for most DIYers and even professionals, handheld drill bit sharpeners are a great investment. They are affordable, easy to use, and provide precise sharpening that significantly extends the life and performance of your drill bits.
What is the best angle for sharpening a drill bit?
The ideal angle varies by drill bit type and size. For common HSS bits, it’s often around 118 degrees for general purposes. However, specialized tools and jigs are designed to achieve these precise angles automatically, removing the guesswork.
Should I use a cutting fluid when sharpening drill bits?
While cutting fluid is important when drilling into metal to keep the bit cool, it’s less common during the sharpening process itself. The primary cooling method during sharpening is usually dipping the bit in water. However, some professional sharpening setups might incorporate cooling systems.
Final Thoughts on Grinder Sharpening
While the power of an angle grinder is tempting, it’s rarely the right tool for sharpening drill bits. The risk of damage is high. Precision is difficult.
Safety is a major concern. Investing in a proper drill bit sharpener is a far better path. It saves your bits, your tools, and your frustration.