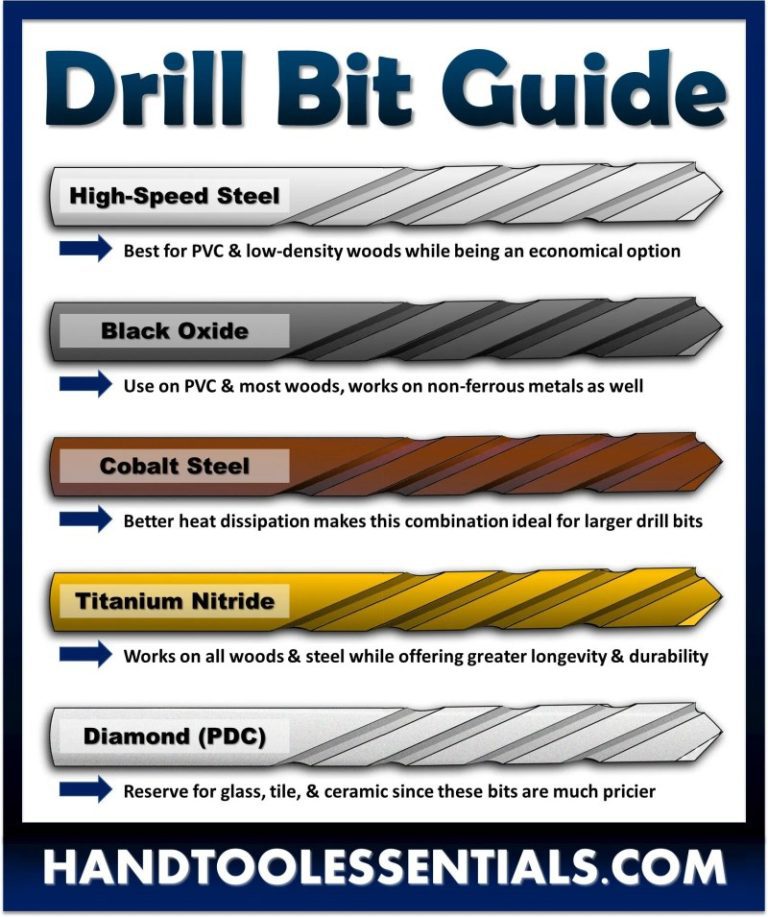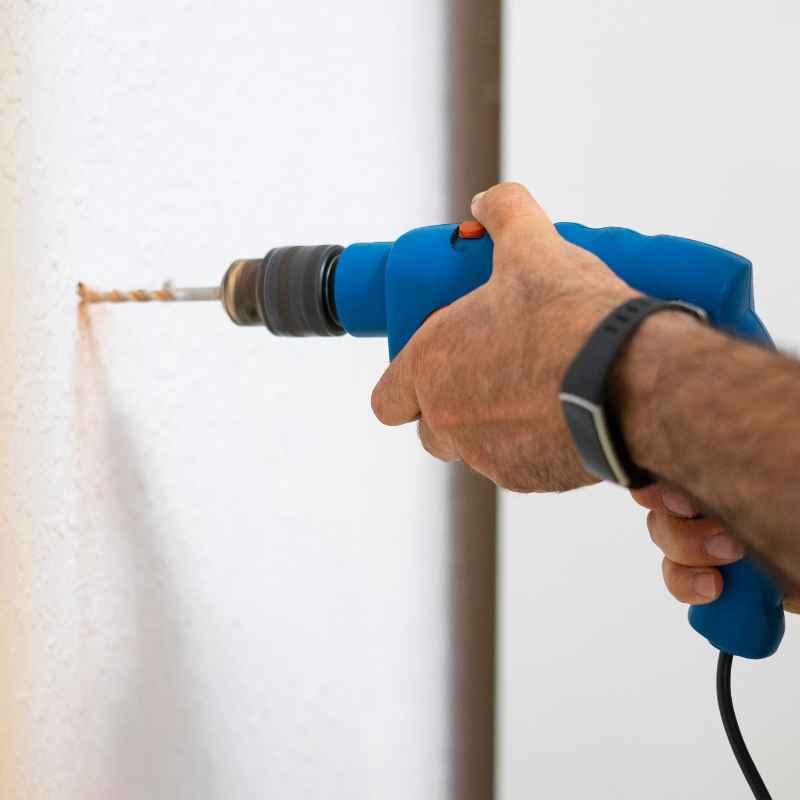
How To Put Anchors In A Wall Without A Drill (Easy Methods)
You can put anchors in walls without a drill using several methods. These include using adhesive-backed hooks, toggle bolts designed for manual installation, or specialized picture hanging kits. For lighter items, strong double-sided tape or Command Strips can also work.
The best method depends on the weight of the item and the type of wall.
Understanding Wall Anchors and Your Wall
Wall anchors are like helpers. They help screws hold better. They work in drywall or plaster.
Regular screws can just spin. Or they can fall out. Anchors give the screw something solid to grip.
They spread out behind the wall. This makes a strong hold.
But what if you can’t drill a hole? Drills make a clean, round hole. This is needed for many anchor types.
Some anchors need a pilot hole. Others are “self-drilling.” They make their own small hole. But you still need to push them in.
And sometimes, you need a hammer for that.
Your wall type matters a lot. Is it drywall? That’s the most common.
It’s a panel. It covers the wall studs. Plaster is older.
It’s harder. It can be more brittle. Concrete walls are very different.
They need special tools.
For this guide, we focus on drywall and plaster. We’re looking for ways to avoid a power drill. We want methods that are easy.
They should also be secure enough for everyday items. Think about pictures, mirrors, or light decor. Heavy items like large shelves might need a drill.
But for many things, you have options.
My Own “Oops, No Drill!” Moment
I remember one evening. I had just moved into a new apartment. I was so excited to decorate.
I had this beautiful, light mirror. It was about two feet wide. I wanted to hang it in the hallway.
It wasn’t super heavy. But it wasn’t light either. I grabbed a screw.
I tried to push it into the wall. It went in a little. Then it just spun.
The wall crumbled around it. Panic set in. I didn’t have a drill.
I definitely didn’t want to ask my landlord for permission to drill yet. I felt stuck. The mirror was leaning against the wall.
It looked so sad. I walked around my new place. I felt a bit defeated.
Then I saw a pack of Command Strips. I’d used them before for small things. Could they hold a mirror?
I read the package. It said they could hold up to 5 pounds. My mirror was maybe 3 pounds.
It was worth a try. I cleaned the wall. I followed the instructions.
I pressed the strips on. I waited a full hour. Then I carefully hung the mirror.
It held! It felt like a small miracle. That moment taught me so much.
There are often clever ways. You just have to look for them.
Quick Look: No-Drill Hanging Options
Adhesive Hooks/Strips: Great for light items. Think pictures, calendars. Easy to apply.
Remove cleanly.
Picture Hanging Kits: Often include special nails or hooks. Some use small, sharp pins.
Toggle Bolts (Manual): Some types can be pushed in or started with a screwdriver. Need a larger hole than an adhesive.
Tap-In Anchors: You might need a hammer. But not a drill. For medium-weight items.
Double-Sided Tape: Very temporary. Only for the lightest decorations. Test first.
Method 1: Adhesive Hooks and Strips
This is the most popular way. Many people know Command Strips. They are made by 3M.
They use a special adhesive. This adhesive holds well. But it can be removed.
It usually doesn’t damage the wall. That’s a big plus. Especially in rental homes.
How do they work? You get two strips. One goes on the wall.
One goes on the item you want to hang. You press them together. They stick to each other.
Then they hold the item up. They come in many sizes. Some are small.
Some are large. Always check the weight limit. It’s printed on the package.
Other brands offer similar products. Look for “damage-free” hooks or strips. They often work the same way.
You clean the wall surface first. This is very important. Dust or grease stops them from sticking.
Then you apply the strip. You press it firmly. You must wait.
The package will say how long. It’s often an hour or more. This lets the adhesive cure.
It gets strong. Then you attach your item.
Experience: I used these for a gallery wall of photos. I hung about ten frames. They all stayed up for years.
When I moved out, I pulled the strips off. The wall looked perfect. No holes.
No paint damage. It was amazing. It saved me so much hassle.
Key Takeaway: Clean walls + waiting time = strong hold. Perfect for lighter decorations.
Contrast: Adhesive Strips vs. Traditional Anchors
Adhesive Strips:
- Pros: No drill needed, damage-free removal, easy to use.
- Cons: Weight limits, can fail if not applied correctly, not for heavy items.
- Best For: Photos, lightweight decor, temporary hangings.
Traditional Anchors (with drill):
- Pros: Very strong hold, can support heavy items, long-lasting.
- Cons: Requires a drill, leaves holes, can be tricky to install.
- Best For: Shelves, mirrors, heavy artwork, cabinets.
Method 2: Picture Hanging Kits
These kits are made for hanging pictures. They often have small nails. These nails are very thin.
They are also angled. You push them into the wall. They go in with just a hammer.
Sometimes, a firm push is enough. The angled nail goes into the drywall. It holds the weight of the picture frame.
Some kits have little hooks. You tap the nail in. Then you place the hook on the nail.
Your picture wire or D-rings go on the hook. These are great for framed photos. Or small mirrors.
They leave tiny holes. Much smaller than a drill would make. They are easy to patch later if needed.
But for many items, you might not even need to patch.
When you buy these, check the package. It will tell you the weight limit. Most are for lighter items.
A few pounds is typical. Some stronger versions exist. They might have slightly thicker nails.
Or a different hook design. Always read the label carefully. Make sure it’s right for what you want to hang.
Experience: I used a kit like this for a framed cross-stitch. It was a gift from my grandma. It was maybe 2 pounds.
I used the little nails. I tapped them in gently. The frame hung perfectly.
It looked so nice on the wall. I felt good knowing it was secure. And I didn’t have to break out the big tools.
Tip: Hold the nail with pliers. This protects your fingers. Tap it in gently.
You’ll feel it go into the wall.
Quick-Scan Table: Picture Hanging Kits
| Item Type | Weight Limit | Tools Needed | Hole Size |
| Light Photos | 1-5 lbs | Hammer (optional) | Tiny |
| Small Mirrors | 3-7 lbs | Hammer | Tiny to Small |
| Small Shelves (light items) | 5-10 lbs | Hammer, Pliers | Small |
Method 3: Tap-In Anchors (Hammer Required)
These are a step up from picture hooks. Tap-in anchors are small plastic or metal pieces. You use a hammer to tap them into the wall.
They make their own hole. They expand behind the drywall. This gives a stronger grip.
They usually come in two parts. A screw and the anchor body. First, you place the anchor against the wall.
You use a hammer to tap it in. It should go in snug. Make sure it’s flush with the wall.
Then, you take the screw. You screw it into the anchor. It will tighten.
The anchor holds it tight.
These are good for items that are a bit heavier. Maybe a small floating shelf. Or a towel rack in a bathroom.
The weight limit can be around 10-20 pounds. It really depends on the anchor. And the quality of your drywall.
Important Note: While you don’t need a drill, you DO need a hammer. And some muscle. They can be tough to tap in sometimes.
Make sure you are tapping straight. If you hit it at an angle, it might bend or break.
Real-World Context: I used these to hang a wall-mounted spice rack. It was filled with jars. It was more weight than a simple hook could handle.
I tapped the anchors in. They went in smoothly. I screwed in the rack.
It felt very solid. I’ve had it for years now. It’s held up perfectly.
No issues at all.
Tip: If the anchor is hard to tap, try a slightly different spot. Or tap very gently at first. Make sure it’s going in straight.
Method 4: Screw-In or Self-Drilling Anchors
Some anchors are designed to be screwed directly into the wall. You don’t need a drill. You can use a screwdriver.
For some, a cordless screwdriver works well. Others might need a bit more effort. These anchors often have a sharp tip.
They cut their own small hole. As you screw them in, they pull themselves into the drywall.
These are great. They offer a good balance. They are easier than traditional anchors.
But stronger than simple adhesive. They can hold anywhere from 15 to 30 pounds or more. It depends on the design.
You’ll find plastic ones. They look like little screws with fins. Metal ones are also common.
They might have a wider thread. Some have a little barb on the end. That helps them start digging into the drywall.
You just twist them in. Use a Phillips head screwdriver. Keep turning until the anchor is flush with the wall.
Then you can screw a regular screw into the anchor. Or some anchors come with their own screw. This makes it super simple.
You just screw the whole unit into the wall. Then you hang your item on the screw.
Experience: I used these to hang a light-duty coat rack. It was in my entryway. I wanted something that looked nice.
And could hold a couple of coats. I chose a self-drilling anchor. It took about a minute to screw it in.
I put a matching screw into it. The coat rack feels very secure. It’s a practical solution.
No need for power tools.
Best Use: For items you want to stay put. Like a small shelf for keys. Or a hook for your bag.
Self-Drilling Anchor: How It Works
1. Choose Anchor: Select one rated for your item’s weight.
2. Start Screw: Place the anchor tip on the wall. Use a screwdriver.
3. Screw In: Turn the screwdriver clockwise. The anchor will create its own hole and go into the wall.
4. Tighten: Keep screwing until the anchor is flat against the wall surface.
5. Add Screw: Insert a screw into the anchor. Hang your item.
Method 5: Heavy-Duty Double-Sided Tape
This is for very light items only. Think about posters. Or maybe some very light wall art.
Not frames. Not shelves. These tapes are very sticky.
They use strong adhesives. But they are not meant for heavy loads. They can sometimes damage paint.
Especially if you pull them off quickly.
Always test a small area first. If you are renting, be extra careful. Read the tape’s instructions.
Some say they are “removable.” But always proceed with caution.
You cut the tape to size. You stick it to the back of your item. Then you press the item onto the wall.
Hold it firmly for a good 30 seconds. The longer you leave it, the better it sticks. But it’s still not as reliable as anchors.
Or even good adhesive strips.
When to Use: If you need something temporary. Or if the item is paper-thin and very light.
Caution: This is not a substitute for a proper anchor. It’s more of a quick fix. For things that weigh almost nothing.
Real-World Context: Choosing the Right Method
Imagine you want to hang a corkboard. It’s about 1 pound. You can use adhesive strips.
They are easy. They won’t damage the paint. Easy removal is a bonus.
Now, think about a framed certificate. Maybe it weighs 3 pounds. A picture hanging kit with small nails would work well.
It leaves a tiny hole. It’s secure enough.
What if you want to hang a small cabinet? It holds keys and mail. It might weigh 5 pounds.
A tap-in anchor or a self-drilling anchor would be a good choice. They offer more support.
Consider the wall material. Drywall is softer. Plaster can be harder but brittle.
If you have plaster, be gentle. Tap-in anchors might be better than self-drilling ones. Because you control the pressure with a hammer.
With self-drilling ones, you can strip the plaster if you go too hard.
Your habits matter too. Do you move often? Adhesive strips are your friend.
Do you plan to stay put for years? Then a slightly more robust method might be fine. Even if it means a small, patchable hole.
Design of the item also plays a role. Does it have a wire on the back? A hook?
This helps you choose the right hanging hardware. A flat back might work best with adhesive strips.
What This Means for You
You don’t always need a drill. That’s the main takeaway. For many home decorating tasks, there are easy ways.
You can hang things securely. Without making big holes. This is especially true for lighter items.
When it’s normal: Using adhesive strips for pictures. Using small nails for lightweight frames. These are all very normal.
They are common solutions.
When to worry: If you’re hanging something heavy. Like a large mirror. Or a heavy shelf with books on it.
And you’re only using tape. That’s a sign to worry. It could fall.
It could cause damage.
Simple checks: Always check the weight limit. On any product you use. Make sure it’s for the item you want to hang.
Also, check your wall type. Drywall needs different support than concrete.
If you are unsure, it’s okay to ask. Look at similar items in stores. See how they are hung.
Or ask a friend who is handy. They might have tips. Or tools you can borrow.
The goal is a secure hang. And a happy, decorated home.
Quick Fixes & Tips
Here are some simple tips to help you succeed without a drill.
- Clean the wall surface well. This is vital for adhesive products. Use rubbing alcohol for best results. Let it dry completely.
- Read the product instructions. Every adhesive strip or anchor is a bit different. Follow the steps exactly.
- Wait for adhesive to cure. Don’t hang your item too soon. The waiting time is important for strength.
- Consider the item’s weight. This is the most critical factor. Overestimate slightly if unsure.
- Test the hold lightly. Before letting go completely, give the item a gentle tug. See if it feels secure.
- Use multiple points of contact. For larger items, use two or more anchors or strips. This spreads the weight.
- Think about the wall material. Drywall, plaster, and concrete all behave differently.
Frequently Asked Questions
Can I hang a TV without drilling?
For most TVs, especially larger ones, drilling is strongly recommended. It requires very secure mounting to handle the weight and prevent accidents. Some very small, lightweight digital frames might use strong adhesive, but it’s risky.
Always check the TV manufacturer’s guidelines.
Will Command Strips damage my paint?
When applied and removed according to instructions, Command Strips are designed to be damage-free for most painted surfaces. The key is to stretch the removal tab straight down slowly. If paint is already peeling or the surface is textured, there’s a higher risk of damage.
How much weight can adhesive hooks hold?
Adhesive hooks and strips have varying weight limits. These can range from 1 pound for very small hooks to 15-20 pounds for heavy-duty versions. Always check the packaging for the specific weight rating.
Never exceed it.
What is the strongest no-drill anchor?
The strongest no-drill options are usually self-drilling anchors or some types of tap-in anchors. These create a secure grip within the drywall. Their holding power is significantly greater than adhesive products, but they may require a screwdriver or hammer.
Can I use regular screws in drywall without anchors?
For very light items, like a small piece of paper tacked with a screw, maybe. But for anything with weight, a screw alone in drywall will not hold. It will likely pull out of the wall, or the screw will just spin in the hole.
What’s the difference between a screw and a wall anchor?
A screw is a fastener that goes into a material to hold things together. A wall anchor is a device that goes into a wall first. Then you put a screw into the anchor.
The anchor makes the screw hold much stronger in soft materials like drywall.
Conclusion
Putting things on your walls doesn’t always need a drill. You have many options. From simple sticky strips to anchors you tap in.
The key is knowing your item’s weight. And choosing the right method. Enjoy decorating your space.
Make it feel like home. All without the hassle of power tools.
Sponsored / affiliate links. As an Amazon Associate I earn from qualifying purchases. I may earn additional commission from eligible campaigns.