How To Use A Screw Extractor Without A Drill (Step-By-Step)
Dealing with a stripped screw can be incredibly frustrating. You twist and twist, but the screwdriver just spins. It feels like you’re stuck. Many times, we think we need a drill to get it out. But what if you don’t have one handy? Or maybe you want to avoid using a drill because you’re worried about making things worse. That’s a common worry. We’ll walk through how to tackle these tricky screws without any power tools. You’ll learn simple methods that really work. This will save you time and a lot of hassle.
You can use a screw extractor without a drill by first creating a small pilot hole or notch. Then, carefully tap the extractor into the hole. Slowly turn the extractor counter-clockwise to grip and remove the damaged screw. Sometimes, manual methods like a rubber band or pliers can also work for less stubborn screws.
Understanding Screw Extractors and Why They’re Handy
A screw extractor is a special tool. It’s designed to remove screws that have damaged heads. This damage is often called “stripping.” The head might be so worn down that a screwdriver can’t grip it anymore. This happens with Phillips, flathead, or even Torx screws. The goal of an extractor is to bite into the damaged metal. Then, it lets you twist the screw out.
Why is this tool so useful? Because it often saves the project. Instead of cutting the screw out or damaging the material around it, the extractor helps you remove it cleanly. This means you can often
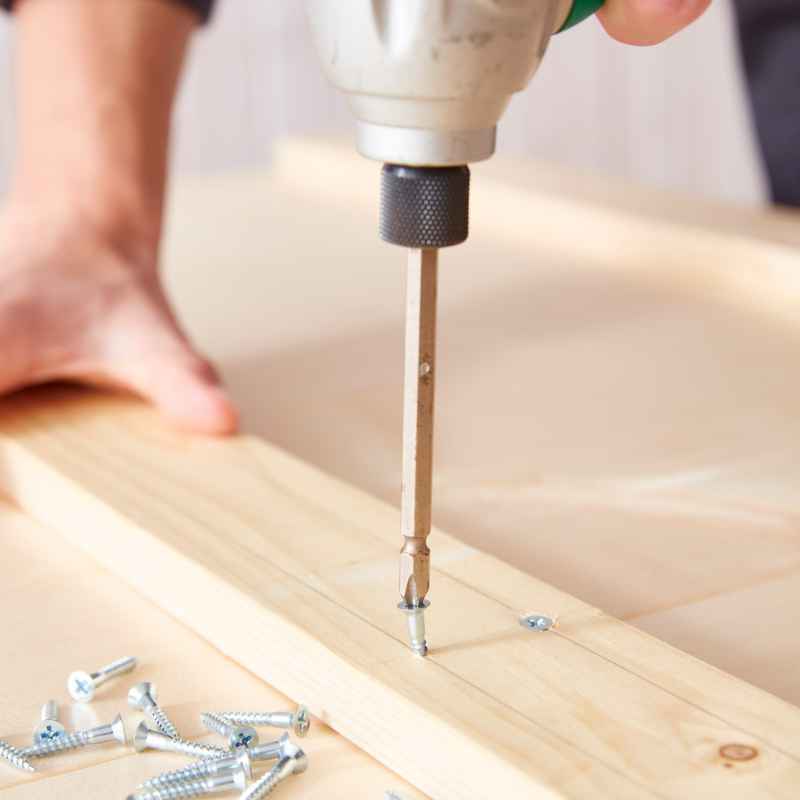
Many people think you absolutely need a drill. This is often true for using the extractor bits that come in sets. These bits usually have a drill-like end. They need the spinning power of a drill to create the initial hole. But there are ways around this. You can still get the job done with basic hand tools. We’ll focus on those methods.
My Own “Stuck Screw” Nightmare
I remember one sweltering summer afternoon. I was trying to fix a wobbly kitchen cabinet door. It was just one small screw. This screw held the hinge in place. I used my trusty Phillips screwdriver. I turned it. It felt… off. I turned harder. The head of the screw started to round out. Panic set in. My screwdriver kept slipping.
I could feel sweat trickling down my back. The cabinet door was hanging loose, a constant reminder of my failure. I didn’t have a drill with me, only my toolbox of hand tools. I tried jamming the screwdriver in harder. I even tried a coin, which was a silly idea. Nothing worked. The screw head was completely smooth. I was ready to give up. Then, I remembered a trick I’d read about.
It involved a different kind of grip. I didn’t have a fancy screw extractor kit back then. But I had a pair of pliers. I managed to grab the very edge of the screw head. Slowly, carefully, I twisted. It was a tense moment. The metal groaned. And then, with a tiny pop, it loosened! The relief was immense. That experience taught me that sometimes, simpler tools are best. You just need to know how to use them.
What is a Stripped Screw?
A stripped screw is one whose head is damaged. The slots or grooves are worn down. This makes it hard for a tool, like a screwdriver, to get a good grip. It happens from using the wrong tool, too much force, or poor quality screws.
When a Drill Isn’t an Option
Life happens. Sometimes, your drill is out of commission. Maybe the battery died and you can’t find the charger. Perhaps you’re working in a tight spot where a drill just won’t fit. Or, you might be a beginner and feel intimidated by power tools. All these are perfectly valid reasons not to use a drill.
The good news is, you don’t always need one. Many screw-removal jobs are manageable with patience and the right manual techniques. This is especially true for smaller screws or those not seized too tightly.
The core idea remains the same: you need to grip the screw head or create a new way to turn it. Without a drill, you’ll rely on manual force and precision. This often means using a simple screw extractor set designed for hand use, or even everyday household items.
Types of Screw Heads That Strip
Phillips Head: The cross shape. Very common. Strips easily if the screwdriver isn’t seated perfectly.
Flathead (Slotted) Head: The single line slot. Can strip if the screwdriver slips sideways.
Torx (Star) Head: The six-pointed star. Stronger, but can strip if a tool of the wrong size is used.
Allen (Hex) Head: The hexagonal hole. Strips if the wrong size wrench is used or if it’s overtightened.
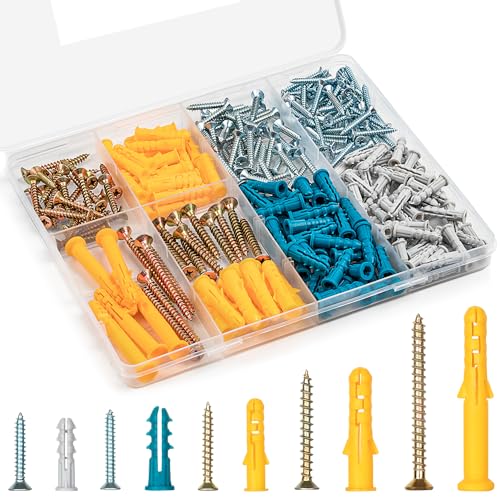
Choosing the Right Manual Screw Extractor
Not all screw extractors are the same. For drill-free use, you’ll want to look for specific types. Some extractors are designed to be turned with a tap wrench or even pliers. These often have a square end for gripping.
These types of extractors have a tapered, reverse-threaded flute. You insert this end into the damaged screw. As you turn it counter-clockwise, the flutes dig into the metal. This creates a grip to back the screw out.
When buying, check the packaging. It should mention if it’s suitable for manual use. Look for sets that include different sizes. This is crucial because you need an extractor that fits the damaged screw well. Too small, and it won’t grip. Too big, and it might not fit into the damaged head area.
The material of the extractor matters too. High-speed steel (HSS) is common and durable. It can withstand the force needed to dig into metal screws. For very stubborn screws, you might even find carbide extractors, which are much harder.
Quick-Scan Table: Manual Extractor Types
| Type | How it Works | Best For |
|---|---|---|
| Tapered Screw Extractors (Hand Use) | Reverse threads grip damaged screw head. Turned with tap wrench or pliers. | Moderately stripped screws, small to medium sizes. |
| Screw Grab / Gripping Compound | A paste applied to the screw head. Adds friction for better screwdriver grip. | Slightly stripped screws, when a good grip is the only issue. |
| Pliers (Locking/Needle-Nose) | Directly grip the outside of a protruding screw head. | Screws with heads sticking out enough to grab. |
Step-by-Step: Using a Manual Screw Extractor (No Drill Needed!)
This is the core of how you’ll tackle that stubborn screw. It requires a bit of patience. But following these steps will give you the best chance of success. We are assuming you have a set of manual screw extractors.
Step 1: Prepare the Screw Head
First, you need to create a small indentation. This helps the extractor get a good starting bite. You don’t need a drill for this. A sturdy center punch is ideal. Or, you can use a sharp, hard nail. Place the tip of the punch or nail in the very center of the stripped screw head.
Tap it gently with a hammer. You want to make a small dimple, not a deep hole. This dimple will guide your extractor. If the screw head is already somewhat damaged, you might already have a starting point. Just ensure it’s clean and clear.
Step 2: Select the Right Extractor Size
Look at your damaged screw. Try to estimate its size. Then, pick an extractor from your set that seems appropriate. You want an extractor that will fit into the damaged area of the screw head without being too loose.
The extractor’s tapered end should fit snugly into the damaged slot or cross. You might need to try a couple of sizes. It’s better to have one that’s slightly too small than too big. If it’s too big, it won’t engage the metal properly.
Step 3: Insert the Extractor
Place the tapered, reverse-threaded end of the selected extractor into the dimple you made. Make sure it’s centered. If you have a tap wrench, fit it onto the other end of the extractor.
If you don’t have a tap wrench, a sturdy adjustable wrench or even a pair of locking pliers can work. You need something that allows you to apply steady, controlled turning force. Ensure the tool is gripping the extractor securely.
Step 4: Slowly Turn Counter-Clockwise
This is the critical step. Apply steady, slow pressure. Turn the tap wrench or pliers counter-clockwise. You should feel the extractor start to bite into the screw head. The reverse threads are designed to dig in as you turn.
If it feels like it’s just spinning without gripping, you might need to apply more downward pressure. Or, the extractor might be the wrong size. Sometimes, a slight tap on the wrench can help seat the extractor deeper.
Keep turning slowly. As the extractor bites deeper, you should feel the damaged screw start to loosen. Continue turning until the screw is free.
Step 5: Remove the Screw
Once the screw is loose, continue turning counter-clockwise. The extractor should keep a good grip. You can often unscrew it the rest of the way by hand, or with the tap wrench. Be gentle to avoid damaging the threads in the material.
If the screw head is completely out, you might be able to pull it free. If the shank is still in the hole, keep turning until it’s fully extracted. Clean up the hole afterward, and you’re ready to insert a new screw.
Tips for Success
- Lubricate: A drop of penetrating oil (like WD-40) on the screw threads can help. Let it sit for a few minutes before trying to extract.
- Tap Gently: A few light taps with a hammer on the extractor handle can help it seat deeper.
- Steady Pressure: Avoid jerky movements. Slow, consistent turns are more effective.
- Patience is Key: Don’t rush the process. Forcing it can break the extractor or damage the surrounding material.
Alternative “No-Drill” Methods for Stripped Screws
What if you don’t even have a manual screw extractor? Don’t worry. There are several common household items that can often do the trick. These methods are best for screws that aren’t too deeply embedded or rusted.
The Rubber Band Trick
This is a classic. It works by filling the stripped grooves of the screw head. This gives your screwdriver a better grip. Take a wide rubber band. Place it flat over the stripped screw head.
Now, press your screwdriver firmly into the rubber band and the screw head. Turn slowly and steadily. The rubber band should compress and fill the gaps. This often provides enough extra friction to turn the screw. You might need to try a few different rubber bands if the first one breaks.
Using Pliers
This method works best if the screw head is sticking up a bit. You need to be able to get a grip on the outside edges of the head. Locking pliers (like Vise-Grips) are ideal because they clamp down hard. Needle-nose pliers can also work if you have enough space.
Grip the screw head firmly with the pliers. Then, twist slowly counter-clockwise. Apply downward pressure as you turn. If the screw is really stuck, this can put a lot of strain on the pliers and your hand. But for screws that are just slightly stripped, it’s often very effective.
The Steel Wool or Aluminum Foil Method
Similar to the rubber band, these materials can add grip. Take a small piece of steel wool or a folded piece of aluminum foil. Place it over the stripped screw head.
Press your screwdriver into the material and the screw. Turn slowly. The material can fill the gaps and provide a surprising amount of extra grip. This is a good trick when you have nothing else.
Creating a New Slot
If the screw head is completely rounded, you might need to create a new slot. This is where a small hacksaw blade or a Dremel tool with a cutting wheel comes in handy. Be very careful doing this.
Use the blade or wheel to carefully cut a new, straight slot across the top of the screw head. Make it deep enough for a flathead screwdriver to grip. Then, use a flathead screwdriver to try and remove the screw. This method requires precision. You don’t want to cut into the surrounding material.
When to Use What Alternative
- Slightly Stripped: Rubber band, steel wool, or aluminum foil.
- Head Protruding: Pliers (locking or needle-nose).
- Completely Rounded Head: Create a new slot with a hacksaw blade or Dremel.
Real-World Scenarios and Considerations
The effectiveness of these methods depends on several factors. Understanding these can help you choose the best approach.
Material of the Screw
Screws made of soft metals like brass or aluminum strip more easily. They also tend to be easier to extract with manual methods. Hardened steel screws are tougher. They resist stripping better but can also be harder to extract once damaged. If a screw is rusted in place, that adds another layer of difficulty.
Depth of the Screw
A screw that is only partially threaded into its material is usually easier to remove. If the screw is fully embedded and tight, it will require more force. This is where manual methods can become challenging.
Surrounding Material
What is the screw going into? Wood is forgiving. You can sometimes apply a bit more force without causing damage. Metal or plastic surfaces are more delicate. You need to be extra careful not to scratch or crack them when using tools.
The “Why” Behind the Strip
Did the screw strip because it was overtightened? Or because it was cross-threaded from the start? Knowing the cause can sometimes give you clues. A cross-threaded screw might be angled. This can make it even harder to remove. It might require a more aggressive approach.
What This Means For You: Normal vs. Concerning
It’s normal for screws to occasionally strip, especially with frequent use or in DIY projects. You’ll likely encounter this at some point. The key is to know when it’s a minor inconvenience and when it might signal a bigger problem.
When It’s Okay (and You Can Fix It)
If a screw head is just slightly rounded, and the screw isn’t seized, most of the manual methods will work. This is the ideal scenario. It means a quick fix is possible with basic tools.
Also, if you have a dedicated manual screw extractor set, you’re in a good position. These tools are designed for this problem. They offer a reliable solution when used correctly.
When to Be Concerned
If the screw is deeply rusted, or if the surrounding material is very delicate and you’re worried about damage, you should proceed with caution. If multiple attempts with different methods fail, it might be time to re-evaluate. The screw might be bonded to its housing.
If the screw is critical to the structural integrity of an item, and you can’t get it out safely, consider consulting a professional. For example, a screw holding a vital appliance part might need expert handling.
Simple Checks You Can Do
Before you start any extraction, look closely at the screw. How much of the head is accessible? Is it rusted or just worn down? Try a gentle turn with the correct screwdriver first. Sometimes, it just needs a bit more firm pressure.
If the screw is spinning freely but not coming out, the threads in the material might be stripped. In this case, the screw itself might not be the problem, but the hole it’s in.
Quick Tips for Future Screw Success
Preventing stripped screws is always better than fixing them. A few simple habits can save you a lot of trouble down the line.
- Use the Right Screwdriver: Always match the screwdriver head to the screw type and size. A Phillips #2 is not the same as a Phillips #1.
- Apply Downward Pressure: When turning a screw, push down firmly. This keeps the screwdriver seated in the screw head.
- Don’t Overtighten: Stop turning once the screw is snug. Forcing it can strip the head or damage the threads.
- Use Quality Screws: Cheaper screws often have softer metal. They strip more easily.
- Consider Screw Grab: For tricky situations, a bit of “Screw Grab” or similar gripping compound on your screwdriver tip can help prevent stripping.
Frequently Asked Questions
Can I really remove a stripped screw without any special tools?
Yes, often you can. Methods like using a rubber band, steel wool, or pliers can work for many stripped screws. These methods use friction or grip to help turn the screw. They are great when you don’t have a dedicated screw extractor.
How do I know which size screw extractor to use?
You should choose a size that fits snugly into the damaged part of the screw head. The tapered end of the extractor should engage the metal without being too loose or too tight. It’s often a trial-and-error process with a few sizes.
What if the screw is rusted in place?
Rusted screws are much harder. You should first try applying a penetrating oil (like WD-40) to the threads. Let it soak for a while. Then, try your extraction method. Sometimes, gentle tapping with a hammer can help break the rust bond.
Will using a screw extractor damage the material around the screw?
It’s possible, but usually avoidable. If you use steady pressure and the right size extractor, you can minimize damage. Creating a small dimple with a center punch is key. Be extra careful if the surrounding material is soft, like plastic or certain woods.
Can I reuse the hole after removing a stripped screw?
Yes, most of the time. Once the old screw is out, you can clean up the hole. Then, you can insert a new screw. If the threads in the hole were damaged, you might need to use a slightly larger screw or a wood plug. For metal, you might need to re-tap the hole.
What’s the difference between a screw extractor that needs a drill and one for hand use?
Drill-driven extractors often look like drill bits. They have a pointed end to drill a pilot hole and then a reverse-threaded end to extract. Hand-use extractors typically have a square end for a tap wrench or pliers. They rely on your manual turning force.
Conclusion
Getting a stripped screw out without a drill might seem tough. But with the right knowledge and tools, it’s very achievable. You’ve seen how manual extractors and even everyday items can save the day. Remember to be patient and gentle. You can tackle these common DIY headaches. Keep these tips in mind for your next project!