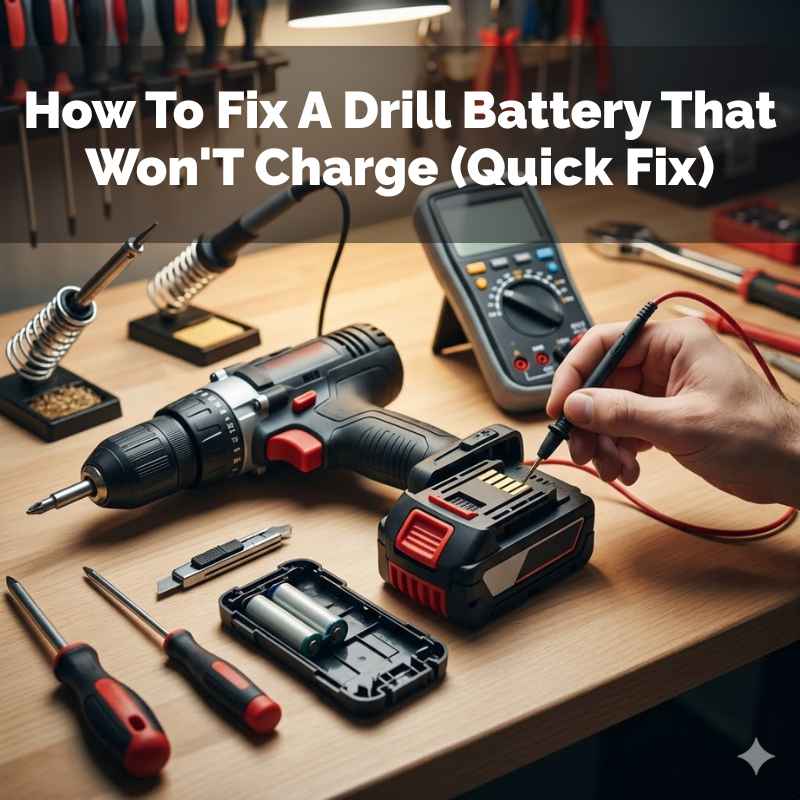
How To Fix A Drill Battery That Won’T Charge (Quick Fix)
It’s super frustrating when your trusty drill battery decides it’s had enough. You need to get a job done, but your tool is dead. This happens to so many of us.
It feels like a huge waste of money and time. You might wonder if you need a whole new battery or even a new drill. But often, the problem is simpler than you think.
Let’s figure out why your drill battery won’t charge and what you can do about it.
When a drill battery won’t charge, it often stems from issues with the charger, the battery contacts, or internal battery health. Simple cleaning, checking connections, or allowing it to cool can often resolve the problem without needing a replacement.
Understanding Why Drill Batteries Stop Charging
Drill batteries are complex little powerhouses. They store energy so you can use your tools wirelessly. When one stops charging, it’s usually for a few key reasons.
Think of it like a car that won’t start. You check the gas, the battery, and the ignition. It’s similar with your drill battery.
The most common culprits are quite simple. Sometimes the charger itself might be the issue. Other times, the battery’s connection points get dirty.
Extreme temperatures can also play a role. And, of course, batteries don’t last forever. Over time, their ability to hold a charge fades.
Understanding these basics helps us troubleshoot effectively.
My Own Drill Battery Nightmare
I remember this one time, I was building a deck. I had a whole day of work ahead of me. I put my battery on the charger like I always do.
The light came on, showing it was charging. But a few hours later, I went to swap it, and it was still dead. The charge light was off.
Panic set in. This was a big project! I checked the outlet.
It was working. I wiggled the charger cord. Nothing.
I thought, “Great, another expensive battery bites the dust.” I was so annoyed. I sat down, defeated, and stared at the dead battery. That’s when I noticed a tiny bit of sawdust stuck in the battery’s charging port.
It was so small, I almost missed it.
I grabbed a dry toothbrush and gently brushed it out. I then carefully blew into the port. I put the battery back on the charger.
This time, the charge light stayed on! I was so relieved. It was a tiny bit of dust that caused all that stress.
It taught me to always check the simple things first before assuming the worst. That little bit of dust cost me hours of frustration and almost a new battery.
Common Drill Battery Problem Checklist
Problem: Battery won’t charge.
Possible Causes:
- Dirty battery contacts.
- Faulty charger.
- Battery is too hot or too cold.
- Internal battery damage.
- Charger not plugged in properly.
- Battery is old and worn out.
Checking Your Charger and Power Source
Before blaming the battery, let’s look at the charger. It’s often the easiest thing to test. Is the charger plugged in firmly?
Sometimes the cord can come loose without you realizing it. Make sure the outlet itself is working. You can test this with a lamp or another small appliance.
Look closely at the charger’s plug and the outlet. Are there any bent pins or signs of damage? A damaged charger needs to be replaced.
If you have another compatible battery, try charging that one. If it charges fine, your charger is likely okay. If the second battery also doesn’t charge, the charger is probably the problem.
Some chargers have indicator lights. What do these lights mean? Check your drill’s manual.
A flashing light or a light that won’t turn on could signal an error. Different brands have different light codes. Knowing these codes is key to troubleshooting.
Charger Quick Check Guide
- Plug It In Firmly: Ensure the charger is pushed all the way into the wall outlet.
- Test The Outlet: Use a different device to confirm the outlet has power.
- Inspect The Cord: Look for any frayed wires or damage to the charger’s plug.
- Try Another Battery: If you have a spare, see if it charges correctly.
- Check Indicator Lights: Consult your manual to understand what the lights mean.
Cleaning Battery and Charger Contacts
This is where my own little dust disaster happened. Batteries and chargers have metal contacts. These allow the electricity to flow.
Over time, dust, dirt, and grime can build up on these contacts. This buildup acts like an insulator. It stops the connection from being made.
Cleaning them is usually simple. You’ll need a clean, dry cloth. A soft-bristled brush, like a toothbrush, works well too.
Gently wipe the metal contacts on both the battery and the charger. Make sure there’s no debris stuck in the small crevices. For stubborn grime, you can use a tiny bit of isopropyl alcohol on the cloth.
Let it dry completely before trying to charge again.
Be very careful not to bend or damage these metal contacts. They are usually quite delicate. If a contact is bent on the battery, it won’t make good contact with the charger.
Similarly, damaged charger contacts will prevent a proper connection. A clean connection is vital for a good charge. This is a very common fix for many charging issues.
Contact Cleaning Steps
- Gather Supplies: You’ll need a clean, dry cloth and a soft brush (like a toothbrush).
- Wipe Battery Contacts: Gently rub the metal tabs on the battery.
- Wipe Charger Contacts: Carefully clean the corresponding metal parts on the charger.
- Use Alcohol Sparingly: If needed, use a dab of isopropyl alcohol on a cloth for tough spots. Ensure it dries fully.
- Inspect for Damage: Look for any bent or corroded metal parts.
The Impact of Temperature on Charging
Batteries, especially lithium-ion ones used in most modern drills, are sensitive to temperature. They don’t like to be too hot or too cold. When you try to charge a battery that’s too warm, the charger might refuse to work.
This is a safety feature. Charging a very hot battery can be dangerous. It can damage the battery or even cause a fire.
Likewise, charging in very cold conditions is also bad. Cold temperatures slow down the chemical reactions inside the battery. This makes charging less effective and can also harm the battery’s lifespan.
Most manufacturers recommend charging batteries between 40°F and 104°F (about 4°C to 40°C).
If your battery feels very hot or very cold, let it sit at room temperature for a while. For a hot battery, place it in a cool, shaded spot. For a cold battery, bring it inside to a warmer room.
Give it an hour or two. Then, try charging it again. This simple step often solves the problem.
Temperature and Charging
Ideal Range: 40°F – 104°F (4°C – 40°C).
Too Hot? Let it cool in a shaded area for 1-2 hours.
Too Cold? Bring it inside to a warm room for 1-2 hours.
Why it matters: Extreme temperatures can damage batteries and prevent charging.
Internal Battery Issues: When It’s More Serious
Sometimes, the problem isn’t with the charger or the contacts. It’s inside the battery itself. Batteries have internal components that store and deliver power.
These parts can degrade over time. This is normal wear and tear. Lithium-ion batteries have a limited number of charge cycles.
If your battery is old, it might simply not hold a charge anymore. You might notice it drains very quickly even after a full charge. Or it might not take a charge at all.
Internal damage can also happen from dropping the battery or exposing it to moisture. If you suspect internal damage, there’s usually not much you can do to fix it yourself. Replacing the battery is often the only option.
Some advanced chargers can “test” or “refresh” a battery. They might try to revive a battery that’s slightly out of balance. But this is not a universal feature.
Check your charger’s manual. If the battery is showing signs of physical damage, like swelling or leaks, do not try to charge it. Dispose of it safely.
Signs of Internal Battery Problems
- Rapid Draining: Battery dies very quickly after charging.
- No Charge at All: The charger shows no signs of activity.
- Physical Damage: Swelling, cracks, or leaking.
- Very Old Battery: Reached its expected lifespan.
Checking Battery Health and Lifespan
How long should a drill battery last? It varies a lot. Factors like how often you use it, how you charge it, and the brand all play a role.
A typical lithium-ion battery might last anywhere from 3 to 7 years. Or it might last for hundreds of charge cycles.
If your battery is only a year or two old and stops charging, it’s more likely a charger or contact issue. If it’s 5 or 6 years old, it’s probably just worn out. You can often tell by how it performed before it stopped charging.
Did it start holding less charge? Did it seem weaker?
Some battery packs have an indicator light that shows the charge level. Even when not on the charger, if this indicator shows low or no charge after being fully charged, it’s a bad sign. It means the battery can no longer hold that stored energy.
This is a natural end-of-life situation for the battery.
Battery Lifespan Factors
- Age: Batteries degrade over time.
- Usage: More frequent use means more charge cycles.
- Charging Habits: Avoid extreme heat/cold, overcharging.
- Brand Quality: Higher quality batteries tend to last longer.
- Storage: Storing at 40-60% charge is often best for longevity.
Safety First: When Not to Attempt a Fix
It’s important to know when to stop trying to fix things. Your safety is more important than any tool. If a battery is physically damaged, do not try to charge it or use it.
Swollen batteries are a serious fire risk. Batteries that have leaked also pose a health hazard. Do not try to open up a battery pack.
The chemicals inside can be harmful.
If you’ve tried all the simple fixes—cleaning contacts, checking the charger, and letting it reach room temperature—and it still won’t charge, it’s likely time for a replacement. Continuing to force a charge on a faulty battery is not safe. Always follow the manufacturer’s instructions for battery care and disposal.
They usually have specific guidance on how to handle damaged batteries.
Safety Warning Signs
- Swollen Battery: Never charge or use.
- Leaking Battery: Avoid contact and dispose safely.
- Cracked Casing: May expose internal components.
- Burning Smell: Immediately stop and remove from area.
- Overheating During Charge: Disconnect charger and battery.
When is it Normal for a Battery Not to Charge?
There are times when a battery not charging is perfectly normal. If you just finished a long, tough job and the battery is completely drained, it needs time on the charger. If you tried to charge it right after heavy use, it might be too hot to accept a charge.
That’s normal behavior.
Also, batteries don’t last forever. If your battery is several years old and has seen a lot of use, it might simply be at the end of its life. It might not be able to hold a charge anymore.
This is also normal. Think of it like an old phone battery. Eventually, they just stop working well.
The key is to look for patterns. If a battery that was fine yesterday suddenly won’t charge today, that’s a problem. If a brand-new battery won’t charge, that’s definitely an issue.
But if an old, heavily used battery is finally giving up the ghost, it’s probably just its time. It’s natural for things to wear out.
Normal Charging Scenarios
- After Heavy Use: Battery is hot and needs to cool first.
- Completely Drained: Needs several hours to fully recharge.
- Old Age: Battery has reached its expected lifespan.
- New Battery (initial charge): Follow manufacturer instructions.
When to Worry About a Non-Charging Drill Battery
You should worry if a battery that used to charge fine suddenly stops. This is especially true for newer batteries. If you’ve cleaned the contacts, checked the charger, and let the battery sit at room temperature, and it’s still dead, that’s a red flag.
It suggests an internal problem.
Another worry sign is if the charger’s indicator lights are behaving strangely. If it’s supposed to show a solid green light for charging but is flashing red or not lighting up at all, something is wrong. Consult your manual to understand these codes.
A consistent failure to charge across multiple batteries with the same charger also points to a charger problem.
Physical signs of damage are also immediate cause for concern. Any bulging, cracking, or leaking means the battery is compromised. Do not use or charge it.
These situations indicate that the battery is no longer safe and needs attention, usually replacement.
When to Seek a Solution
- New Battery Fails: A new unit should work out of the box.
- Sudden Failure: Battery stopped charging without prior issues.
- Erratic Charger Lights: Lights indicate error or no power.
- Multiple Batteries Affected: If several batteries won’t charge.
- Physical Damage: Bulging, leaks, or cracks.
Quick Fixes and Preventative Tips
The best fix is often prevention. Treat your batteries well, and they’ll last longer. Always store batteries at a moderate temperature.
Avoid leaving them in a hot car or a freezing garage. When you’re done using a battery, let it cool down before putting it on the charger. Don’t leave batteries on the charger indefinitely after they are full.
Keeping the contacts clean is a simple habit. Give them a quick wipe with a dry cloth every few months. This takes seconds but can save you a lot of hassle.
If you have multiple batteries, rotate them. This means they get used and charged more evenly. It prevents one battery from aging much faster than the others.
When you buy new batteries, make sure they are compatible with your drill and charger. Using the wrong type can damage both. Always use the charger that came with your tool or a recommended official replacement.
These small steps can significantly extend the life of your drill batteries and keep them ready when you need them.
Battery Care Tips
- Store Cool: Keep batteries at room temperature.
- Cool Down First: Let hot batteries rest before charging.
- Unplug When Done: Don’t leave fully charged batteries on the charger.
- Clean Contacts Regularly: A quick wipe keeps them working well.
- Rotate Batteries: Use all your batteries evenly.
- Use Correct Charger: Always use the one recommended by the manufacturer.
Frequently Asked Questions About Drill Batteries Not Charging
Why is my drill battery flashing red instead of charging?
A flashing red light often means there’s a fault. This could be with the battery itself or the charger. It might be too hot, too cold, or there could be an internal issue with the battery.
Check your manual for the specific meaning of the flashing light for your brand.
Can I leave my drill battery on the charger overnight?
Most modern lithium-ion chargers have protection circuits. They stop charging when the battery is full. However, it’s generally best practice not to leave them plugged in for extended periods after charging.
This can sometimes reduce battery lifespan over the very long term.
My drill battery is old. Is it normal for it to stop charging?
Yes, absolutely. Batteries have a limited lifespan. Over time, the internal components degrade.
An old battery may simply be worn out and unable to hold a charge anymore. If it’s several years old and has seen heavy use, this is the most likely reason.
What should I do if my drill battery feels hot when I try to charge it?
If the battery is hot, it’s a safety feature preventing charging. Let it cool down. Move it to a cooler, shaded spot away from direct sunlight.
Give it at least an hour. Then, try charging it again. Never try to charge a battery that feels excessively hot.
Is it worth repairing a drill battery that won’t charge?
For most DIYers, repairing a battery pack is not practical or safe. They are sealed units with complex electronics. Replacement is usually the most cost-effective and safest option.
Focus on troubleshooting and then replacing if needed.
How do I dispose of a drill battery that won’t charge?
Do not throw them in the regular trash. Lithium-ion batteries need special disposal. Many hardware stores or battery retailers have recycling programs.
Check with your local waste management service for hazardous waste drop-off locations. Safe disposal is important for the environment.
Final Thoughts on Charging Troubles
It’s never fun when your tools let you down. But a drill battery that won’t charge is often fixable. By systematically checking your charger, cleaning contacts, and considering temperature, you can often get back to work.
Remember to always put safety first. If a battery is damaged, it’s time to let it go. With a little care and attention, you can keep your drill batteries running strong for a long time.