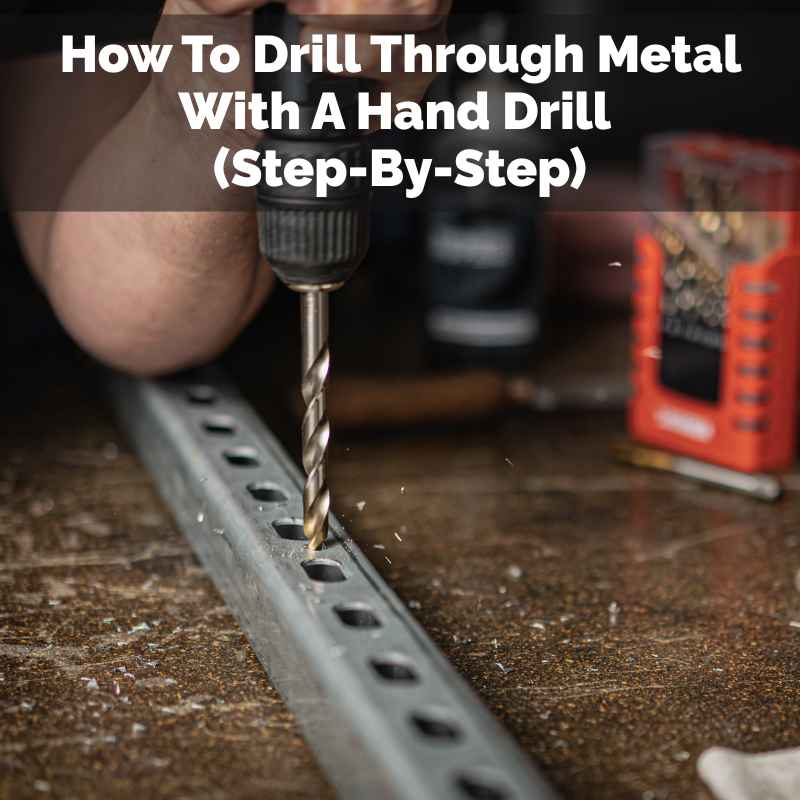
How To Drill Through Metal With A Hand Drill (Step-By-Step)
This guide breaks down the entire process. We’ll cover everything you need to know. You’ll learn about the tools, the best techniques, and what to watch out for.
By the end, you’ll feel confident tackling metal drilling tasks.
To drill through metal with a hand drill, you need sharp drill bits made for metal, a steady hand, and proper safety gear. Start with a small pilot hole, use a slow speed, and apply steady pressure. Lubrication can help prevent overheating and make the process smoother.
Understanding Metal Drilling Basics
Drilling metal isn’t quite like drilling wood. Metal is harder and denser. This means your tools and techniques need to be a little different.
The main goals are to get a clean hole without damaging your drill or the metal. You also want to avoid overheating, which can ruin your drill bit and make the metal weak.
Think of it like this: wood is soft and gives way easily. Metal resists. So, you need something sharp and strong to cut through it.
You also need control. A hand drill gives you that control, but you have to use it wisely.
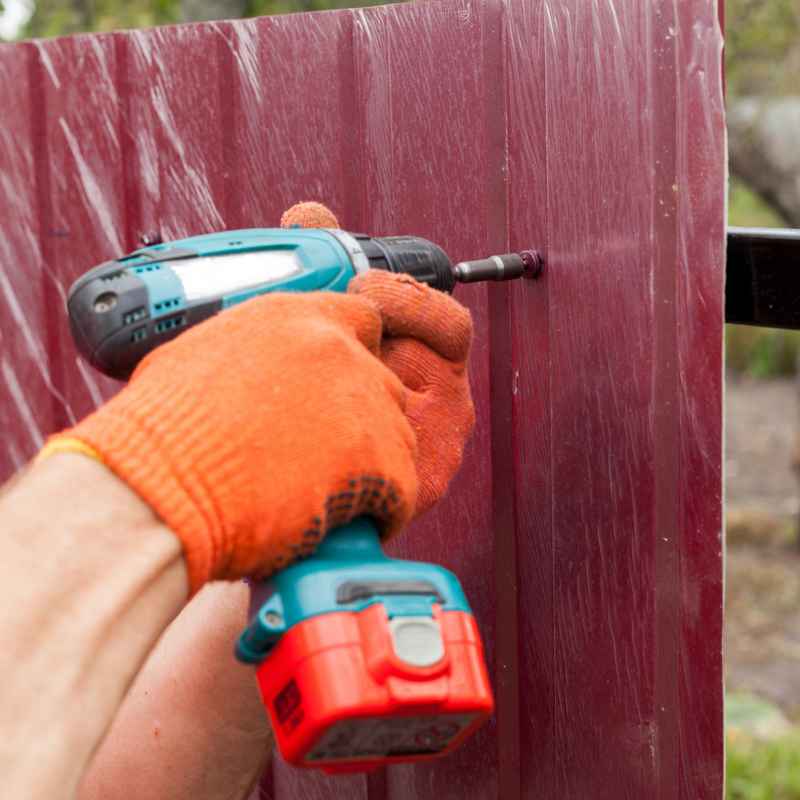
Choosing the Right Tools for the Job
Having the correct tools makes all the difference. It’s the first big step to success. Using the wrong tools can lead to frustration and poor results.
Drill Bits for Metal
This is super important. You can’t just grab any old drill bit. You need bits specifically made for drilling metal.
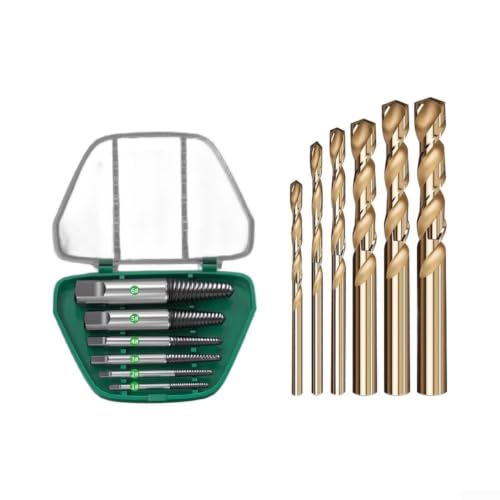
These are usually made of High-Speed Steel (HSS). Sometimes they have a special coating, like titanium or cobalt. These coatings make them even harder and more heat-resistant.
HSS drill bits are the standard. They are strong and can handle the heat generated when drilling metal. For tougher metals like stainless steel or hardened steel, you might want cobalt drill bits.
Cobalt is even harder and can withstand higher temperatures. Titanium-coated bits are also good. They are more durable and stay sharper longer.
Always check the packaging to make sure the bits are designed for metal. They usually have a darker, more metallic finish compared to bits for wood. A good set of metal drill bits is an investment that will serve you well.
Lubrication is Key
When you drill metal, friction creates a lot of heat. This heat can dull your drill bit quickly. It can also make the metal itself too hot to handle.
Using a lubricant helps a lot. It cools the drill bit and the metal. It also helps to clear away metal chips, which makes for a cleaner cut.
What kind of lubricant? Cutting oil is the best choice for most metals. You can find this at hardware stores.
If you don’t have cutting oil, you can sometimes use other things in a pinch. Motor oil or even a bit of WD-40 can help. For softer metals like aluminum, a little bit of kerosene works well.
Don’t be shy with the oil. Apply it often, especially as you start to notice heat building up or the drilling slowing down.
Safety First: Always Protect Yourself
This cannot be stressed enough. Drilling metal can create sharp metal shavings called chips. These can fly out unexpectedly.
You also don’t want to get metal dust in your eyes. And that drill can slip if you’re not careful.
Safety glasses or goggles are a must. Wear them at all times when drilling. A sturdy pair that wraps around your eyes is best.
You might also want to wear work gloves. These protect your hands from sharp edges and hot metal. If you’re drilling a lot, or in a workshop, consider hearing protection too, as drills can be loud.
Make sure your workspace is clear. Keep flammable materials away from your drilling area. Metal dust can be a fire hazard.
The Hand Drill Itself
For this guide, we’re talking about a handheld electric drill. Make sure yours is in good working order. Check the cord and the chuck (the part that holds the drill bit).
Ensure it has enough power for the metal you plan to drill. Thicker or harder metals will require more power.
Many hand drills have a variable speed setting. This is incredibly useful for metal. You’ll want slower speeds for metal than you’d use for wood.
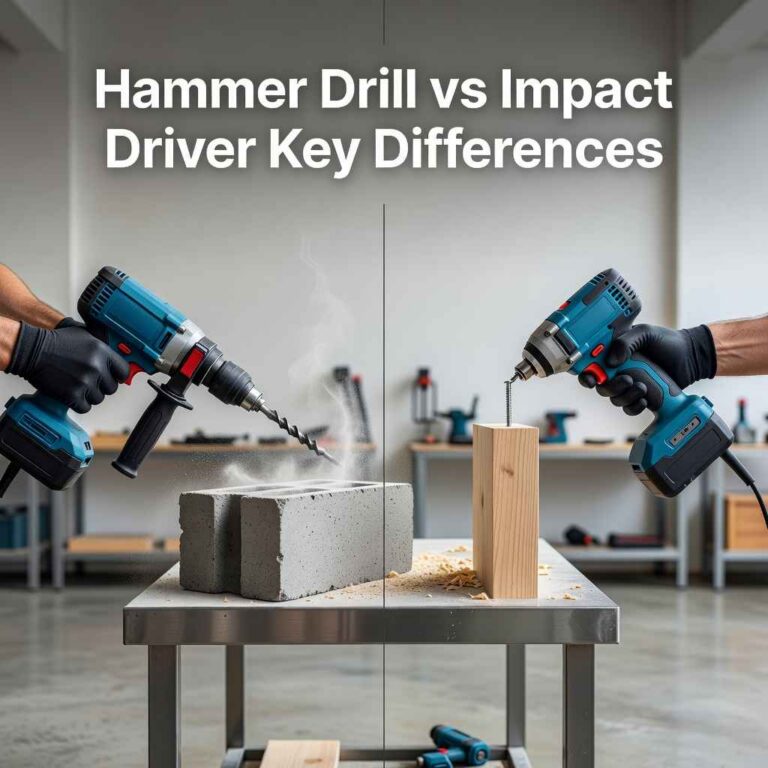
Some drills also have a hammer function, but you’ll want to turn that off when drilling metal.
Preparing Your Workspace and Metal
Before you even pick up the drill, take some time to get things ready. Good preparation means a smoother drilling experience and better results.
Marking Your Spot
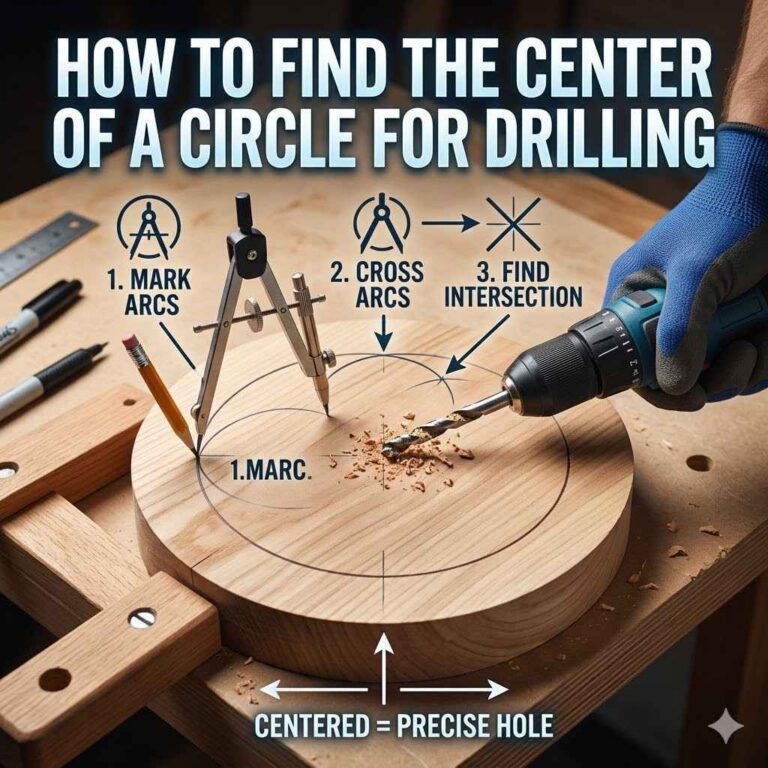
You need to know exactly where you want the hole. Use a center punch or a sharp nail to make a small indentation on the metal. This gives your drill bit a starting point.
It prevents the bit from wandering or “walking” across the surface when you first start drilling. A quick tap with a hammer on the punch is all you need.
For very precise work, you can also use a marker or a scribe to draw your hole location. Then, use the center punch right in the middle of your mark. This is a common practice for machinists and metalworkers.
Securing the Metal
This is crucial for safety and accuracy. The piece of metal you are drilling must be held firmly in place. If it moves while you’re drilling, the drill bit can break, the metal can be damaged, or you could injure yourself.
Use clamps. C-clamps or bar clamps are good choices. Clamp the metal securely to a workbench or a sturdy surface.
If you’re drilling a piece that’s too big to clamp easily, like a large sheet, you might need to drill through a scrap piece of wood that’s clamped down. This adds stability. Never try to hold the metal with your hands while drilling.
It’s just too risky.
Ensure the surface you clamp to is flat and stable. You don’t want the metal wobbling or lifting as you apply pressure.
Cleaning the Metal
Sometimes, metal pieces come with grease, oil, or dirt on them. Clean the area where you plan to drill. This helps your drill bit grip better and reduces the chance of contamination.
A clean surface also helps the lubricant work more effectively.
A simple rag with some degreaser or even rubbing alcohol can do the trick. Make sure the metal is dry before you start. You want a clean, dry surface for marking and then a good surface for drilling.
The Step-by-Step Drilling Process
Now, let’s get to the actual drilling. Follow these steps carefully for the best outcome.
Step 1: Select the Right Drill Bit
As we discussed, choose a sharp HSS or cobalt drill bit that’s the correct size for your hole. If you need a larger hole, you’ll often start with a smaller pilot hole and then enlarge it. This makes the job much easier and safer.
Step 2: Set Up Your Drill
Insert the drill bit firmly into the drill’s chuck. Tighten the chuck securely. Make sure it’s centered.
Turn the drill on for a quick second at slow speed to ensure the bit is spinning true and not wobbling.
If your drill has speed settings, choose a low to medium speed. Generally, the harder the metal and the larger the drill bit, the slower you should spin the drill.
Crucially, turn off any hammer drill setting. You only want rotary action.
Step 3: Mark and Punch Your Hole
Use your center punch to create a small, distinct mark where you want the hole. A firm tap with a hammer is usually enough. This mark will guide your drill bit and prevent it from sliding.
Step 4: Apply Lubricant
Put a small amount of cutting oil or your chosen lubricant directly onto the punched mark. You’ll also want to have some handy to apply as you drill.
Step 5: Start the Pilot Hole (If Needed)
If you’re drilling a hole larger than 1/4 inch, it’s a good idea to drill a pilot hole first. Use a drill bit that’s about half the size of your final hole diameter. This makes drilling the larger hole much easier and more accurate.
Hold the drill so it’s perfectly straight, perpendicular to the metal surface. Start the drill at a very slow speed. Gently press the tip of the drill bit into the punched mark.
Let the bit bite into the metal. Don’t force it. Apply steady, consistent pressure.
As the pilot hole is being drilled, you might want to add more lubricant. Clear away any metal chips that build up.
Step 6: Drill the Main Hole
Once your pilot hole is drilled (or if you’re drilling a small hole directly), switch to your final drill bit size. Place the tip of the bit into the pilot hole or the punched mark.
Again, hold the drill perfectly straight. Start the drill at a slow speed. Apply steady, even pressure.
Let the drill bit do the work. Don’t try to push it too hard or too fast. This is where patience pays off.
Too much pressure can break the bit or overheat the metal.
As you drill, metal chips will form. Periodically, lift the drill bit slightly (while it’s still spinning) to clear these chips away. This also helps to let the lubricant reach the tip of the bit.
Keep adding lubricant as needed. You’ll feel the resistance change as you break through the other side. Ease up on the pressure right at the end to prevent the bit from snagging.
Step 7: Finishing Up
Once the hole is complete, slowly withdraw the drill bit while it’s still spinning. This helps to clean up the edges of the hole slightly.
Carefully remove the clamps and inspect your work. You should have a clean, round hole. Use a deburring tool or a bit of sandpaper to smooth any sharp edges around the hole.
Be careful, these edges can still be sharp!
Tips for Different Metals
Steel: Use HSS or cobalt bits. Cutting oil is essential. Start slow and steady.
Pilot holes are recommended for larger diameters.
Aluminum: This metal is softer. You can use slightly higher speeds than steel. Kerosene or a light oil works well as a lubricant.
Be careful not to over-drill, as aluminum can “gum up” the bit.
Brass: Similar to aluminum, brass is relatively soft. Use standard HSS bits. A bit of cutting oil or even water can be used as a coolant.
Avoid excessive speed.
Stainless Steel: This is tougher. Use cobalt drill bits. Keep speeds slow and apply generous amounts of cutting fluid.
Let the bit cool often.
Common Mistakes to Avoid
Even with the best intentions, it’s easy to make mistakes when drilling metal. Knowing what to look out for can save you a lot of trouble.
One of the most common errors is using a dull drill bit. A dull bit requires more force, generates more heat, and produces rougher holes. Always start with a sharp bit.
Another big one is drilling too fast. High speeds create excessive heat. This can overheat and ruin your drill bit.
It can also temper the metal unevenly, making it brittle. Slow and steady is the mantra here.
Not using lubricant is also a frequent mistake. Metal drilling creates heat that needs to be managed. Without it, your bit wears out fast, and the drilling becomes much harder.
Forcing the drill is another common pitfall. Let the sharp bit cut. Pushing too hard can snap the bit or cause it to break through the metal suddenly, damaging the workpiece.
Finally, inadequate clamping is dangerous. The metal must be held securely. If it shifts, the hole will be inaccurate, and you risk damaging your tools or yourself.
Contrast: Normal vs. Concerning Signs
Normal Signs:
- Steady resistance as the bit cuts.
- A clean stream of metal chips.
- A slight build-up of heat that is managed by lubricant.
- A clean, round hole with minimal burrs.
Concerning Signs:
- The drill bit seems to be just spinning or “screeching” without cutting. (Dull bit, too much speed, or not enough pressure).
- Excessive smoke or sparks. (Overheating, likely due to dull bit or too fast speed).
- The metal feels unusually hot to the touch after a short time. (Overheating).
- The drill bit breaks or bends. (Too much force, dull bit, or metal is too hard for the bit).
- The hole is rough, ragged, or not round. (Poor technique, dull bit, or insufficient pilot hole).
When to Use Power Drills vs. Hand Cranks
While this guide focuses on electric hand drills, it’s worth noting the tool choice. For most DIY tasks and home repairs involving metal, a good corded or cordless electric drill is the way to go. They offer power and speed control that makes the job efficient.
However, there’s a place for manual hand drills (the old-fashioned crank kind). These are great for very delicate work where extreme control is needed. They also offer a workout!
They are less common now but can be useful for small holes in thin sheet metal or when working without electricity.
The principles remain the same: sharp bit, steady pressure, and lubrication. But with a manual drill, you control the speed and pressure entirely by hand. This takes practice but can yield beautiful results.
Real-World Scenarios
Let’s think about where you might find yourself needing to drill metal.
Imagine you’re building a custom shelf unit. You have metal brackets and need to attach them to a metal frame. This requires precise holes so the screws go in straight.
You’ll be drilling through angle iron or perhaps flat bar stock.
Or, perhaps you’re working on a car. You might need to drill a small hole for a new sensor or to attach a custom part. This could be in steel or aluminum body panels.
The metal might be thin, or it could be part of the chassis.
You could also be repairing household items. Maybe a metal leg on a table has come loose, and you need to drill a new pilot hole for a sturdy screw. Or you might be adding hooks to a metal gate or frame.
In all these cases, the metal might have paint, rust, or coatings on it. Cleaning the area is important. The metal’s thickness and type will dictate how much pressure and speed you use.
Always assess the metal before you start.
Quick Scan: Setting Up for Success
Before You Start:
- Drill Bits: Sharp, metal-specific (HSS/Cobalt).
- Lubricant: Cutting oil, motor oil, or WD-40.
- Safety Gear: Glasses, gloves are essential.
- Marking: Center punch for precision.
- Securing: Clamps for stability.
- Surface: Clean and flat.
What This Means for You
Understanding these steps means you can approach metal drilling with more confidence. It’s not an impossible task. It’s a skill that improves with practice.
When is it normal to drill metal? Any time you need to fasten two metal pieces together, attach metal to another material, or create a pathway for wires or pipes through metal. It’s a fundamental part of fabrication, repair, and crafting.
When should you worry? If the metal is extremely hard or thick, a standard hand drill might struggle. In those cases, you might need a more powerful drill, a drill press, or even professional tools.
Also, worry if you’re not using safety gear, or if the metal is not properly secured. These are signs that the project could become dangerous.
Simple checks you can do: Feel the drill bit. Is it sharp? Is it the right type for the metal?
Is the metal held down tight? Is your safety gear on? These small checks prevent big problems.
Personal Story: That Time I Broke a Bit
I remember one time, I was trying to drill a hole in a thick steel bracket for a project. I was in a hurry. I grabbed a drill bit that looked okay, but I hadn’t checked if it was truly sharp for metal.
I also set my drill to a speed that was probably too high. I started drilling, and it felt like I was just scraping the surface. I pushed harder.
Suddenly, there was a loud snap. The drill bit broke right off. Not only did I ruin the bit, but I also had a jagged piece of metal left in the bracket.
It took me another 20 minutes to carefully remove the broken bit with pliers. That experience taught me a valuable lesson about patience and using the right tools, especially when dealing with harder metals. I never rushed metal drilling again after that!
Quick Fixes & Tips
While this guide focuses on the process, sometimes small adjustments can make a big difference. These aren’t necessarily “fixes” for broken items, but tips to refine your technique.
If your drill bit is “chattering” (bouncing around): This usually means you’re not applying enough steady pressure, or the metal is uneven. Try increasing pressure slightly, or ensure your pilot hole is well-centered. Also, check your drill speed – it might be too fast.
If you’re getting a lot of sparks: This is a sign of serious overheating. Stop immediately. Let everything cool down.
You might need more lubricant, a slower speed, or a sharper bit. Excessive sparking can also mean you’re drilling into a type of metal that’s sparking naturally, like some types of steel, but it still indicates heat.
For very smooth holes: After drilling, use a countersink bit. This tool creates a conical shape at the entrance of the hole. It looks professional and helps screw heads sit flush.
When drilling thin sheet metal: Place a piece of scrap wood behind the metal where you intend to drill. Clamp both together. This prevents the drill bit from “tearing” through the thin metal and leaving a ragged edge on the exit side.
It also gives you a cleaner hole.
Pilot hole size: If you’re unsure about pilot hole size, it’s better to go slightly smaller than too large. A pilot hole that’s too big makes it hard for the larger bit to find its path.
Common Myths vs. Reality
Myth: You can use wood drill bits for metal.
Reality: Wood bits are not hardened enough for metal. They will dull very quickly, overheat, and won’t create clean holes. Always use metal-specific bits.
Myth: Faster drill speed is always better for metal.
Reality: Actually, slower speeds are usually best for metal, especially harder types. High speeds generate too much heat and can damage the bit and the metal.
Myth: You need a powerful, expensive drill to drill metal.
Reality: While power helps, a standard, reliable electric hand drill with the correct bits and technique can handle many metal drilling jobs. It’s more about technique and the right bit than sheer power.
Frequently Asked Questions
What is the best drill bit for drilling metal?
The best drill bits for metal are typically made of High-Speed Steel (HSS). For tougher metals like stainless steel, cobalt drill bits are recommended as they are harder and more heat-resistant. Always ensure the bit is sharp and designed for metal.
Do I need to use oil when drilling metal?
Yes, using a lubricant like cutting oil is highly recommended. It helps to cool the drill bit and the metal, reducing friction and heat. This prolongs the life of your drill bit and results in a cleaner cut.
It also helps clear away metal chips.
What speed should I use when drilling metal with a hand drill?
Generally, you should use slower speeds for drilling metal compared to wood. The exact speed depends on the metal type and the drill bit size. For harder metals and larger bits, use slower speeds.
For softer metals like aluminum, slightly faster speeds might be acceptable.
My drill bit is getting very hot. What should I do?
If your drill bit is getting very hot, it’s a sign of overheating. This can damage the bit and the metal. Stop drilling immediately.
Ensure you are using enough lubricant, reduce your drilling speed, and check if your drill bit is sharp. Let the bit and metal cool down before continuing.
How can I prevent metal shavings from flying everywhere?
Always wear safety glasses or goggles. While some shavings are unavoidable, you can minimize them by drilling at a steady pace and using lubricant. Clearing chips periodically by lifting the bit can also help.
For a cleaner cut, consider using a drill press if available.
Can I drill through hardened steel with a regular hand drill?
Drilling through hardened steel can be very difficult with a standard hand drill and bits. You would typically need specialized, very hard drill bits (like tungsten carbide) and potentially slower speeds or even a drill press. Regular HSS bits may not be sufficient.
Final Thoughts
Drilling through metal with a hand drill is a practical skill. It requires patience and the right approach. By focusing on sharp tools, proper technique, and safety, you can achieve great results.
Don’t be afraid to practice on scrap pieces first. You’ll soon get the feel for it.
Remember the key points: sharp metal bits, slow speeds, lubricant, and a secure workpiece. With these in mind, you’re ready to tackle your next metal drilling project with confidence.
Sponsored / affiliate links. As an Amazon Associate I earn from qualifying purchases. I may earn additional commission from eligible campaigns.